"Horseplay" said:If you don't mind sharing I'd be very interested in knowing what it cost to re-chrome the fold down trim.
A bundle, no doubt!
Follow along with the video below to see how to install our site as a web app on your home screen.

Note: This feature currently requires accessing the site using the built-in Safari browser.
Hello there guest and Welcome to The #1 Classic Mustang forum!
To gain full access you must Register. Registration is free and it takes only a few moments to complete.
Already a member? Login here then!
"Horseplay" said:If you don't mind sharing I'd be very interested in knowing what it cost to re-chrome the fold down trim.
"Horseplay" said:If you don't mind sharing I'd be very interested in knowing what it cost to re-chrome the fold down trim.
Wow. I figured quite a bit and that is, well, quite a bit. Thanks for sharing."GTchris" said:I just talked to the shop today.
They told me they charge about $35 per foot for work so, I am looking at around $1000.00 for everything.
Just the air cleaner lid alone is $150.00
So, now I am thinking I might look at the reproduction trim. I remember reading that there are just a few of the repro trim parts that do not fit very well so, I might have them just do a few of the pieces for now.
"GTchris" said:So, now I am thinking I might look at the reproduction trim. I remember reading that there are just a few of the repro trim parts that do not fit very well so, I might have them just do a few of the pieces for now.


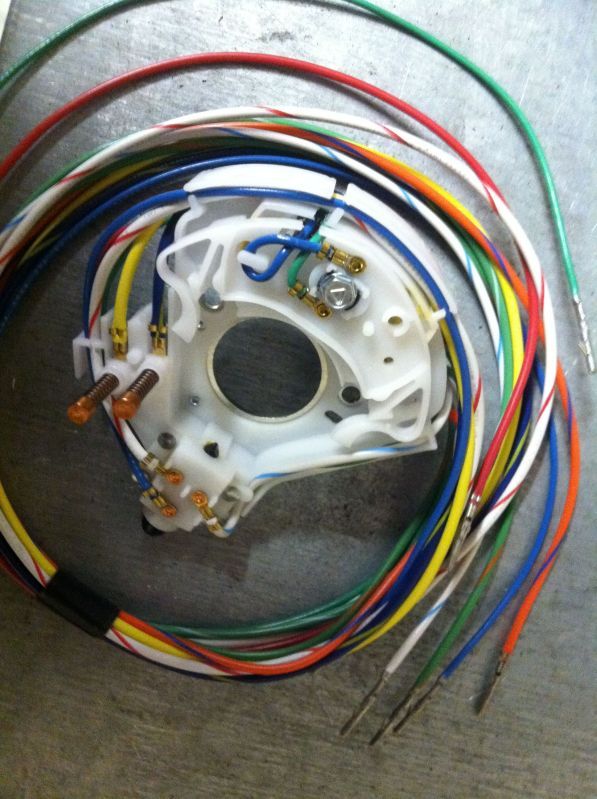
"GTchris" said:I purchased a new turn signal switch from http://www.thuntek.net/cougars_unlimited/
It came with all the pins installed so no need for wire splicing.
That took care of the lighting issue I was having. So, I moved on to the back up light switch. Randy mailed me a connector so that I could make up a lead. Thanks Randy!
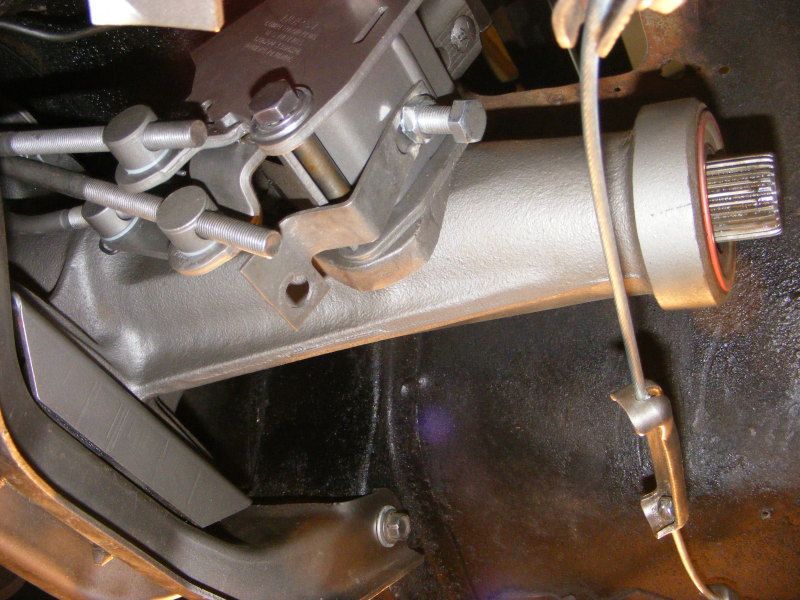
I got everything installed and put the car in reverse 3 times, then the back up lights would not not come on after that. So, I crawled back under the car and after the 3 operations the bracket had moved so the switch was not closing all the way.
This is an older pic but, the best I have at the moment that shows where I installed the switch. Has anyone else had this same issue?
I have been looking around but, did not find anything regarding a big block and Hurst shows this switch bracket for pretty much all applications.


