GPR
Active Member
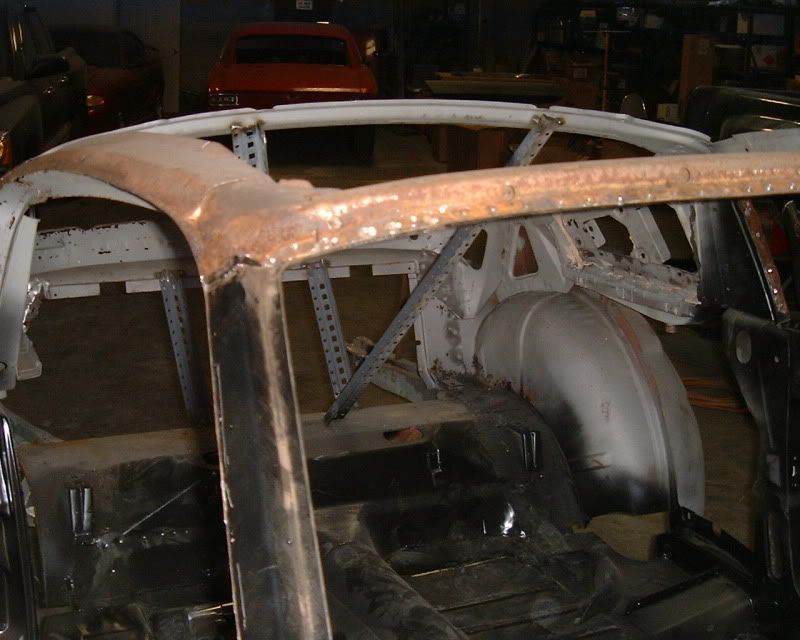
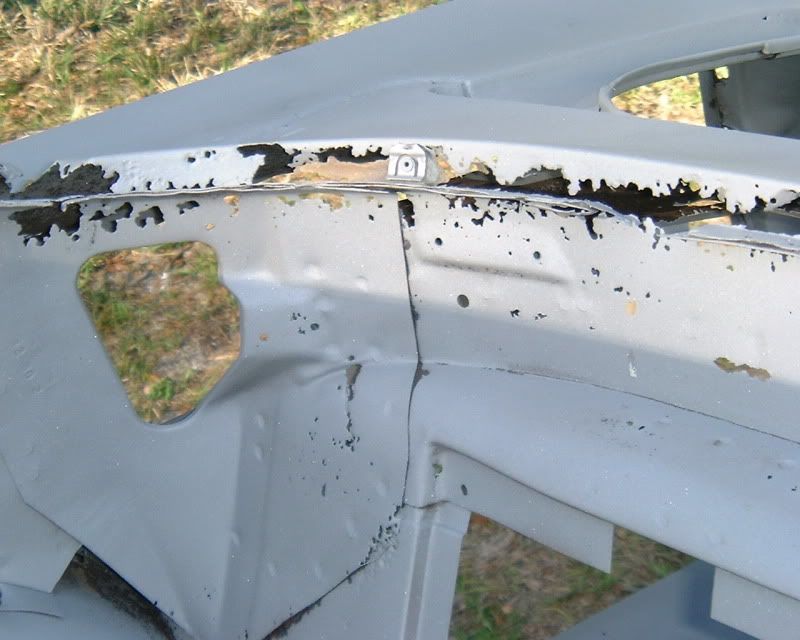
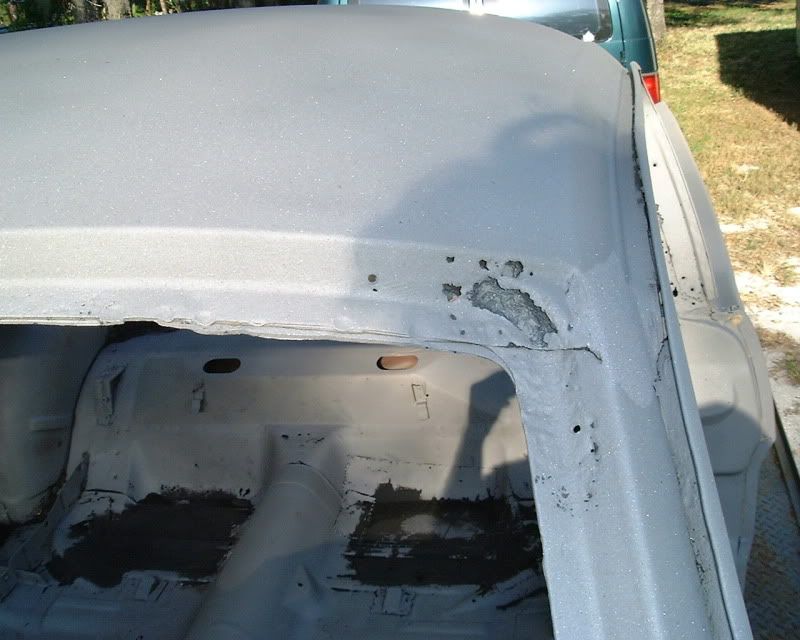
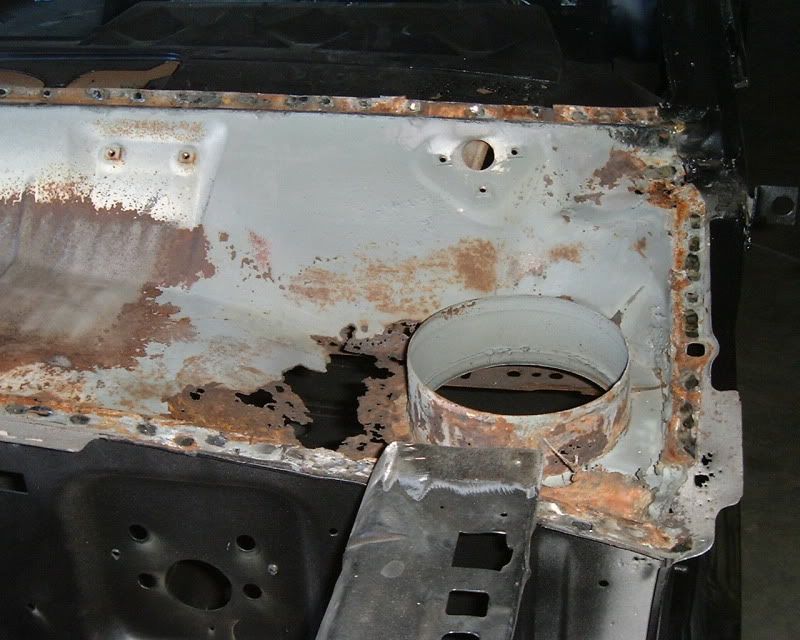
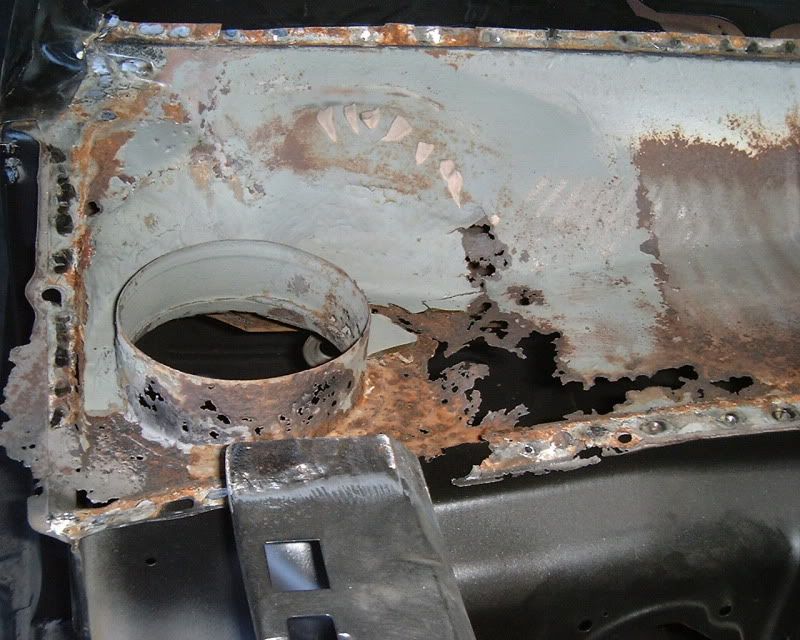
The owner Chris is serving in Iraq until April. He thought he had bought a good body until it came back from the media blaster. Someone had repaired the rust with fiberglass mat.
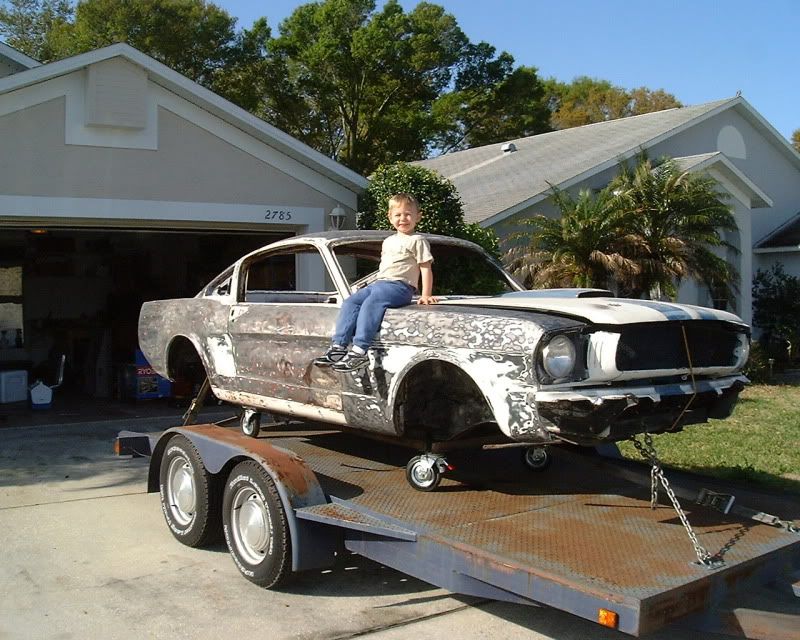
It was hard to leave his son. This is what we started with when I picked it up last April
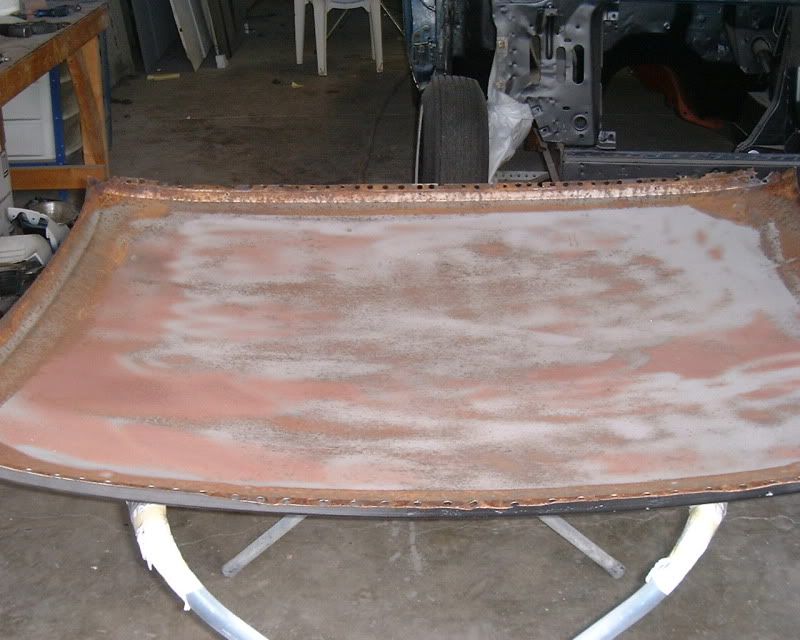
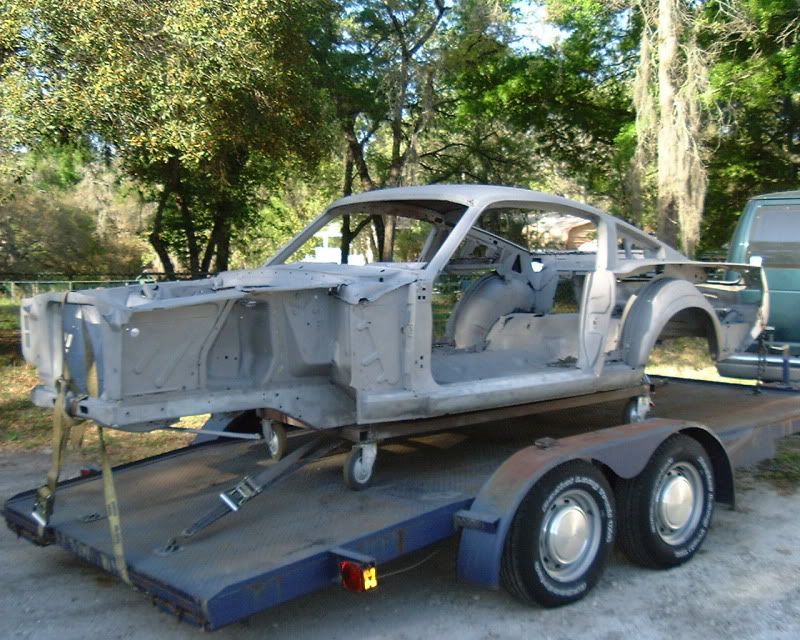
After it was media blasted
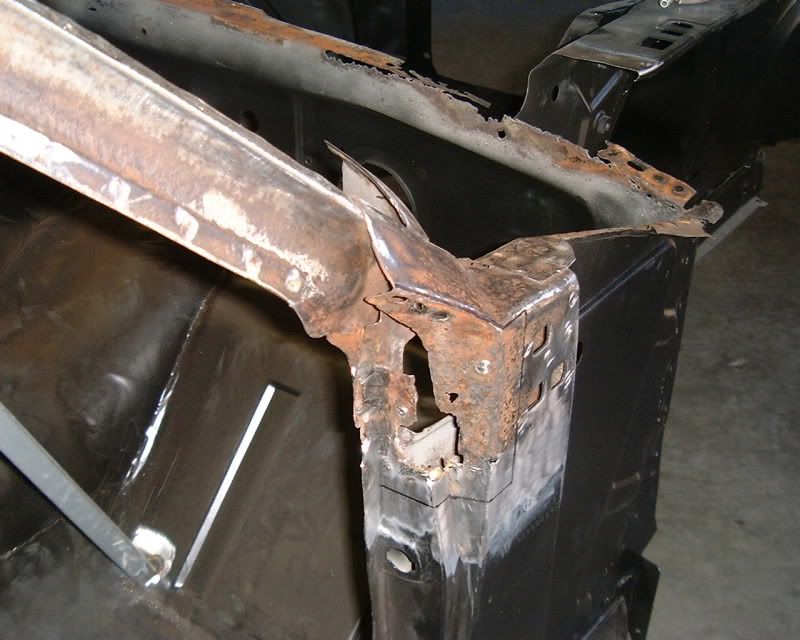
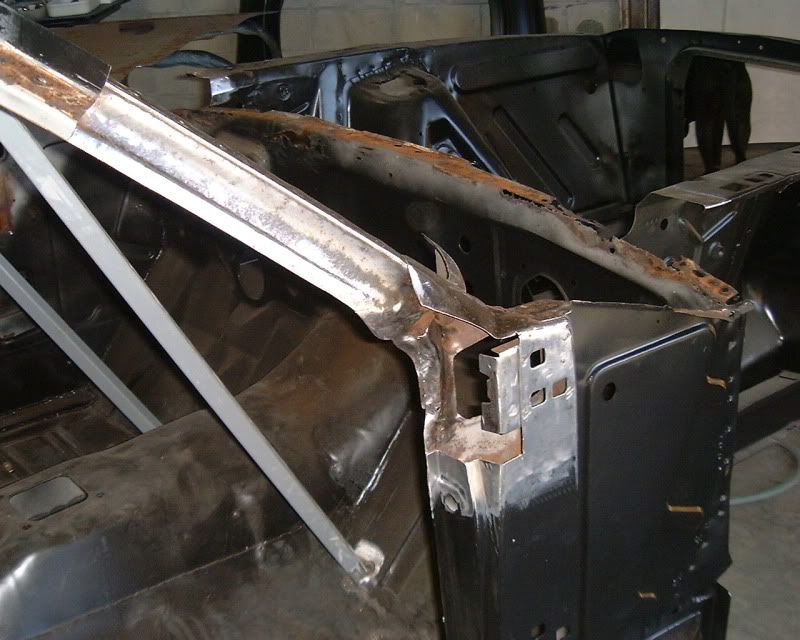
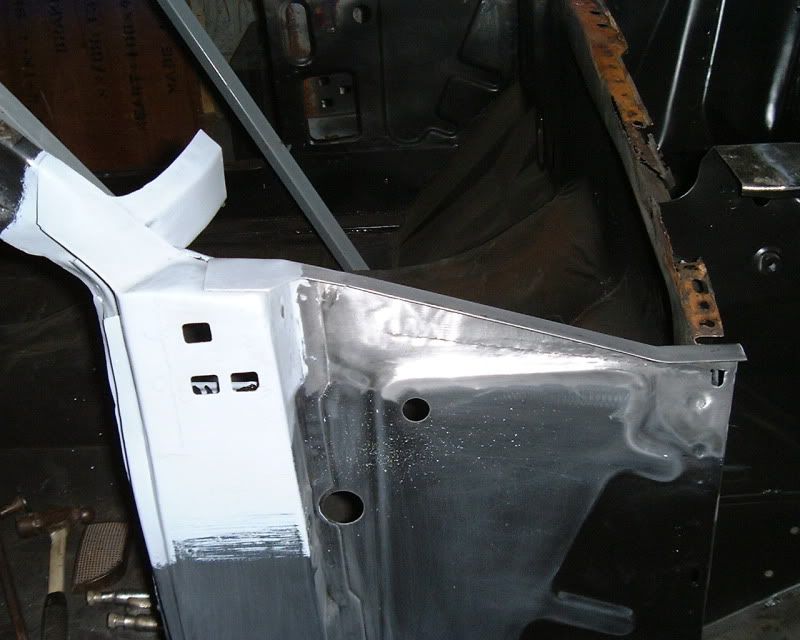
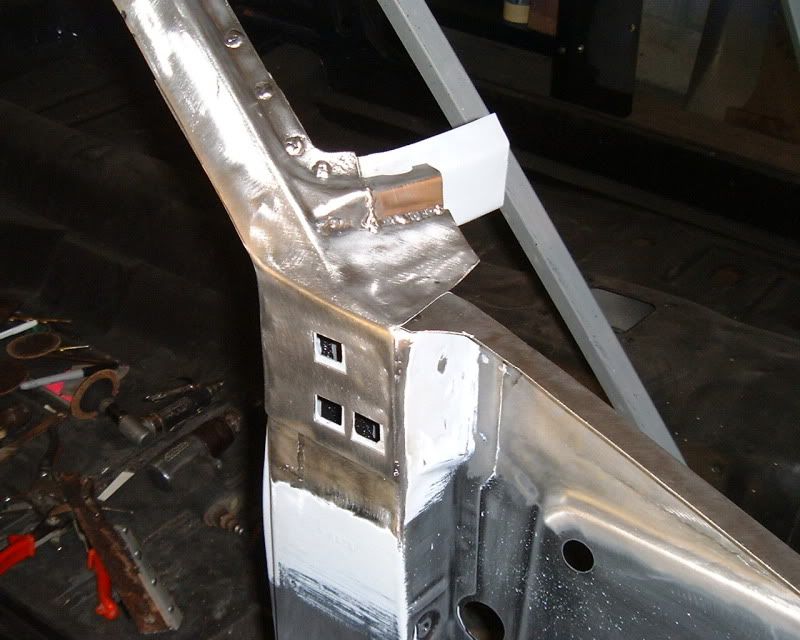
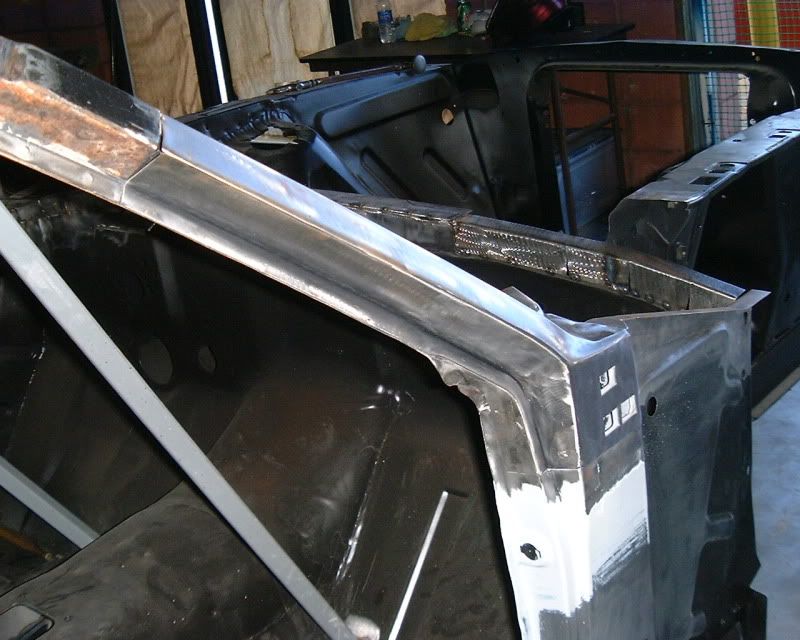
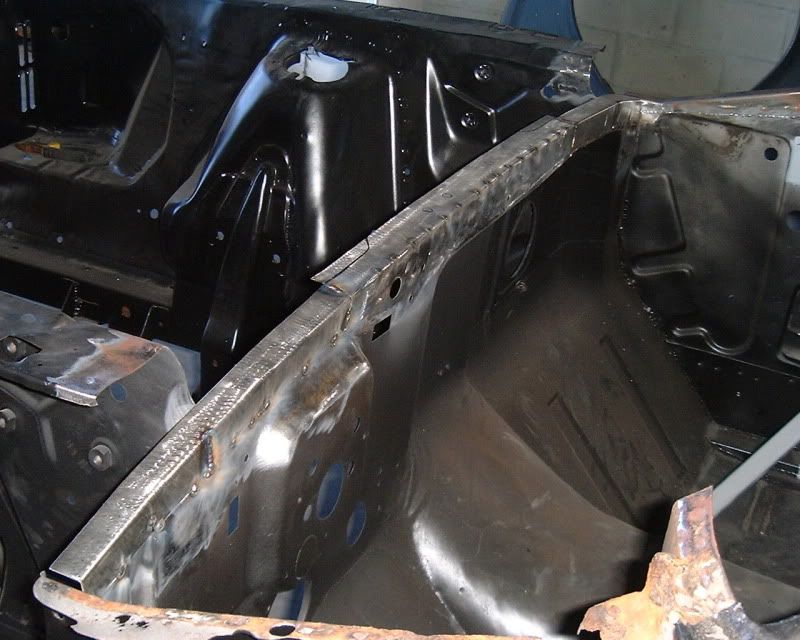
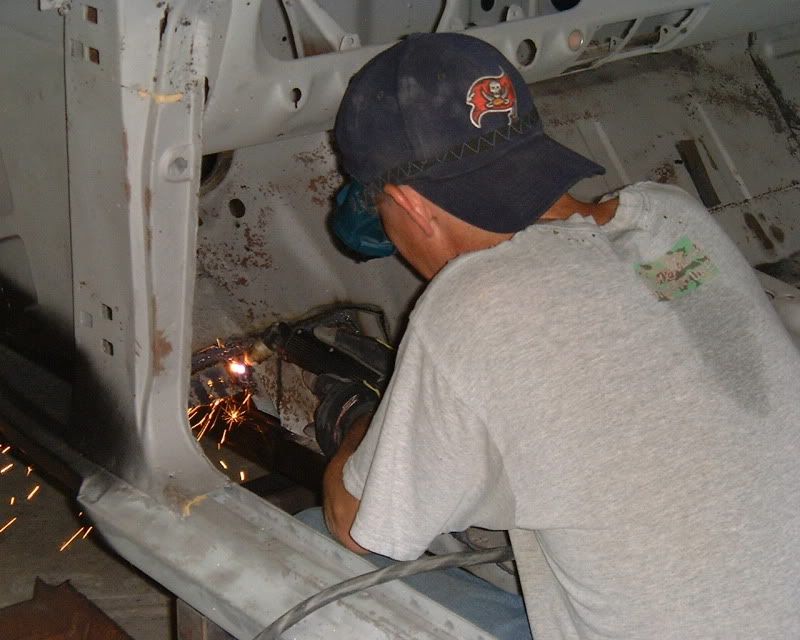
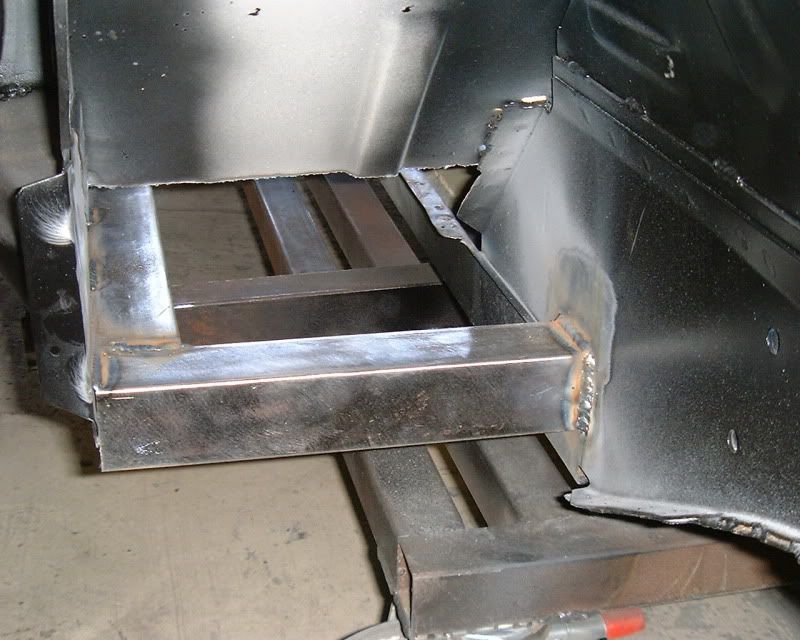
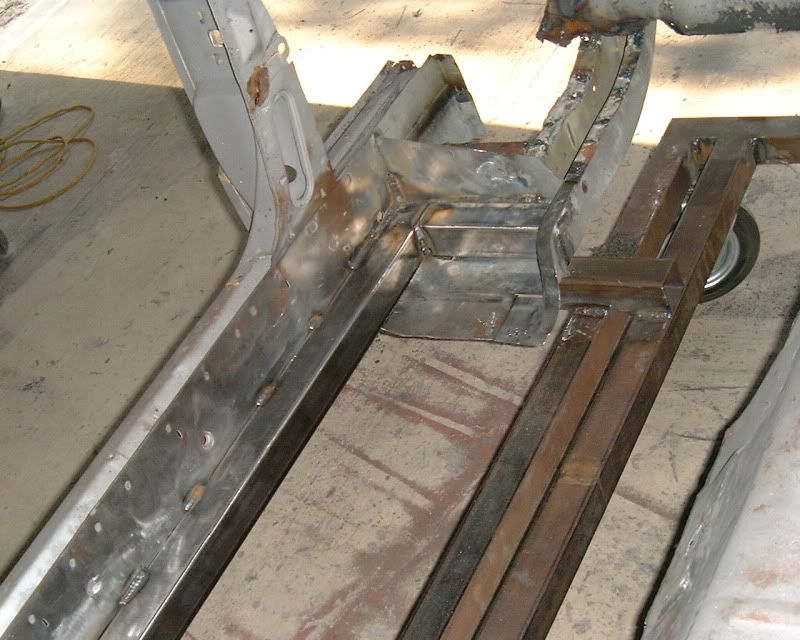
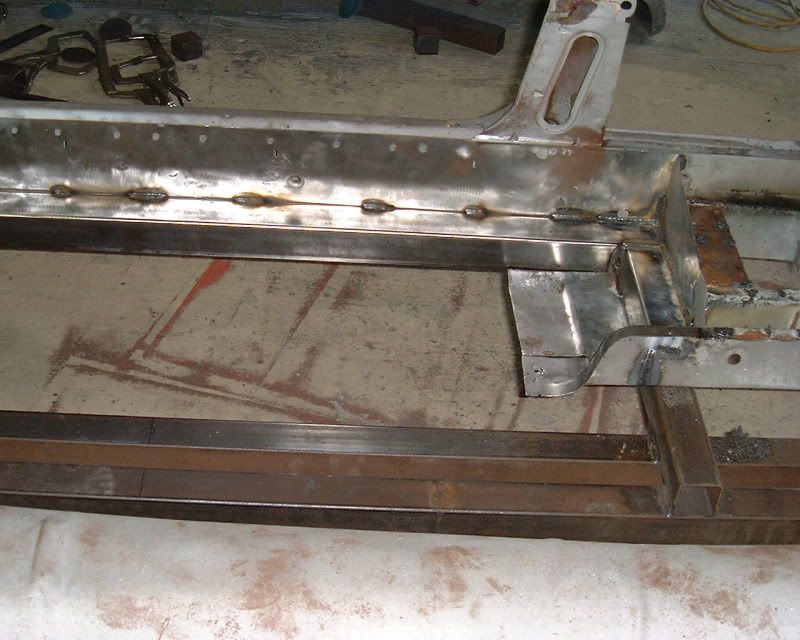
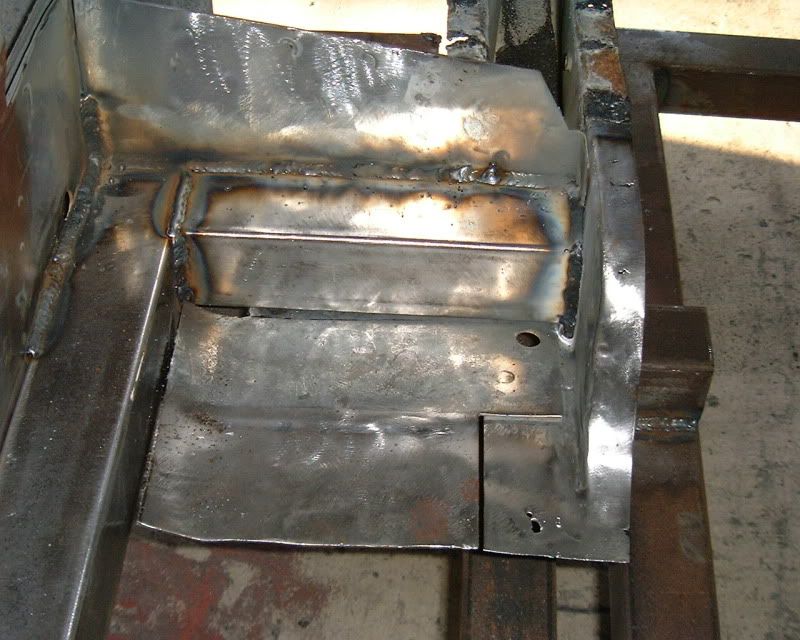
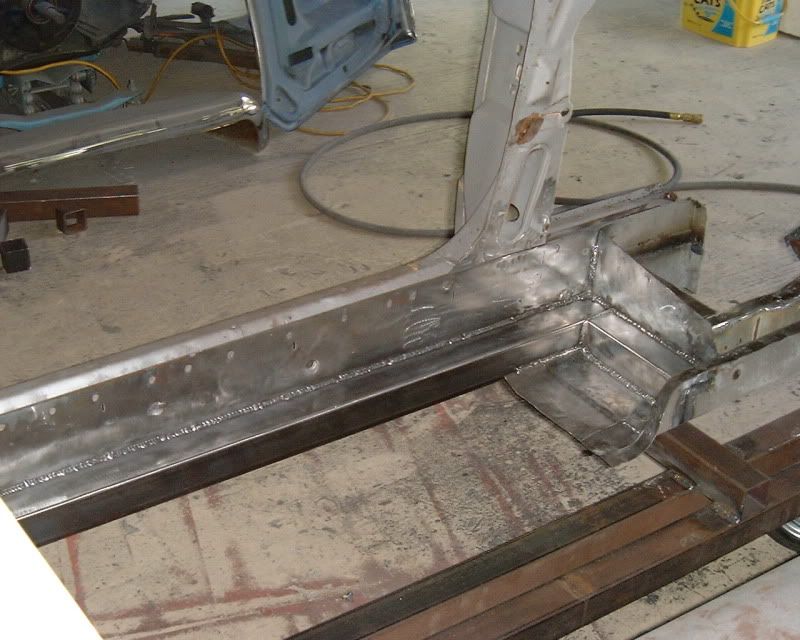
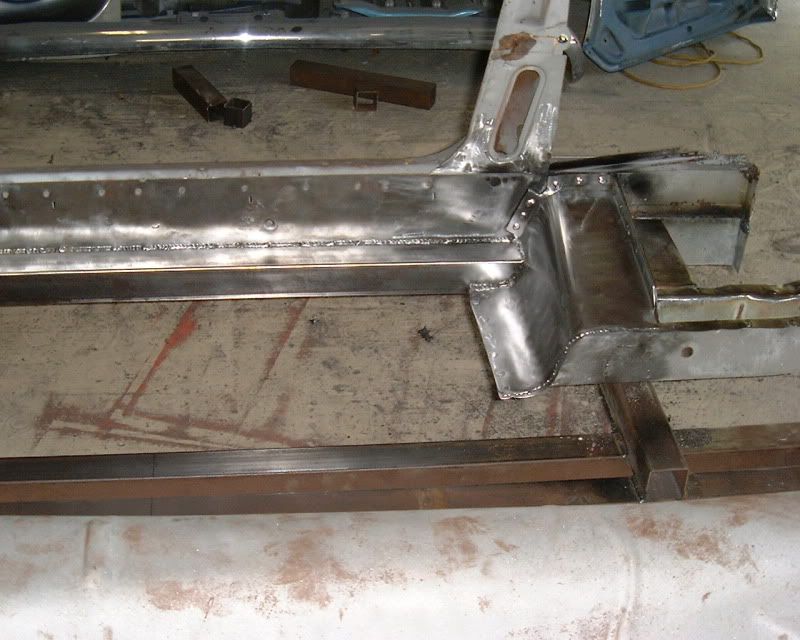
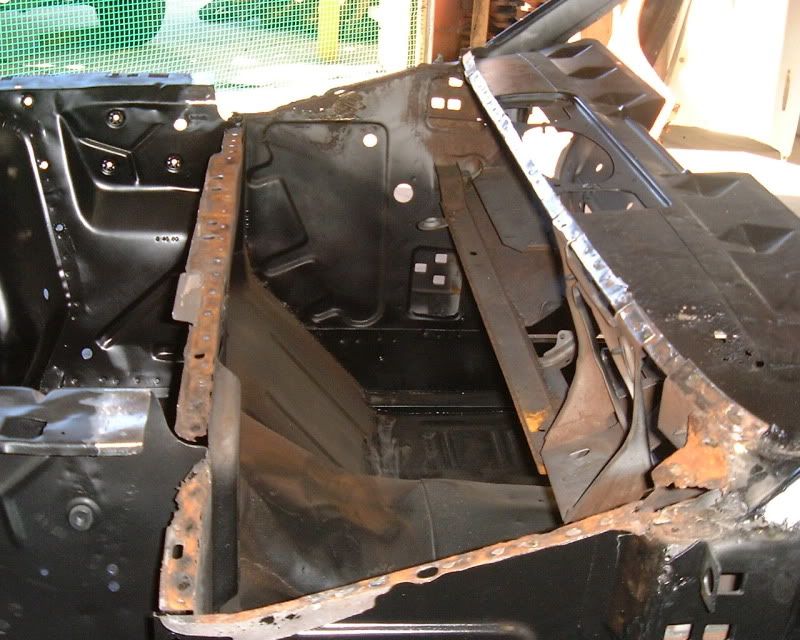
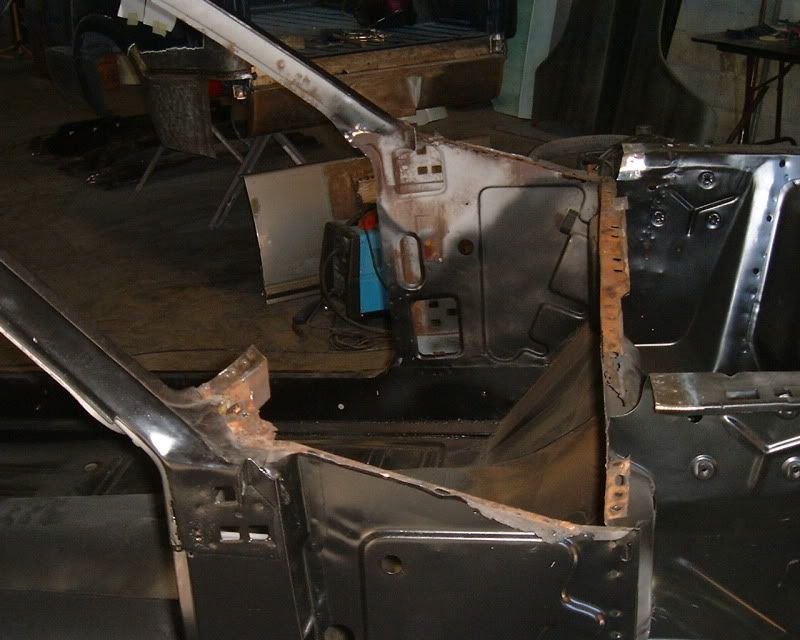
We decided to start in the front and work our way back. Someone had replaced the front fender apron but they just welded it in very few places over part of the old one. Brian my son removed it cleaned up it up and reattached it.
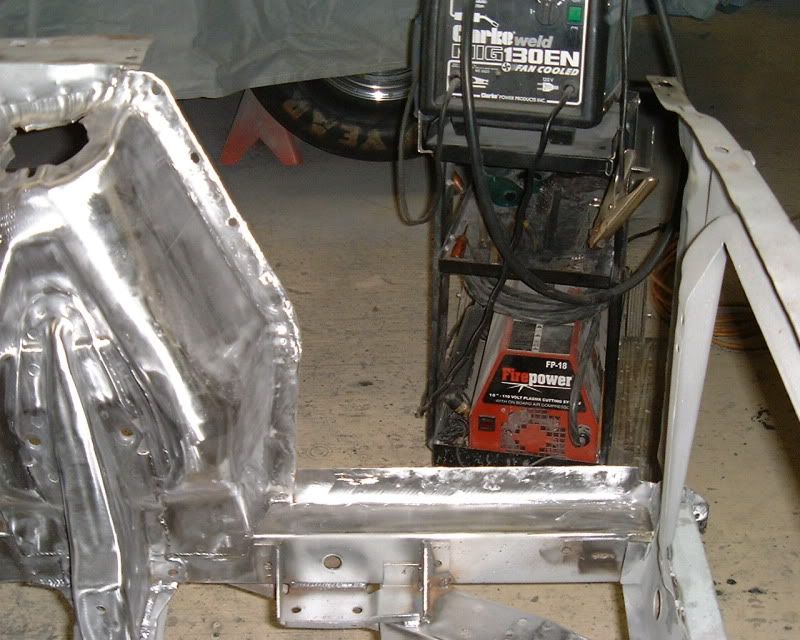
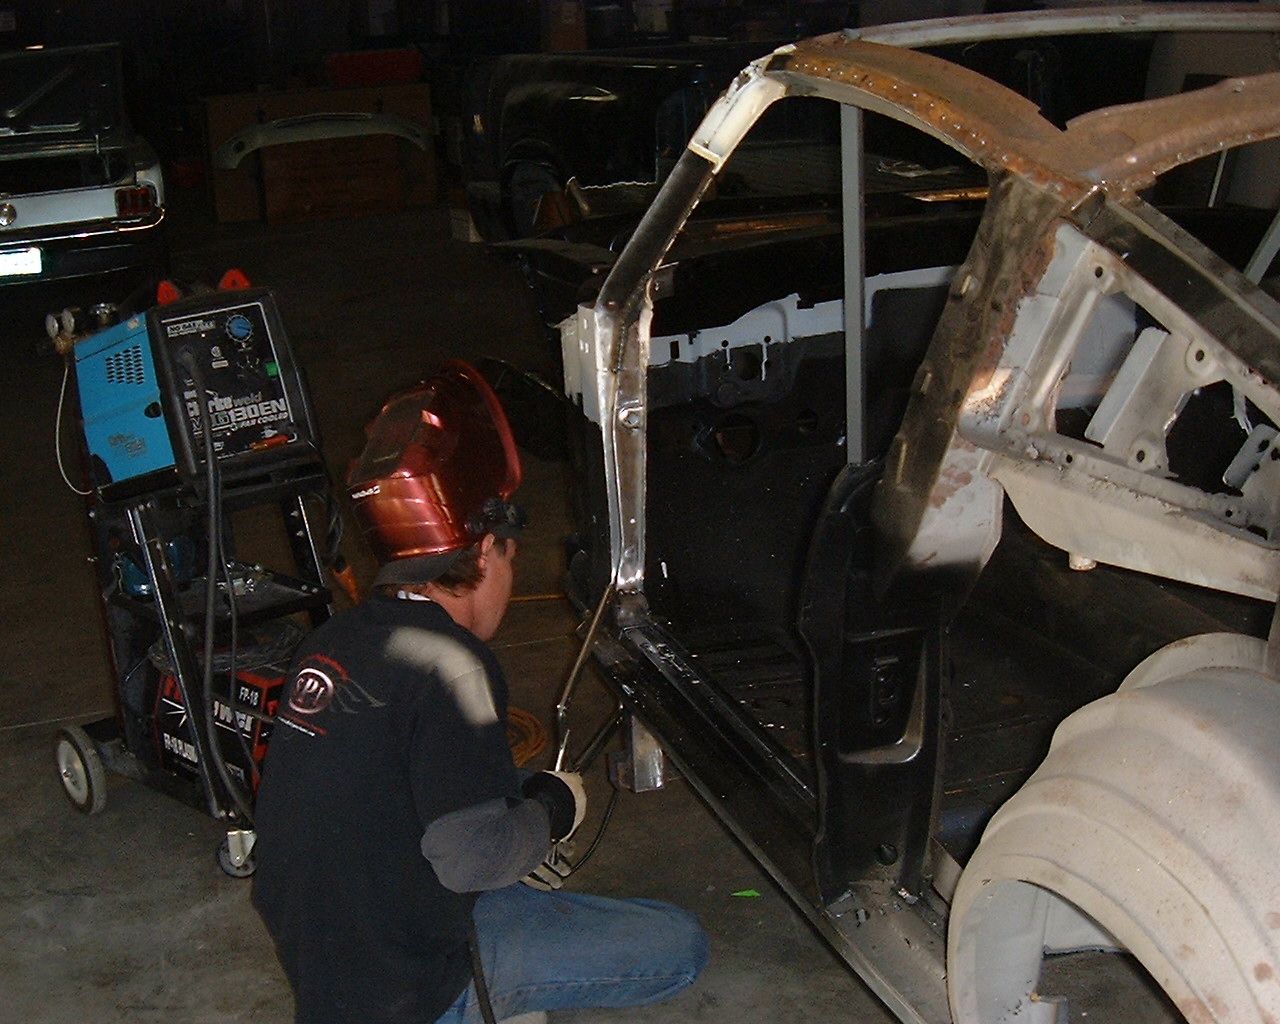
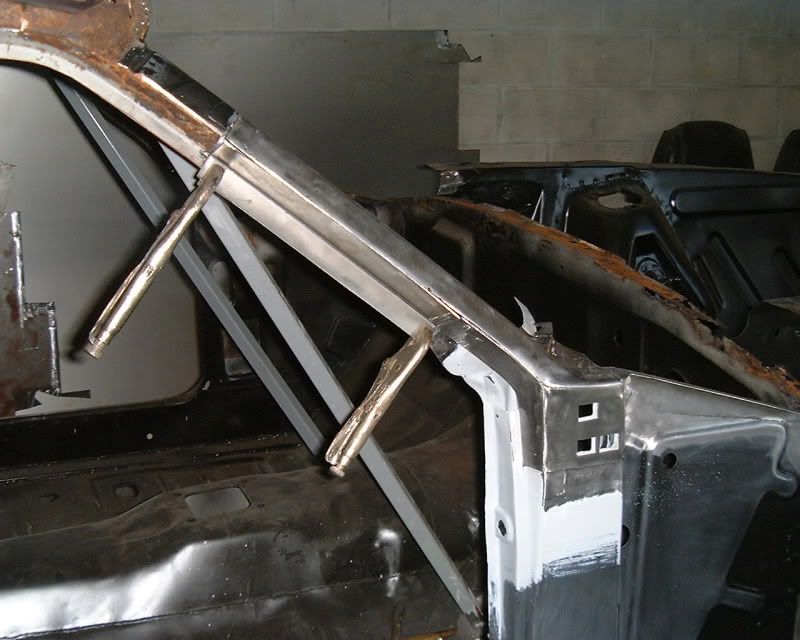
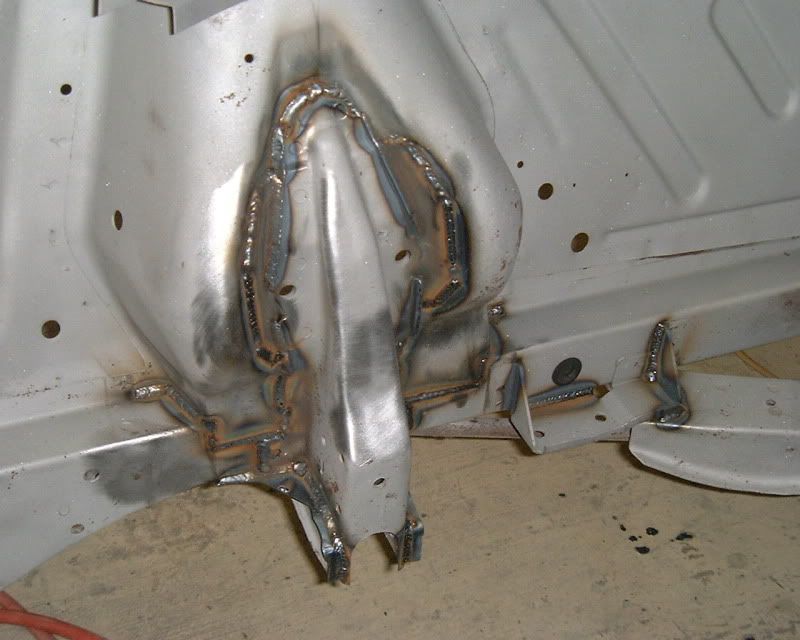
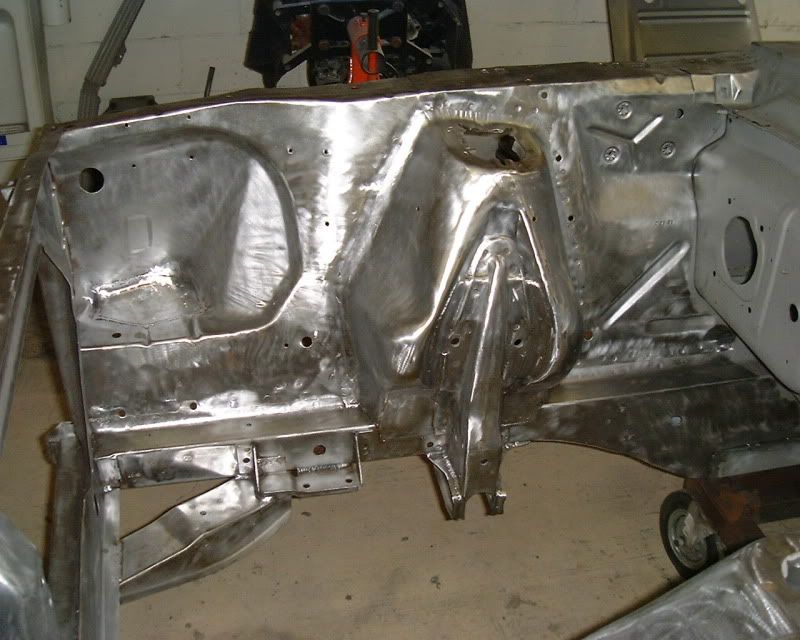
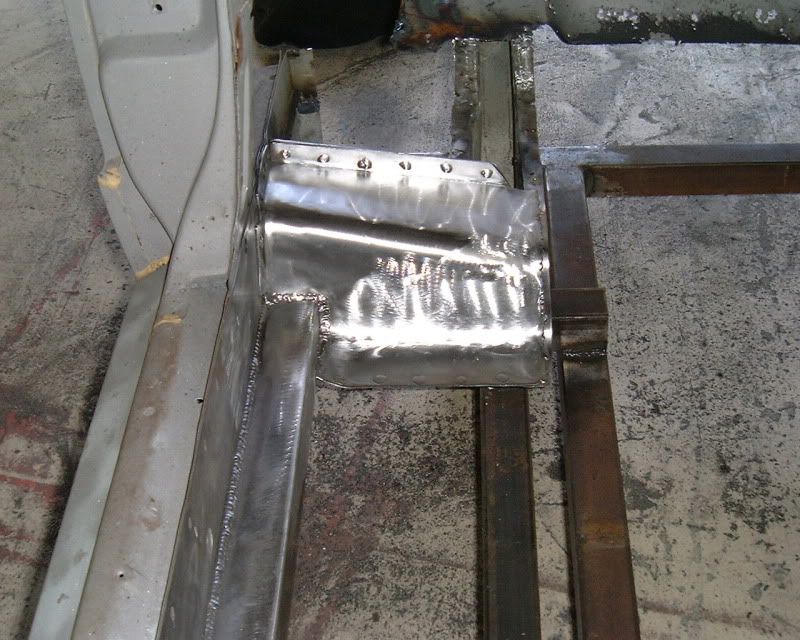
Brian welded the shock towers
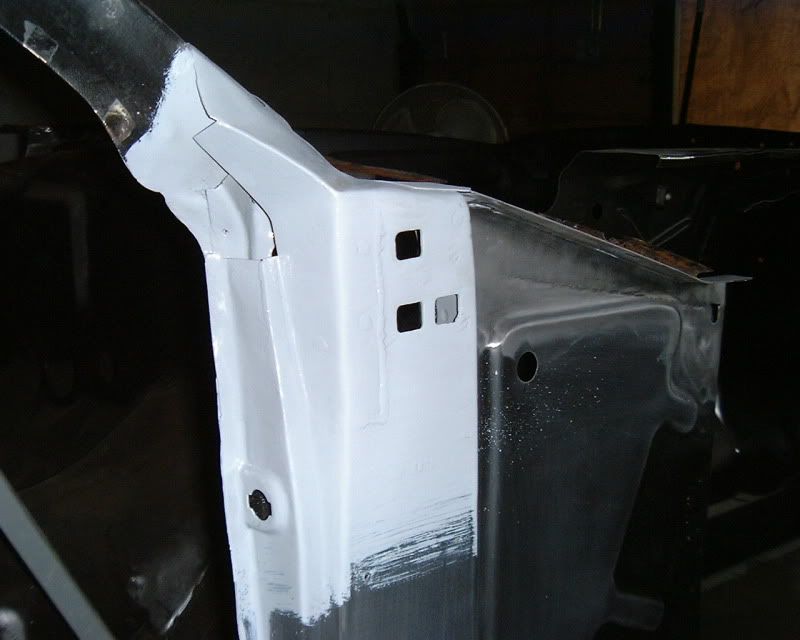
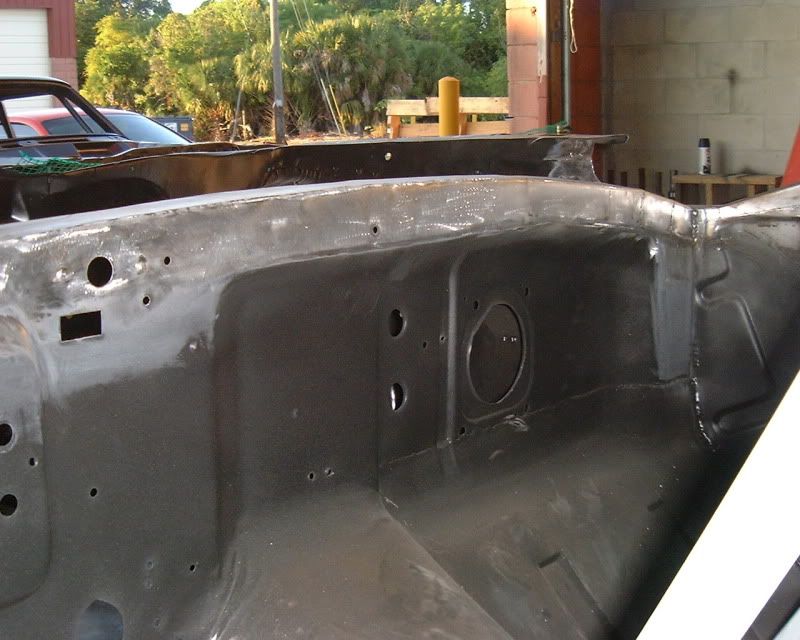
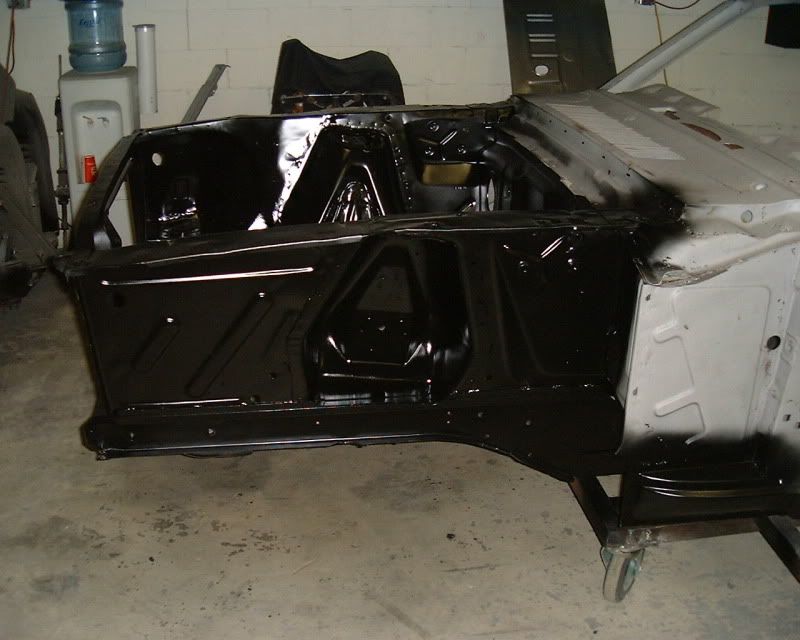
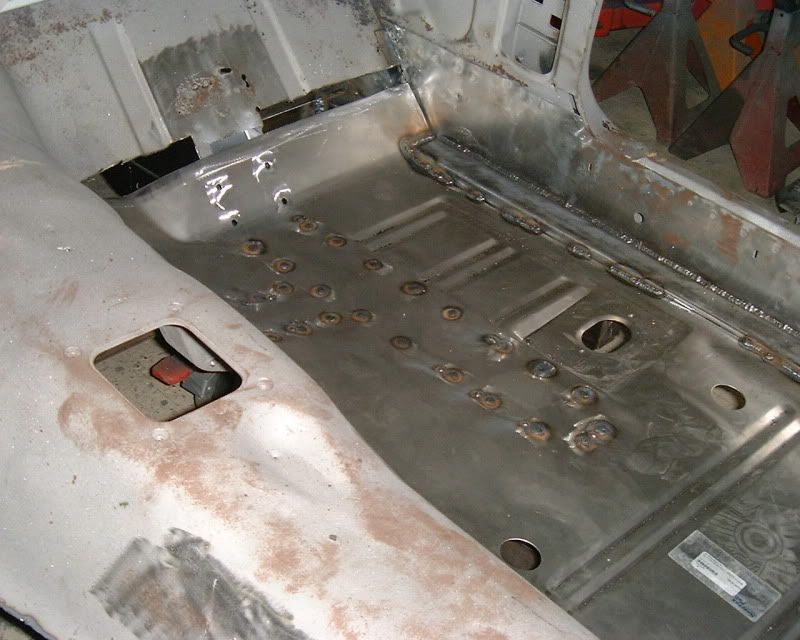
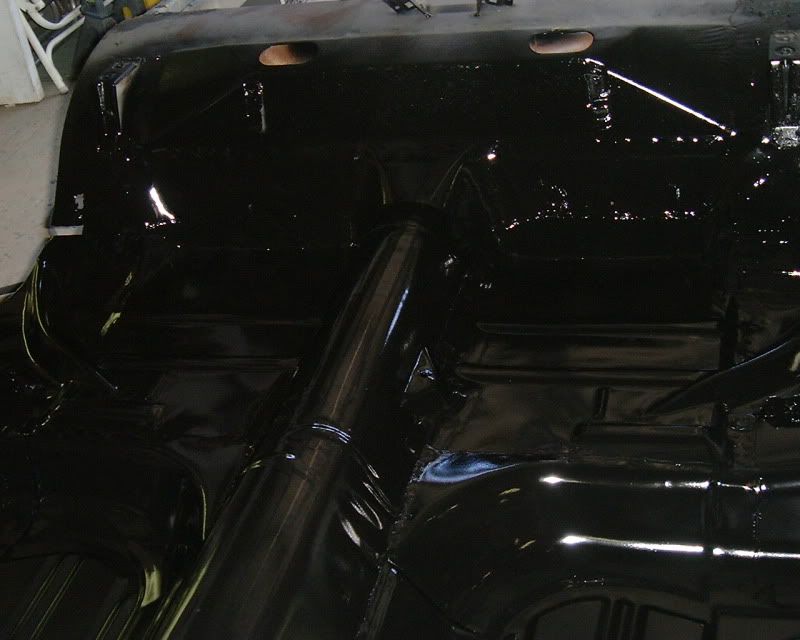
Epoxied the front end with SPI epoxy
It was hard to leave his son. This is what we started with when I picked it up last April
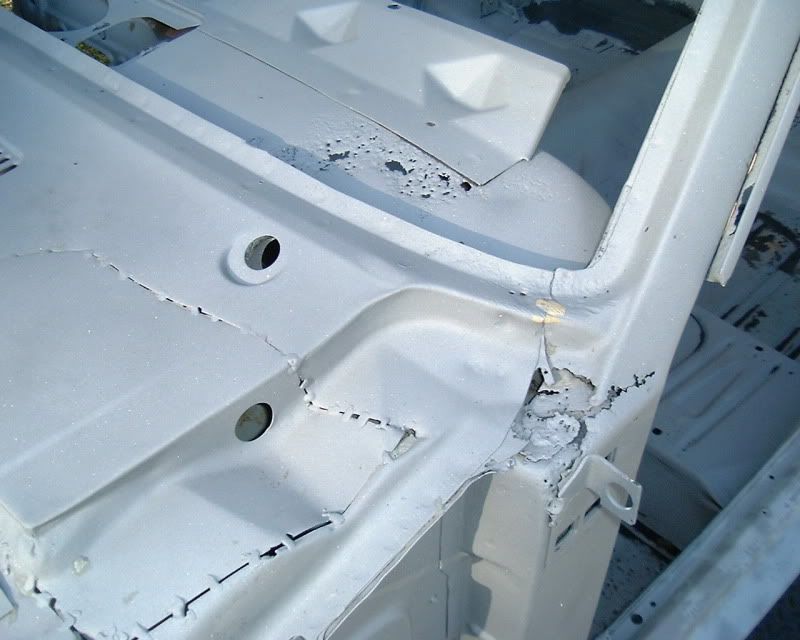
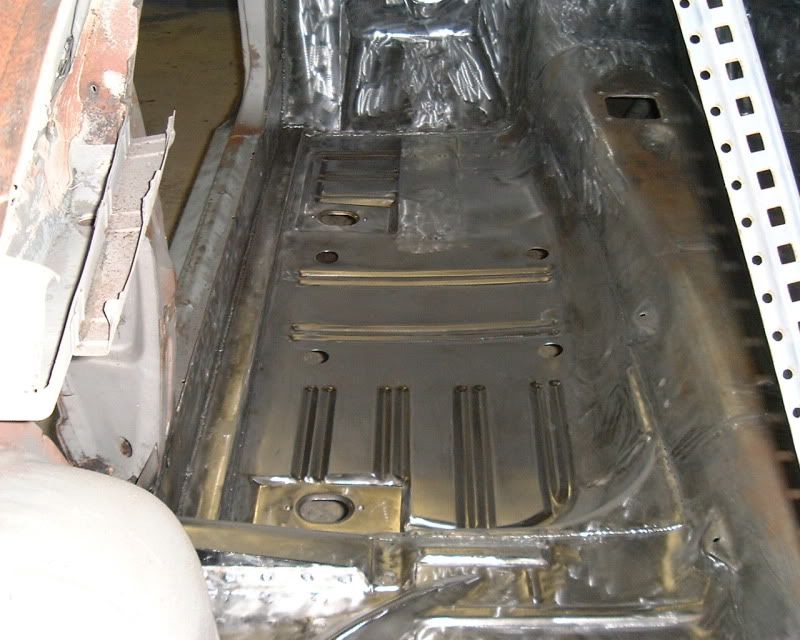
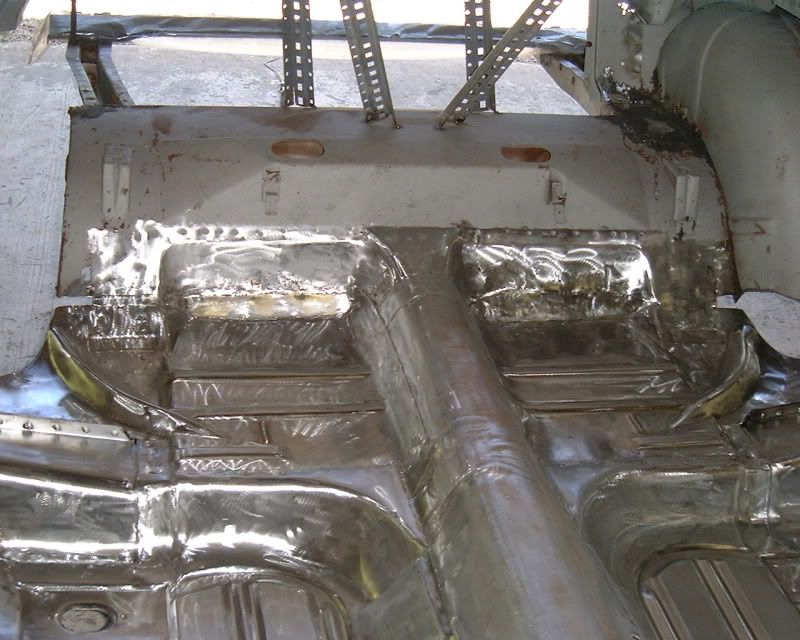
After it was media blasted
We decided to start in the front and work our way back. Someone had replaced the front fender apron but they just welded it in very few places over part of the old one. Brian my son removed it cleaned up it up and reattached it.
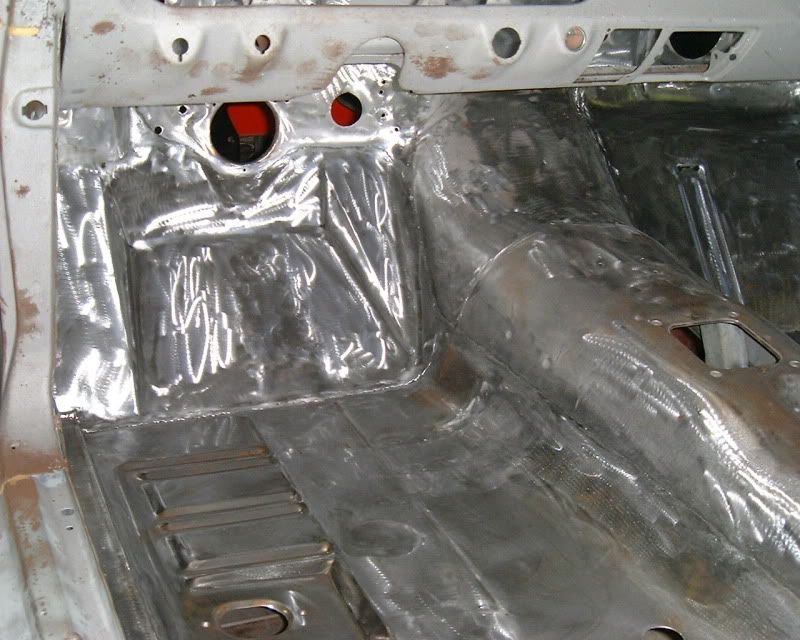
Brian welded the shock towers
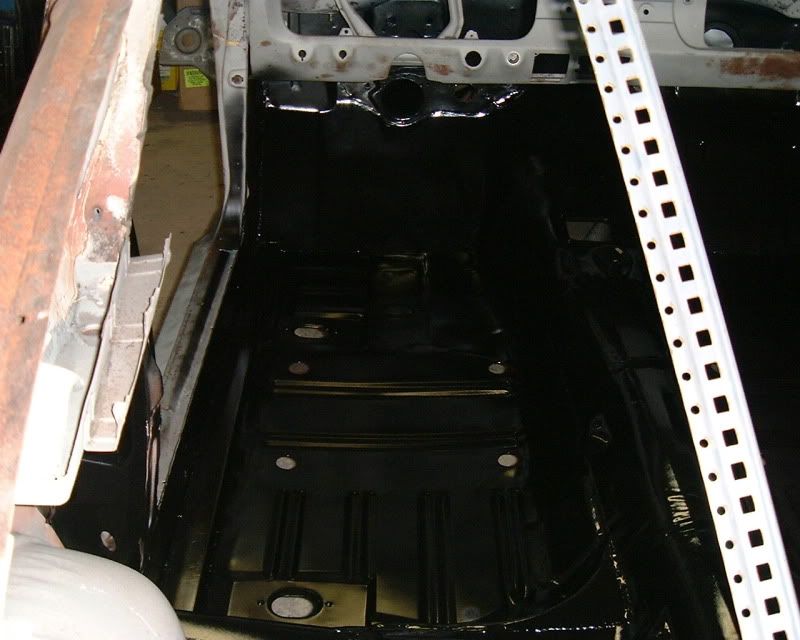
Epoxied the front end with SPI epoxy
Last edited by a moderator:


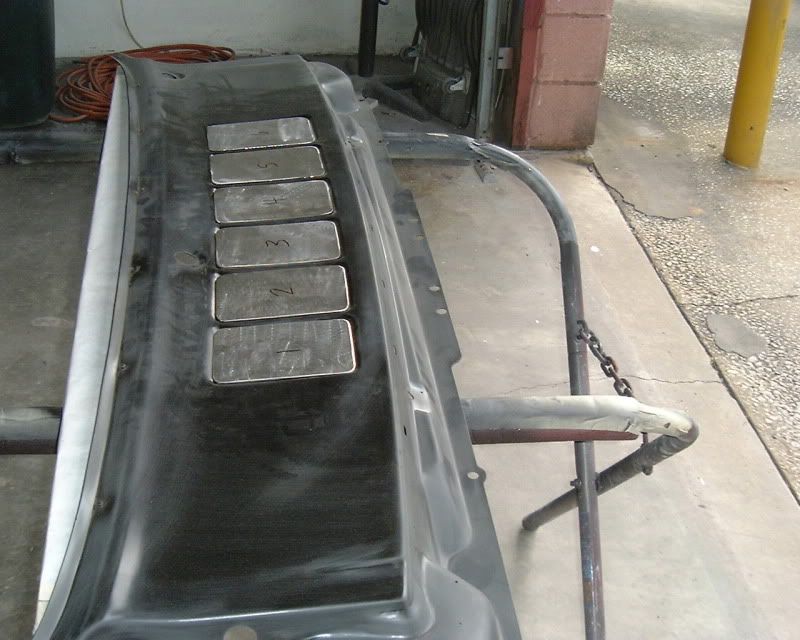
 art OMG! You guys are miracle workers! Great documentation!!! Kat needs to see this cowl part! KAAAAATTTTT~~~