• Hello there guest and Welcome to The #1 Classic Mustang forum!
    To gain full access you must Register. Registration is free and it takes only a few moments to complete.
    Already a member? Login here then!

'65 Fastback Build--Reassembly

monkeystash

Active Member
I bought this car October 2004, originally planning to turn it after a quick restoration. I was definitely in over my head. I eventually became attached to it and decided to keep it. The PO was a complete hack and all his bodywork had to be redone. This car was bought off ebay, and I drug it home from Oklahoma City, 2000 miles round trip.

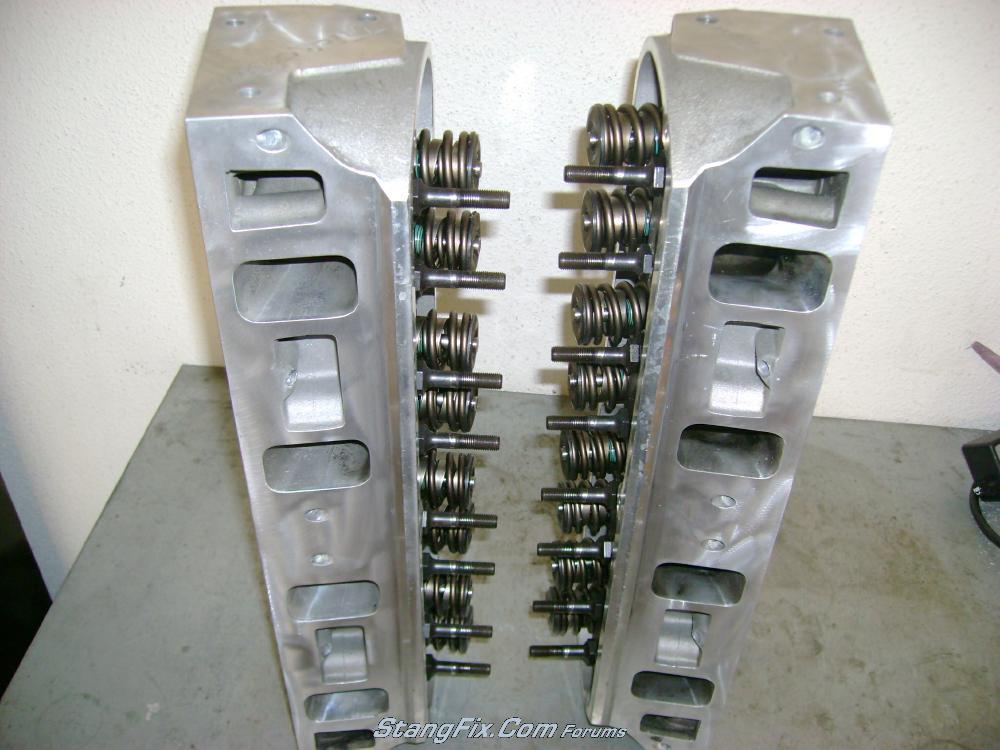
My plans are for it to be stock appearing, but modern under the skin. The exterior will be Wimbledon WhiteCandy Apple Red, and the interior will be black standard. The drivetrain will be a 408W backed by a G-Force T-5 and Currie 9". Suspension will be Maier leafs and panhard out back, and TCP arms up front. Baer 13" PBR brakes in the front and Mustang Cobra brakes for the rear. Here's some parts porn:
53_15_07_09_5_11_28_3.JPG

25625820015_large.jpg

53_01_12_08_8_06_03_2.JPG


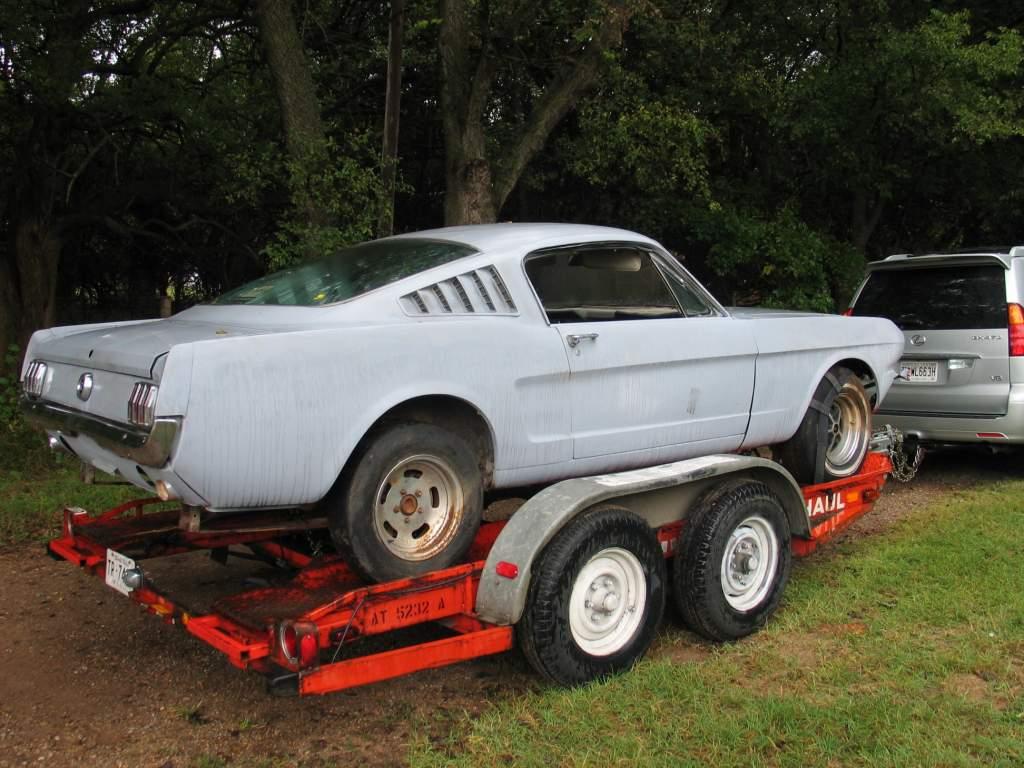
Here is the day my Dad and I picked it up:
53_09_09_08_9_31_49.jpg

25625820001_large.jpg


I now had a good excuse to buy a big compressor and a welder:
53_14_07_09_8_27_50_2.JPG


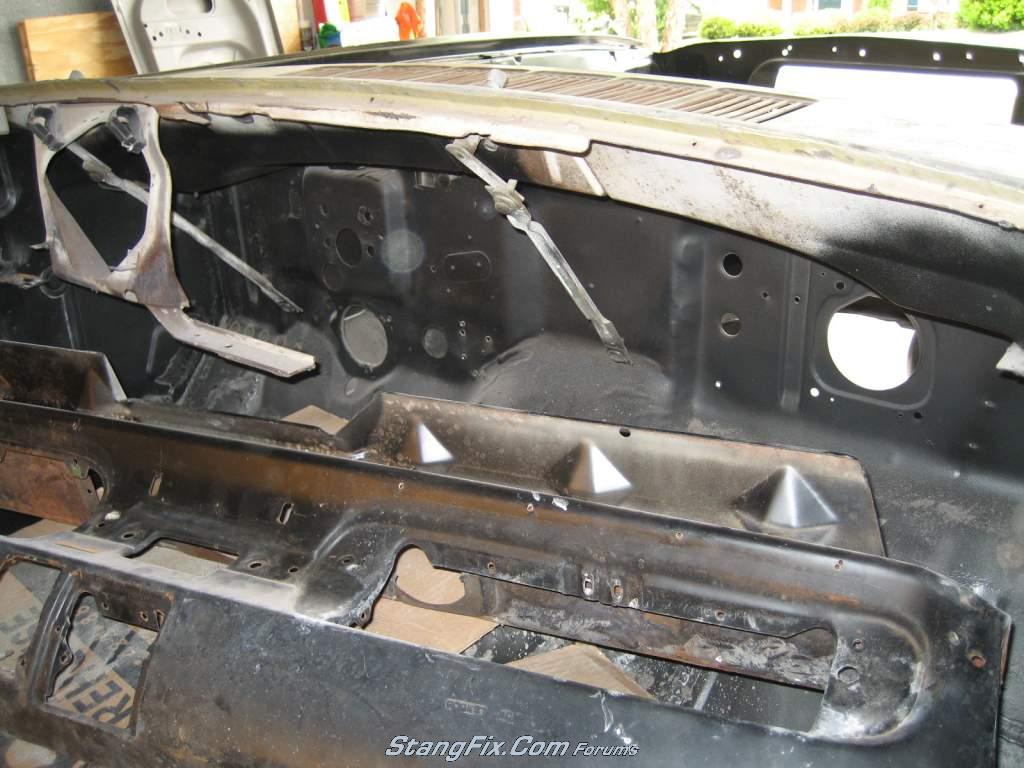
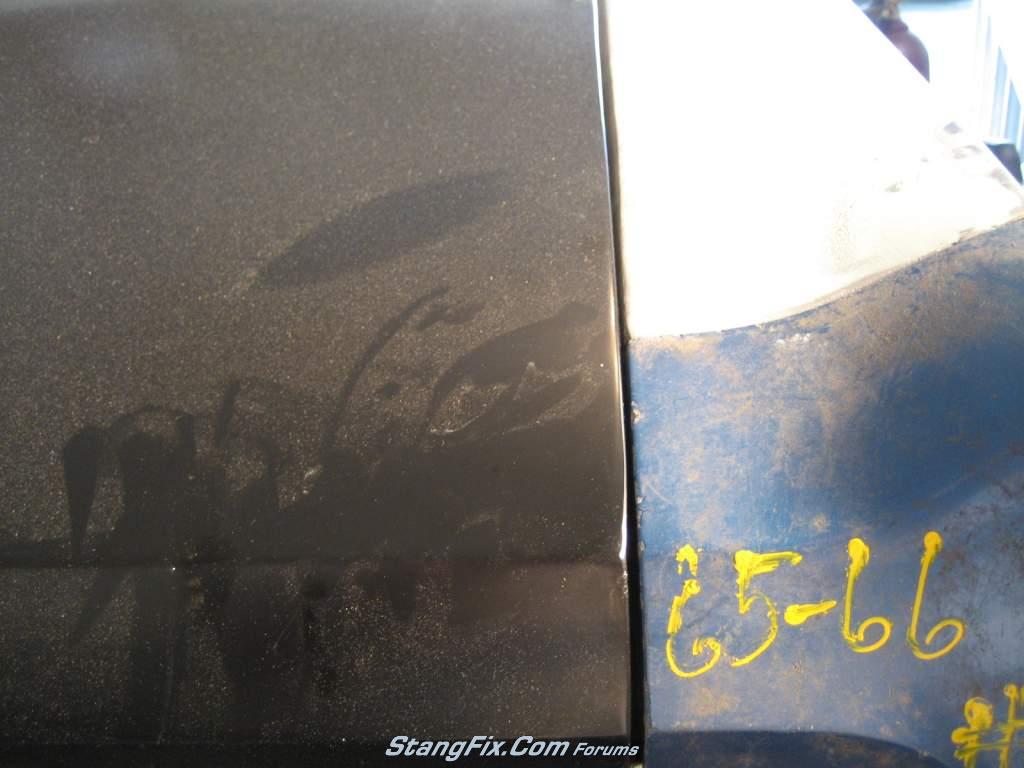
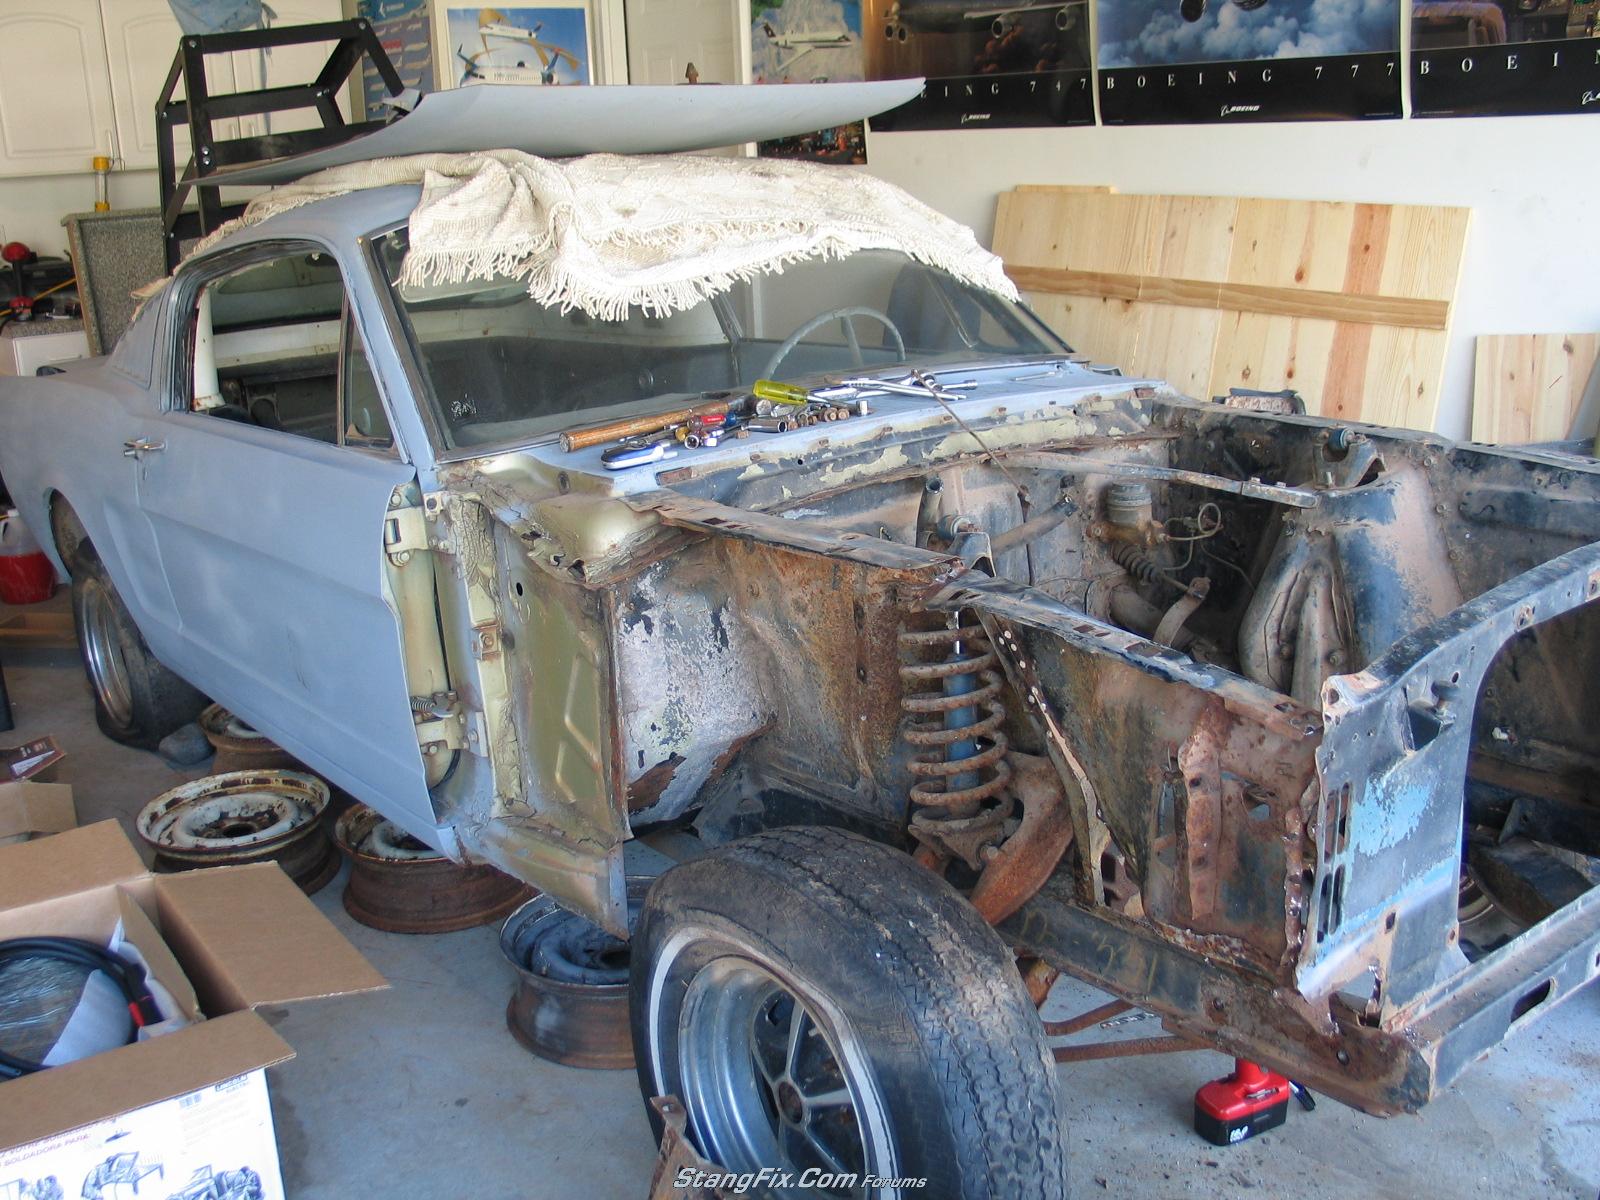
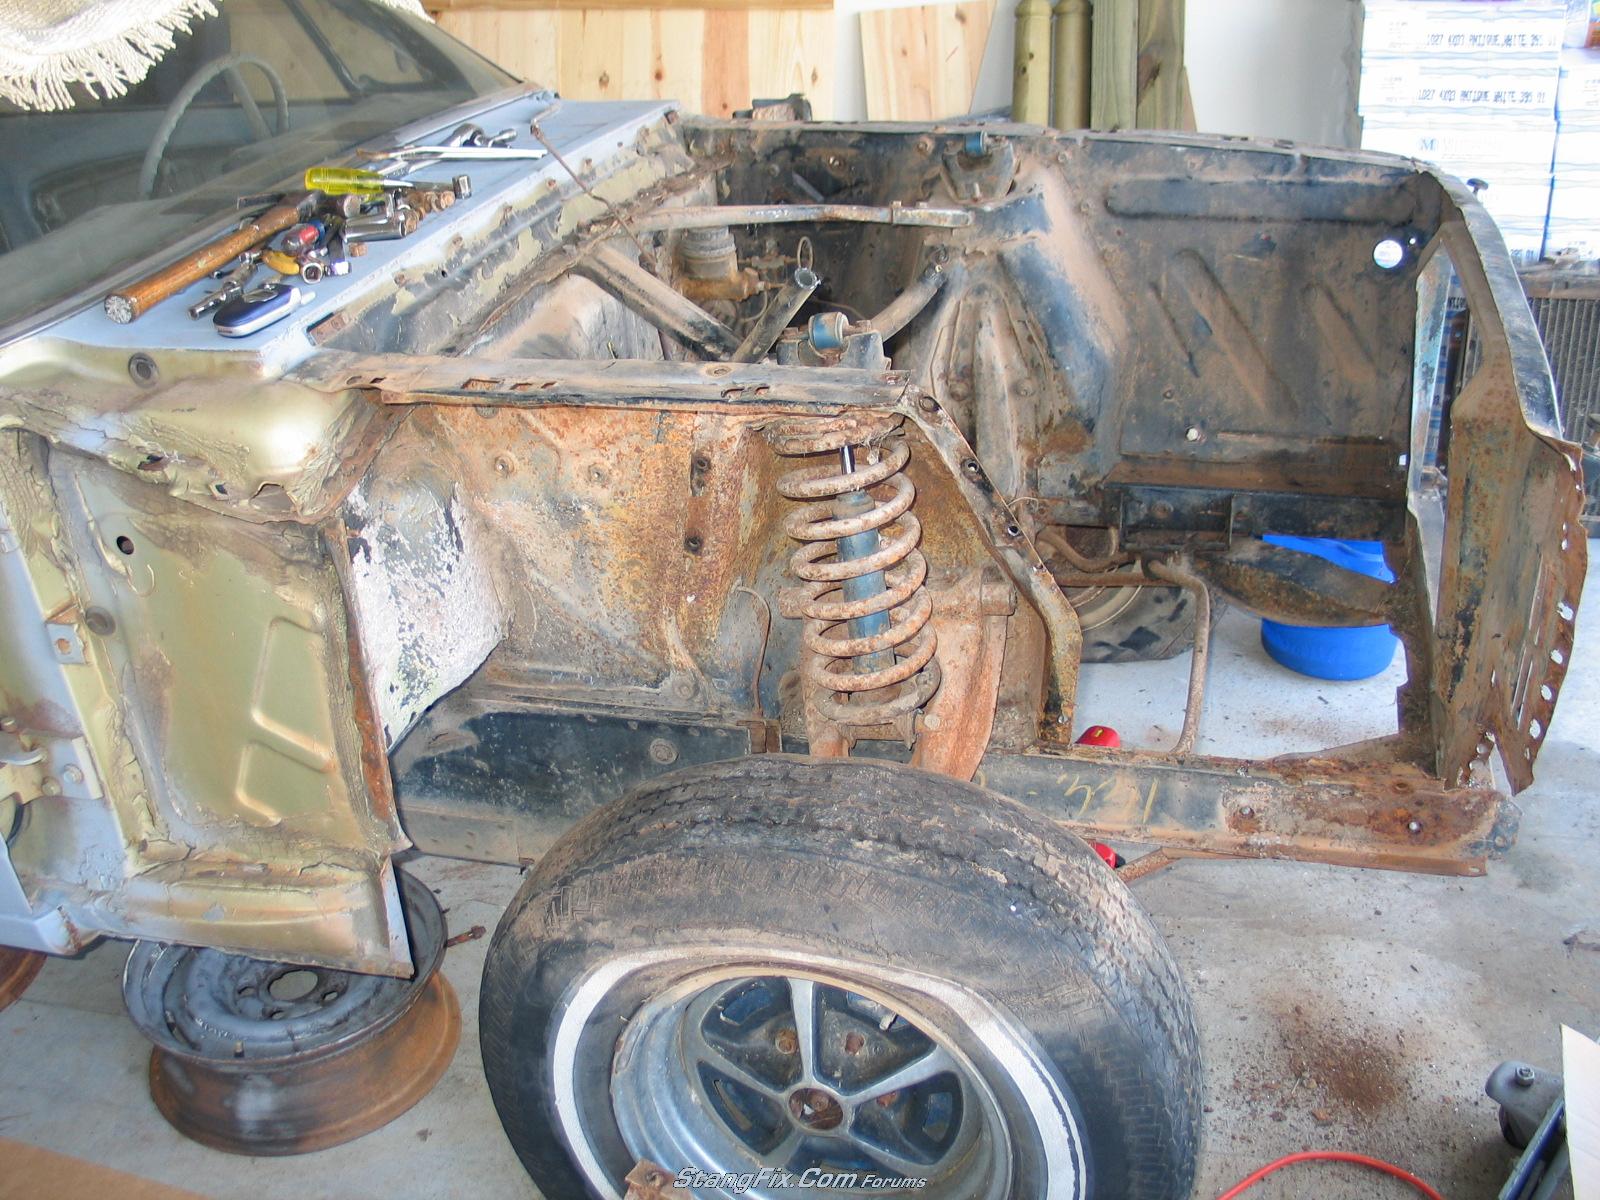
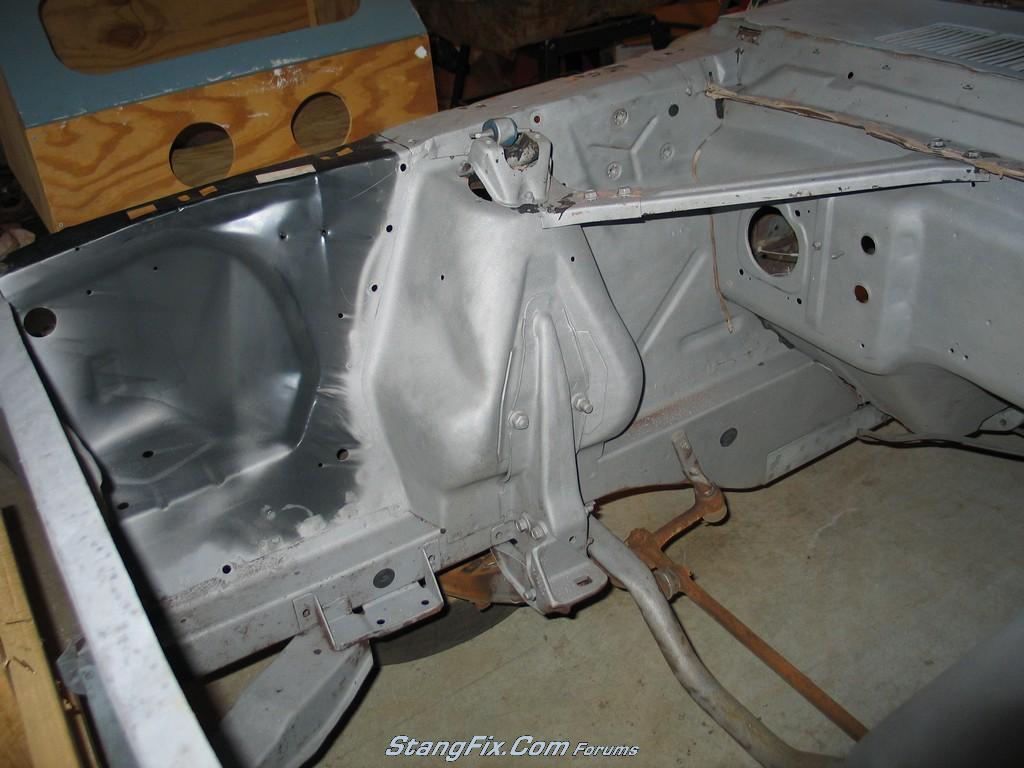
I started to tear it apart. San Jose built, DSO'd Oklahoma City where it spent it's entire life. The rails and cowl are in great shape:
53_14_07_09_8_27_49_0.JPG


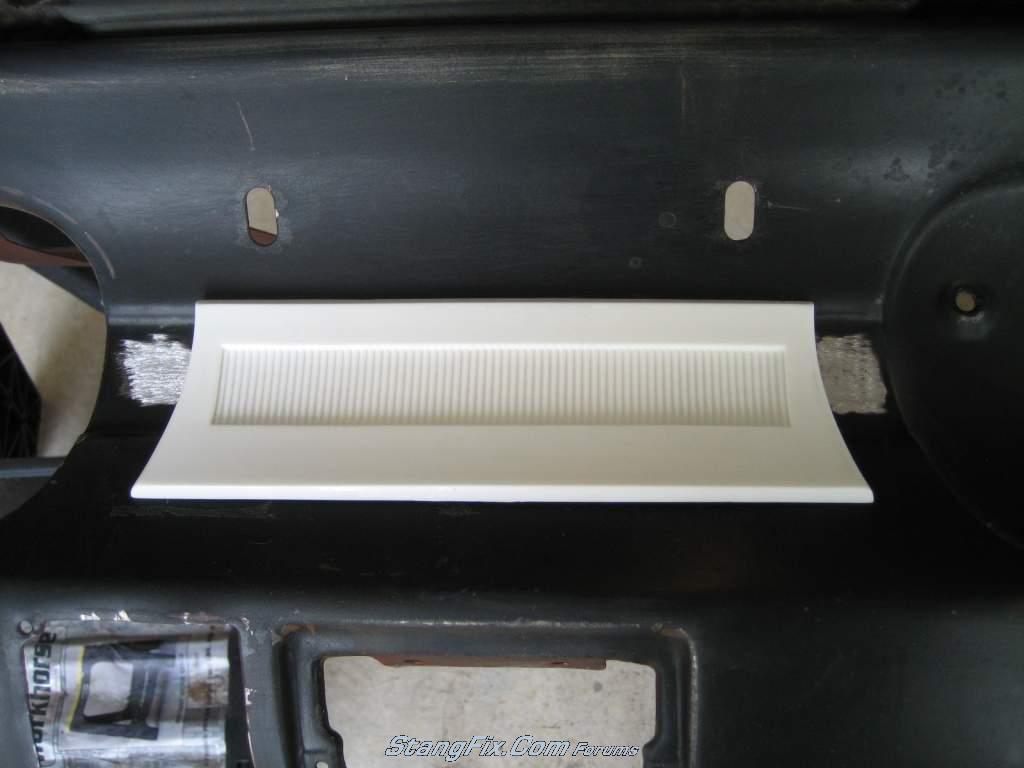
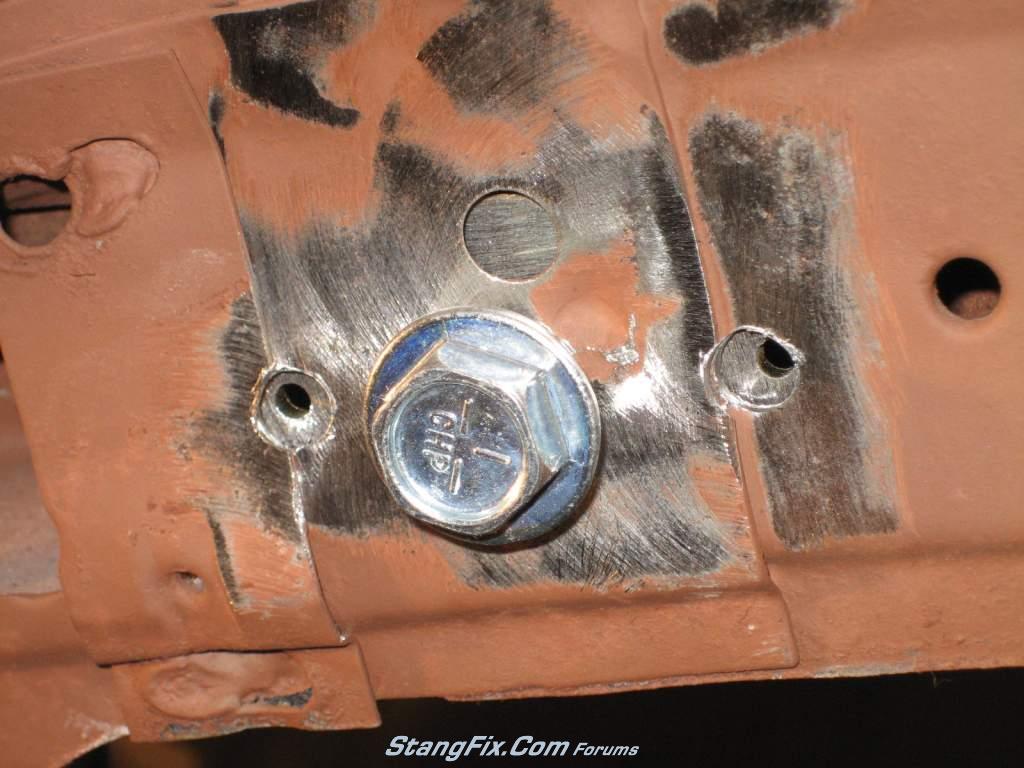
First thing to tackle was the battery apron:
53_14_07_09_8_27_49_1.JPG


I ended up sandblasting the engine compartment after I put in the new battery apron:
53_14_07_09_9_45_34_1.jpg


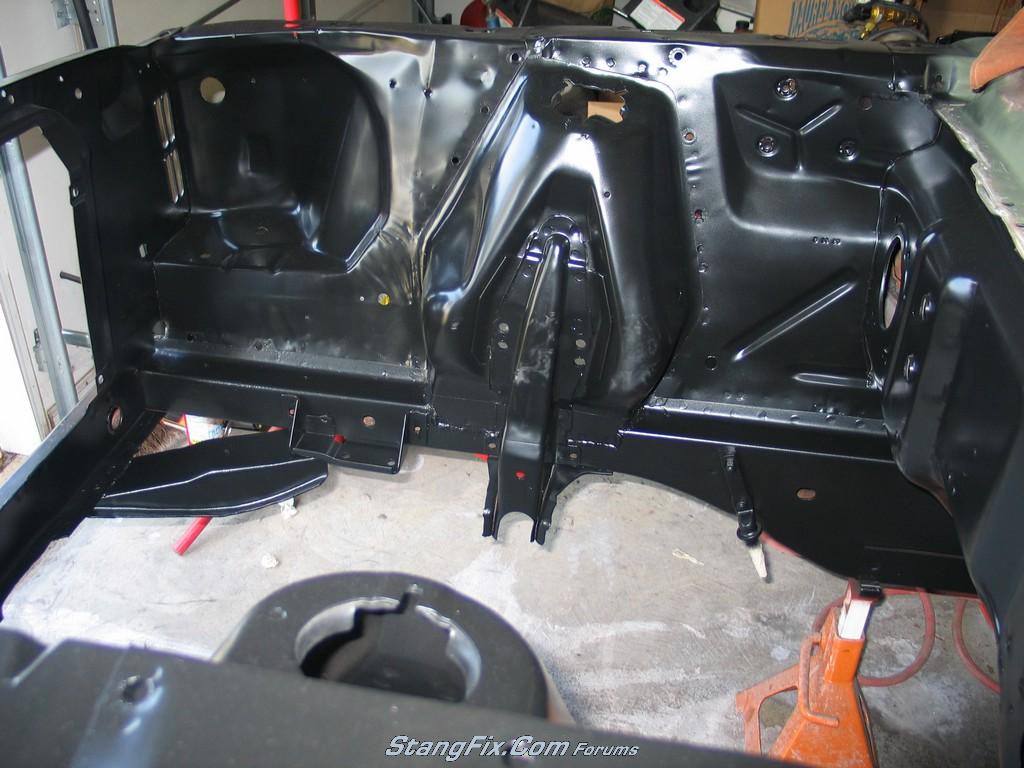
I painted the engine compartment. Looking back, I should have waited, as I'll most likely have to redo it:
53_14_07_09_9_45_35_4.jpg


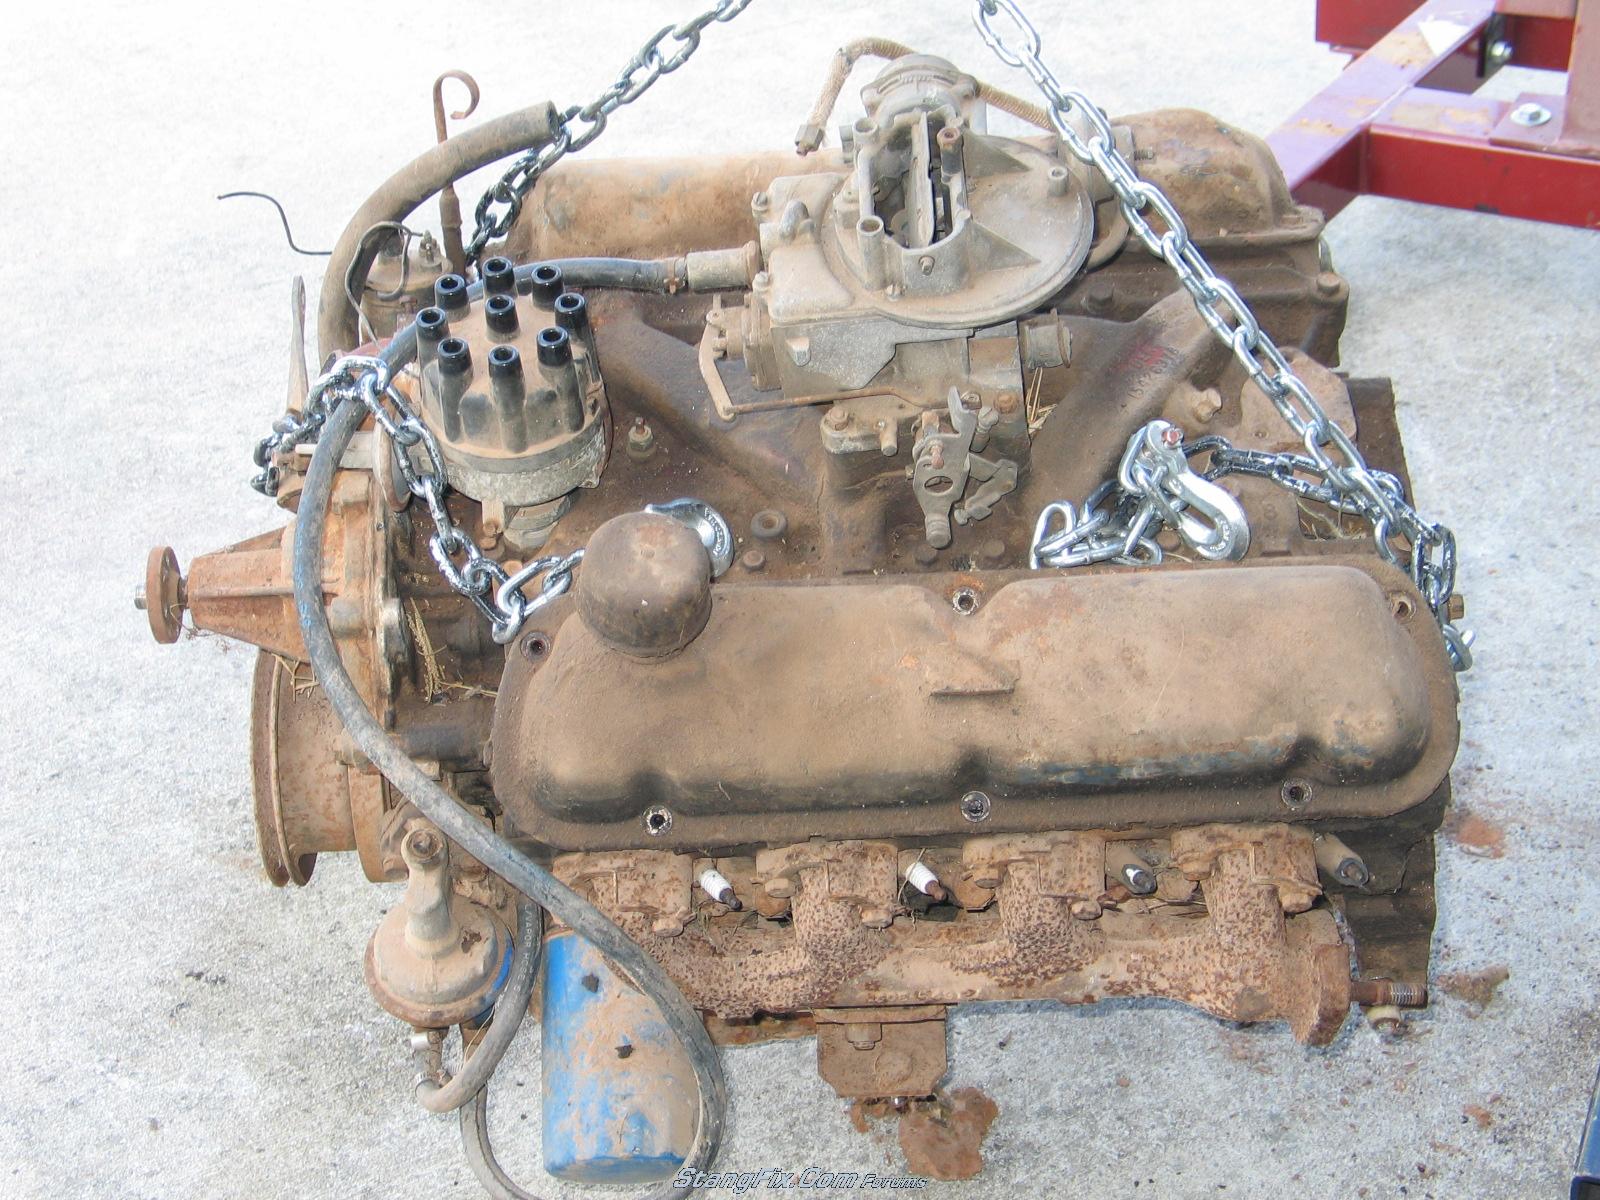
Here's the engine that came out. It's a 66 289, so not the original one.
53_14_07_09_8_27_51_4.JPG


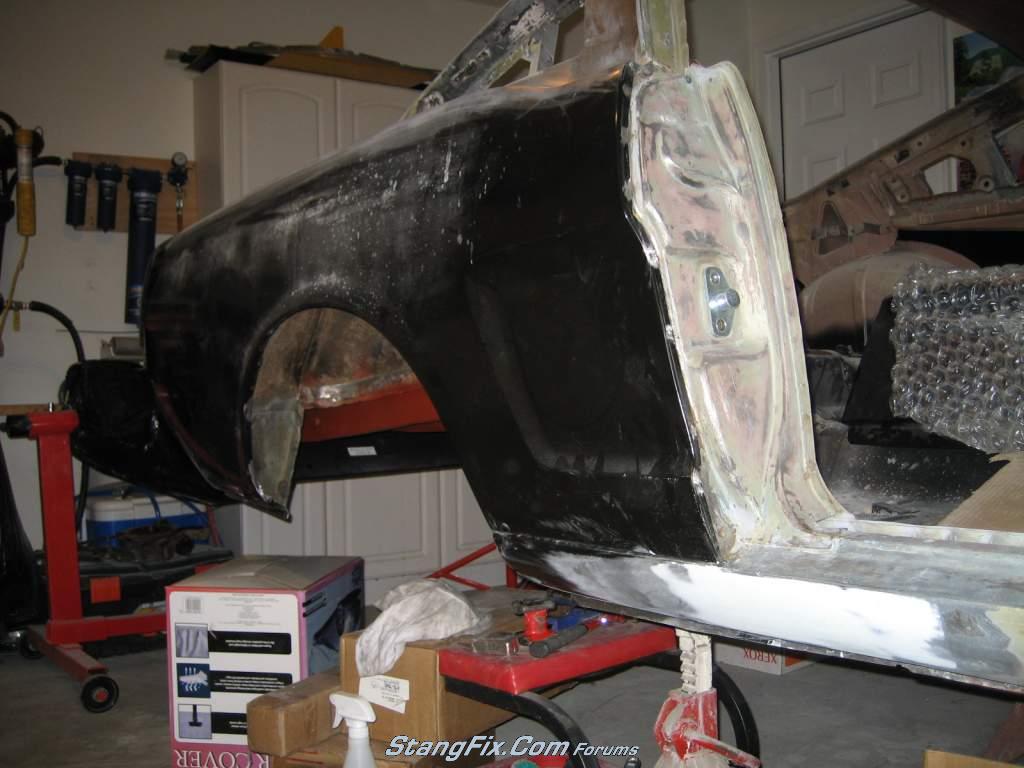
I had to rip off the repro quarter skins the PO installed, and installed new ones. It also need a partial passenger side outer rocker due to damage, not rust:
53_15_08_09_8_10_38_4.JPG

53_14_07_09_9_48_05_4.jpg

53_14_07_09_9_49_06_1.jpg

53_14_07_09_9_49_06_2.jpg


TCP subframe connectors installed:
53_13_07_09_9_27_32.JPG

53_13_07_09_9_18_40_0.JPG


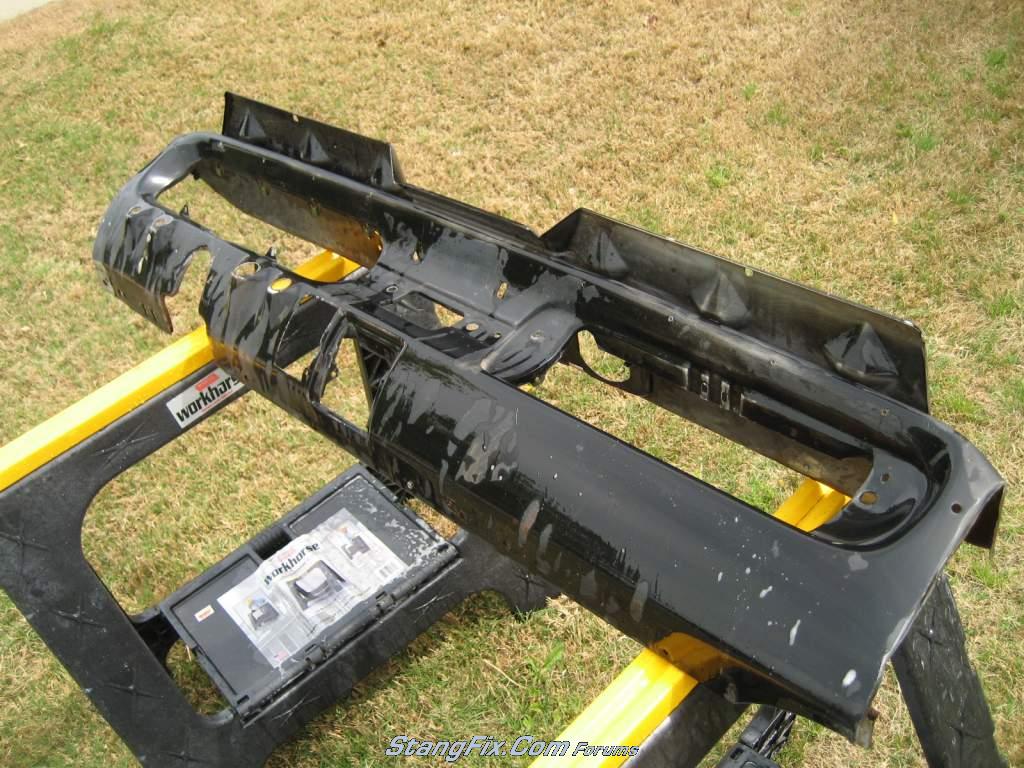
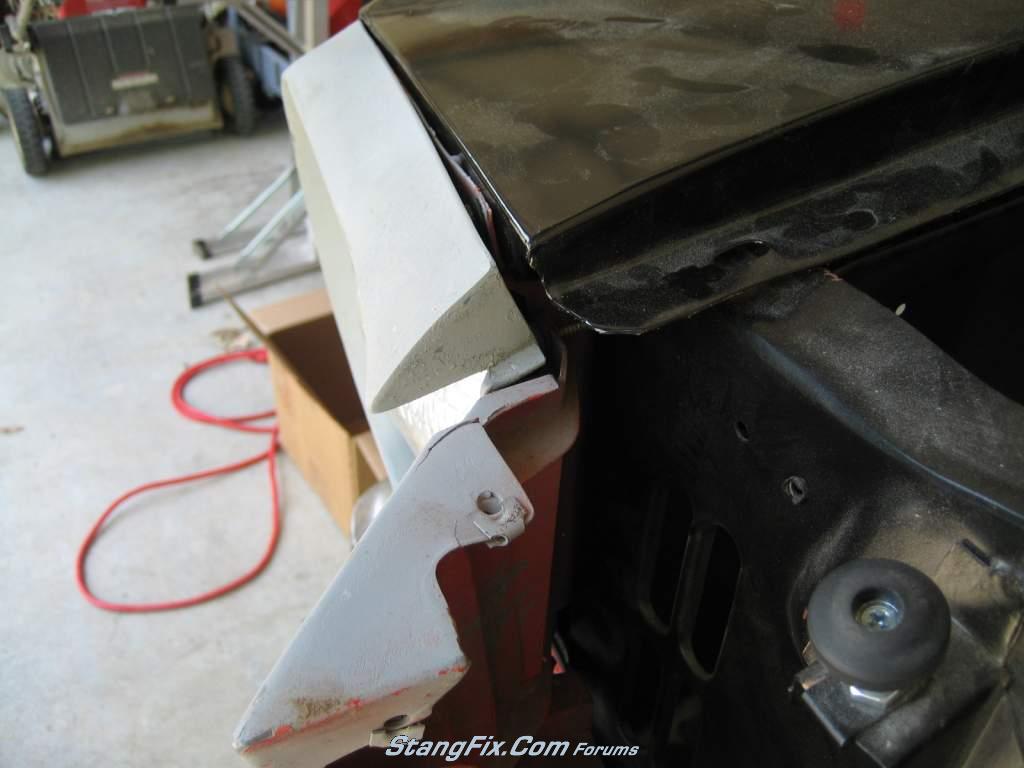
Taillight panel was full of bondo, so I cut it out:
53_14_07_09_9_45_35_2.jpg


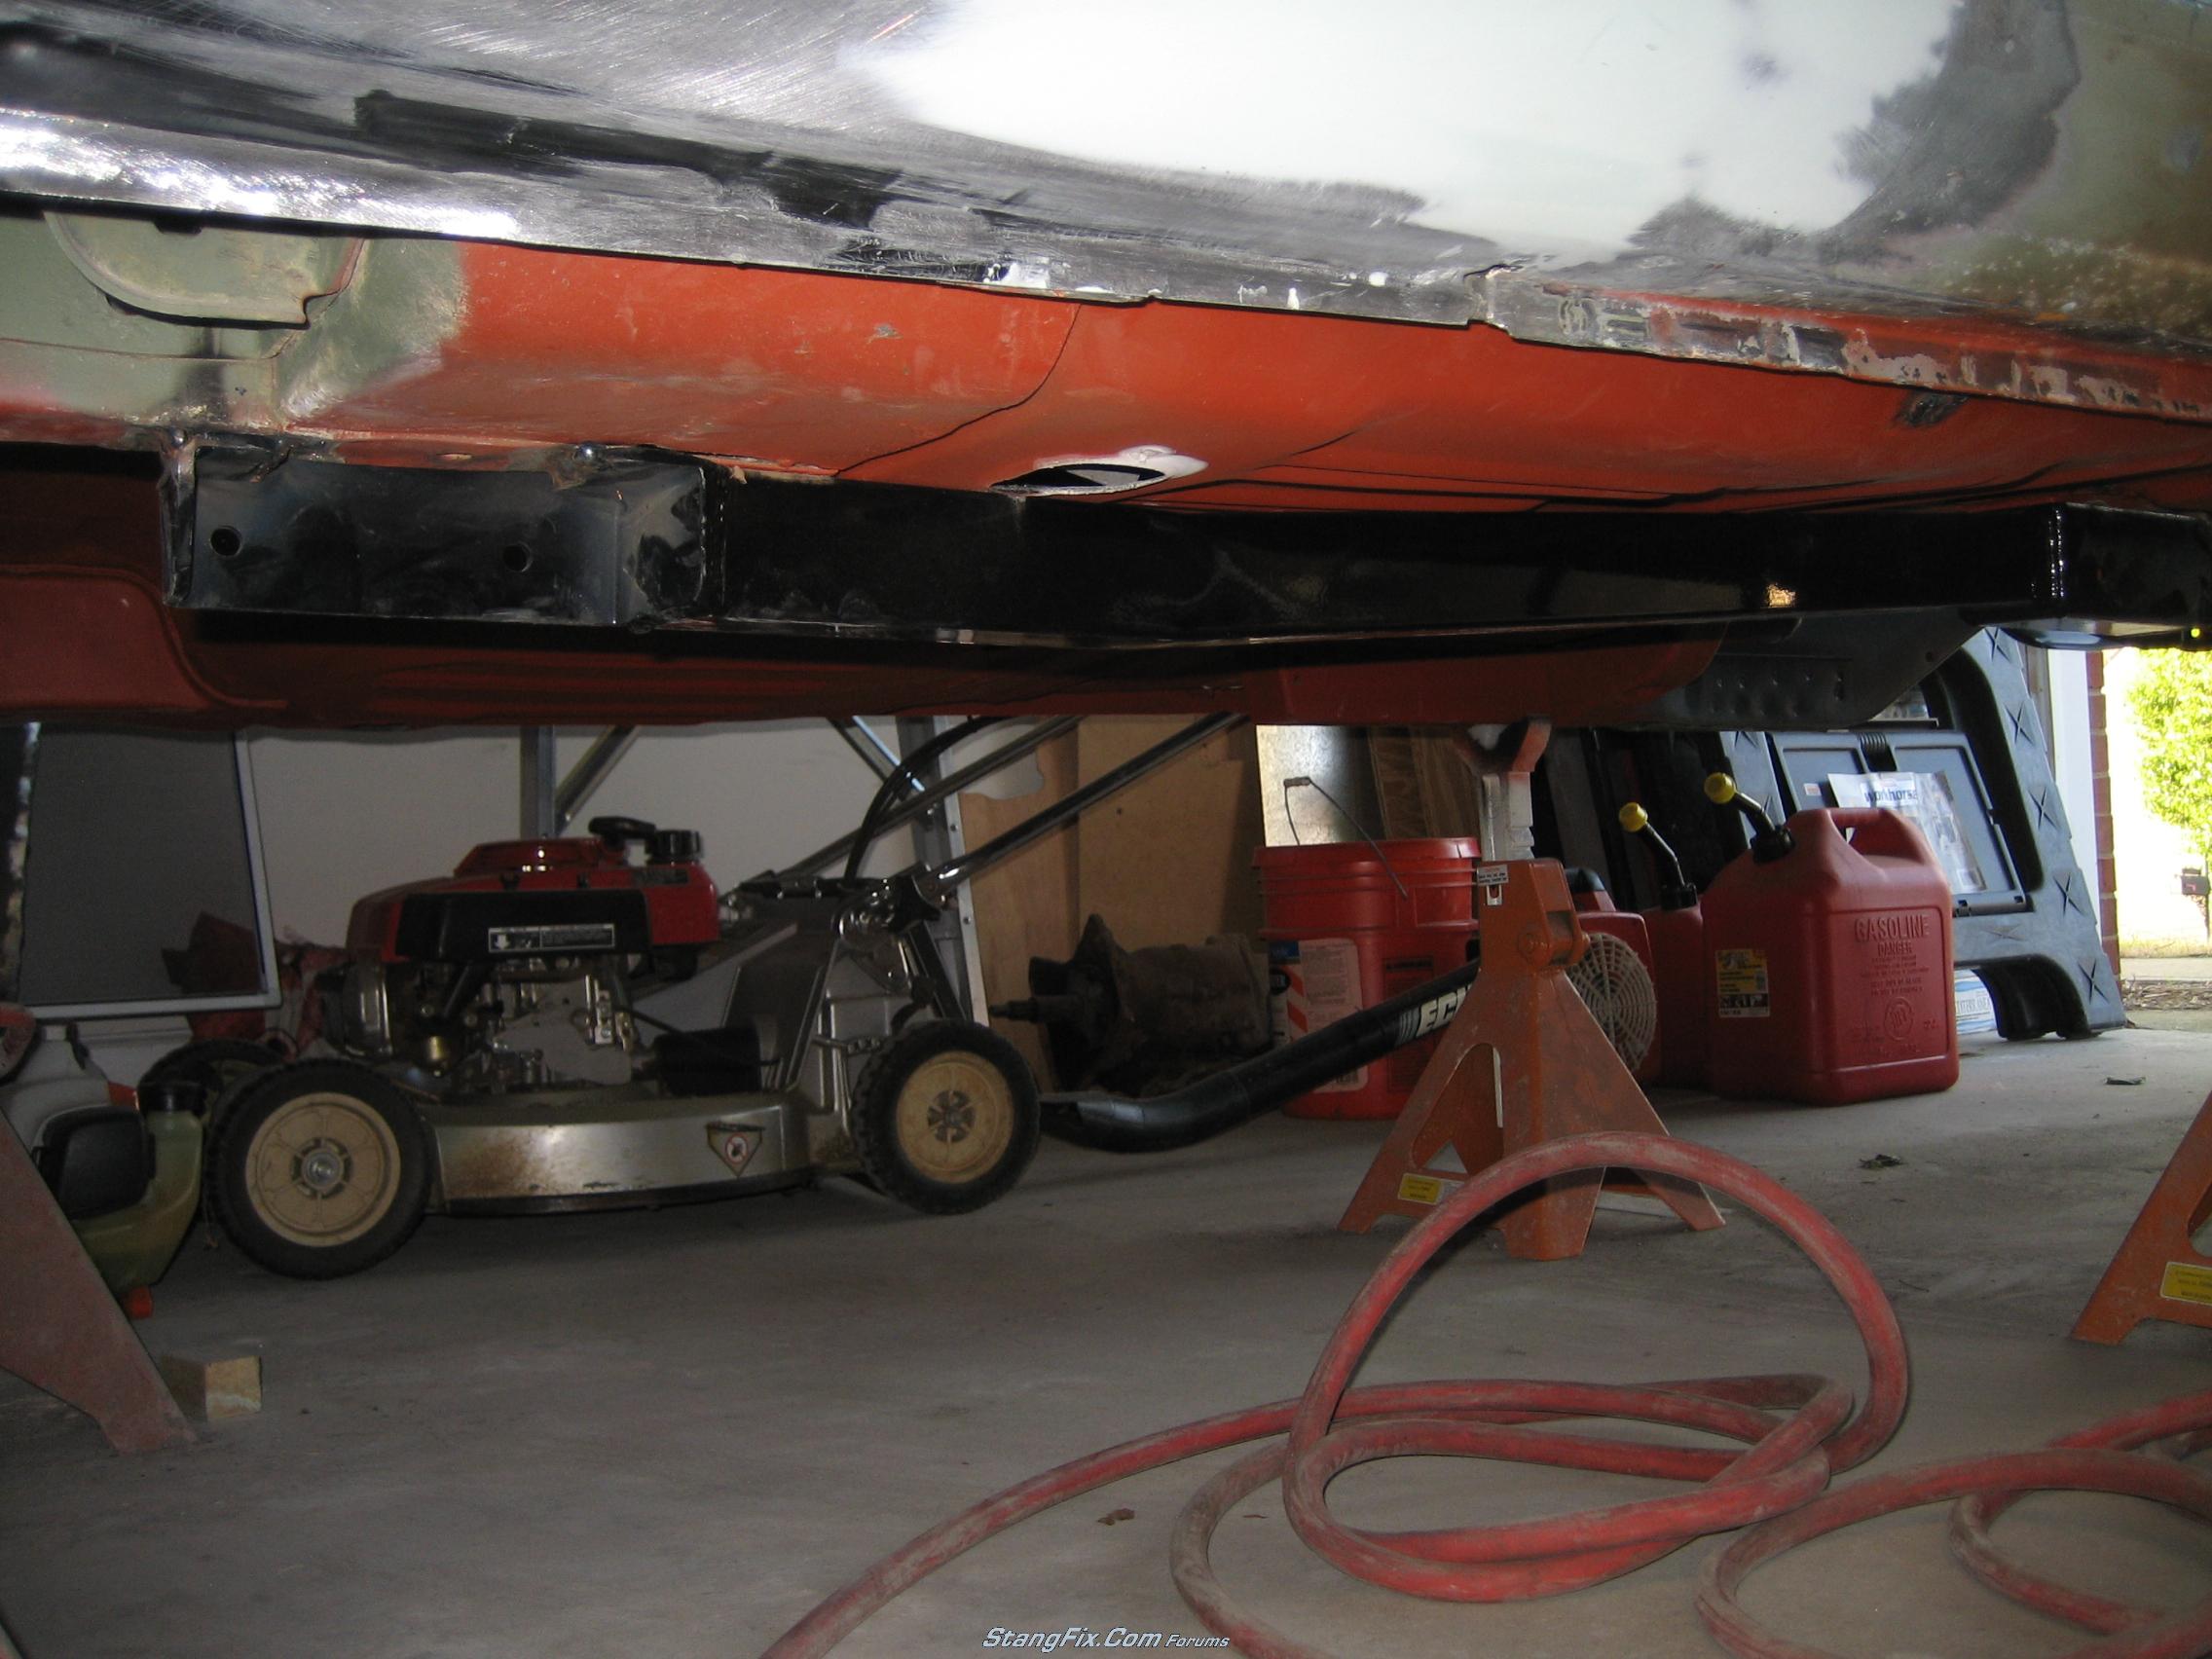
I stripped the underside with a 36 grit 3" roloc. Definitely not the best tool for the job, but it worked:
53_14_07_09_9_45_35_3.jpg


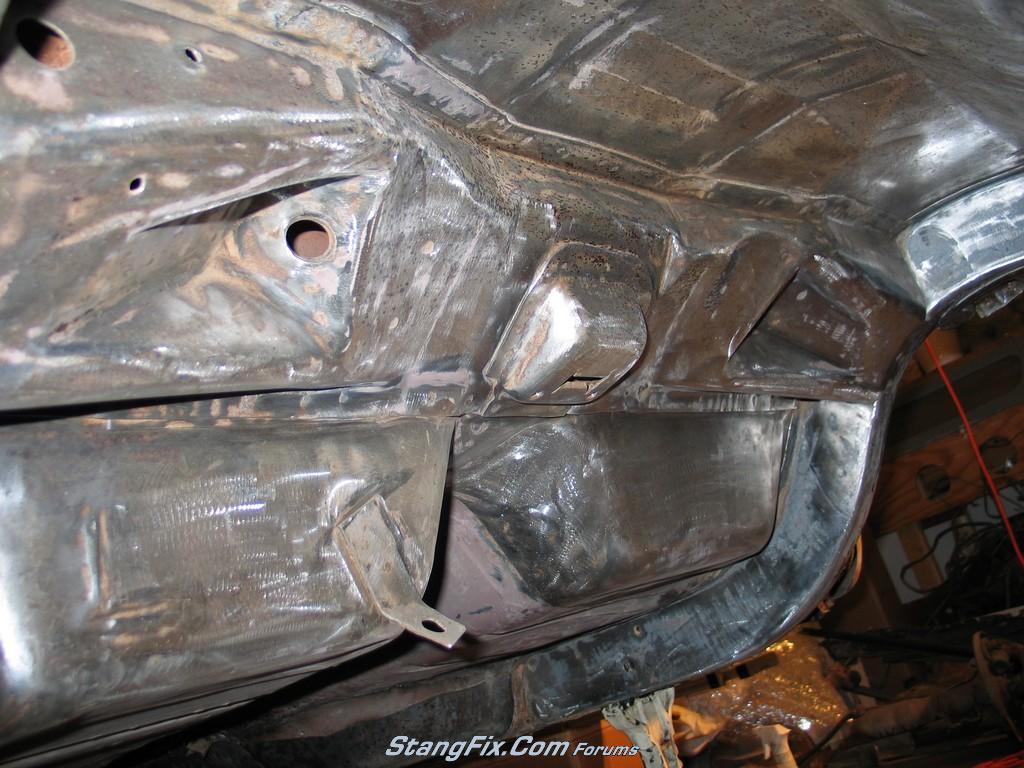
Front torque boxes installed too:
53_14_07_09_9_48_04_2.jpg


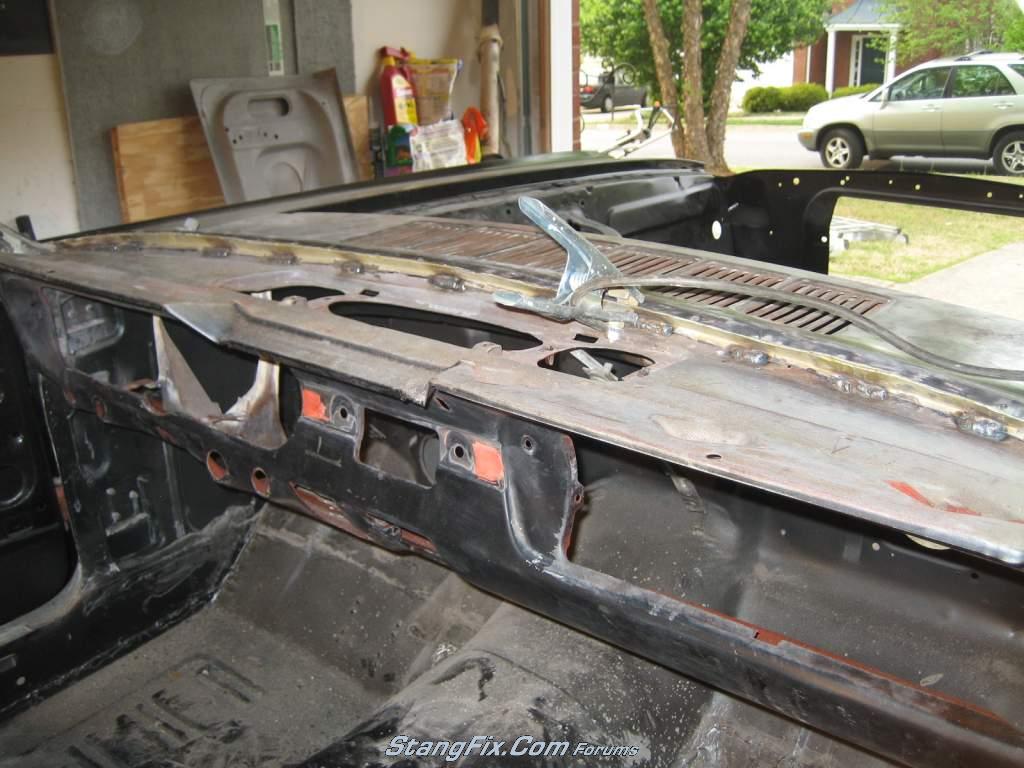
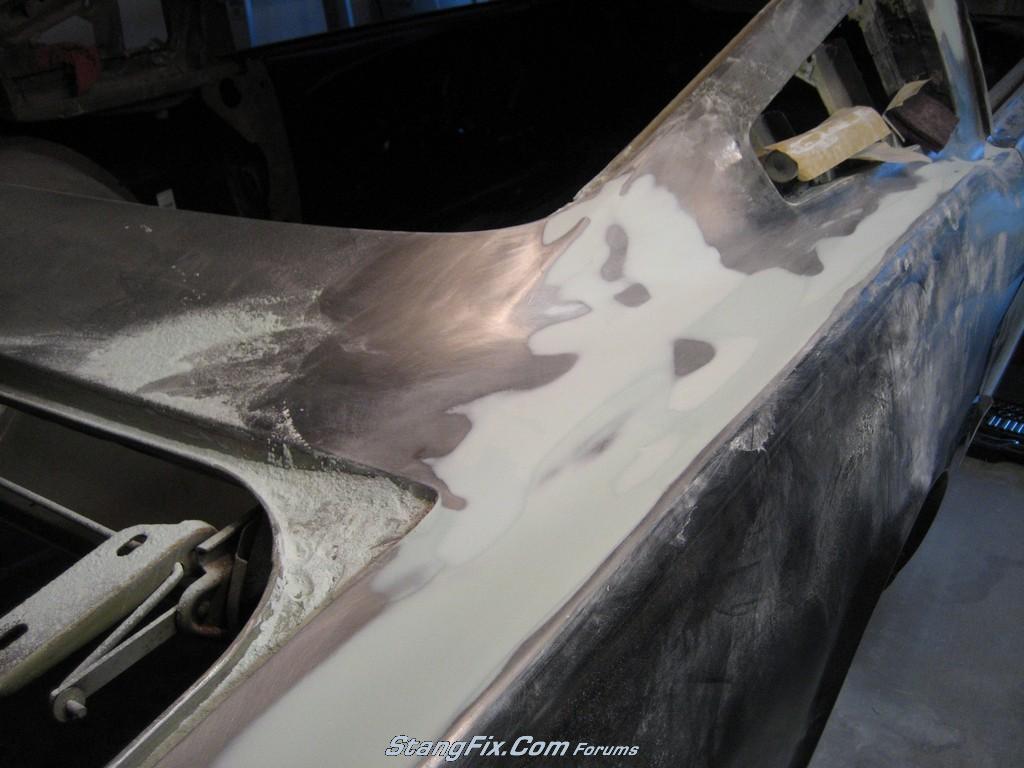
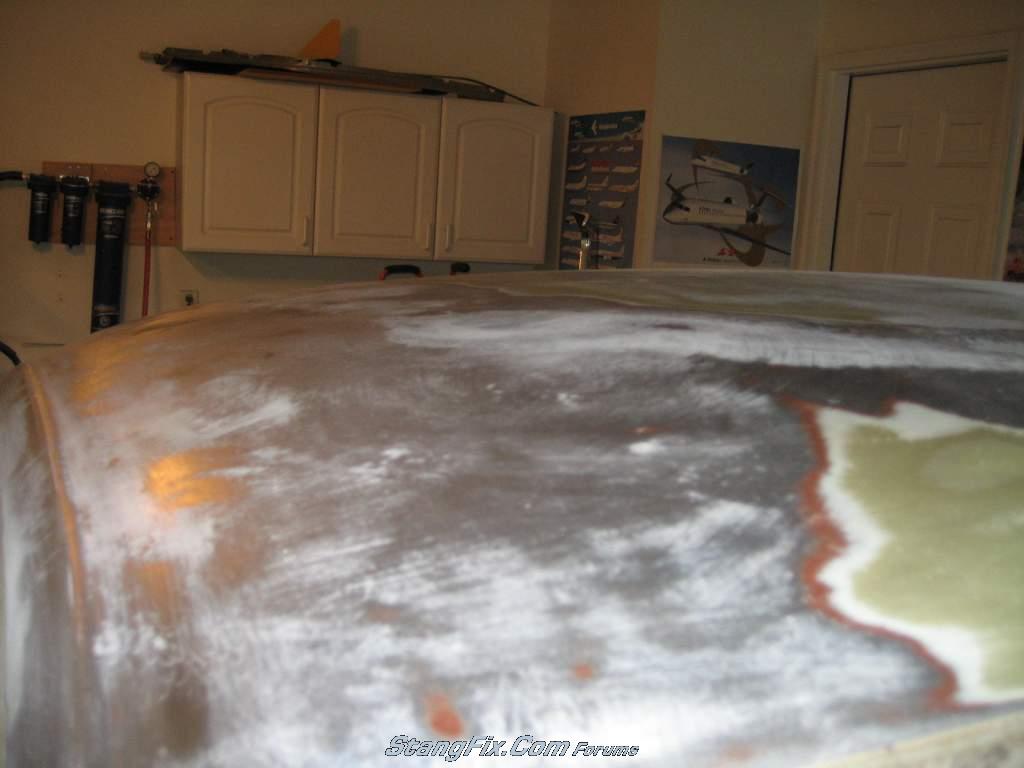
Although hard to see in the picture, the roof is lumpy as hell. I have a good original skin lined up and it will most likely be replaced.
53_15_08_09_8_10_35_0.JPG


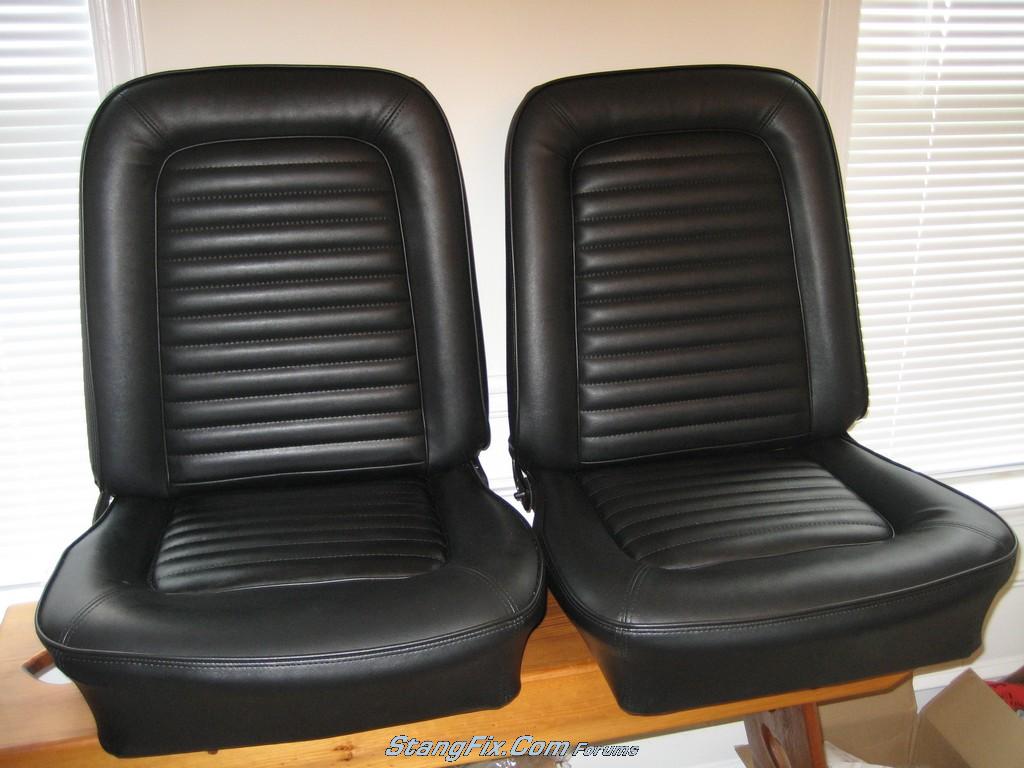
Seats recovered and ready to go:
53_14_07_09_9_48_05_3.jpg


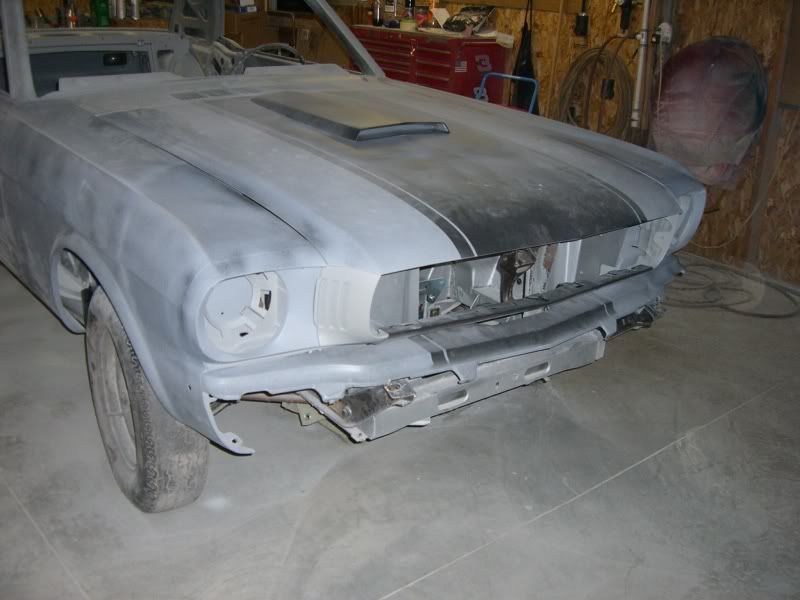
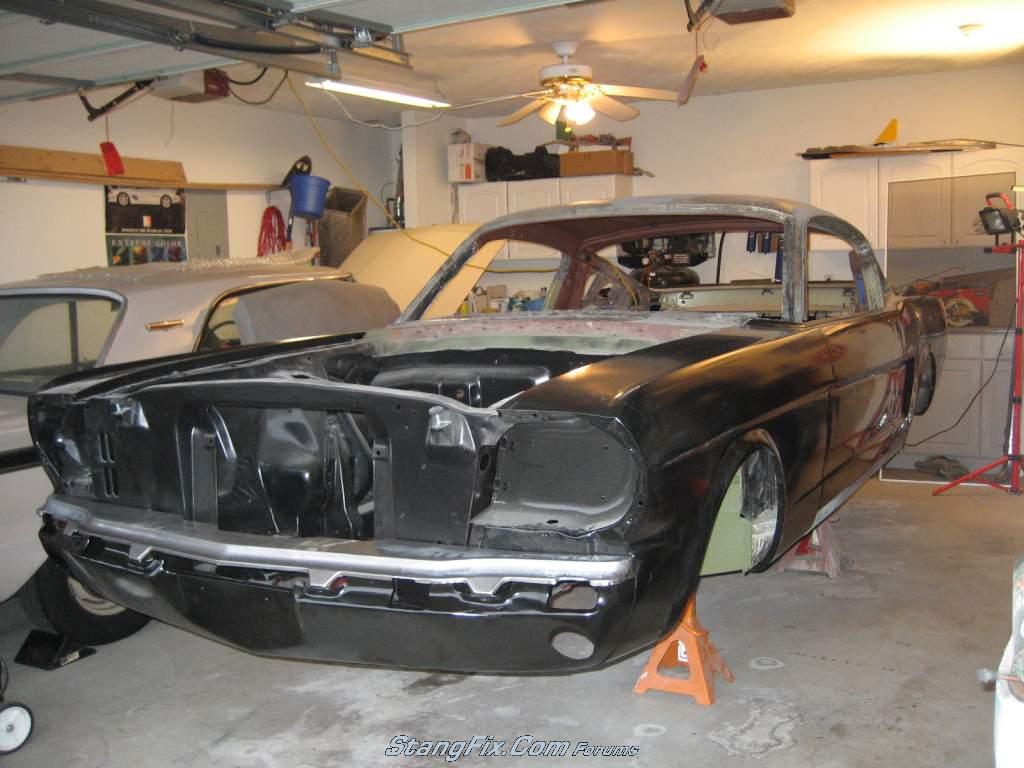
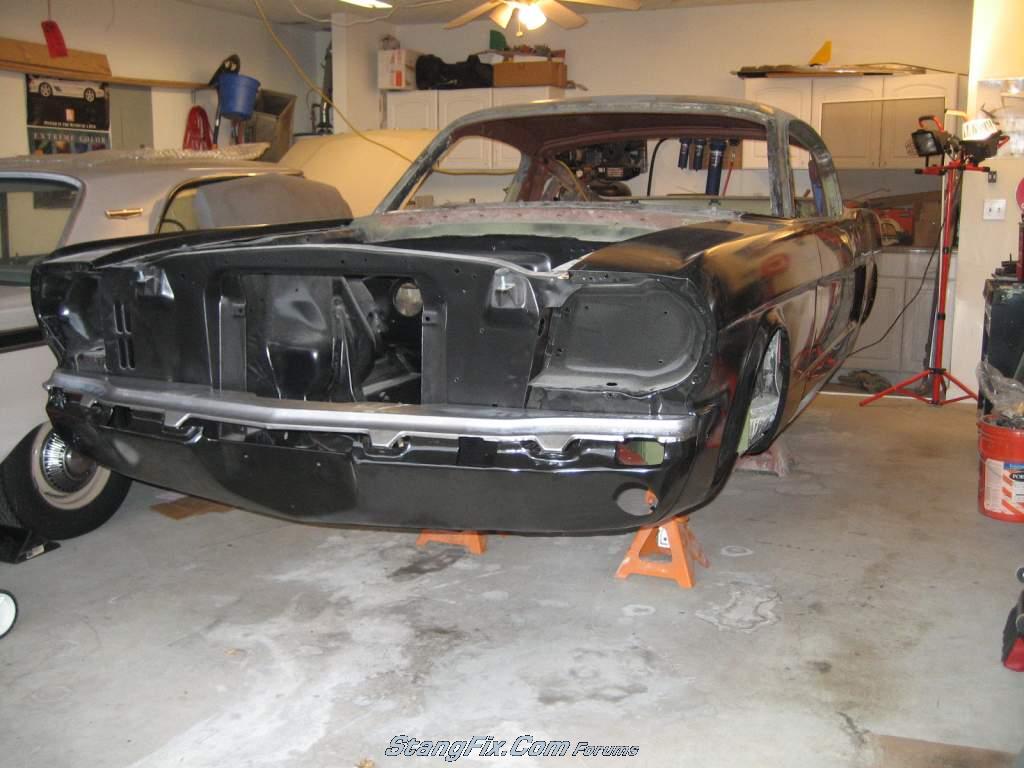
This is how it sits today, March 2010. That is 5.5 years after I brought it home.
53_11_03_10_4_29_56_4.JPG

53_11_03_10_4_29_56_3.JPG

53_11_03_10_4_29_55_2.JPG

53_11_03_10_4_29_54_1.JPG
 
Last edited by a moderator:
Re: '65 Fastback Build

Great project, Ryan. It looks like you're past a lot of the real tough body work jobs. Are you going to paint it yourself, too? What power plant is going back into it? Maybe you should stroke that 289 that came out of it?!

I'm sure it must feel good to finally have roughed fit all the body panels. It's great to see it look like a car again. I sure remember all the hours spent welding and grinding, often on your back underneath the car.

Keep up the great work!
 
Re: '65 Fastback Build

I've often wondered about your project Ryan, thanks for filling us in. I do have one question. So whats takin so long? :sur Maybe you should ship it off to Sanborn, i hear hes almost as fast as nick at getting these things done. :lol Of course the quality is much better.
 
Re: '65 Fastback Build

That's because Dave S. uses the fast-drying version of :nick
 
Re: '65 Fastback Build

Gosh I love great stuff, just really gets any job done. LoL

Great looking ride, love all the brake goodies its getting. Wow!

A 9inch rear, totally sweet.
 
Re: '65 Fastback Build

Update 4/19/10

Today was dash day, a day I've been dreading for years. The PO cut the entire dash out instead of just using a radio repair patch, and replaced it with a dash from another car. As with all his hack-work, this was unacceptable. A minor fender bender or a large pothole would have sent the dash into my lap. Here you can see why, as it wasn't even attached at the windshield pinch weld:

53_19_04_10_8_49_57_0.JPG


So in 10 or less minutes, I cut it out:

53_19_04_10_8_49_58_1.JPG


I took it outside where it got a good wash. I then chemically de-rusted the back side, and gave it a good coat of zero-rust.

53_19_04_10_8_50_00_3.JPG

53_19_04_10_8_49_59_2.JPG


I decided to test fit my radio delete plate. Dang, this is a '66 dash!

53_19_04_10_8_50_01_4.JPG


Okay, not anymore:

53_19_04_10_8_51_04_0.JPG

53_19_04_10_8_51_05_1.JPG


I then fitted the dash back in, tucking the new dash under the old. I had to trim the old dash at the pinch weld to just about 1/4", tucked the new one under, and welded a few seams. I'm happy with the turn out, and it wasn't as horrible as I thought, taking me about 6 hours in total today.

53_19_04_10_8_51_06_2.JPG
 
Last edited by a moderator:
Re: '65 Fastback Build--Update 4/19/10

Heck man, if you can take out the dash and reattach, you can do the paint and body, which is more simple... just takes time.
 
Re: '65 Fastback Build--Update 4/19/10

"hivewax" said:
Heck man, if you can take out the dash and reattach, you can do the paint and body, which is more simple... just takes time.

Thanks, I think I can too. I got real frustrated with the car a few weeks ago, and decided to get some quotes on finishing it. After hearing how much money they wanted, I said f#$k that! I'm now planning to finish it myself, and been putting a lot more time and effort into it recently.
 
Re: '65 Fastback Build--Update 4/19/10

Awesome Ryan, Keep it up. You just might have it road worthy before shag.
 
Re: '65 Fastback Build--Update 4/19/10

You should have put in a 67/68 dash while you were there, they are much cooler....

Nice job Ryan!
 
Re: '65 Fastback Build--Update 4/19/10

There you go. Nice to see you have renewed motivation to work on your car. It must feel good to have tackled a project you have been dreading.

Keep the momentum going! What's next on your list?
 
Re: '65 Fastback Build--Update 4/19/10

"garner67" said:
What's next on your list?

Update 4/20/2010

I started off today installing the 3 point seatbelt anchors in the roof supports. A big thanks to Steve and Craig for their write-ups and help with this. It was really easy, and didn't take much time at all.

53_20_04_10_6_46_53_0.JPG

53_20_04_10_6_46_54_1.JPG


Then I tackled my decklid issue. For some reason, the decklid gaps are really tight where the 1/4 extensions meet the 1/4s. I have 3 decklids and tried them all, including an original. So I drilled out the spot welds in the taillight panel, and put a porta power between the ends of the quarters. I was able to get a little more room, but not enough to be happy. I've been struggling with this for a few weeks now. Today, I just decided to accept the best I can get and move on. The gaps suck IMO, but I'm going to have to deal with it.

53_20_04_10_6_46_57_3.JPG

53_20_04_10_6_46_56_2.JPG
 
Last edited by a moderator:
Re: '65 Fastback Build--Update 4/20/10

Hey! I did the same thing today! Got some work done on the 3points. Still have a little left to do, but pretty happy with the progress.

I decided not to put any weld on the shoulder point, just because I have too much of my interior in, and I'd start a slag fire...plus I can't weld for shart.

I've thought about it, and the shoulder on the mounting bolt holds the plate in tight, so as long as the plate is held in place tight (I used sheetmetal screws) it should be fine. I also mounted mine behind the overlapped joint you used, figuring that'll give the most strength. Plus there was already a hole there that just had to be opened up one step on my unibit.

Maybe I under did it without the welds, but it seems in a wreck the plate is going to spread it's load across that structure, whether it's welded in or not? Maybe? I dunno. I'm fine with how it is for now. Might revisit it before replacing my headliner. YES I did it with my headliner in place...No, that didn't turn out so well.
 
Re: '65 Fastback Build--Update 4/20/10

"AtlantaSteve" said:
Hey! I did the same thing today! Got some work done on the 3points.

Great minds think alike! I think you should be fine without the welds. Just the clamping force alone from that huge bolt won't allow the plate to move, I wouldn't think.
 
Re: '65 Fastback Build--Update 4/20/10

Update 4/21/10

I started working on the hood today. Overall pretty decent shape after coming back from the blaster. There are just a few spots that need attention.

53_21_04_10_8_16_50_4.JPG

53_21_04_10_8_17_52_0.JPG

53_21_04_10_8_17_52_1.JPG


Then I was in for a huge surprise when I bolted up the headlight buckets/doors. They fit like absolute garbage. Both are cracked, but I'm going to have to figure out a way to tighten up the gap at the fender. The driver's side bucket needs to be replaced due to many cracks, but the passenger side only has one crack. I know they make repair kits for these, so I might try that too. If anyone has any ideas, please let me know.

53_21_04_10_8_16_49_3.JPG

53_21_04_10_8_16_48_2.JPG

53_21_04_10_8_16_47_1.JPG

53_21_04_10_8_16_45_0.JPG

53_21_04_10_8_30_29_0.JPG

53_21_04_10_8_30_30_1.JPG
 
Last edited by a moderator:
Re: '65 Fastback Build--Update 4/21/10

"RyanG85" said:
Check out my post on bucket repair. http://www.stangfix.com/testforum/index.php/topic,4386.0.html

I ended up putting a screw in just under the crack. Just finished fitting and aligning the buckets and headlight doors, took some cutting and welding but worth it with the end results.

0212.jpg

Thanks! I'll play more with them tomorrow, but the screw trick seems like a great option.
 
Back
Top