• Hello there guest and Welcome to The #1 Classic Mustang forum!
    To gain full access you must Register. Registration is free and it takes only a few moments to complete.
    Already a member? Login here then!

Explorer 8.8 build DIY COMPLETE!!!

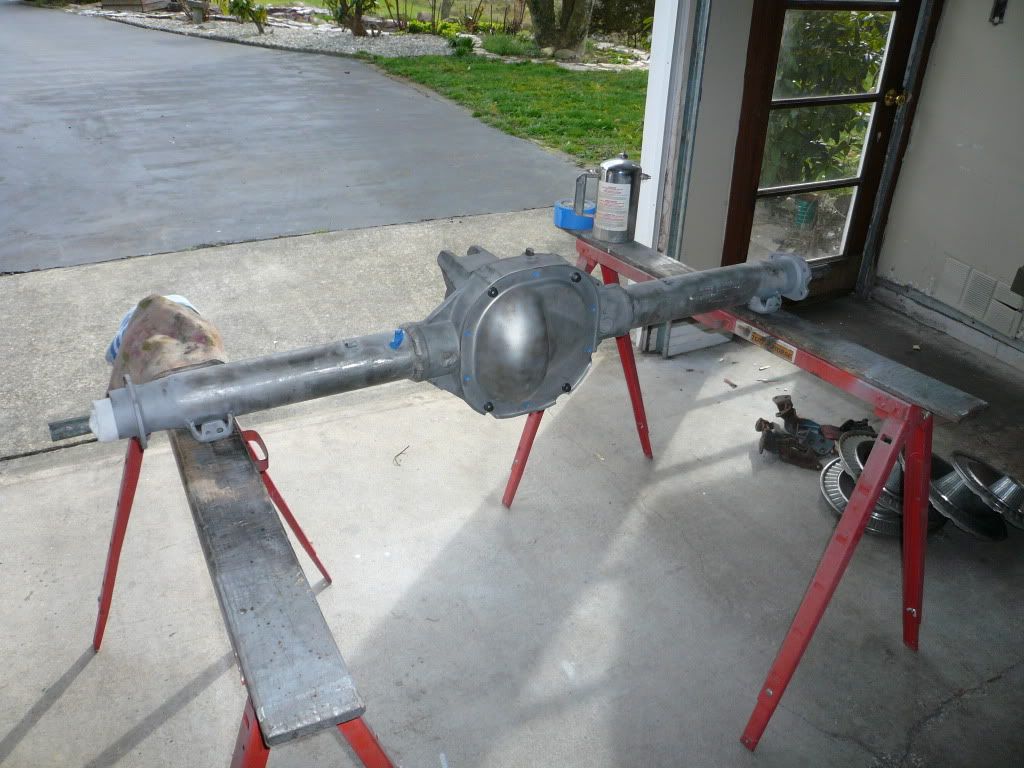
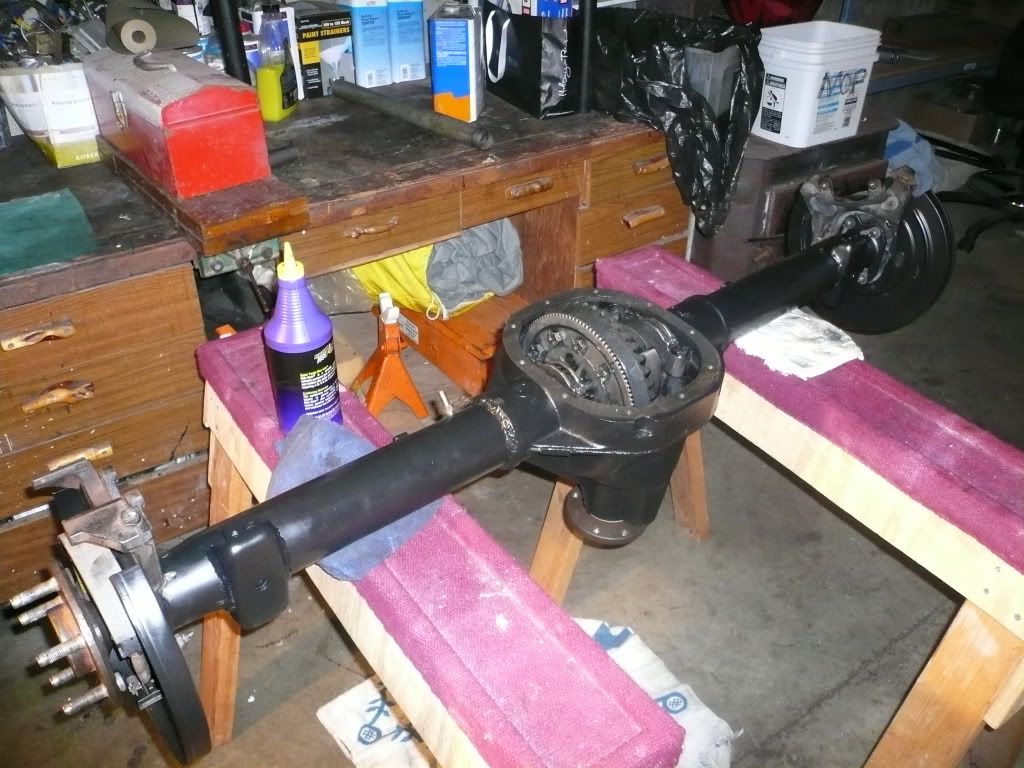
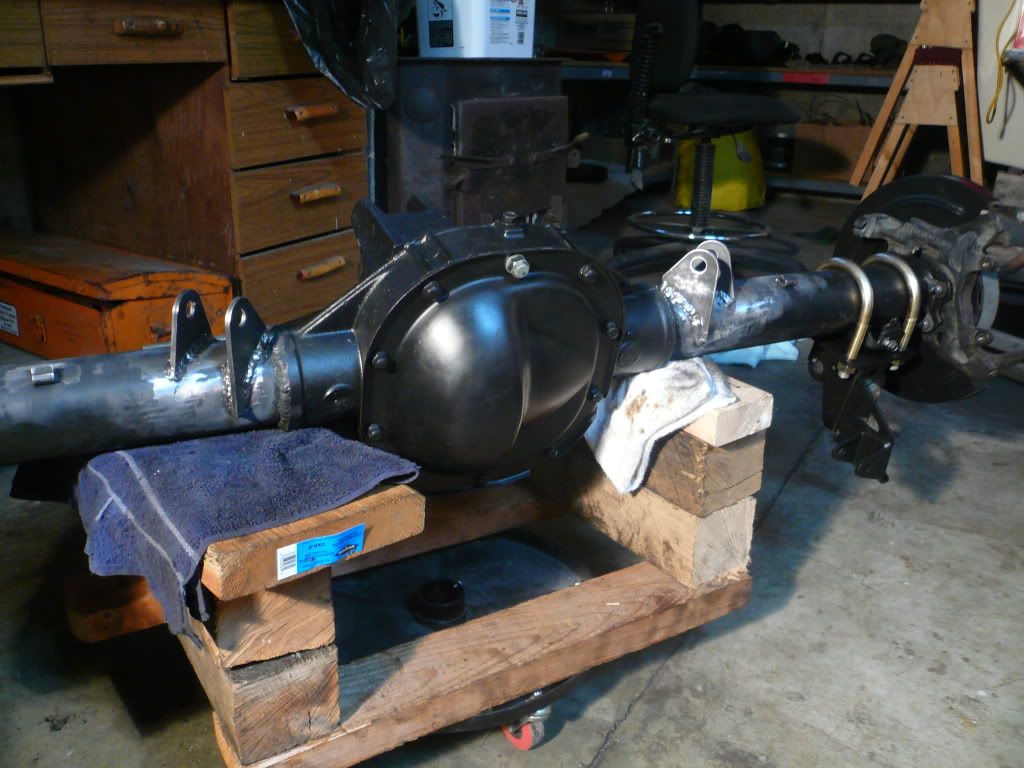
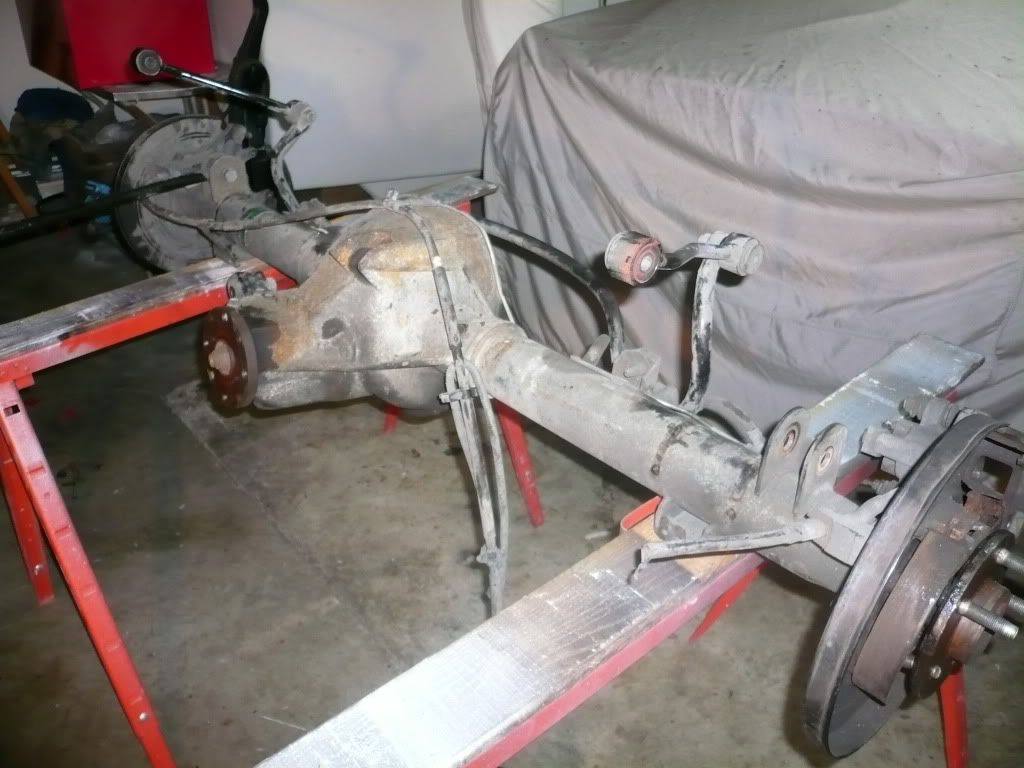
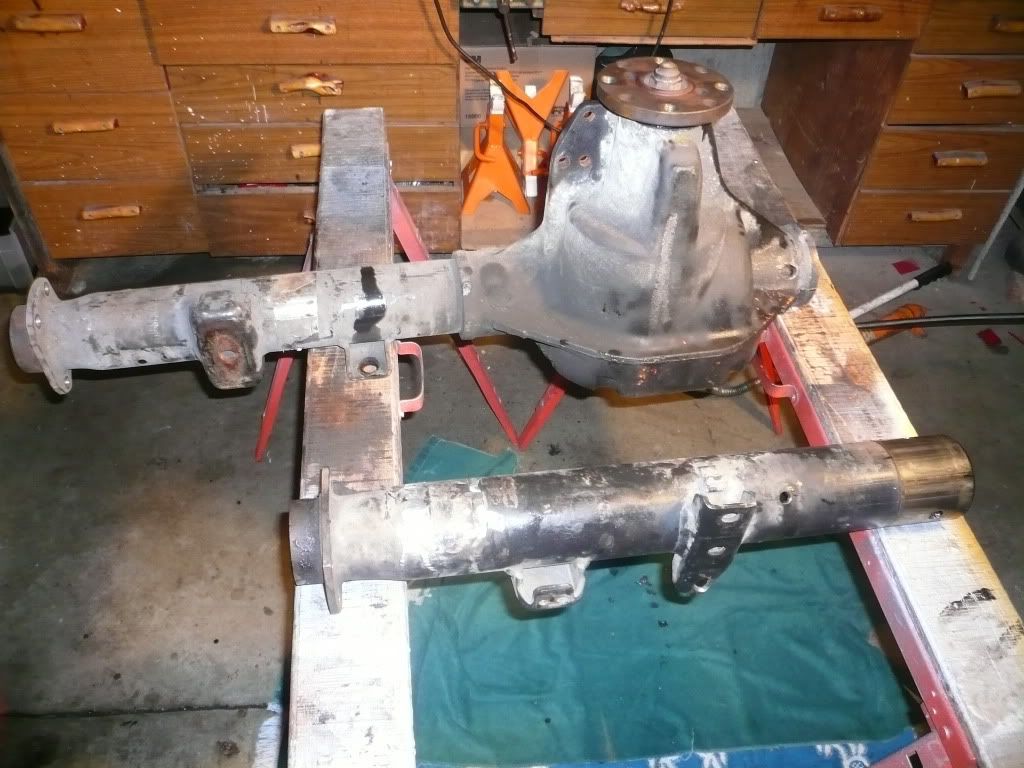
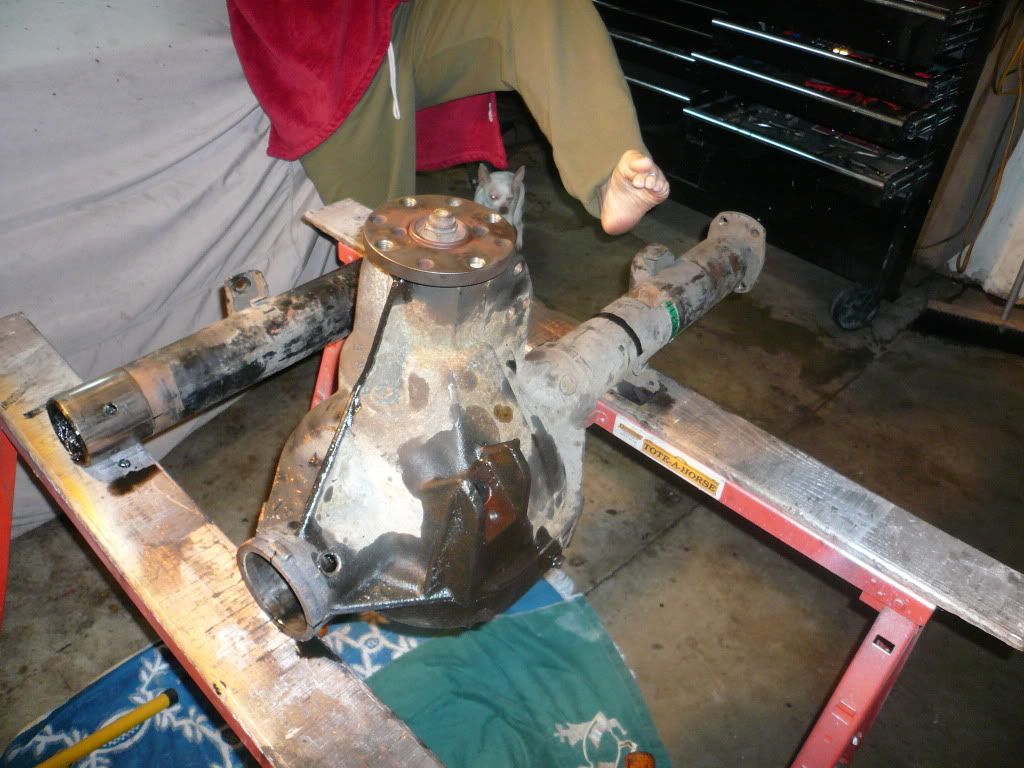
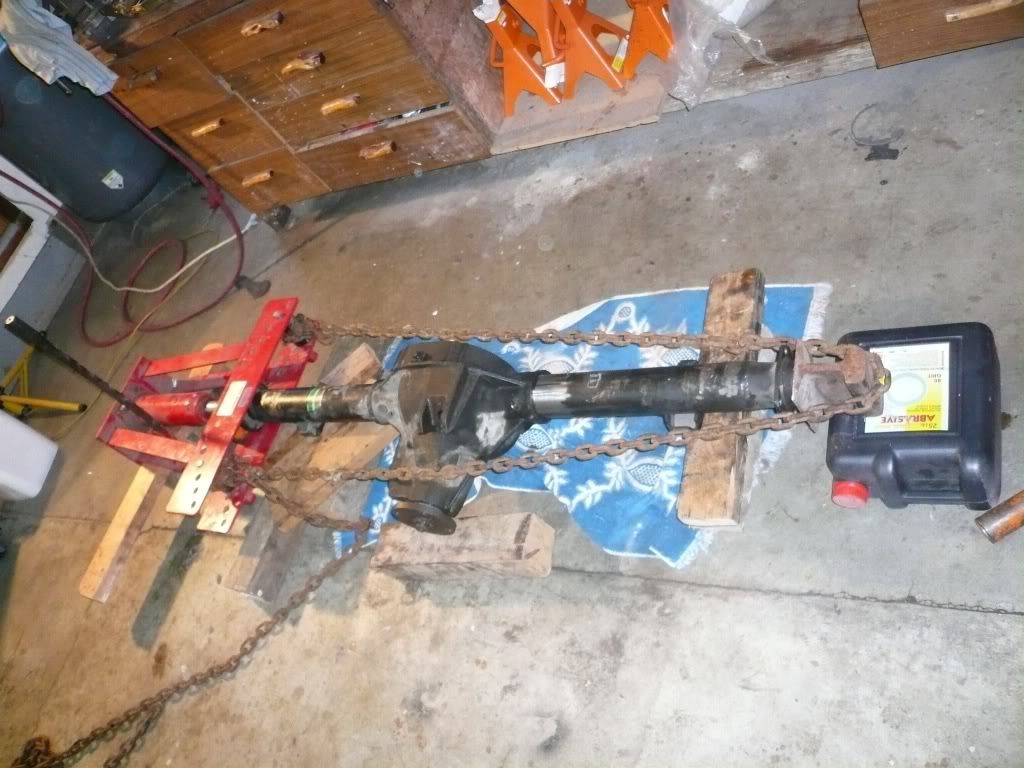
Thought i would go ahead and start a thread for anyone in the future thinking about doing this swap especially for 64-66 guys out there. I was always planing on putting a 9 in the back but after reading musgofasta's 8.8 thread i was inspired. I am however taking it a few steps further since i don't like the offset pinion and the added angle i'm narrowing it. i figured i could build this 8.8 for a fraction of what it would take to build a 9 the same way so monday i went to pick n pull and nabbed an 8.8 3.73 LSD from a 96 exploder and drug it home. Here she is when i first got here home monday.
fbsuspension22.jpg

fbsuspension23.jpg

fbsuspension24.jpg

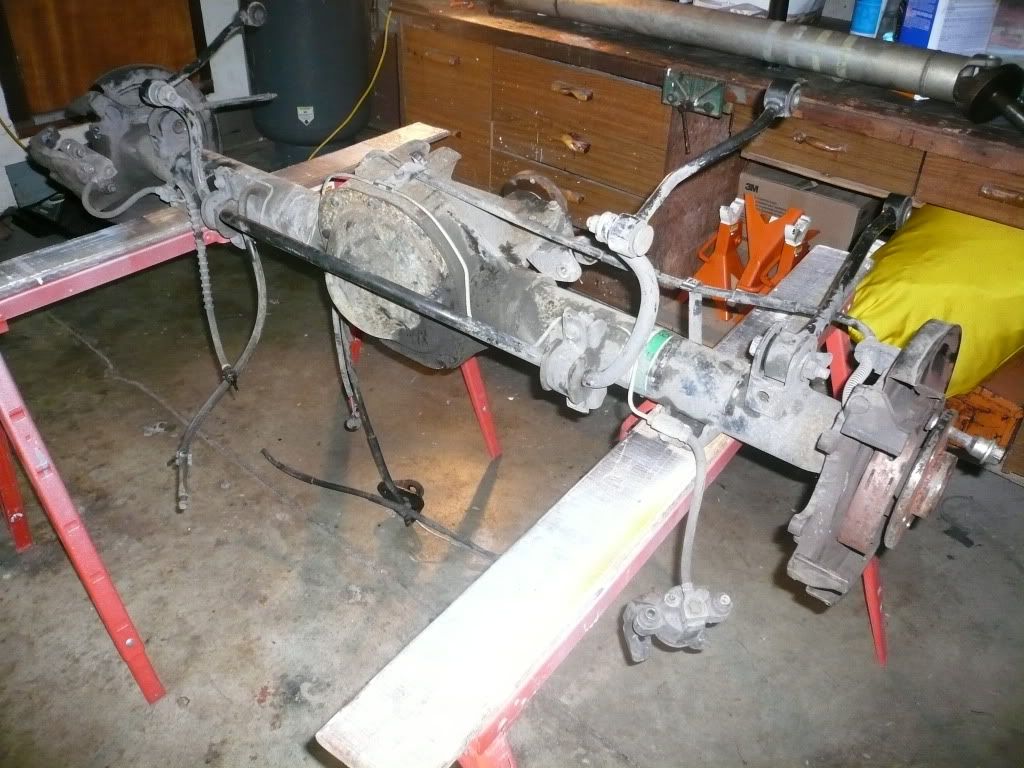
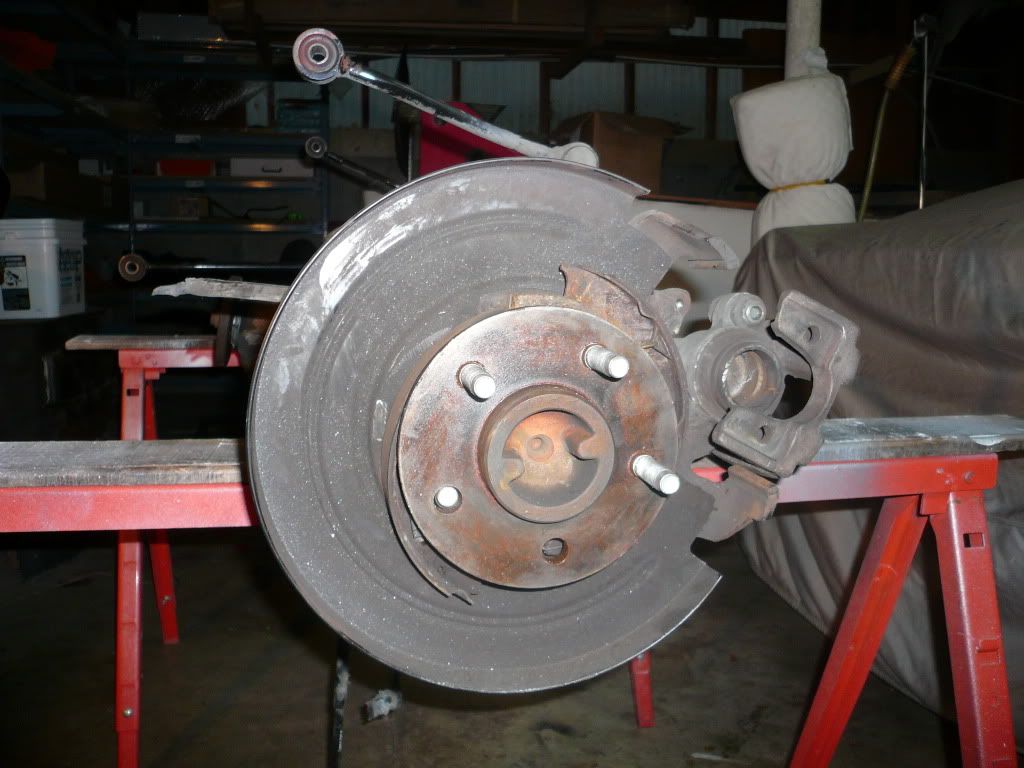
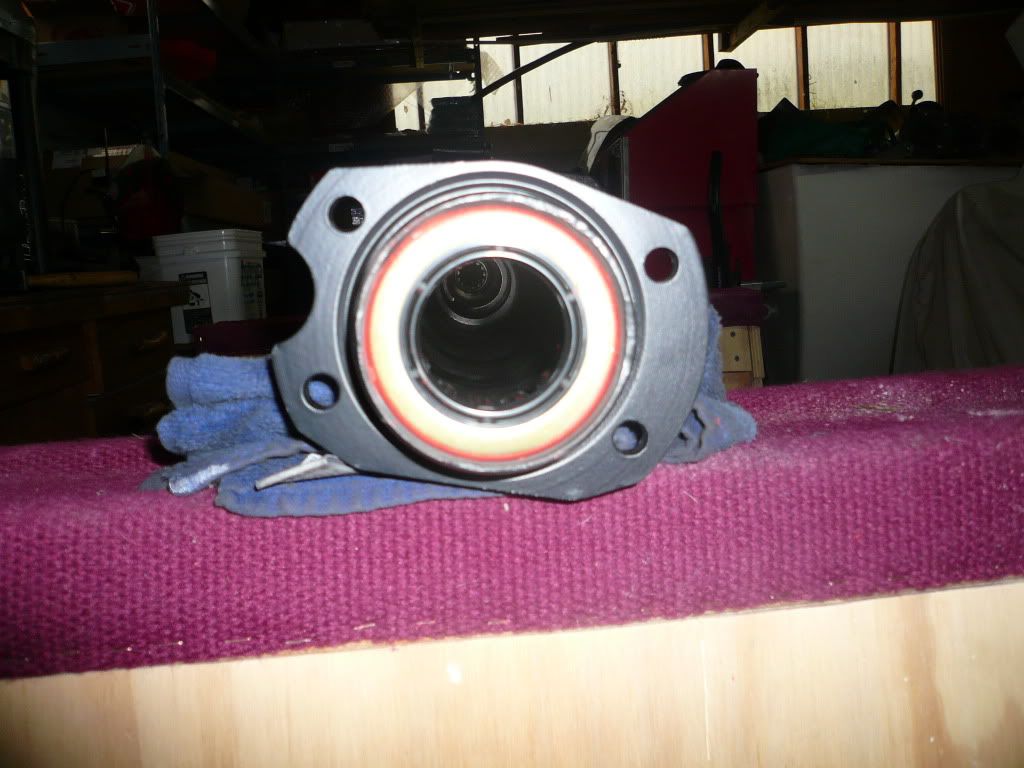
I was able to tear it all down that night
fbsuspension25.jpg

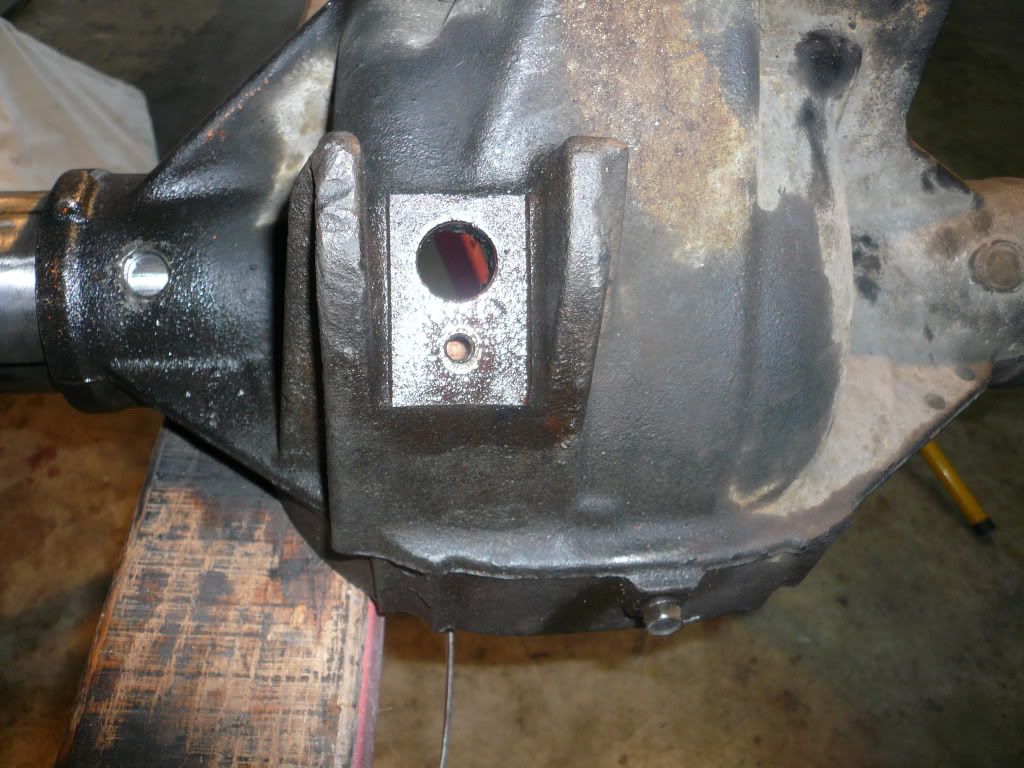
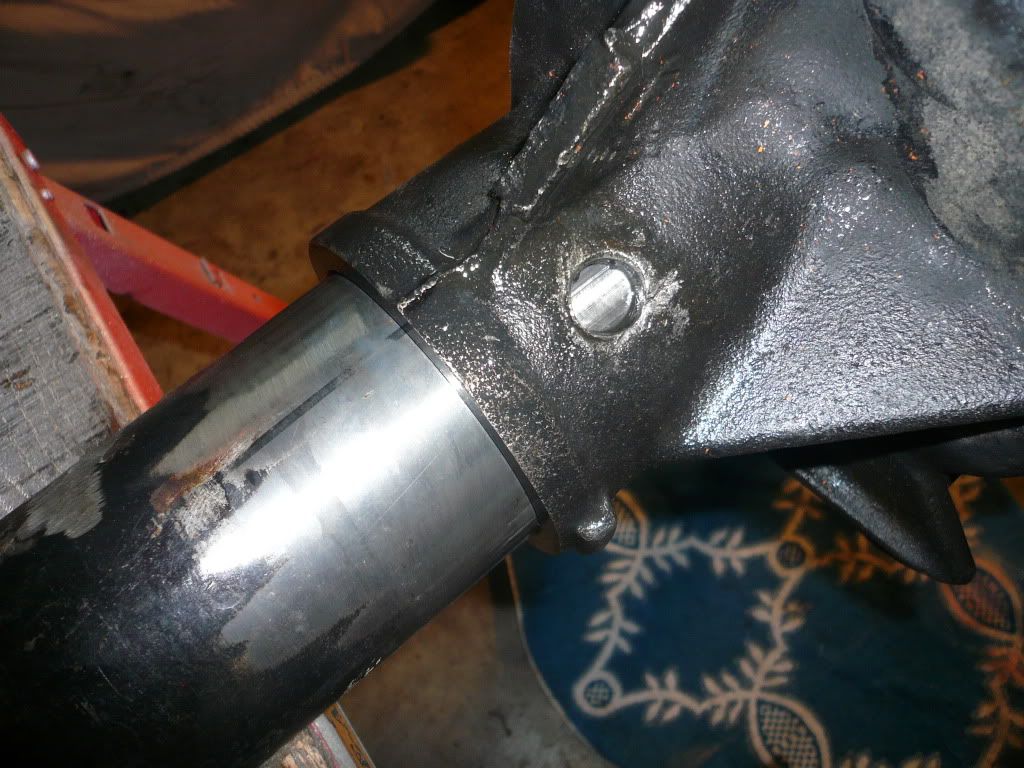
to narrow it i first drilled out the plugs, starting with a smaller bit and working up to a 1/2 inch. I then used a chisel and hammer to smosh in the the head of the plug and pop it out. Then i used a 10 ton body ram to push the axle tube out, first marking the tube and diff housing for reference points for reinsert
fbsuspension26.jpg

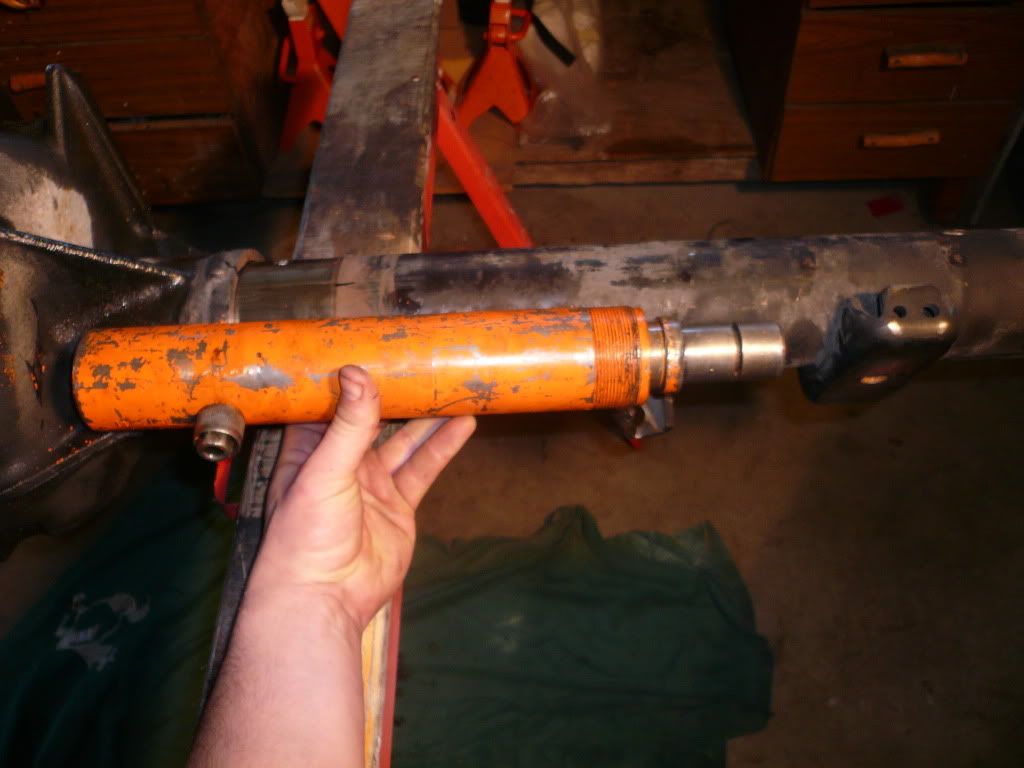
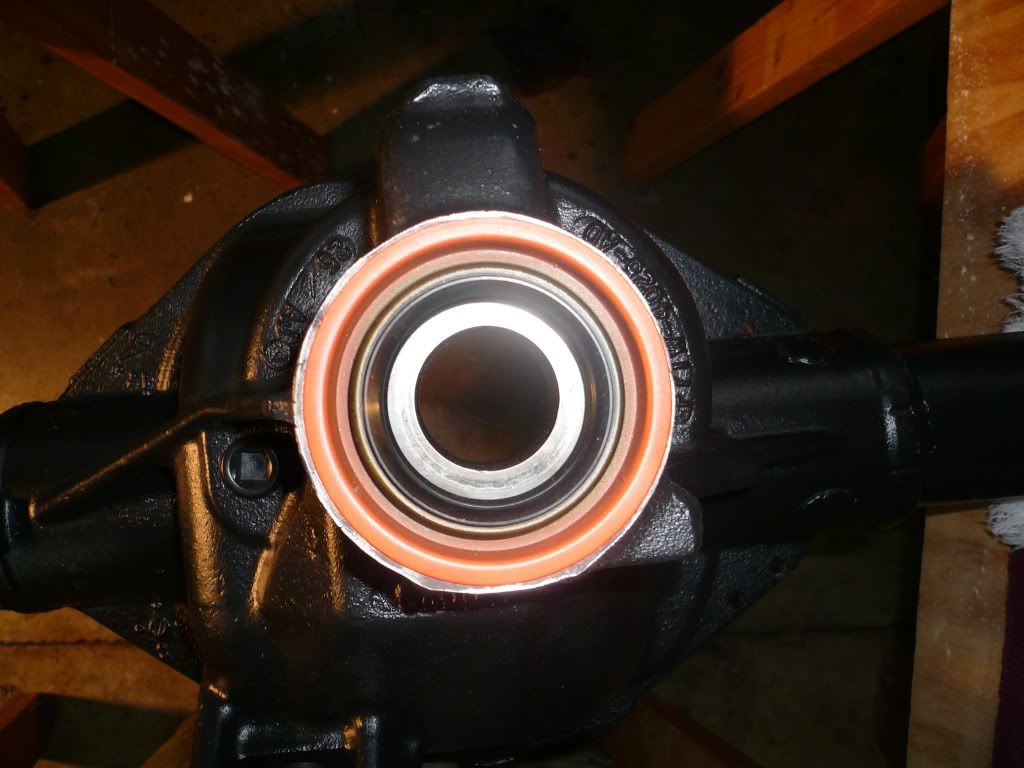
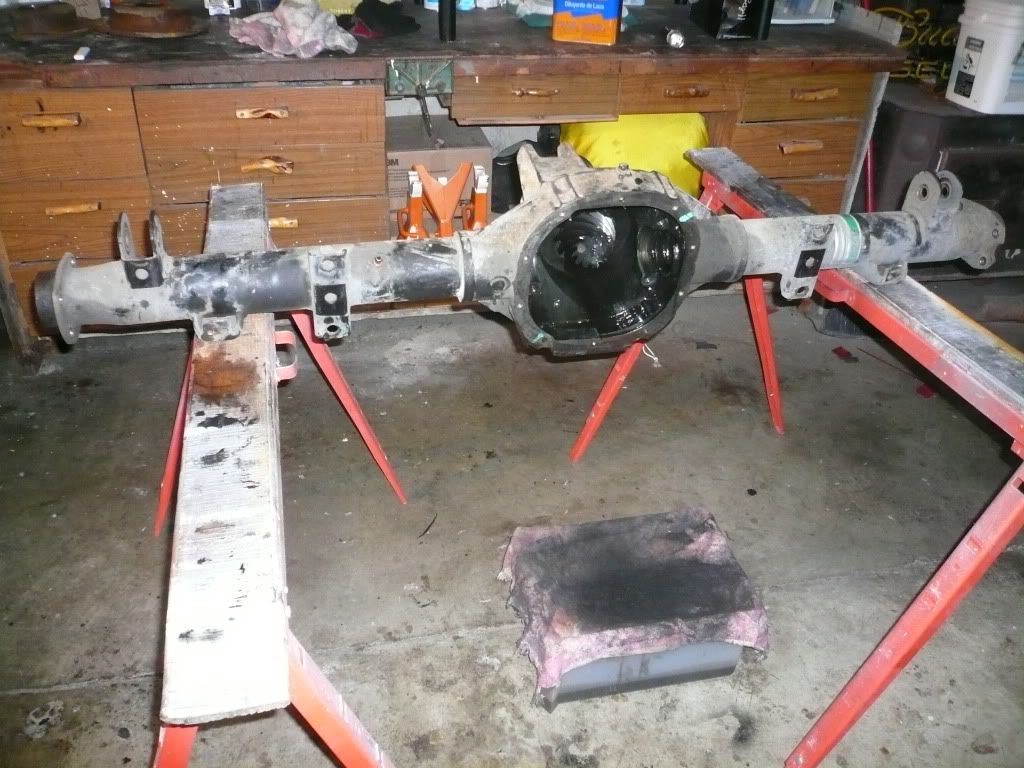
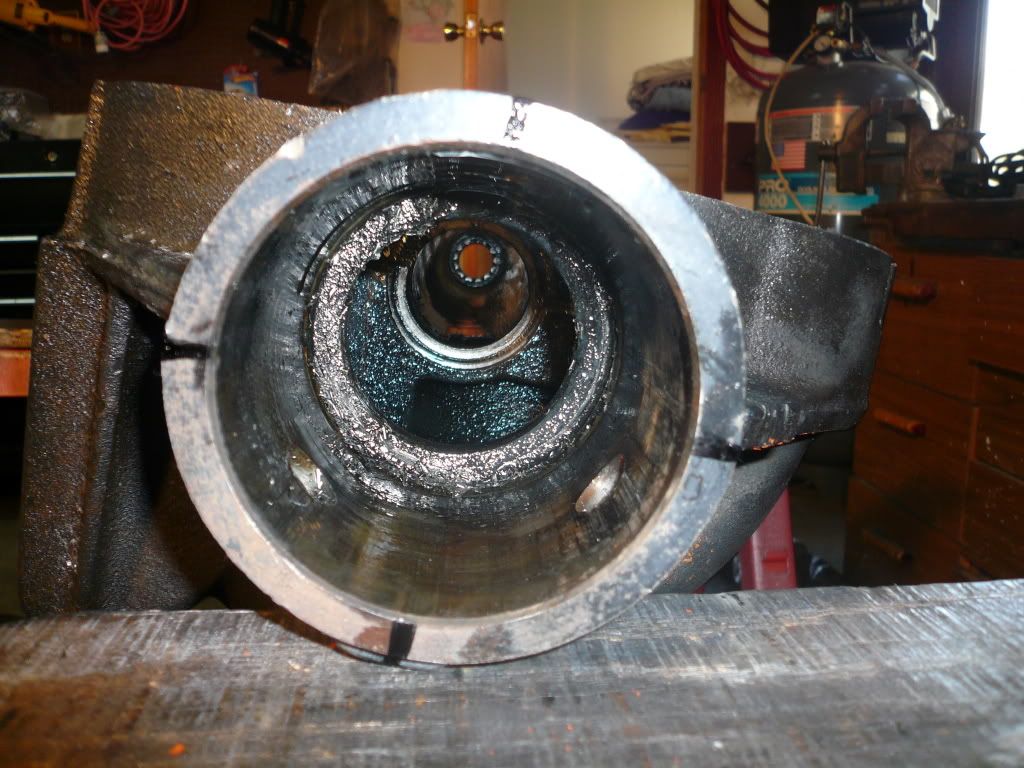
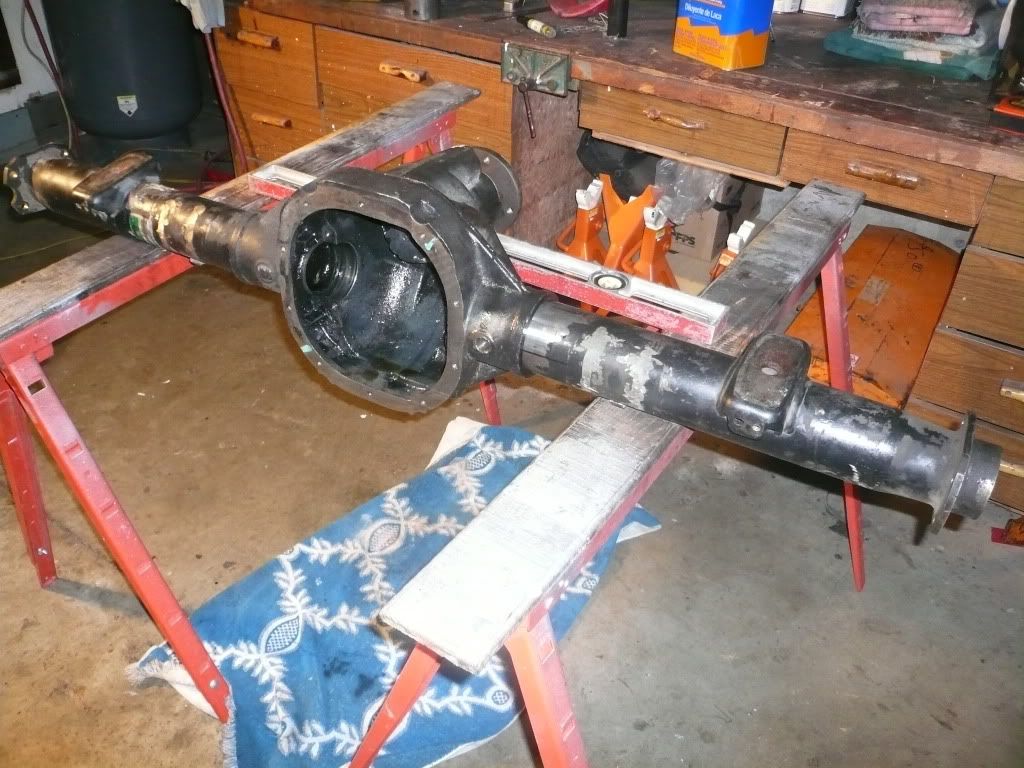
Here is the rear with the tube out
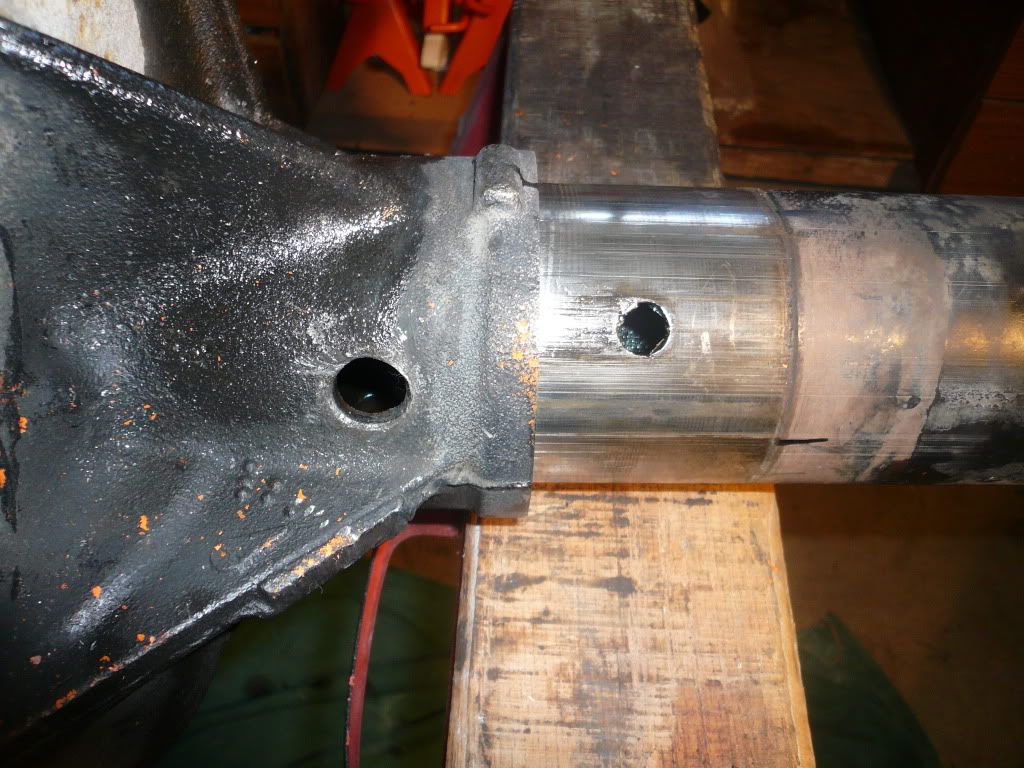
fbsuspension29.jpg

fbsuspension28.jpg

fbsuspension27.jpg

markings
fbsuspension30.jpg

I then used a square for the markings
fbsuspension31.jpg

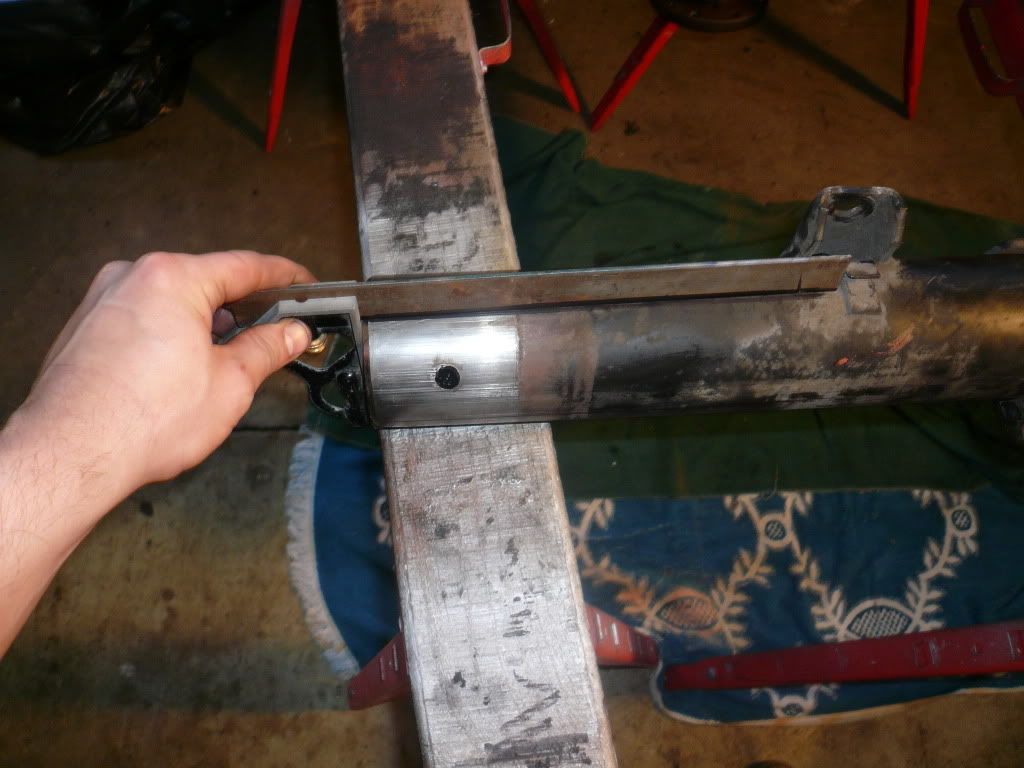
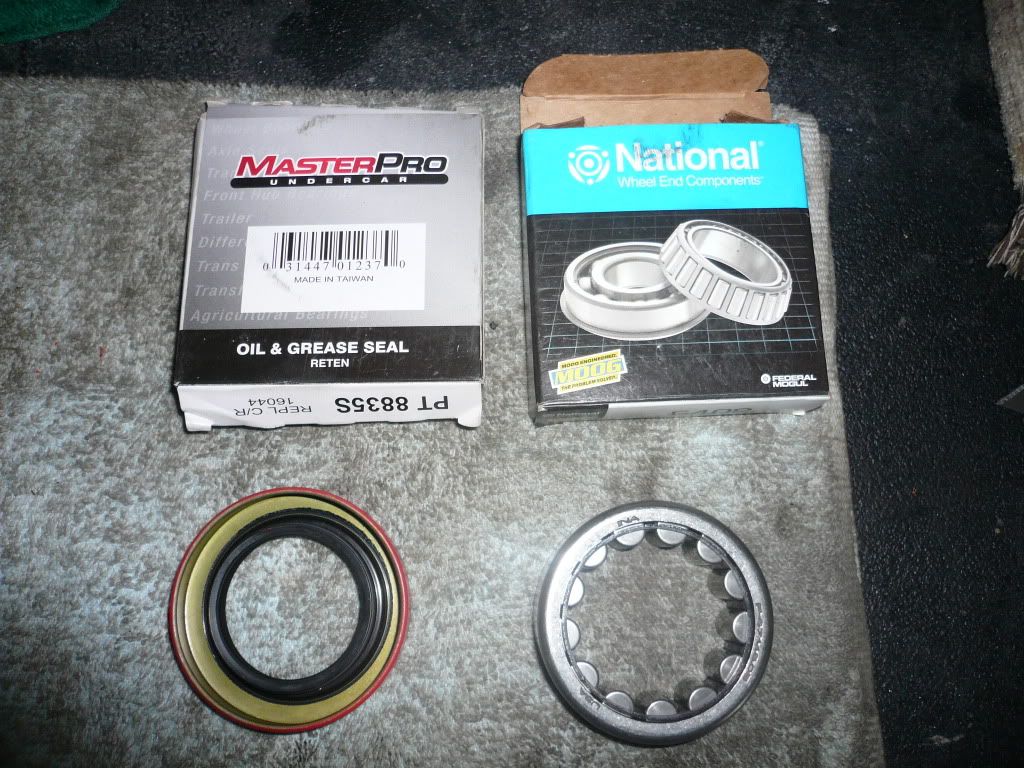
The tube needs to be shortened exactly 3 inches so that i can use another short side axle from yet another exploder.
fbsuspension32.jpg

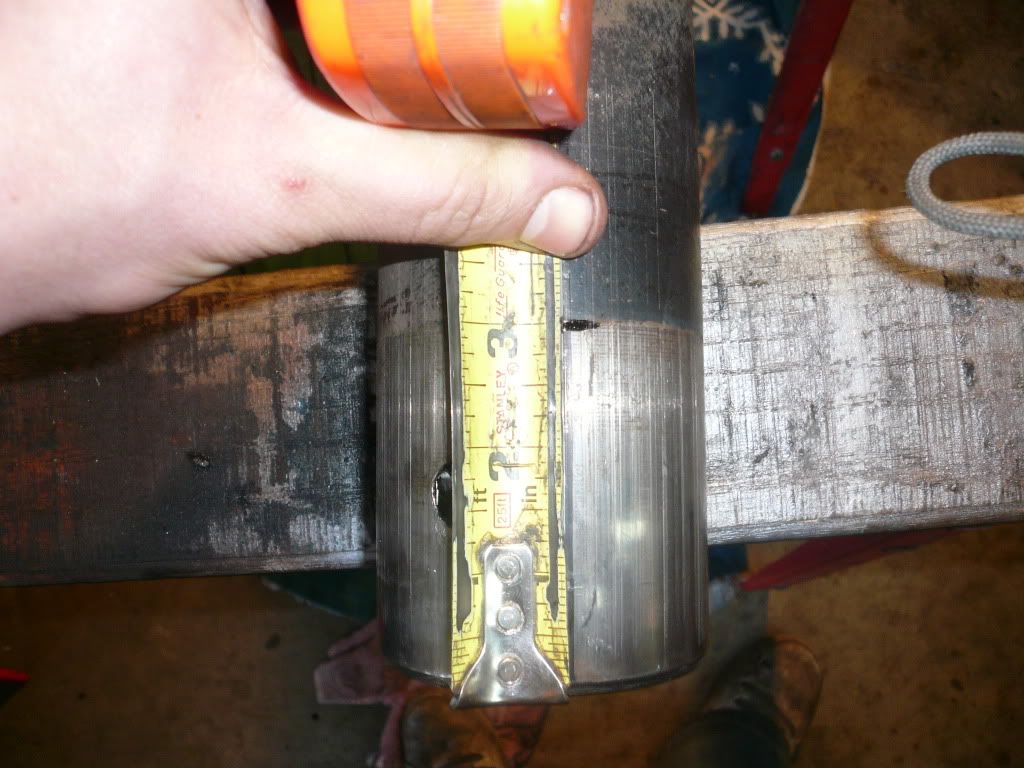
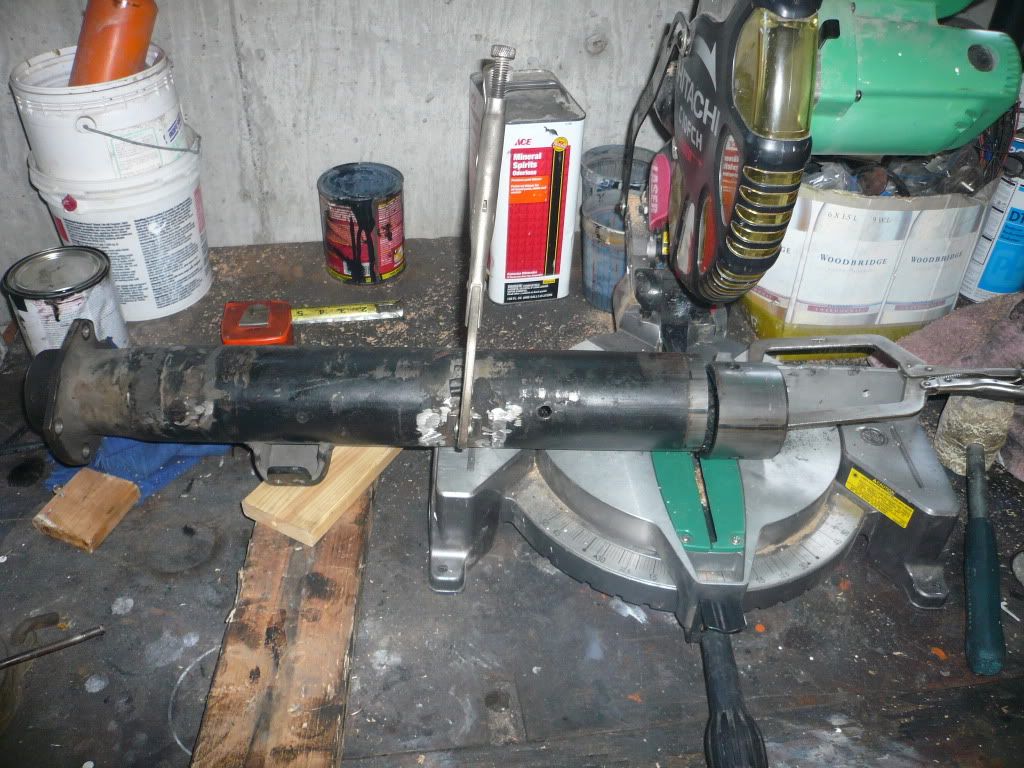
Use a chop saw to make sure the cut is exactly square
fbsuspension33.jpg

i then beveled the edge to help assist in pushing the tube back in the diff housing using 36, 80 then 180 sand paper and remarked the markings.
fbsuspension34.jpg

Now for pushing the tube back in, this is where i had to get somewhat creative, i used a 12 ton pipe bender and a chain anchored to it to press the tube back into the housing
fbsuspension35.jpg

fbsuspension36.jpg

fbsuspension37.jpg

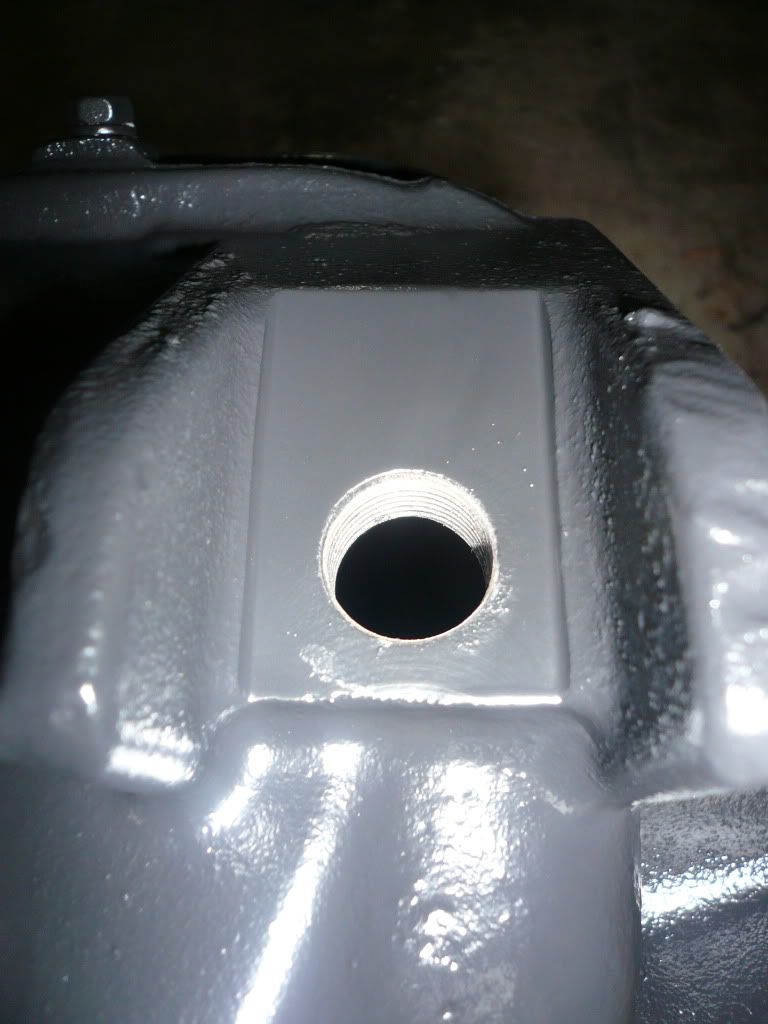
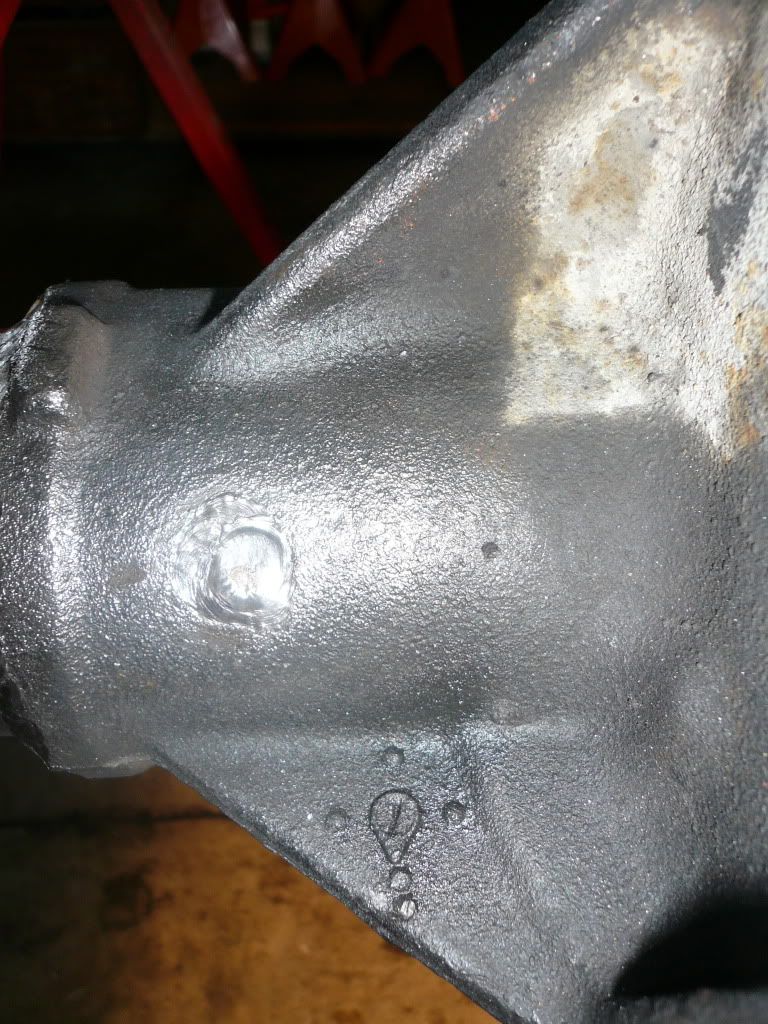
I then plug welded the the old press plug holes
fbsuspension38.jpg

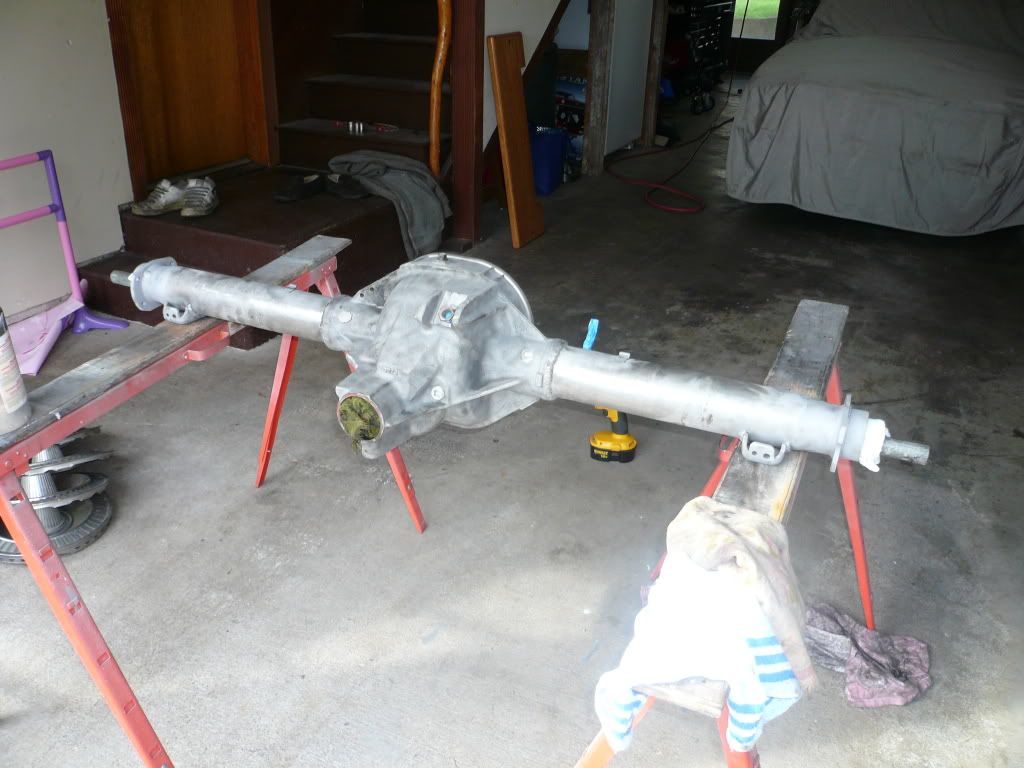
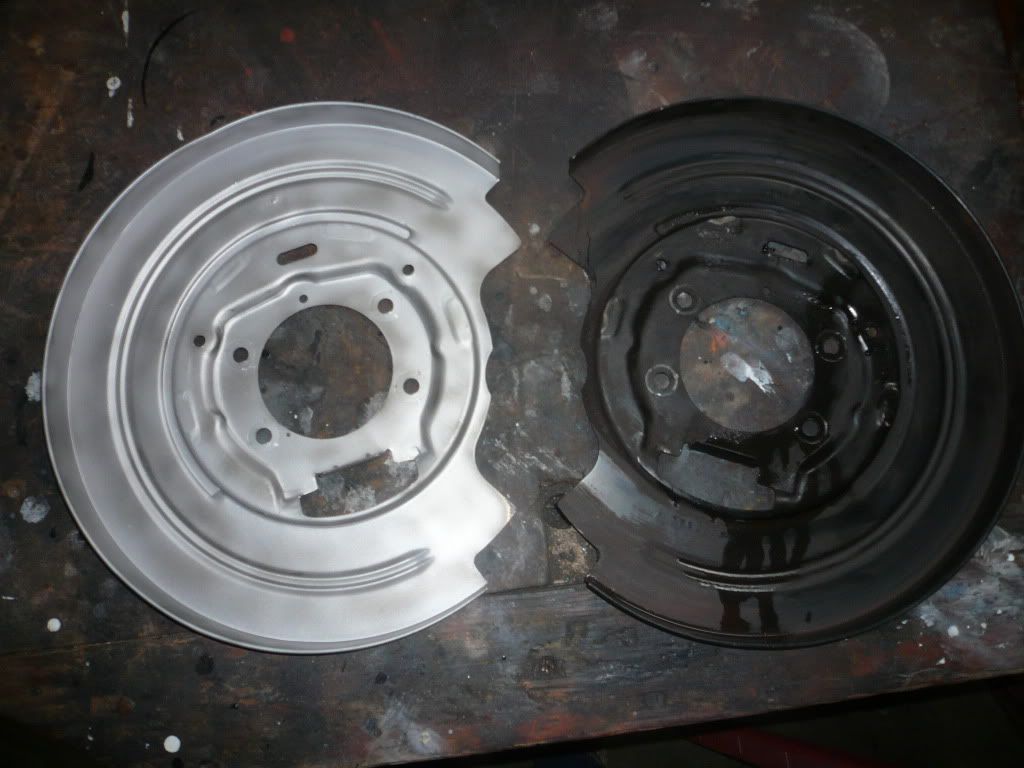
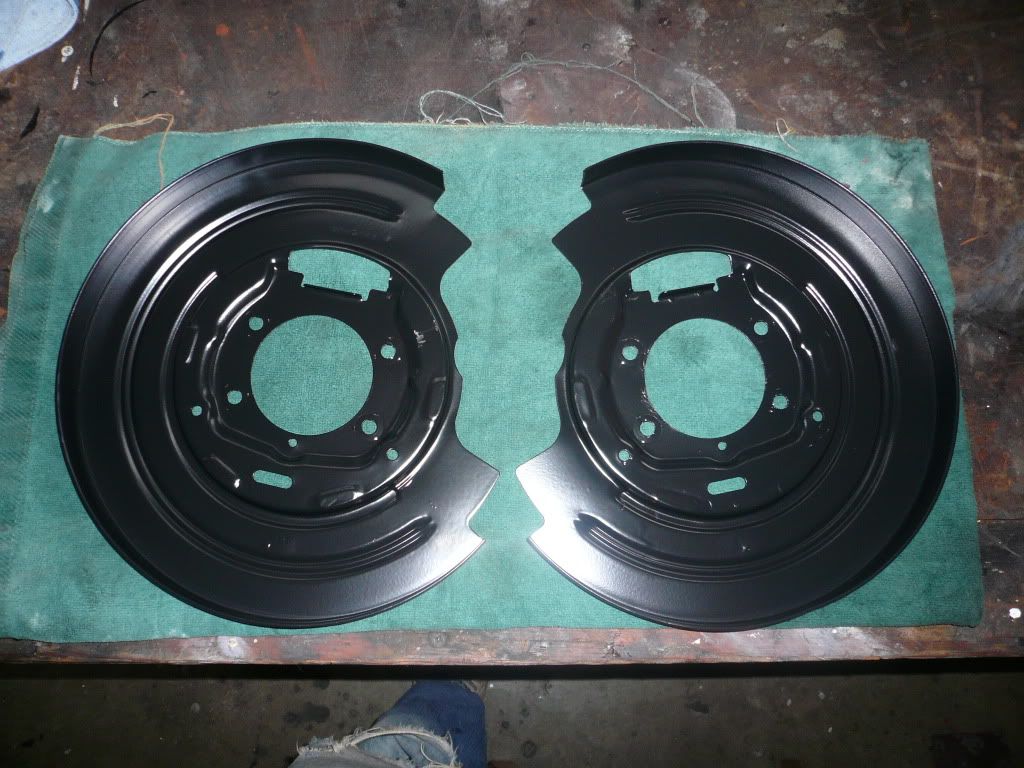
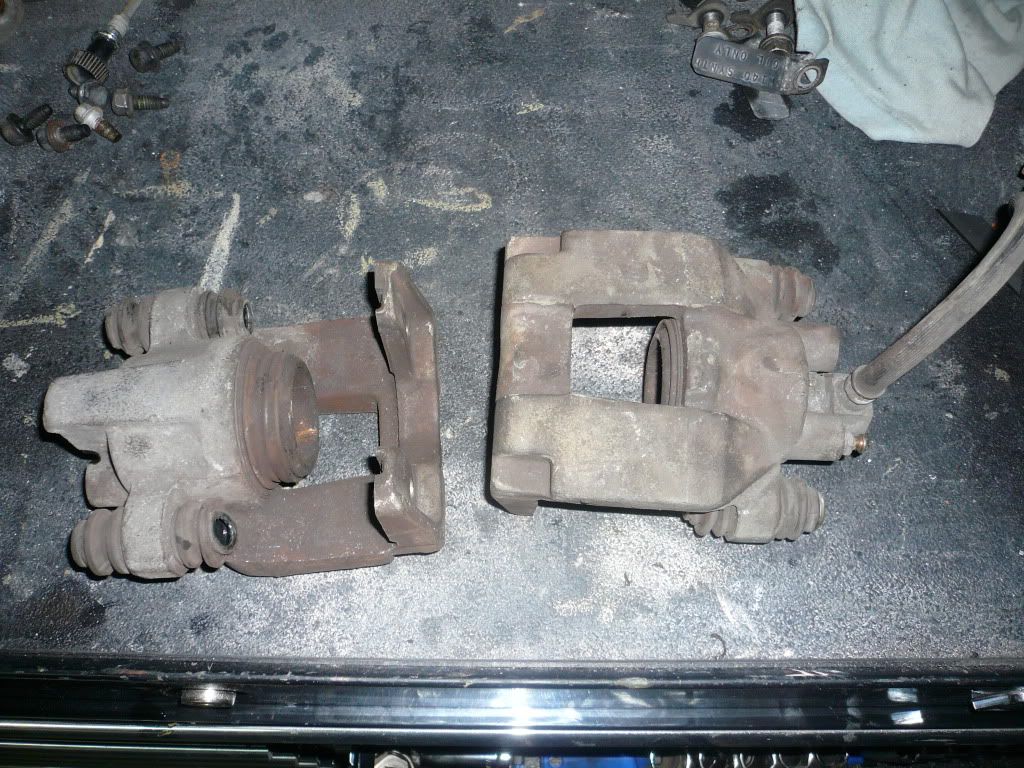
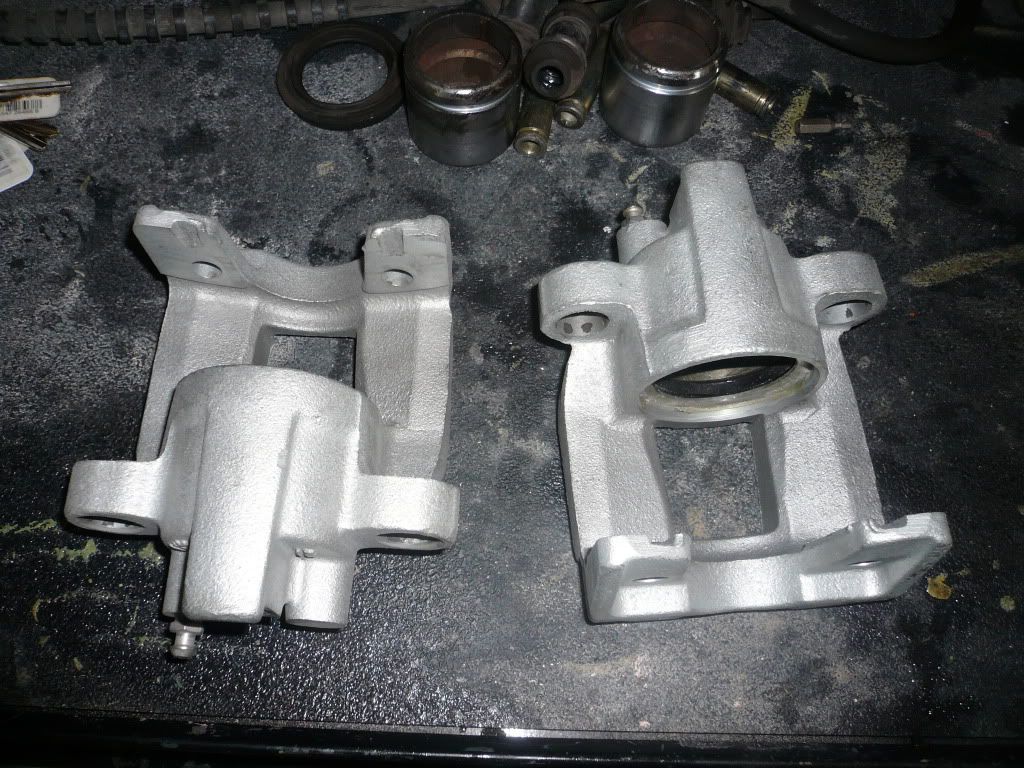
After that i removed all the rest of the brackets and sanded down the axle tubes to get rid of little inconsistencies for measuring the tubes.
fbsuspension39.jpg

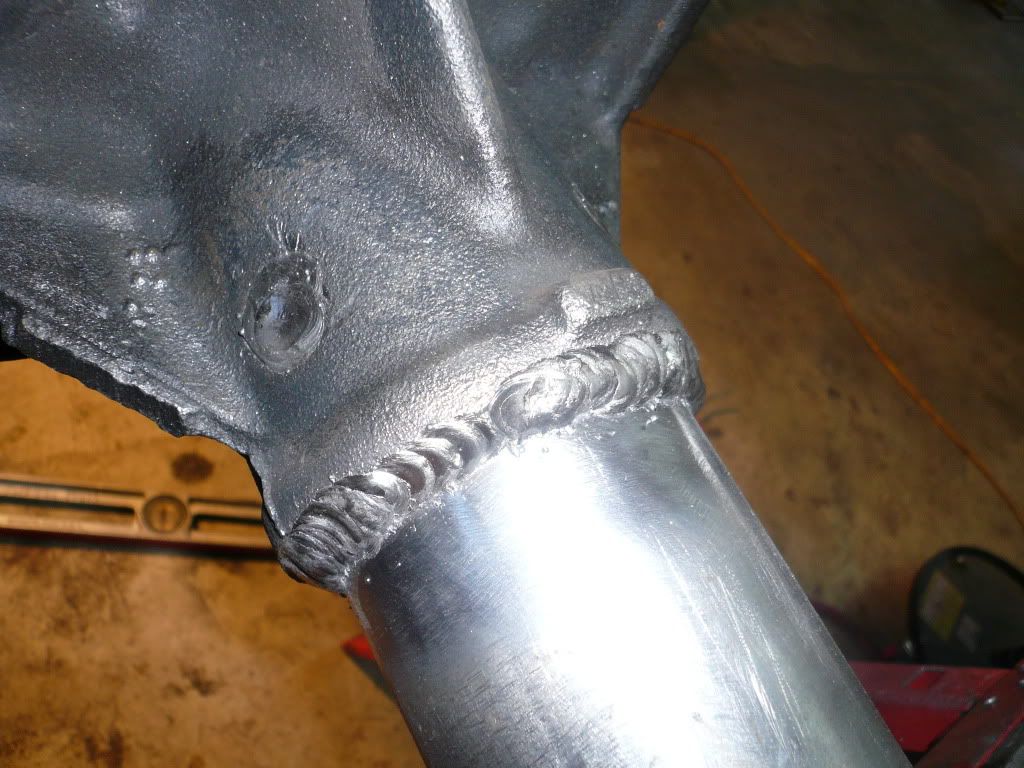
Cleaned up the edges where it will be welded
fbsuspension40.jpg

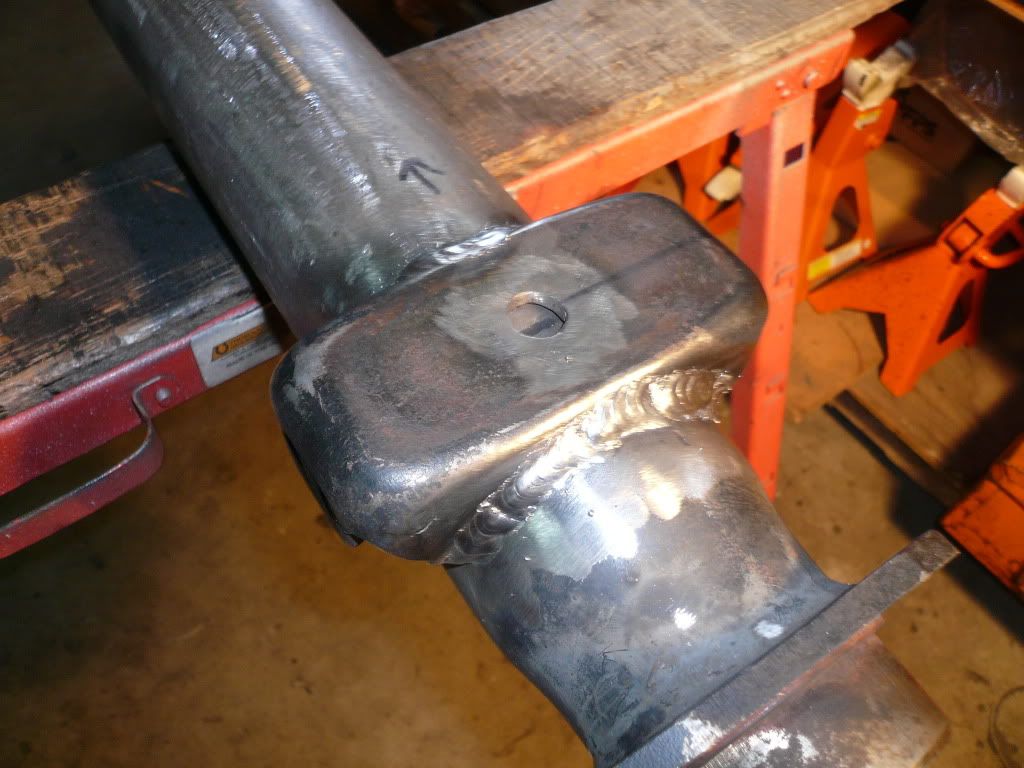
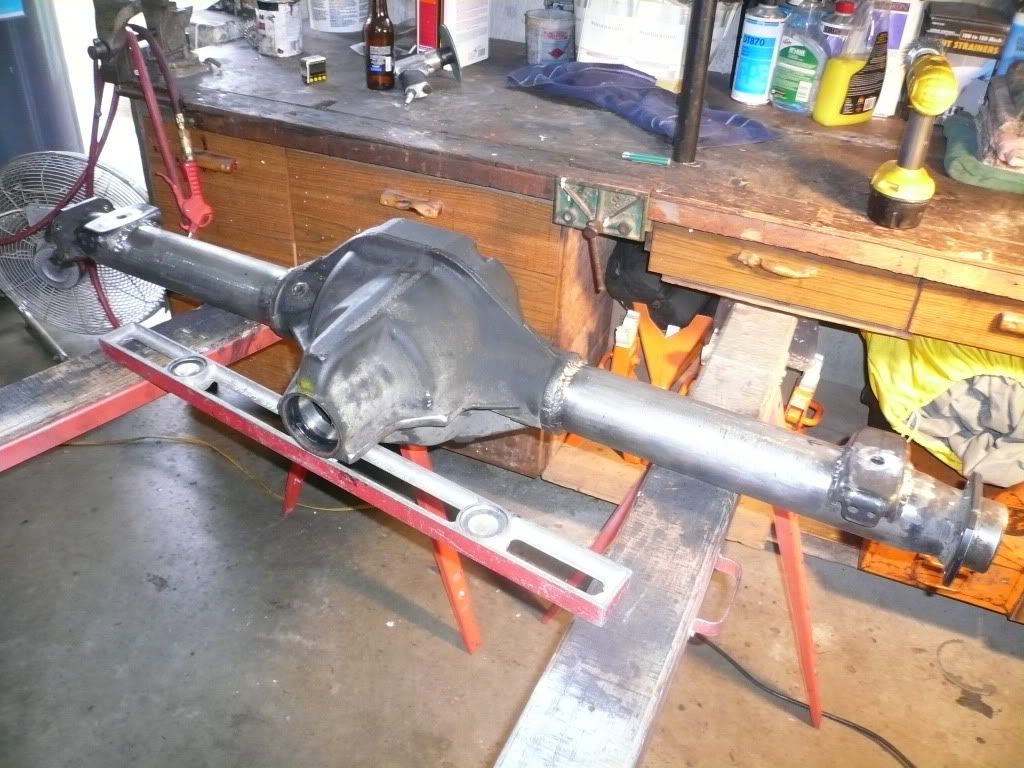
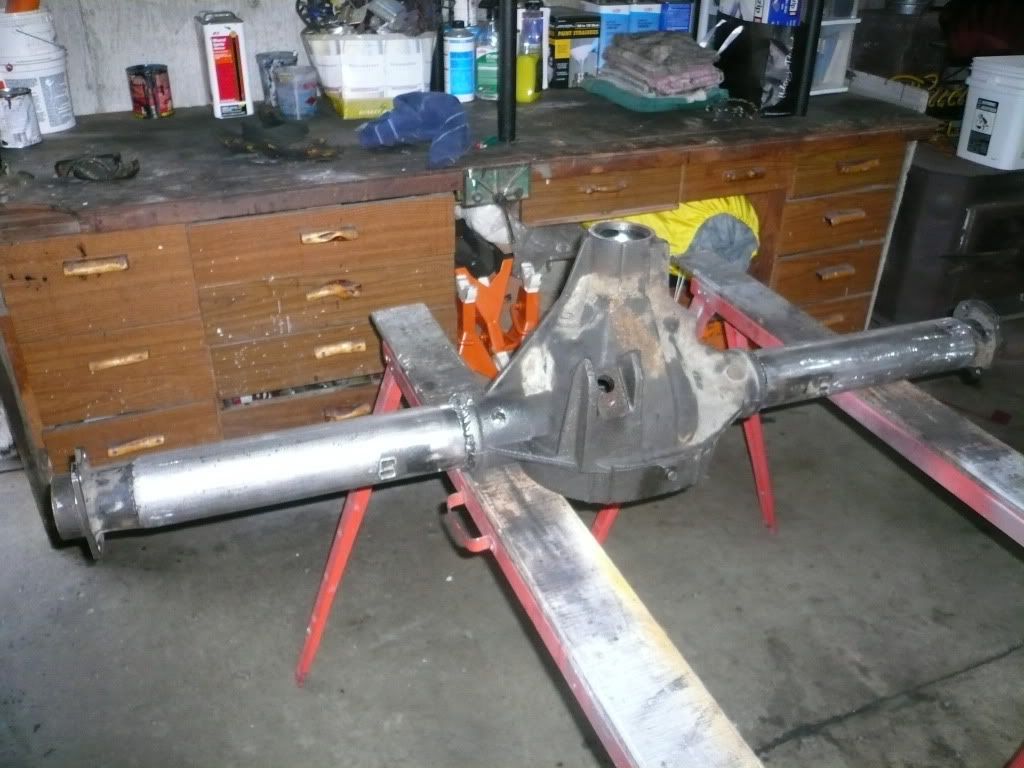
doing about 3/4 at a time i welded the tubes to the housing allowing plenty of time to cool between welds and constantly measuring the tubes with a digital angle finder to make sure the tubes don't move. I was successful in keeping the tubes from warping or moving.
fbsuspension41.jpg

fbsuspension42.jpg

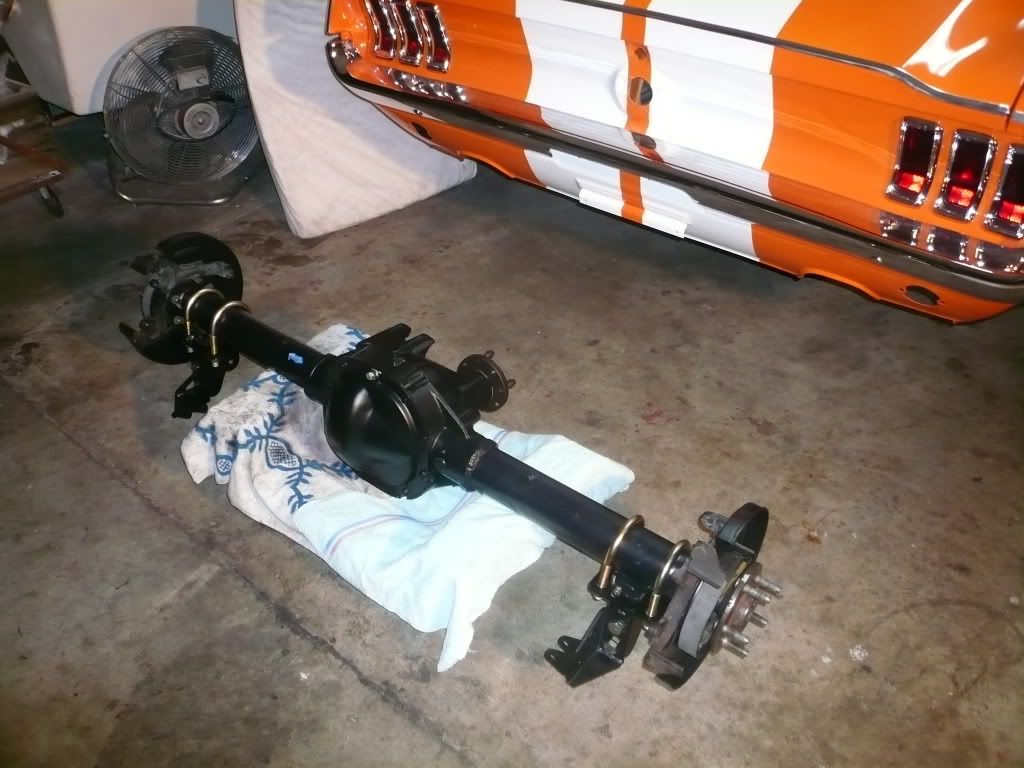
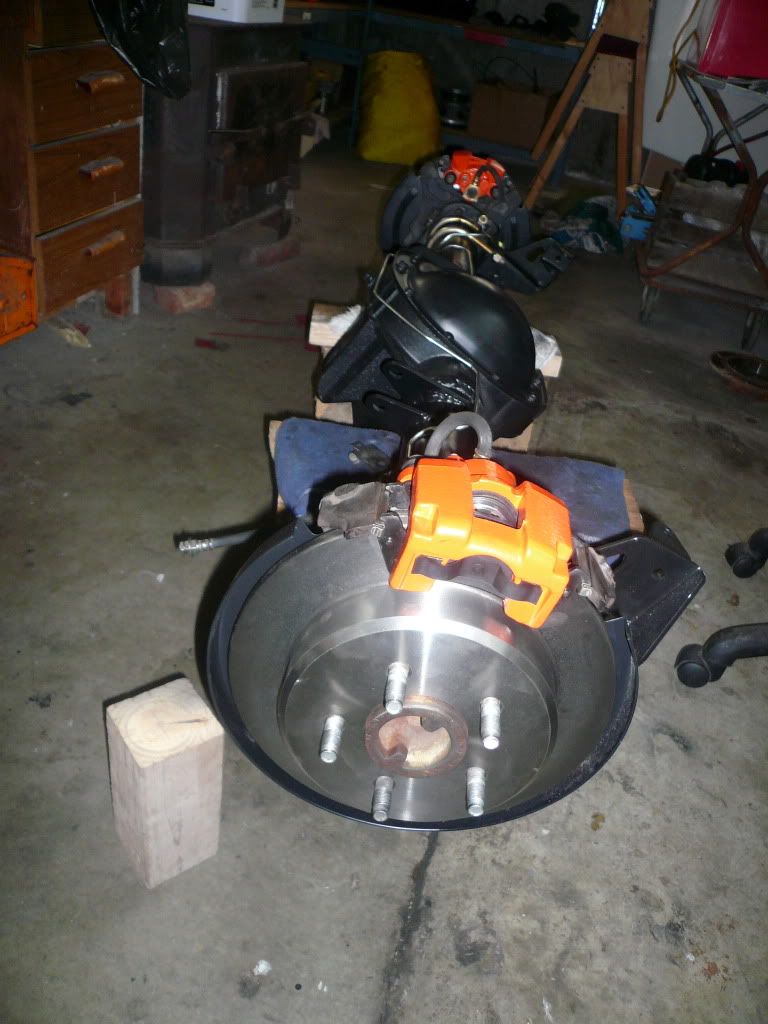
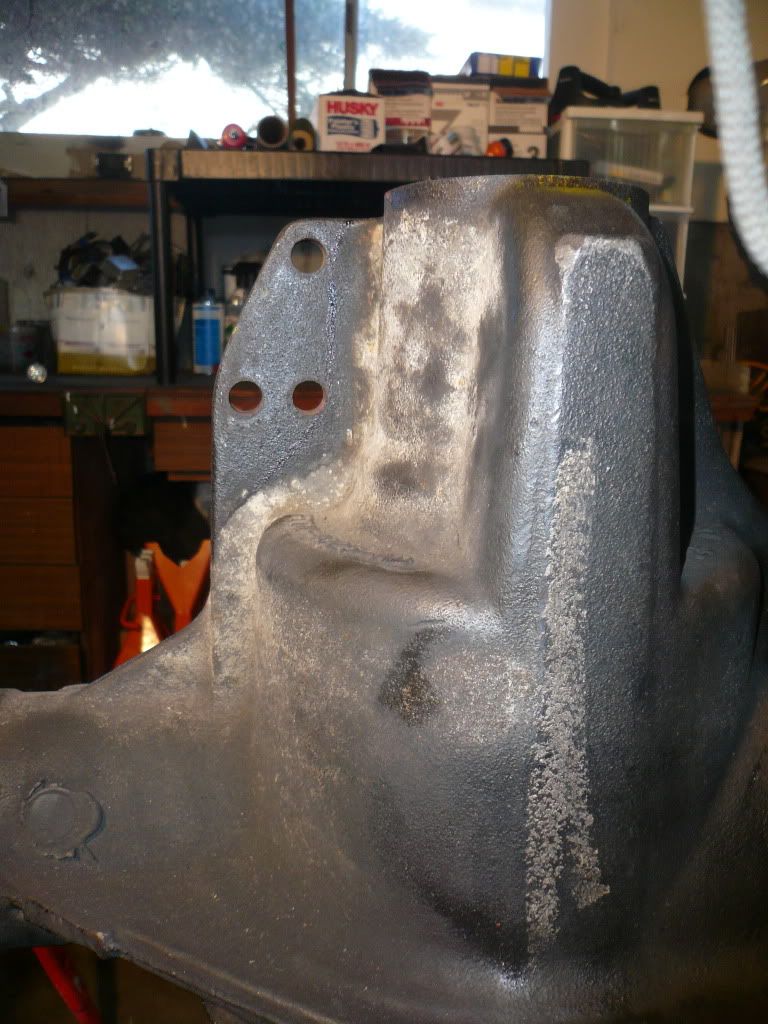
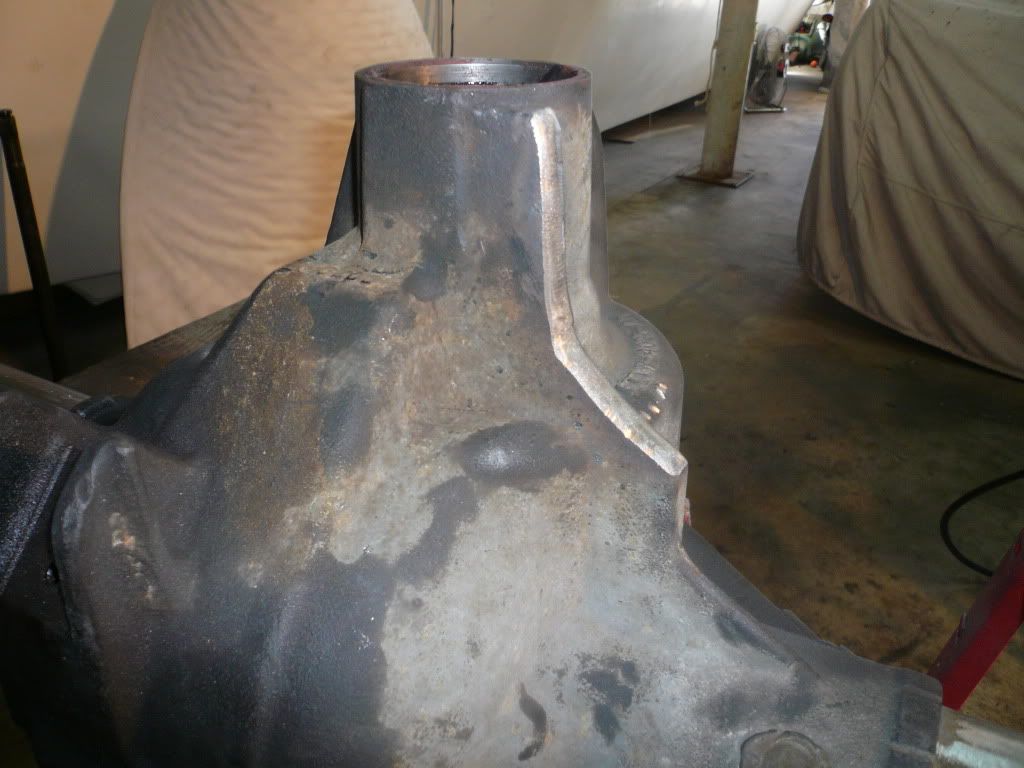
I then cut off the bracket location, this is not necessary i just didn't like it.
fbsuspension43.jpg

fbsuspension44.jpg

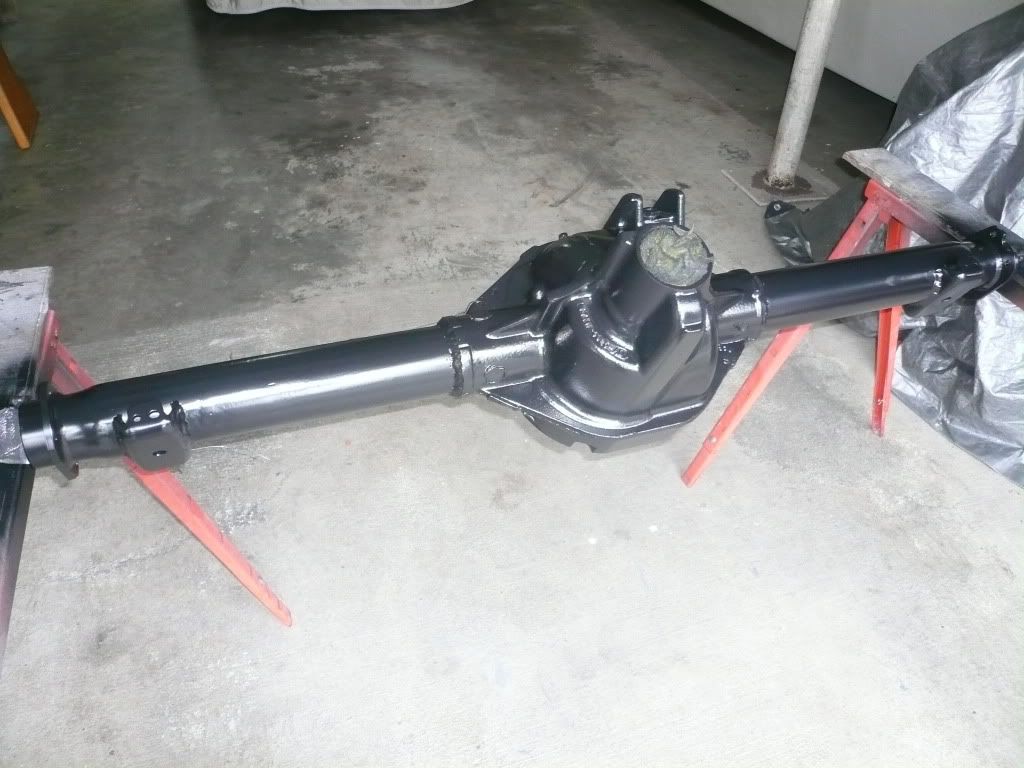
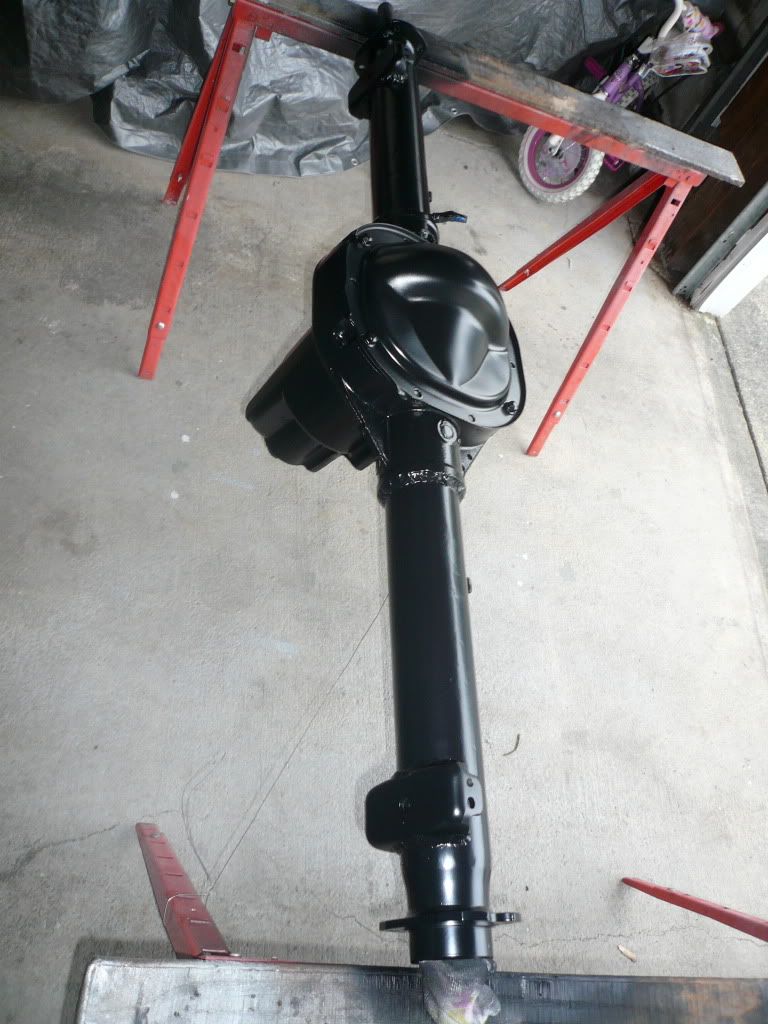
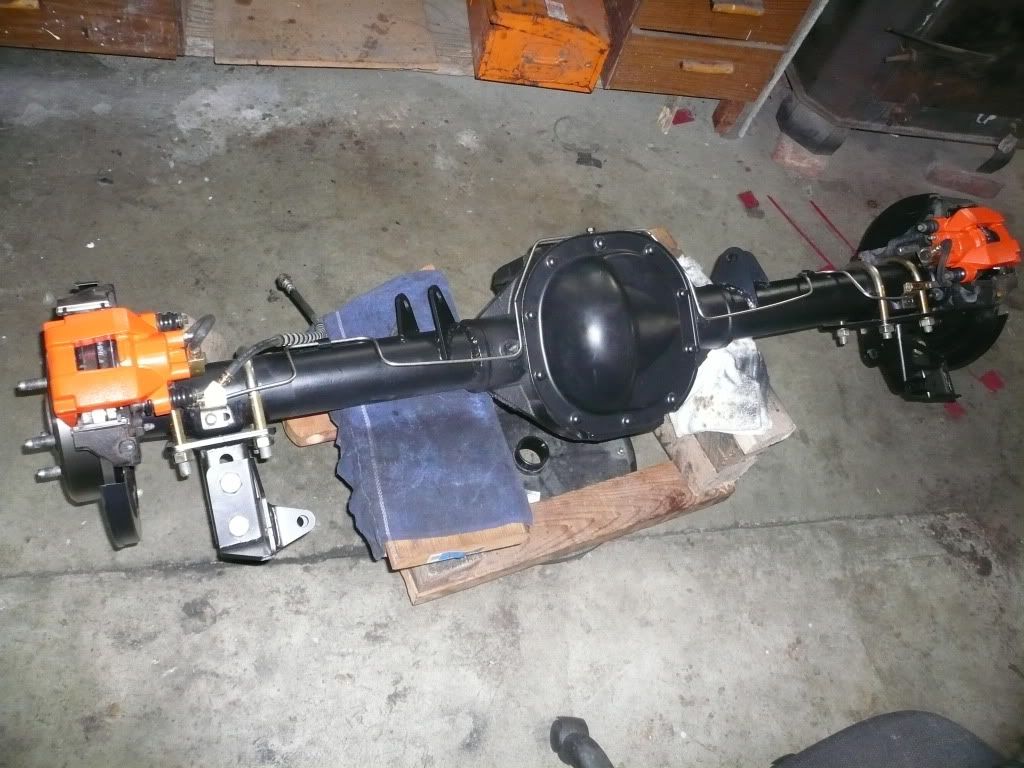
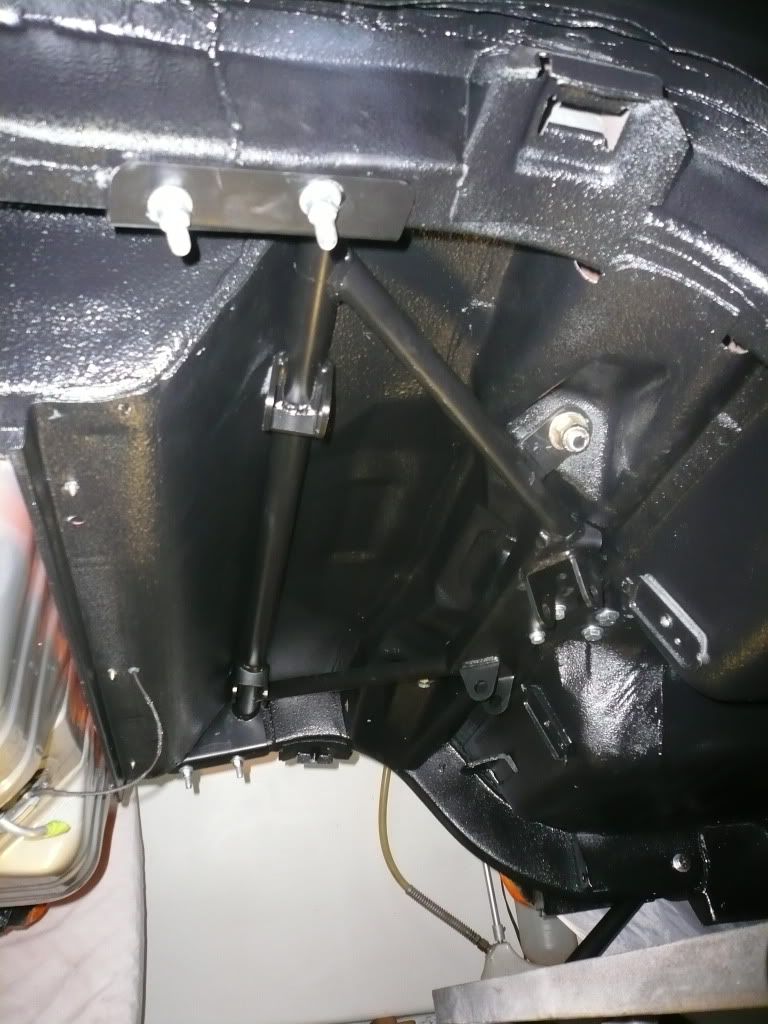
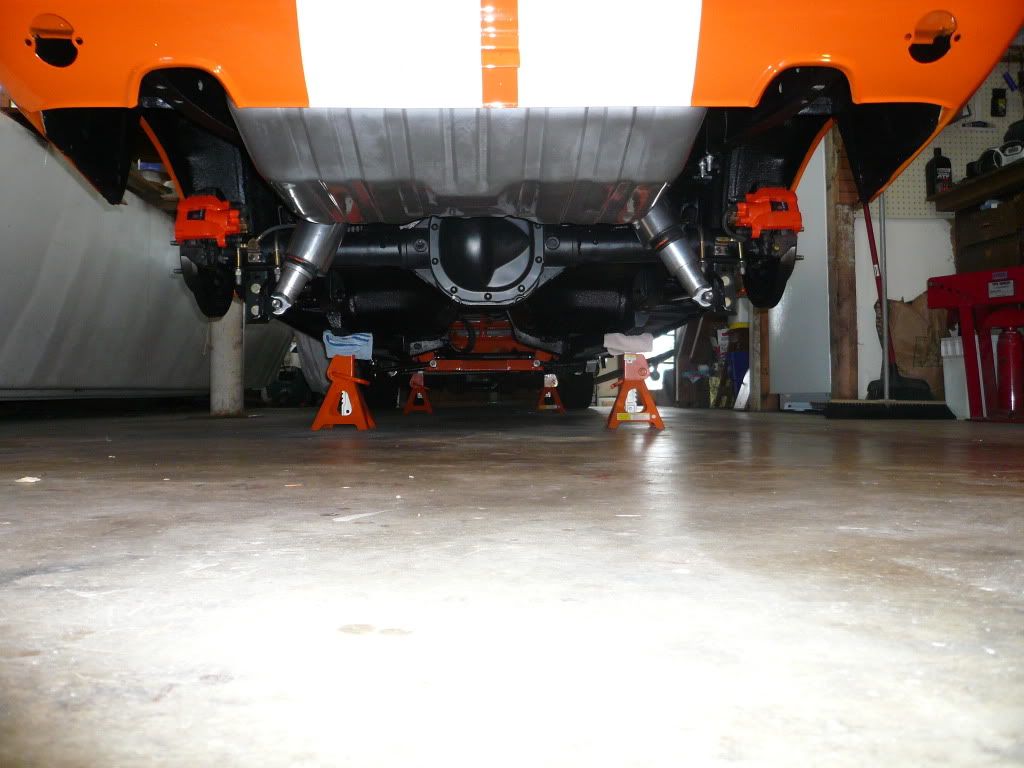
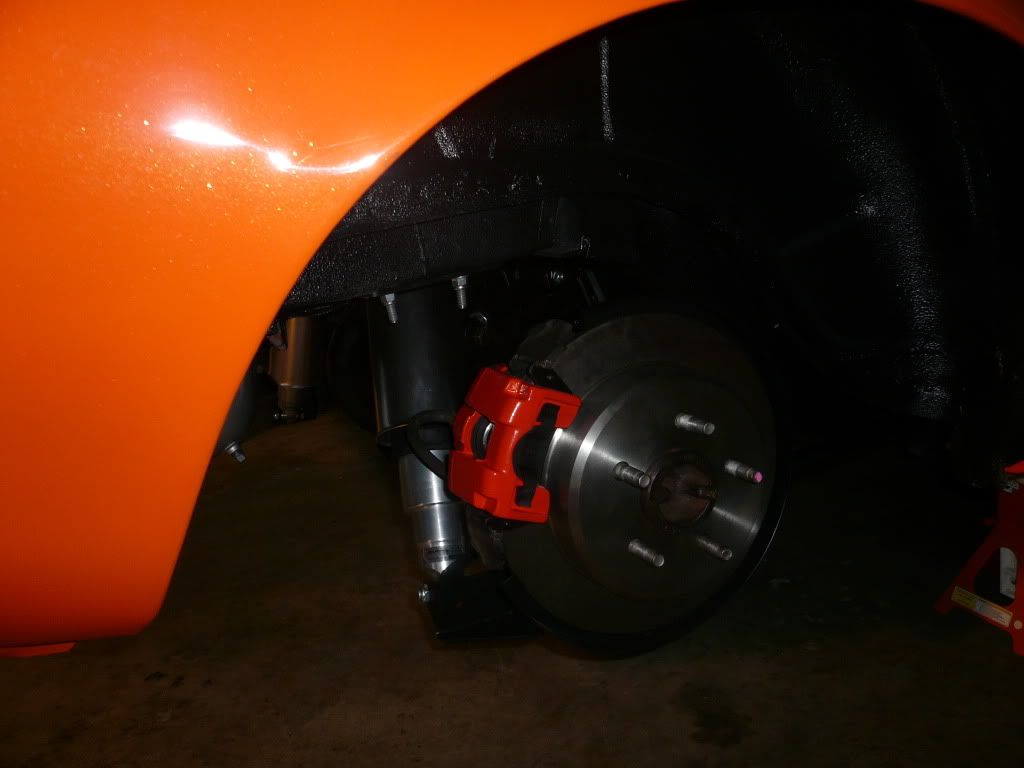
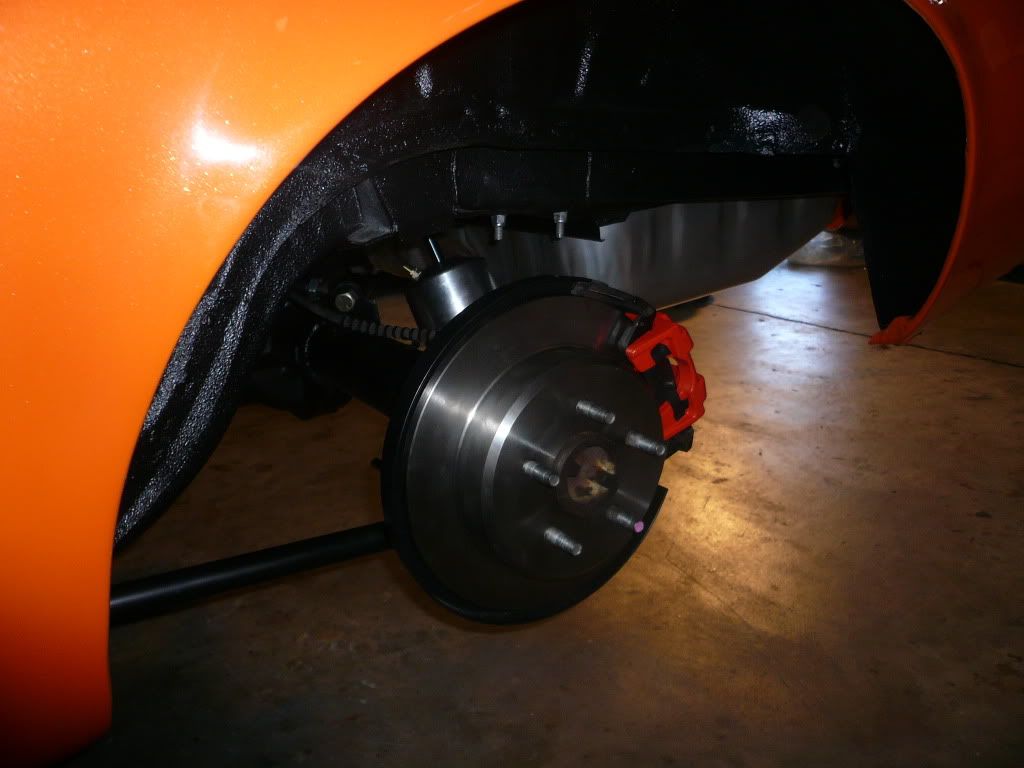
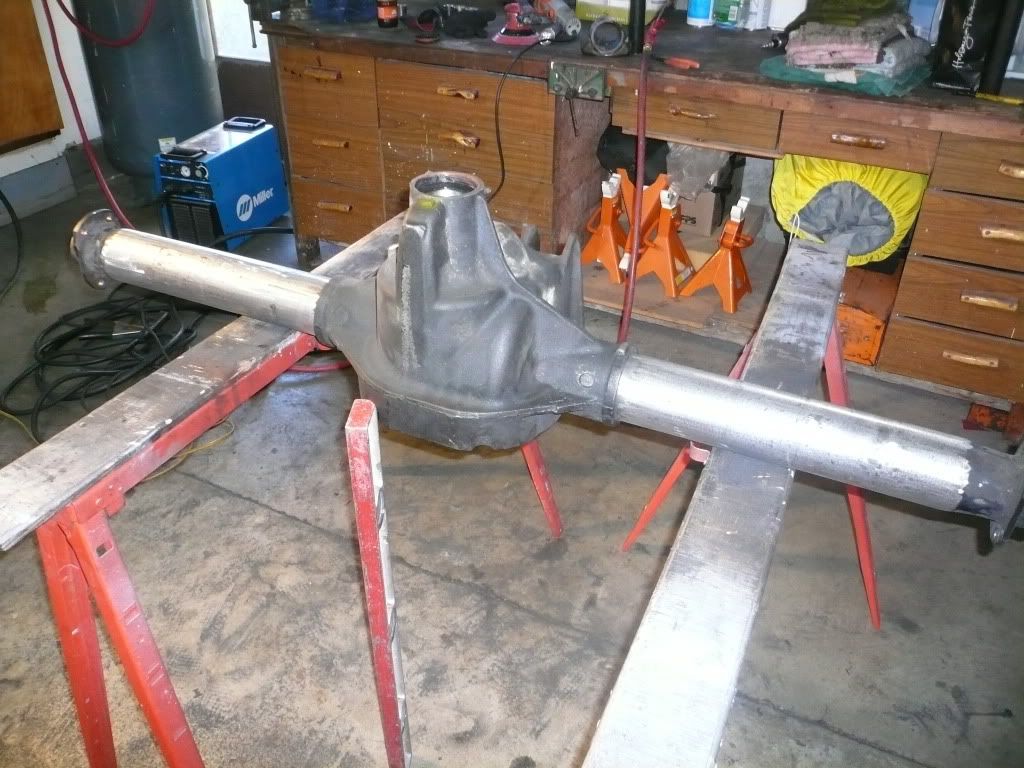
Here it is as it sits now,
fbsuspension45.jpg

I'll update more as it comes along.
Cost so far
Complete rear end: $150
Short side axle: $17
 
Last edited by a moderator:
Re: Explorer 8.8 build DIY

damn...speechless..want todo mine lol...looks like all you have left todo is just remount the spring perches but i am sure you are going to test fit it in the 65-6 and tact the perches where you need them and then go back and reweld the perches and then make the exterior look pretty and then reassemble the rearend with new gaskets, seals and bearings...
 
Re: Explorer 8.8 build DIY

That is the plan only its going into a 67 not a 65-66. I wanted something a little narrower than stock so that was a bonus with getting rid of the pinion offset and its added angle.
 
Re: Explorer 8.8 build DIY

i dont have the rear end yet so i am not sure exactly how much i am needing to cut off the tube to fit in my 65. I understand the use of another short side exploder axle will work just fine unless I want to use currie axles
 
Re: Explorer 8.8 build DIY

"fordrule" said:
i dont have the rear end yet so i am not sure exactly how much i am needing to cut off the tube to fit in my 65. I understand the use of another short side exploder axle will work just fine unless I want to use currie axles

I'll measure when its all put together to confirm but here is what i get out of it. 65 is 57 1/4 the explorer is 59 1/2. i took off 3 inches making it 56 1/2 so that would would put it 3/4 shorter than ur stock axle, 3/8 shorter on each side. not to bad. if ur going with currie or something to that affect you should be able to get the axles in any length so you could narrow it to exactly 57 1/4
 
Re: Explorer 8.8 build DIY

this is a really cool thread and even though I probably won't do a 8.8 myself it's neet to see. However, I gotta ask, what is going on the with the foot in this picture?
fbsuspension27.jpg
 
Last edited by a moderator:
Re: Explorer 8.8 build DIY

"tarafied1" said:
this is a really cool thread and even though I probably won't do a 8.8 myself it's neet to see. However, I gotta ask, what is going on the with the foot in this picture?
fbsuspension27.jpg

HAHAHAHA I didn't even notice that was the one i put in, that was my gf attempting to screw up all my photo shots, looks like she succeeded in one! how bout the little rat dog under her to boot!
 
Last edited by a moderator:
Re: Explorer 8.8 build DIY

Nothing is screwed up....just another picture of a rear end. She could at least pick more interesting body parts to randomly expose in your pictures...... As for the rat dog....well, it is a rat dog.....
 
Re: Explorer 8.8 build DIY

I told her next time there better at least be a little leg in it!

Got a little work done yesterday and today.

I'm using the old abs sensor as a fill, i welded up the bolt hole then threaded the sensor hole which i will use a bolt in place for filling the diff up.
fbsuspension46.jpg

fbsuspension47.jpg


I decided to use the old spring perches, 2 reasons: save me $20 and i wanted to use them so i could keep the original brake mounting points so i wouldn't have to fab something up. i did have to close the mounting hole up a bit so there wasn't any play
fbsuspension48.jpg

fbsuspension49.jpg


I then welded em at 3* positive or up whatever u wanna call it using a digital angle finder. same way as before, 3/4 at a time
fbsuspension50.jpg

fbsuspension51.jpg


Today i sand blasted it, btw cast is a b*#ch to blast
fbsuspension52.jpg

fbsuspension53.jpg


Then 2 coats epoxy primer till i decide what i want to do for color, i'm stuck between a gloss black and the orange of the car
fbsuspension54.jpg

fbsuspension55.jpg
 
Last edited by a moderator:
Re: Explorer 8.8 build DIY

Great write up, the rear end looks great... So for less than $200 you've got a restored shortened, disk brake, 31 spline, 3.55/3.73 equipped traction lok... nice!!!
btw... keep it black - looks perfect and will compliment the orange...
 
Re: Explorer 8.8 build DIY

Thanks for the words guys, stangg i'm going to take and use ur opinion, i'm pretty positive ur right. Got some updates on the rear for ya


Sandblasted the dust shields
fbsuspension56.jpg


two coats epoxy primer
fbsuspension57.jpg


New axle housing bearings and seals
fbsuspension58.jpg


I pressed them in using a BFH, a 2X4 wrapped in a towel and the old bearing to get them completely seated. Tested tried and true method!
fbsuspension59.jpg


New pinion seal and parking brake shoes
fbsuspension60.jpg


Pressed the seal in using that same BFH and 2X4
fbsuspension61.jpg


Installed the bracket, dust shield and parking brake components
fbsuspension62.jpg


Installed the pinion, diff and axles per the manual. everything went in with ease
fbsuspension63.jpg


The brake calipers were in very good shape, just extremely dirty
fbsuspension64.jpg


I disassembled em then blasted them
fbsuspension65.jpg


I then powder coated them with some of the leftovers from the front calipers and rebuilt them
fbsuspension66.jpg


Almost done, just need to throw the diff cover on, get new rotors and pads and fill her up

Total cost so far (actually lookin at receipts this time)
Complete rear end: $152.98
Another Short Side Axle: $17.28
2 Wheel bearings and seals: $ 43.78
Pinion Seal: $4.99
Parking brake shoes: $20.99
Gear lube(2 qrts could go up we'll see): $37.98
Friction Modifier: $6.49

Total Cost so far: $284.49
 
Last edited by a moderator:
Re: Explorer 8.8 build DIY

Thanks Robert, yeah, ripoff!!!!

Yet another update, the last actually

I'm installing a 4-link so this might not apply to some.
I had to get the rear installed, set pinion angle and weld the brackets to rear for the 4-link.
fbsuspension67.jpg

fbsuspension68.jpg


After it was centered and the pinion angle was right i tack welded the brackets on and pulled her out to fully weld them. welded them the same as everything else 3/4 at a time allowing to cool between welds.
fbsuspension69.jpg


polished the brass on all the brake lines
fbsuspension70.jpg


I first touched up the paint then I assembled all the odds and ends, rotors, calipers and then also bent new ss lines since i'm going to be doing all new ss plumbing. the old line can be used with tweeking.
fbsuspension71.jpg

fbsuspension72.jpg


Going in for final install
fbsuspension73.jpg


Everything buttoned up
fbsuspension74.jpg

fbsuspension75.jpg

fbsuspension76.jpg


This is the ride hight with the bags fully decompressed with the crappy old small wheels that came with my coupe
P1030303.jpg


Total cost so far (actually lookin at receipts this time)
Complete rear end: $152.98
Another Short Side Axle: $17.28
2 Wheel bearings and seals: $ 43.78
Pinion Seal: $4.99
Parking brake shoes: $20.99
Gear lube(2 qrts could go up we'll see): $37.98
Friction Modifier: $6.49
New rotors/pads: $57.87

Grand Total: $342.36
Not bad at all

There ya have it. Hope this will help somebody out someday
 
Last edited by a moderator:
Back
Top