I thought I would start a build tread to keep all you E-car fans happy. Some of you already know how the story goes but for those that don’t here is the long and short of it.
I decided I wanted a Vintage Mustang 3-4 years ago so I went about researching it, I liked the 67-68 fastback the most but couldn't believe the price of these old rusted out cars. Mind you, it was a the peak of the Unique performance/Eleanor craze....My biggest problem was not finding the car but finding someone that would hold a car for me for 6-8 weeks until I got over to the US even with 8-10 other people knocking on their door with cash. So I eventually found a car in NC with a small garage called Piedmont Mustang. It was a 67 FB in need of a moderate amount of metal work. Duane went and checked it out for me, sent me pictures, it looked good and I took the plunge...I agreed with this guy that he would do all the metal work, media blast it and get it rolling on new suspension ready for shipping…I paid him for most of the parts and 50% of the labour up front…Unfortunately the guy decided to expand his “operation� half way through my build....he wasn't able to manage the additional staff/costs and went bust...he stopped answering his phone and I thought I had lost everything but with the help Duane again I managed to salvage my parts and my car from his place and get everything into a container heading across the Atlantic. So I was left with a half baked metal job and a project with a lot of parts missing and not to mention I lost $6k and took a huge dent in my motivation for the project but I had to move on. Thankfully I am making progress and the project is back on track.
A few thing I have learnt/realised so far when it comes to building one of these cars.…
Budgets and mustangs(especially E-cars) are two words that should never be used in the same sentence
Dead lines, see above
Chrome parts have a magical power over me. Even when I cant afford to buy them I do.
Building a vintage American muscle car in Ireland is a PITA. No garages, parts suppliers, help etc
Whenever people ask “when is she going to be ready� just say “Don’t worry I’ll take you for a ride when its finished�
Don’t rush into things…I have made a few costly mistakes already. (I have a 9� rear and 2 x 4 spd top loaders that are of little use to me)
I have probably posted some of these pics before but I wanted to start a dedicated build tread as I have actually starting doing some building…..
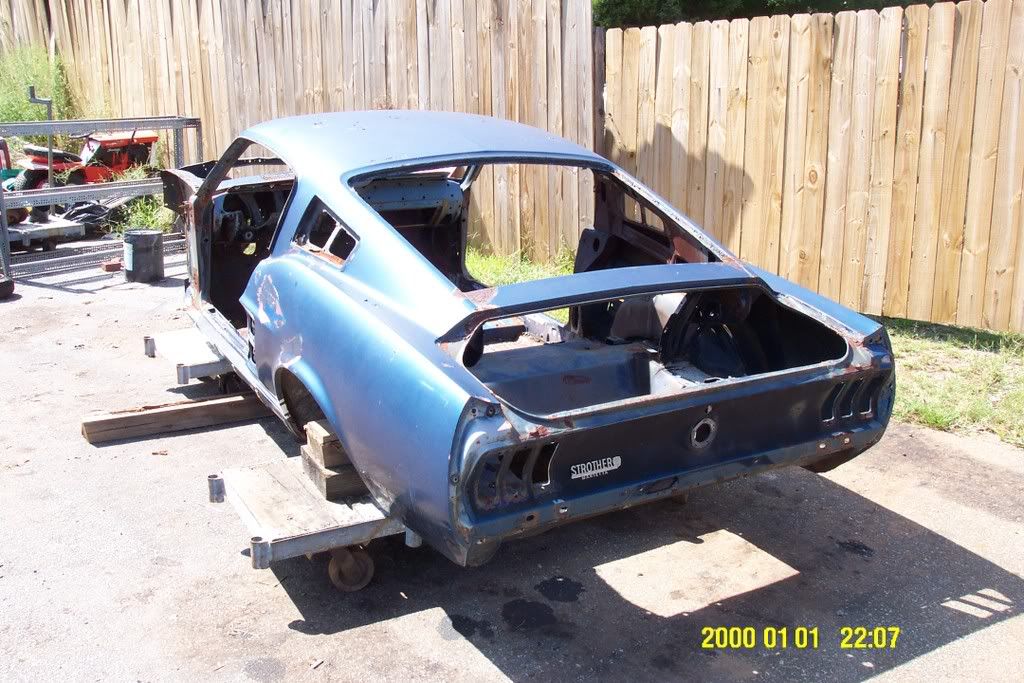
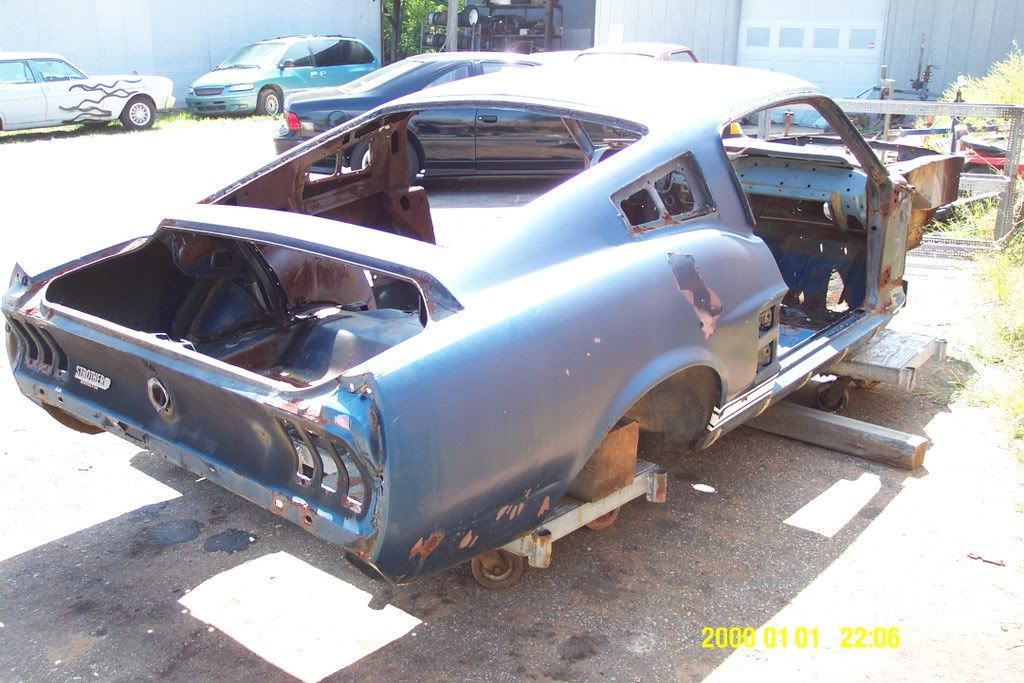
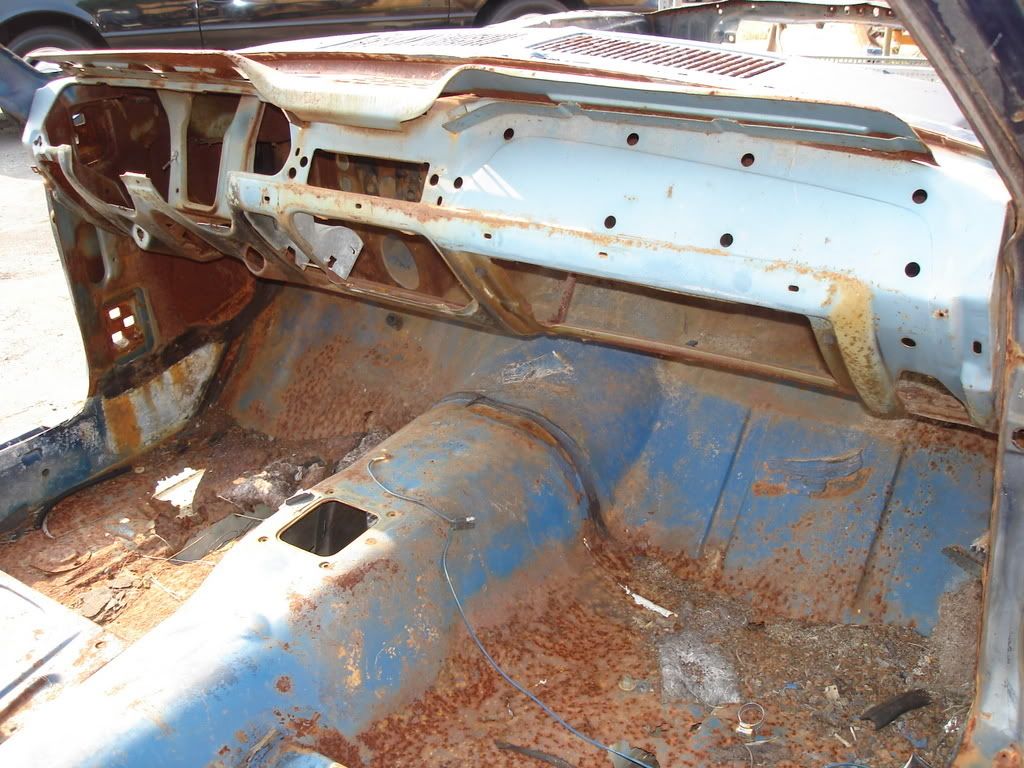
This is her as I bought her.
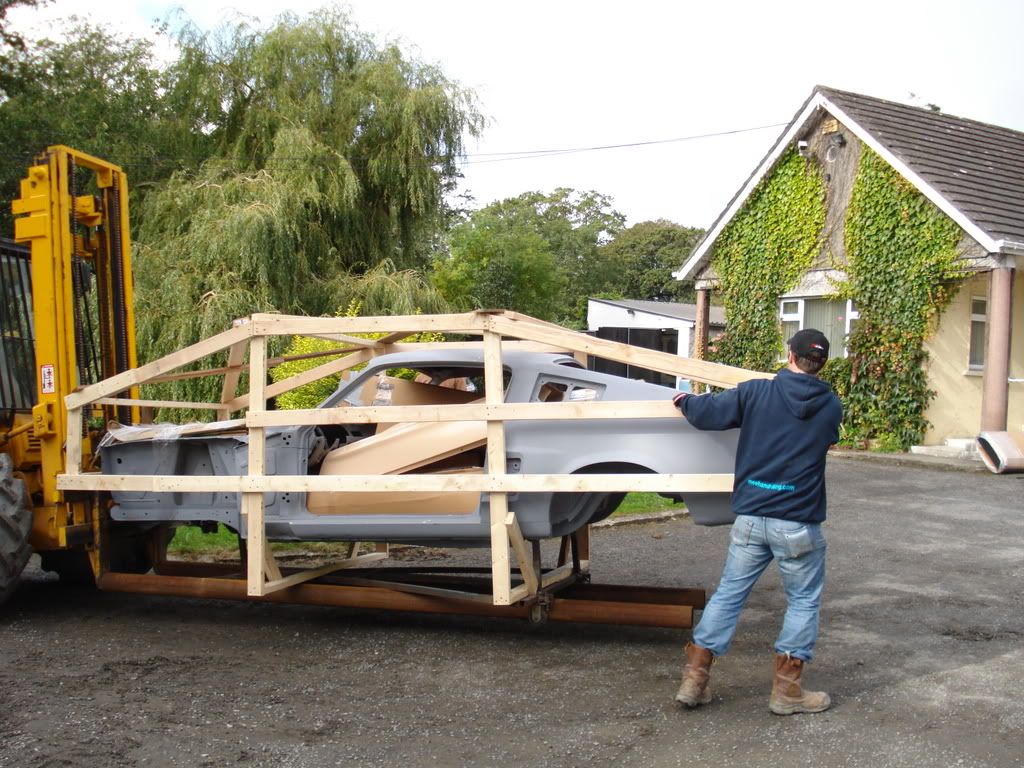
Getting her home

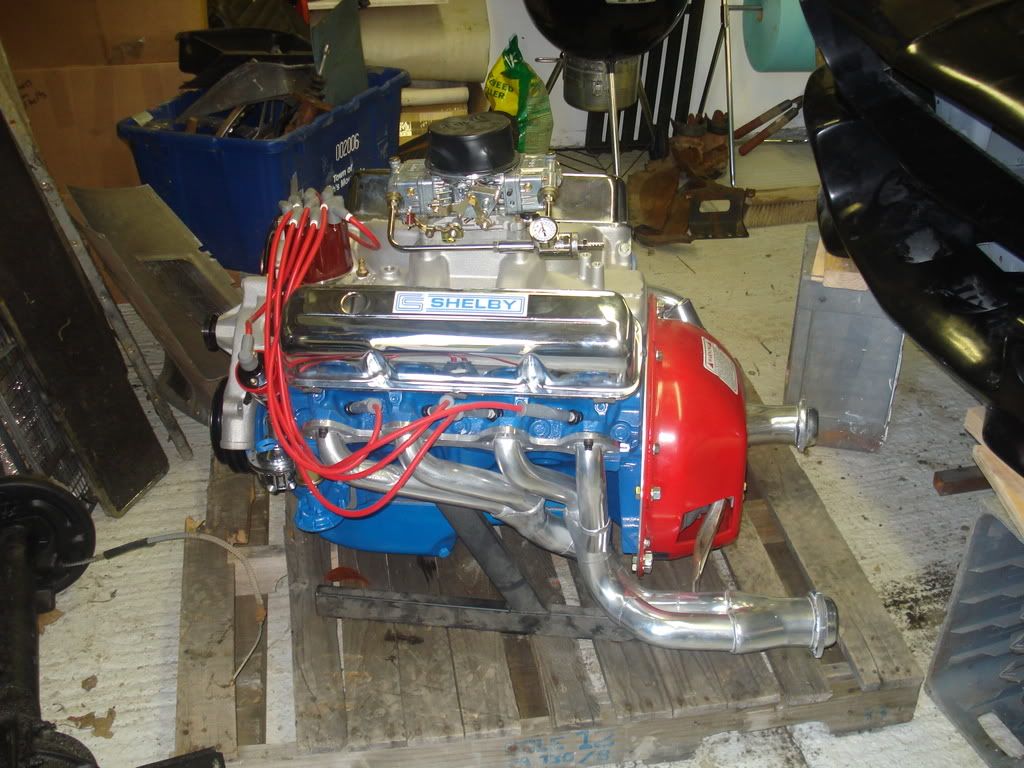
The 428
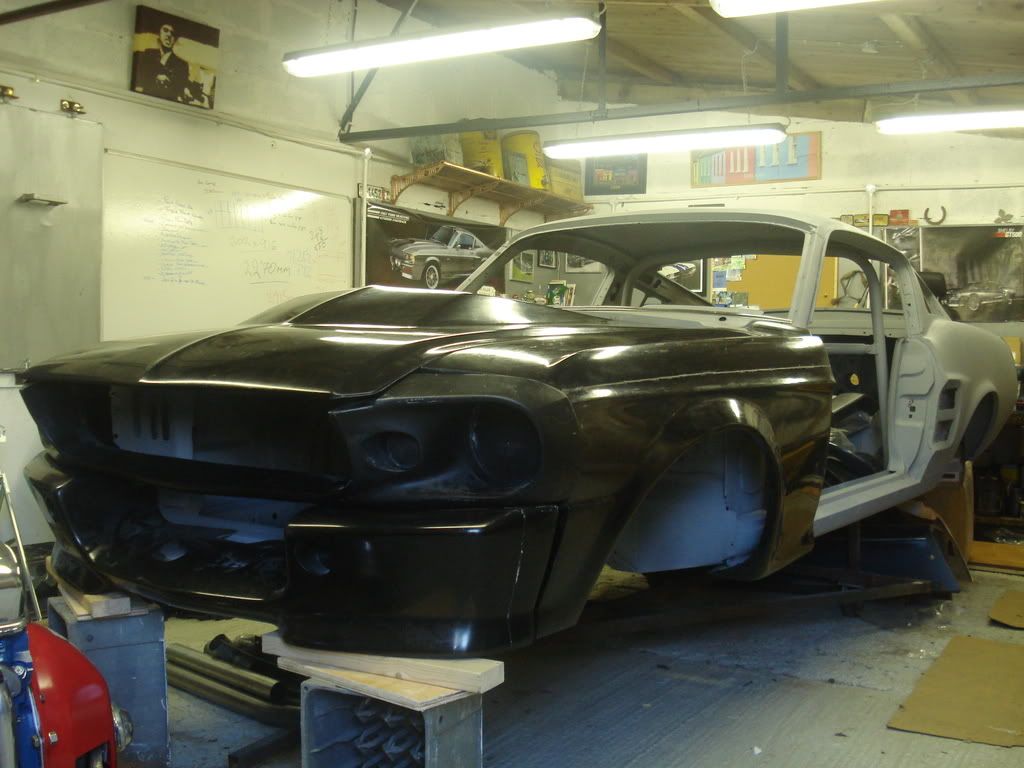
FG mock Up
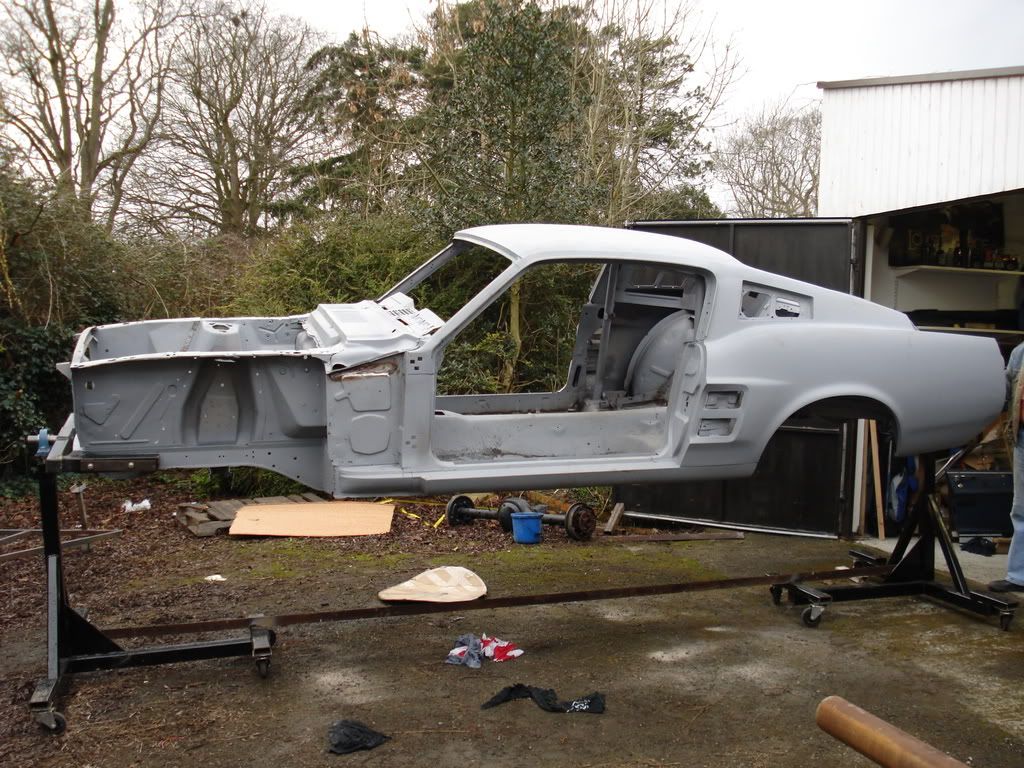
On the Rotisserie I built
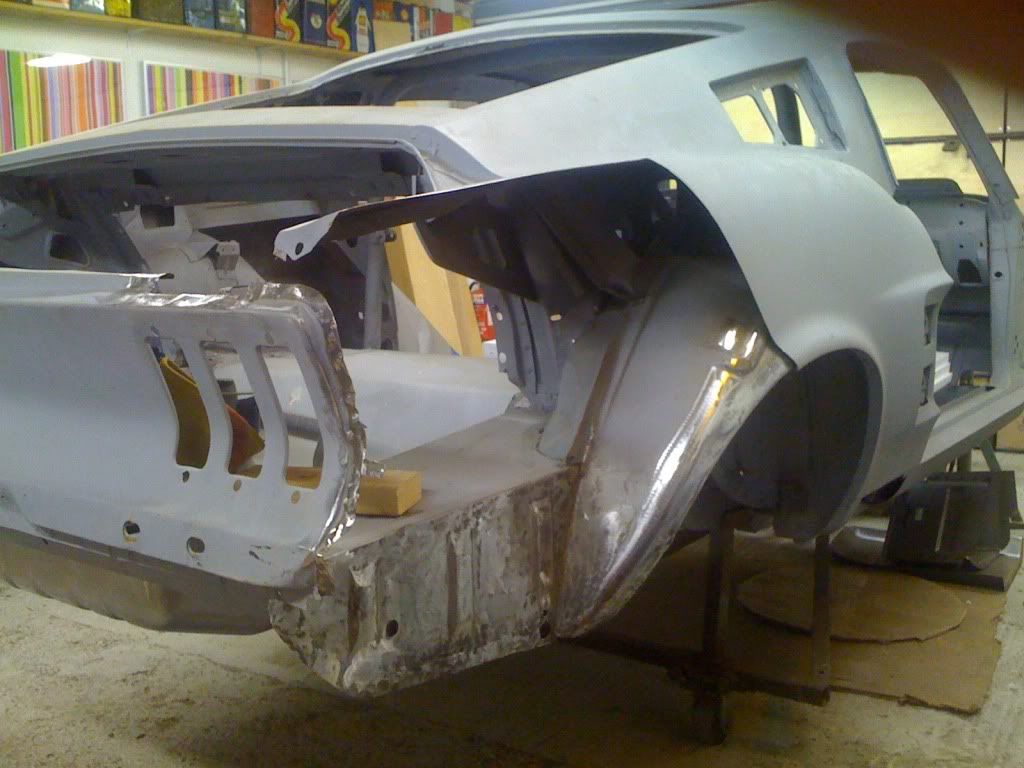
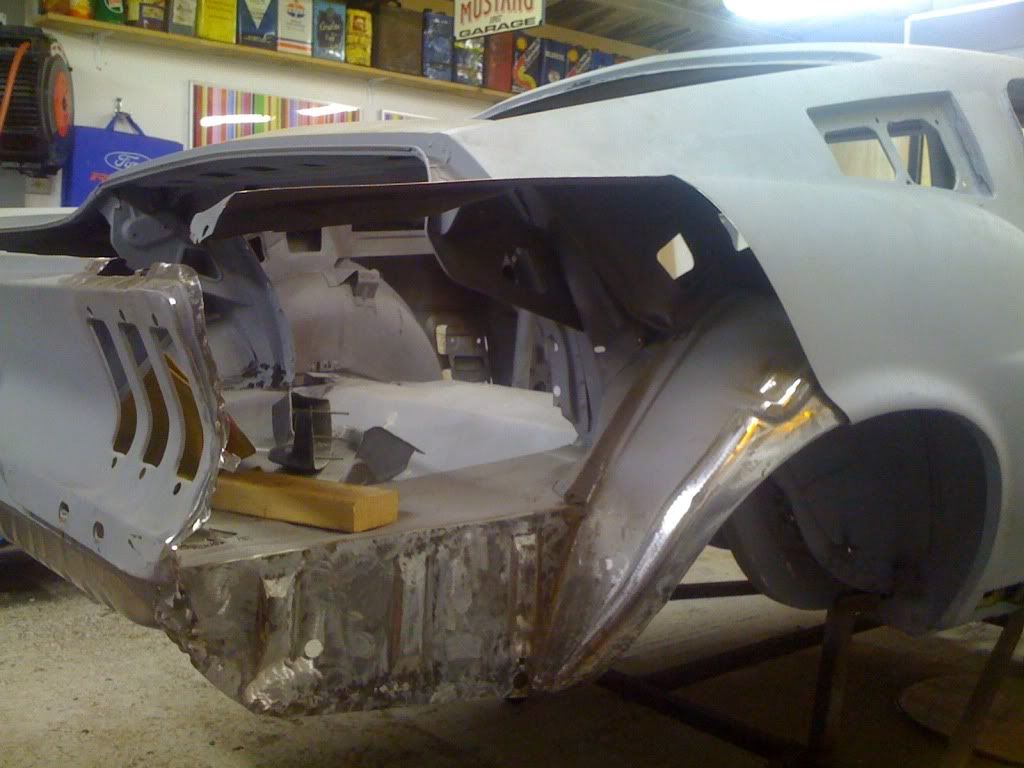
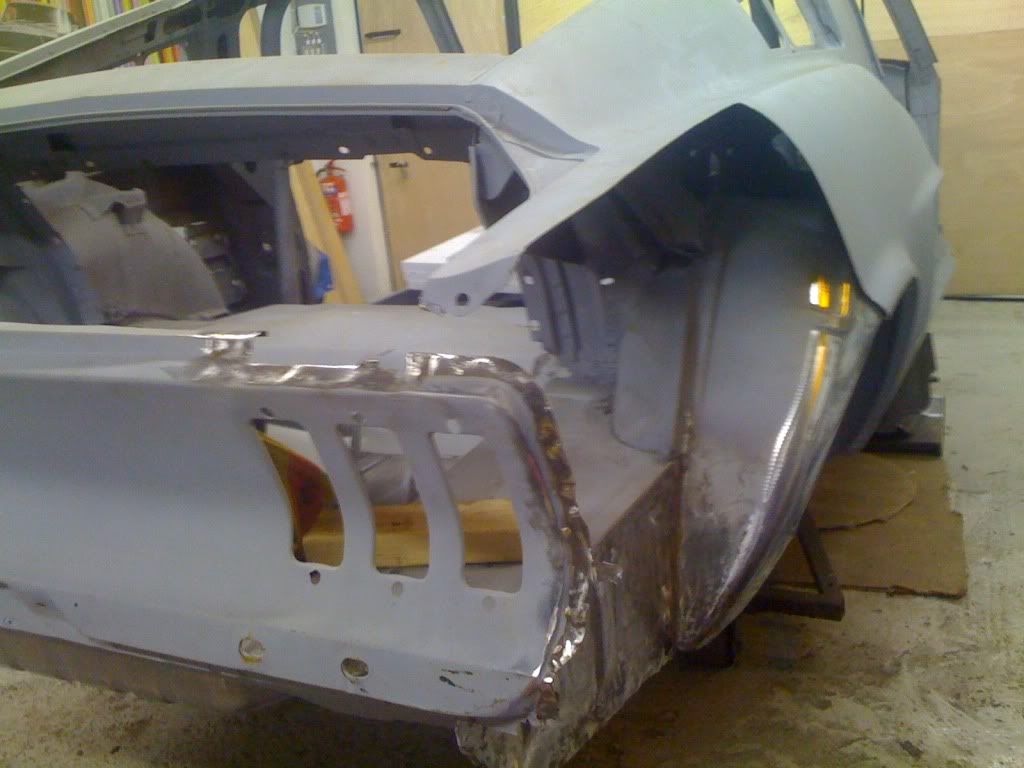
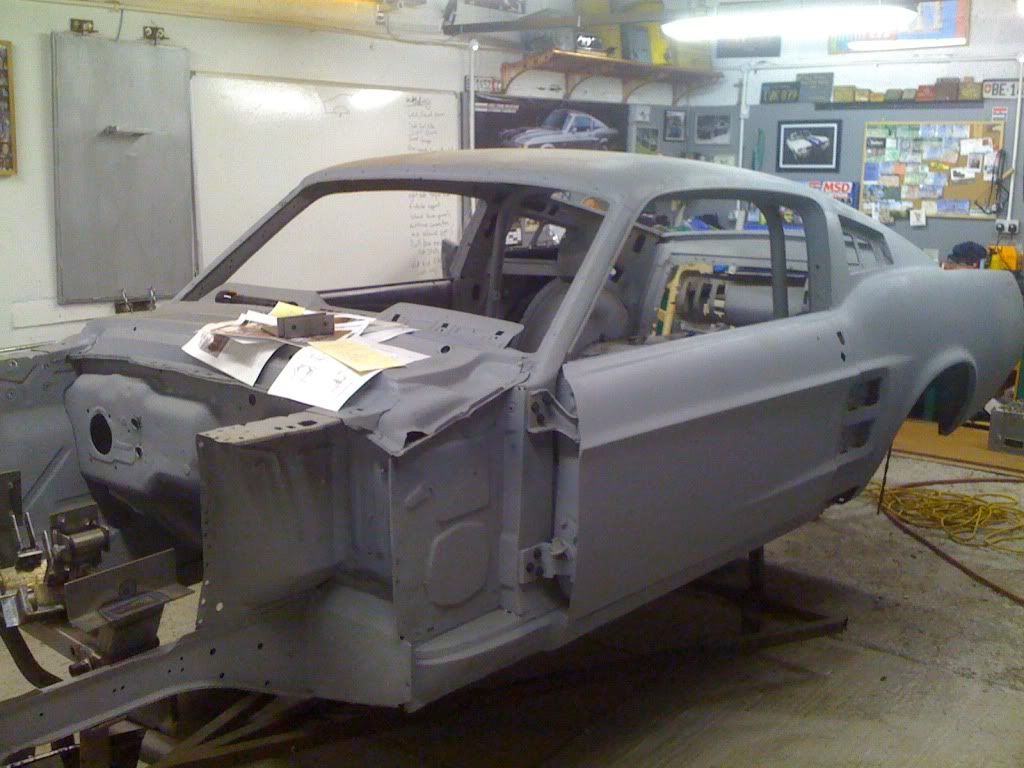
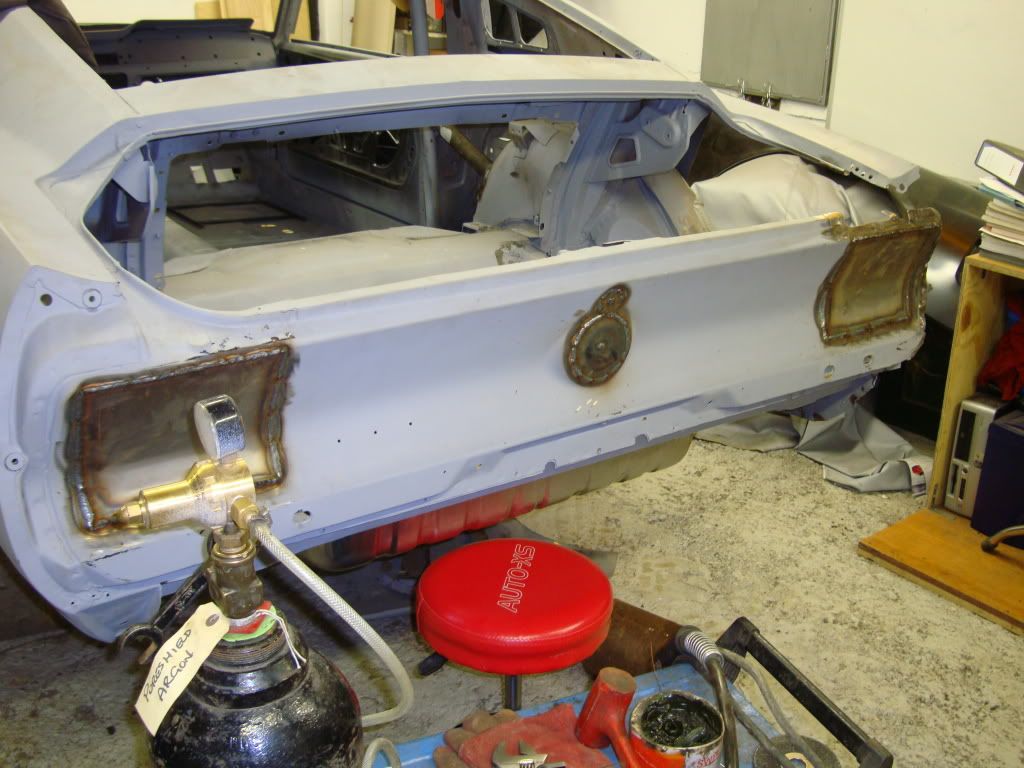
Back off the rotisserie for front metal work
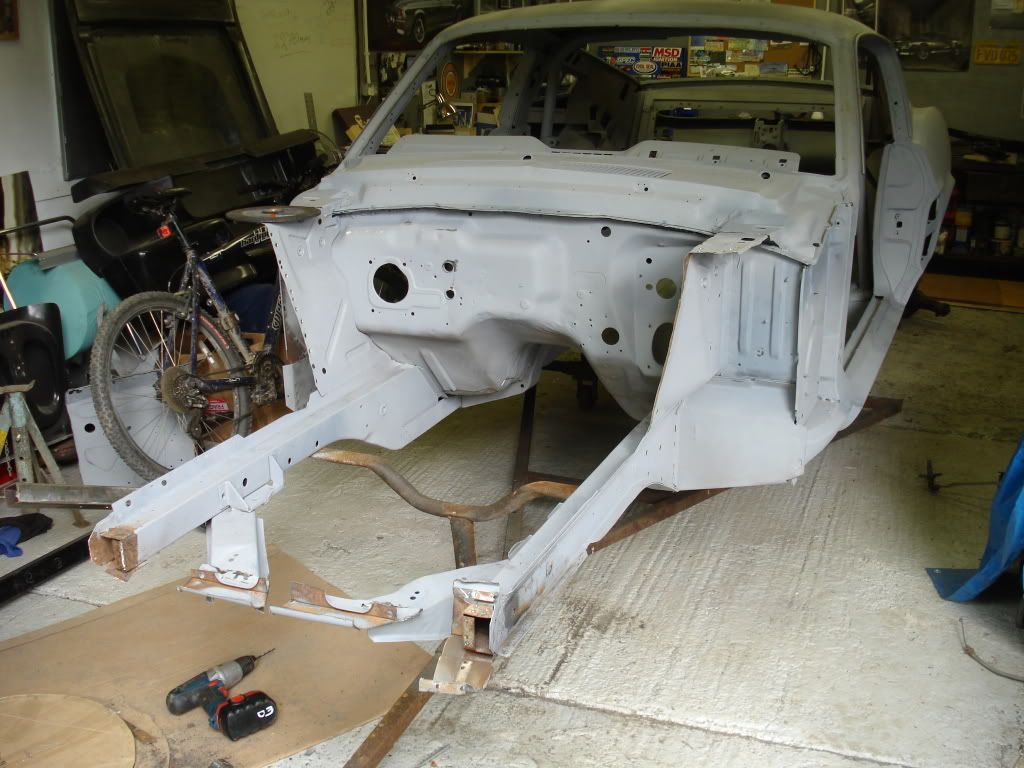
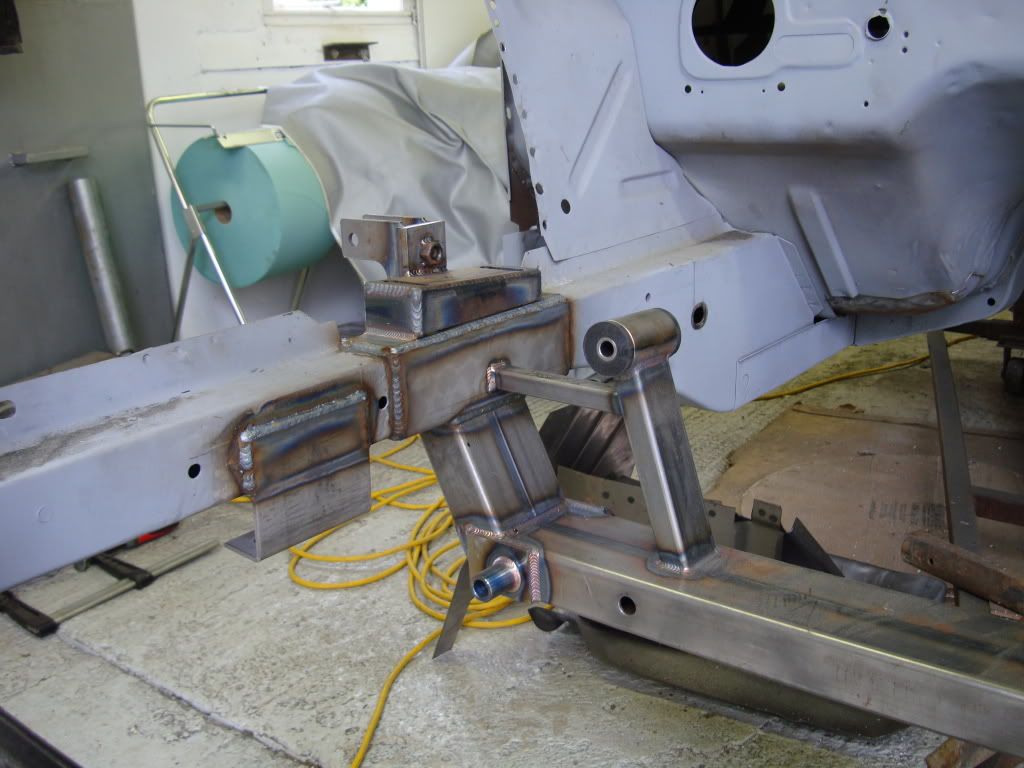
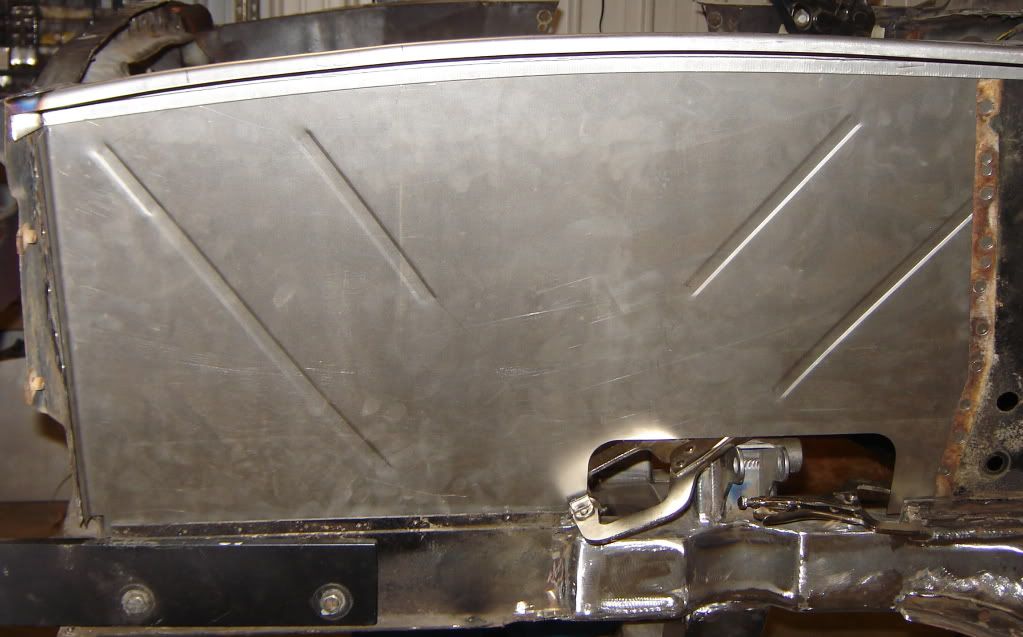
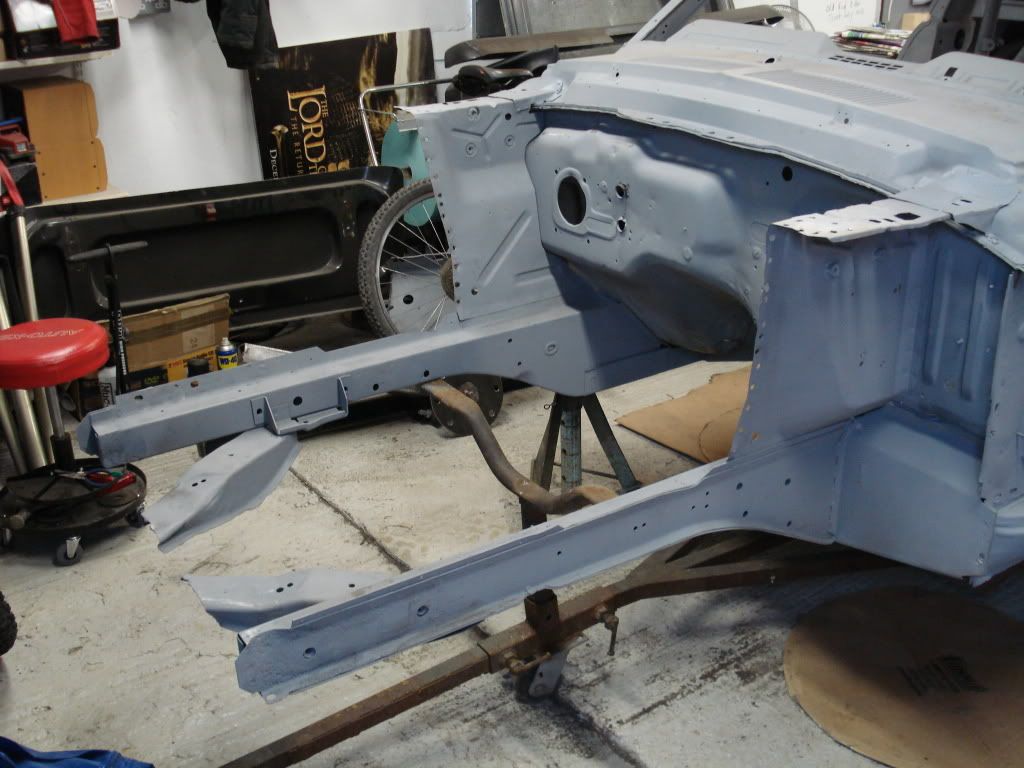
Last weekend removing the old shock towers, radiator support and cross member. I found some nasty rust on the passenger side cross member. Glad now I decided to replace it.
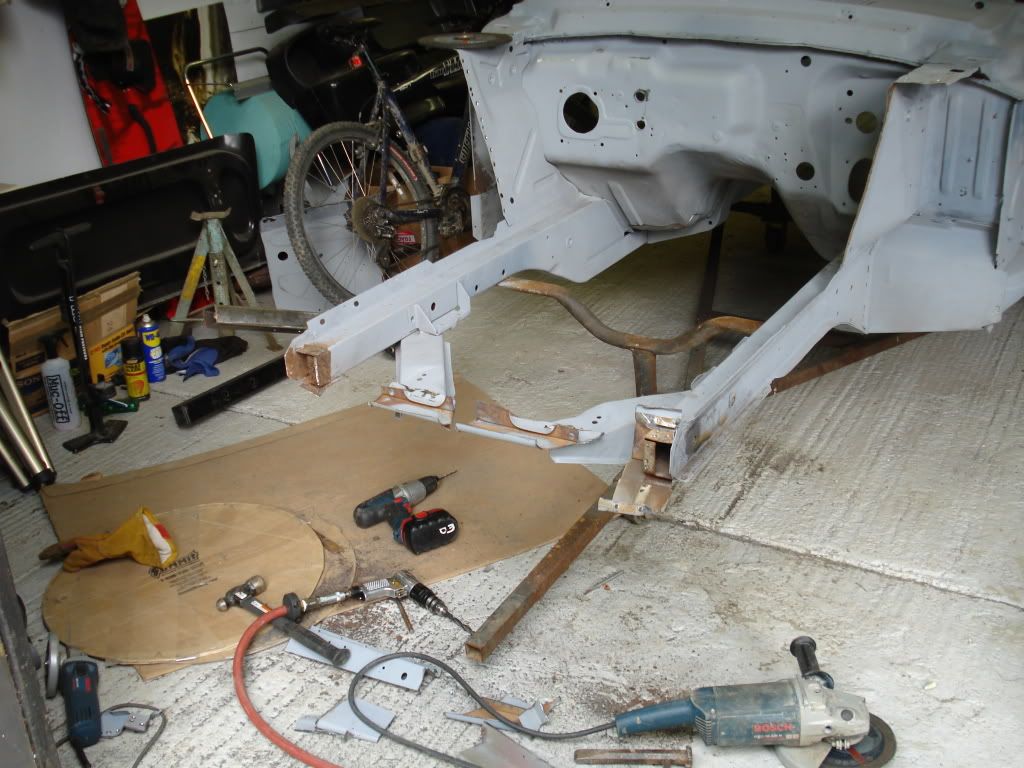
All the old metal gone ready to start welding back on.
I am now waiting for a big shipment of parts to come in. NPD, Rod and customs and Scott drake all love me now. I have them all shipped to PA where we have container coming over every few months with work stuff. It saves me a huge amount on shipping, taxes and duty but I pay heavily with time!!! They are leaving PA in a container on Wednesday and should be with me in 5-6 weeks.
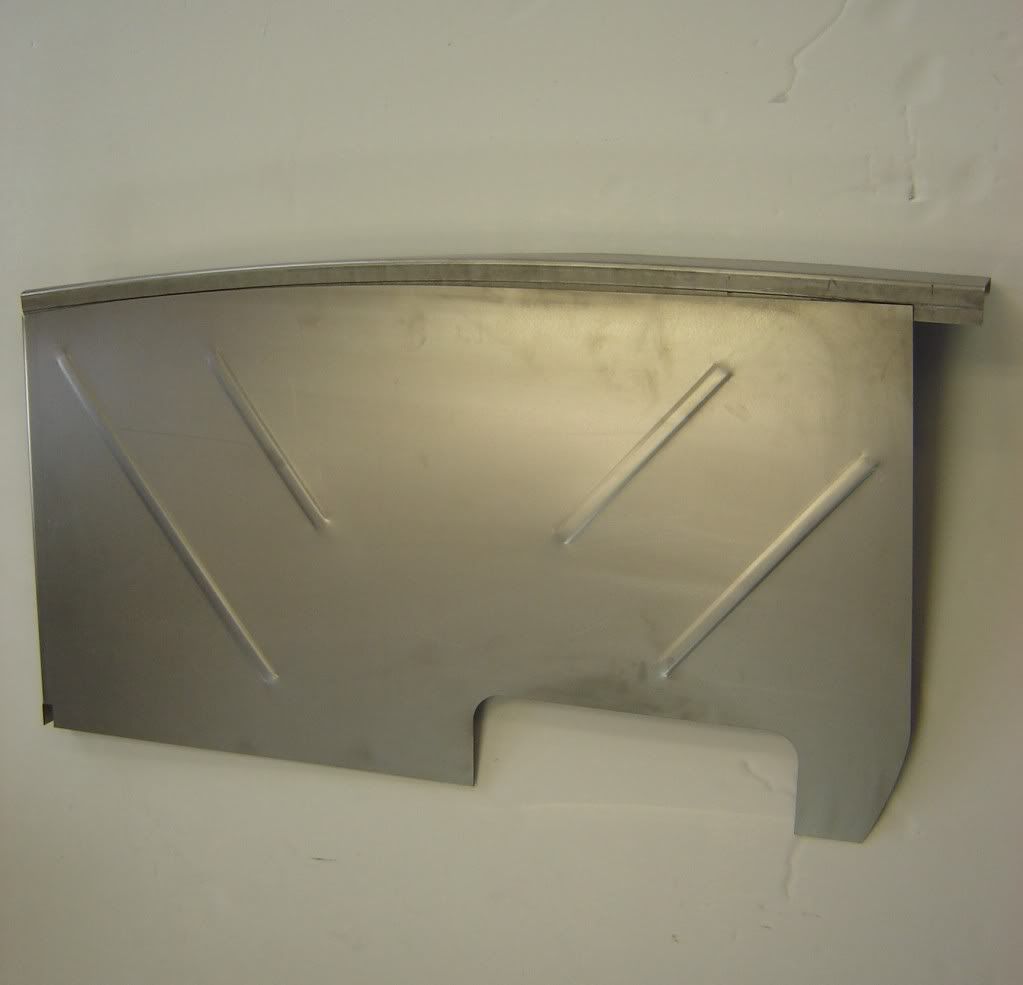
Amongst all the parts I have ordered the following sheet metal which should keep me busy for a while.
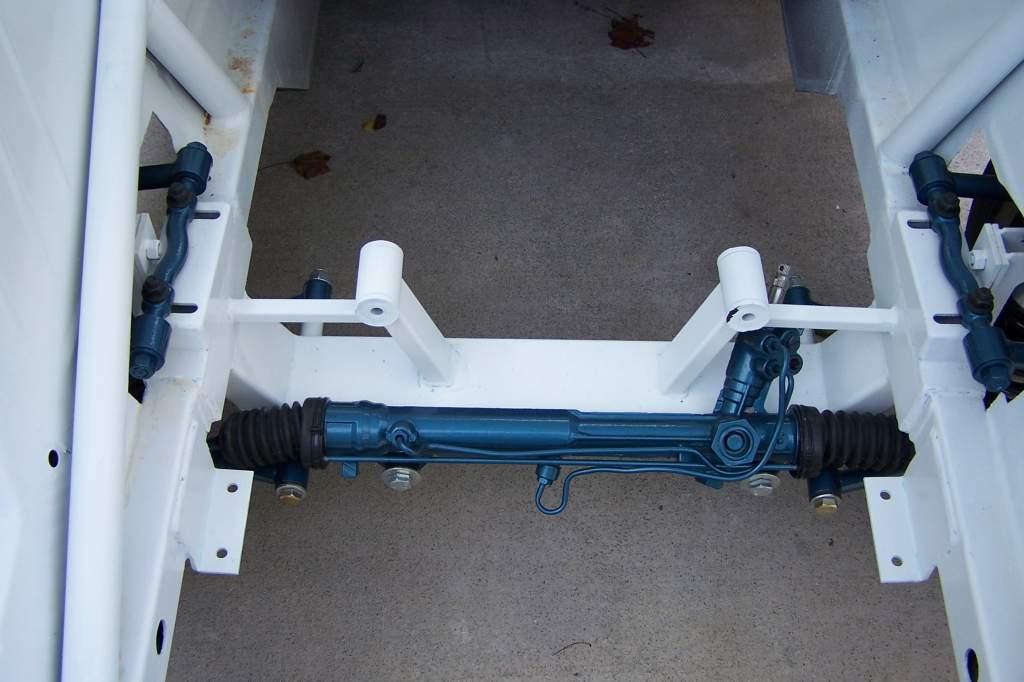
Front Mustang II Cross Member
2 x rear quarter panel patches.
2 x Trunk corners
Radiator support with new cross member attached
Rear quarter panel bracket.
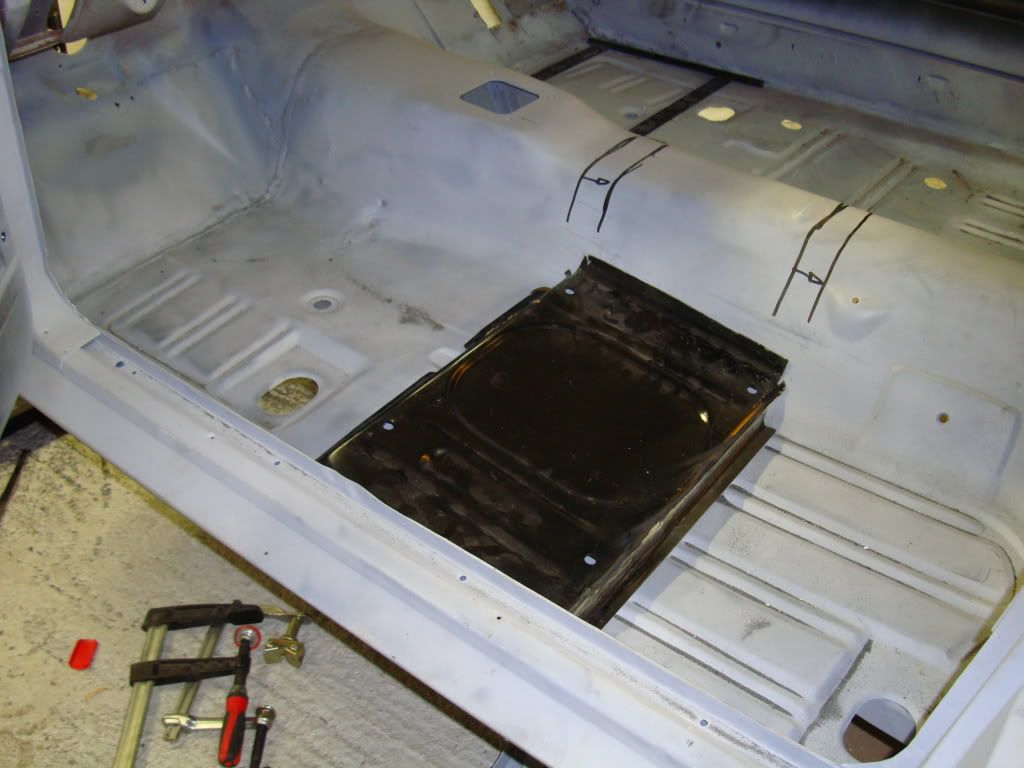
Passenger side toe pan patch
Passenger side Torque box
Apron assembly
So once I get all this new metal on there I can start treating the underside of the car and look at FG fitment.
As always any tips, advise or blatantly pointing out when I am being a dumb ass is greatly appreciated.
More to follow....
I decided I wanted a Vintage Mustang 3-4 years ago so I went about researching it, I liked the 67-68 fastback the most but couldn't believe the price of these old rusted out cars. Mind you, it was a the peak of the Unique performance/Eleanor craze....My biggest problem was not finding the car but finding someone that would hold a car for me for 6-8 weeks until I got over to the US even with 8-10 other people knocking on their door with cash. So I eventually found a car in NC with a small garage called Piedmont Mustang. It was a 67 FB in need of a moderate amount of metal work. Duane went and checked it out for me, sent me pictures, it looked good and I took the plunge...I agreed with this guy that he would do all the metal work, media blast it and get it rolling on new suspension ready for shipping…I paid him for most of the parts and 50% of the labour up front…Unfortunately the guy decided to expand his “operation� half way through my build....he wasn't able to manage the additional staff/costs and went bust...he stopped answering his phone and I thought I had lost everything but with the help Duane again I managed to salvage my parts and my car from his place and get everything into a container heading across the Atlantic. So I was left with a half baked metal job and a project with a lot of parts missing and not to mention I lost $6k and took a huge dent in my motivation for the project but I had to move on. Thankfully I am making progress and the project is back on track.
A few thing I have learnt/realised so far when it comes to building one of these cars.…
Budgets and mustangs(especially E-cars) are two words that should never be used in the same sentence
Dead lines, see above
Chrome parts have a magical power over me. Even when I cant afford to buy them I do.
Building a vintage American muscle car in Ireland is a PITA. No garages, parts suppliers, help etc
Whenever people ask “when is she going to be ready� just say “Don’t worry I’ll take you for a ride when its finished�
Don’t rush into things…I have made a few costly mistakes already. (I have a 9� rear and 2 x 4 spd top loaders that are of little use to me)
I have probably posted some of these pics before but I wanted to start a dedicated build tread as I have actually starting doing some building…..
This is her as I bought her.
Getting her home
The 428
FG mock Up
On the Rotisserie I built
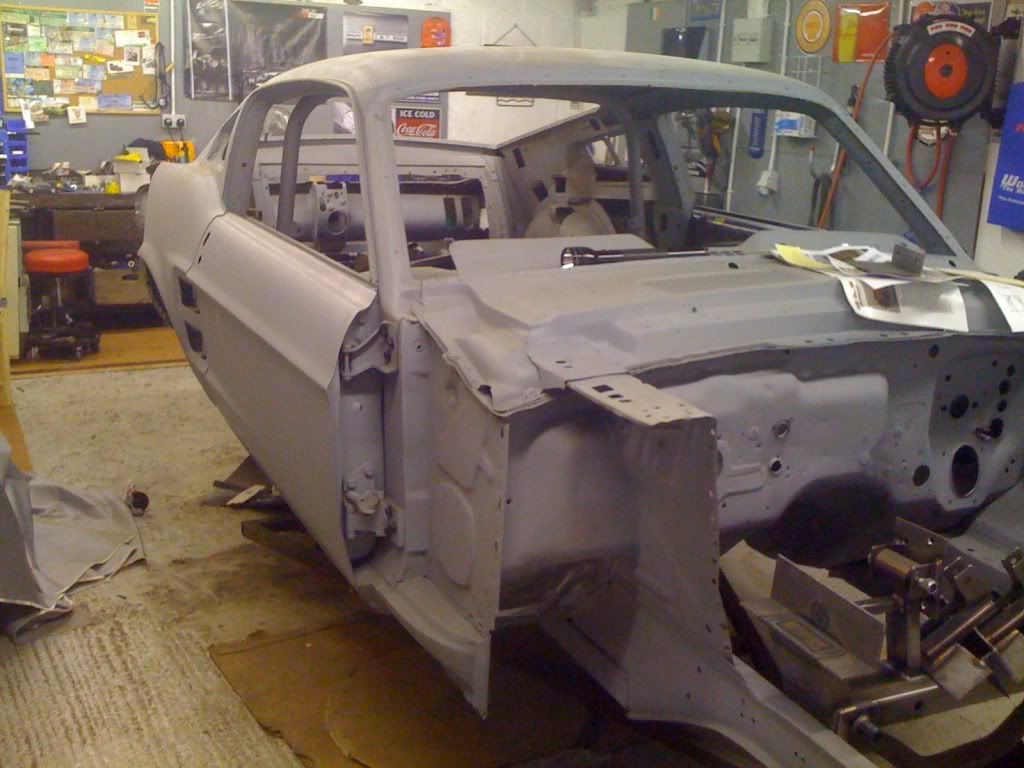
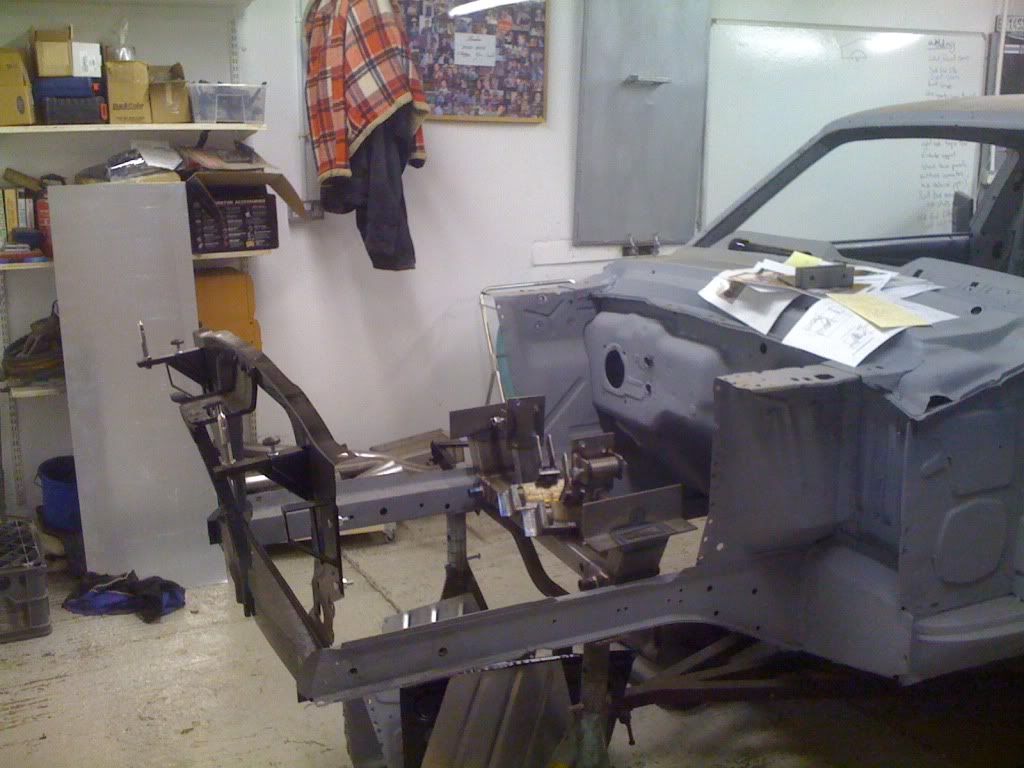
Back off the rotisserie for front metal work
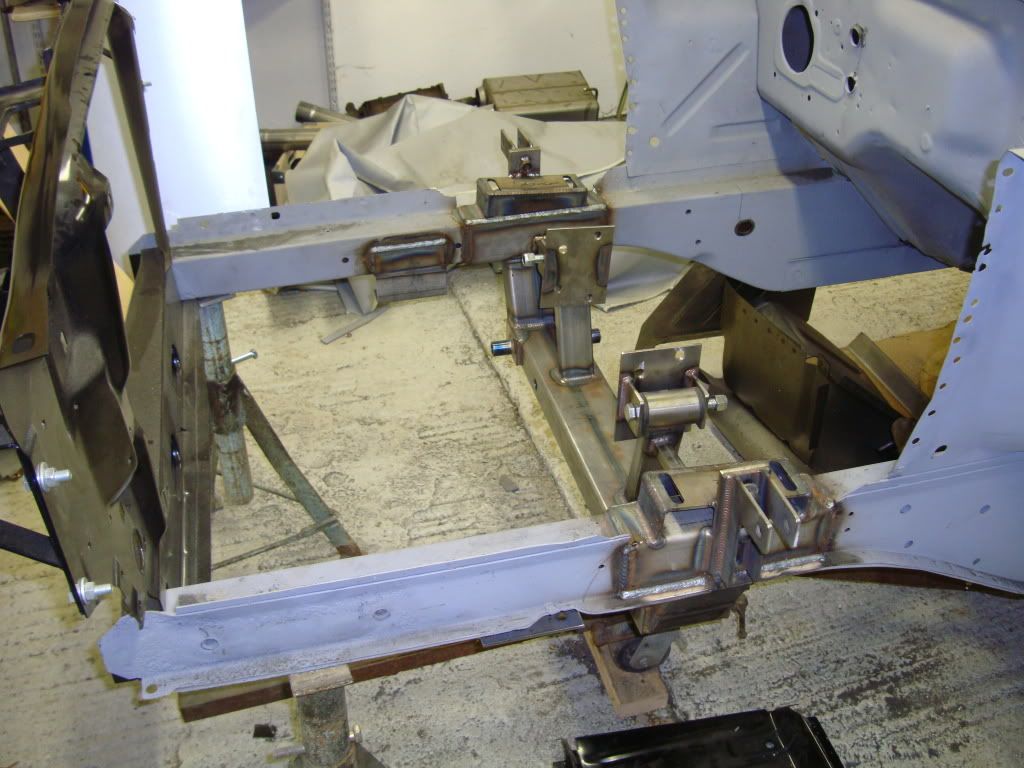
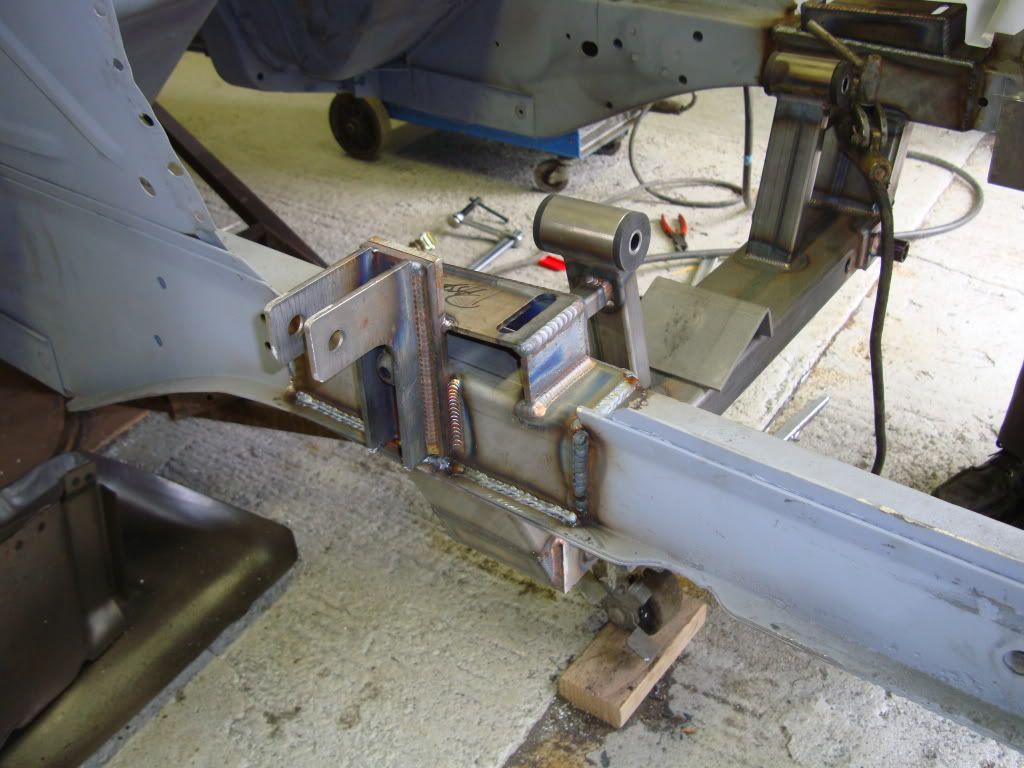
Last weekend removing the old shock towers, radiator support and cross member. I found some nasty rust on the passenger side cross member. Glad now I decided to replace it.
All the old metal gone ready to start welding back on.
I am now waiting for a big shipment of parts to come in. NPD, Rod and customs and Scott drake all love me now. I have them all shipped to PA where we have container coming over every few months with work stuff. It saves me a huge amount on shipping, taxes and duty but I pay heavily with time!!! They are leaving PA in a container on Wednesday and should be with me in 5-6 weeks.
Amongst all the parts I have ordered the following sheet metal which should keep me busy for a while.
Front Mustang II Cross Member
2 x rear quarter panel patches.
2 x Trunk corners
Radiator support with new cross member attached
Rear quarter panel bracket.
Passenger side toe pan patch
Passenger side Torque box
Apron assembly
So once I get all this new metal on there I can start treating the underside of the car and look at FG fitment.
As always any tips, advise or blatantly pointing out when I am being a dumb ass is greatly appreciated.
More to follow....
Last edited by a moderator: