• Hello there guest and Welcome to The #1 Classic Mustang forum!
    To gain full access you must Register. Registration is free and it takes only a few moments to complete.
    Already a member? Login here then!

my homemade shaker project

SELLERSRODSHOP

Well-Known Member
i finally got around to finishing up my homemade shaker unit & thought you all might want to see how one can be done for less than $200. i'm cheap & couldn't swallow $895 + for a repop or original so decided to build one to my styling tastes based on the original air cleaner assy & a torino snorkel.

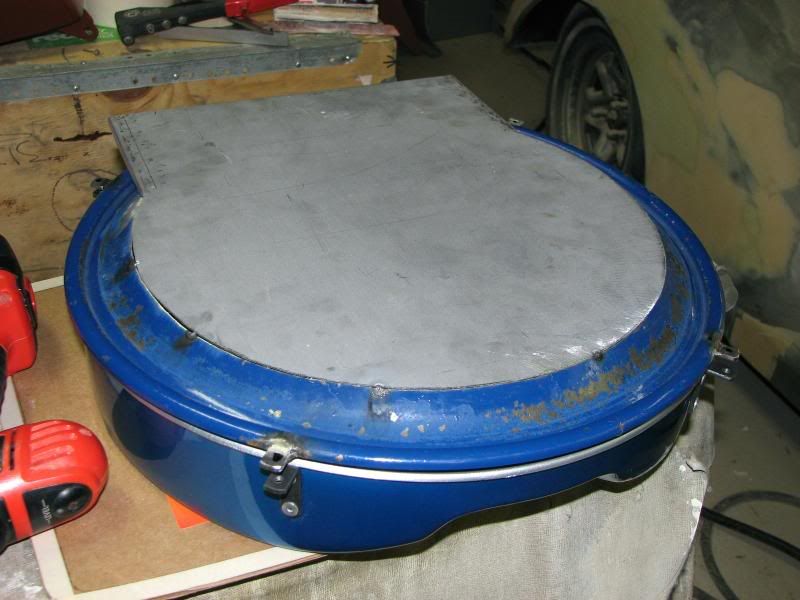
i started by smoothing over the original inlet & oil breather tube. next step was to cut the center out of the lid & reform the edge to fit the air filter.
IMG_0605.jpg


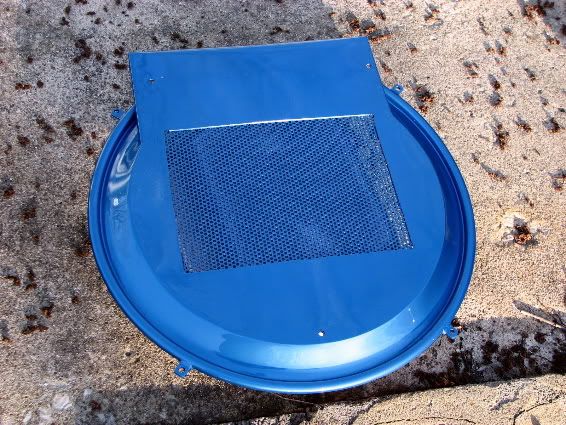
i added a shorter air filter than the one pictured for clearance, then used the leftover outer ring for the basis of the midplate. i reformed the ring in a planishing hammer to give it a sharper vertical turn for clearance over the filter unit & fabbed up a plate from 16 ga flat sheet steel for the snorkel mount. i then added 4 tabs on the lid & matching ones on the can to fasten the unit together.
IMG_0643.jpg


next, i mounted the snorkel & gasket to the midplate. i used a threaded tab welded under the plate for the 1/4-20 screw in the center & the rear gets 2 holes drilled in the squared off section of the midplate to bolt down the rear of the snorkel.
IMG_0644.jpg


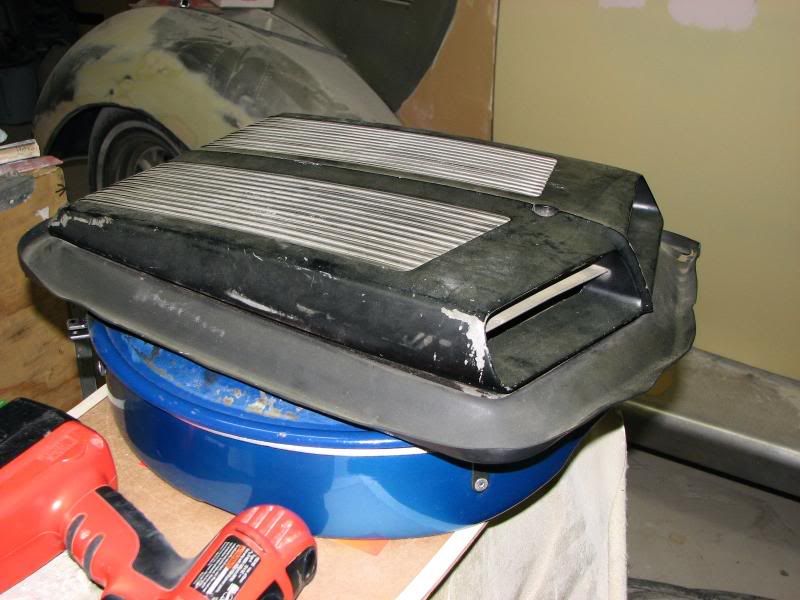
after i fitted the unit to the car & measured/cut the hole in the hood, i had to make a custom trim ring to fit the mustang hood.
IMG_0660.jpg


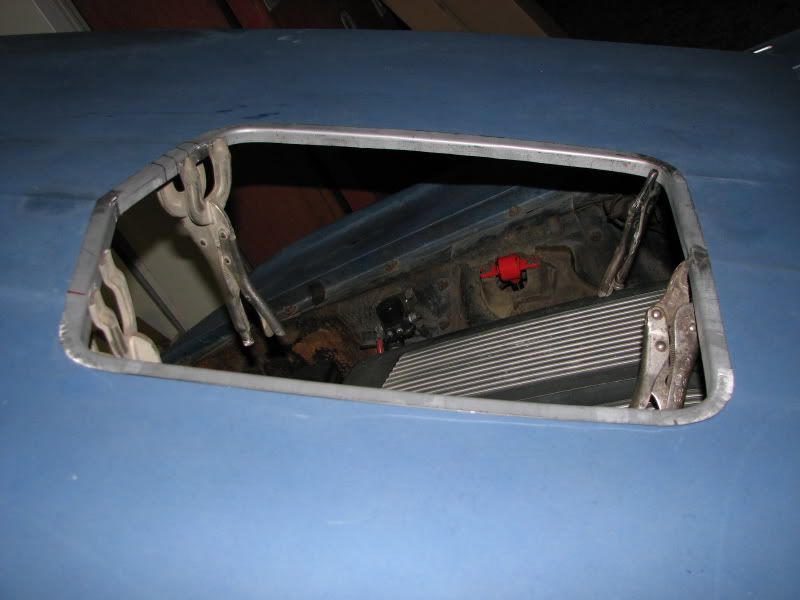
after all the fabrication & fitting
IMG_0676.jpg


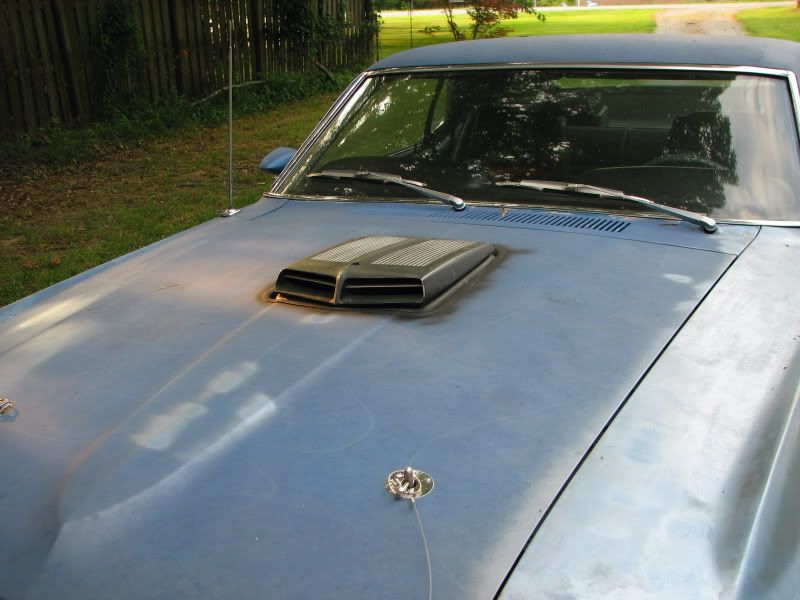
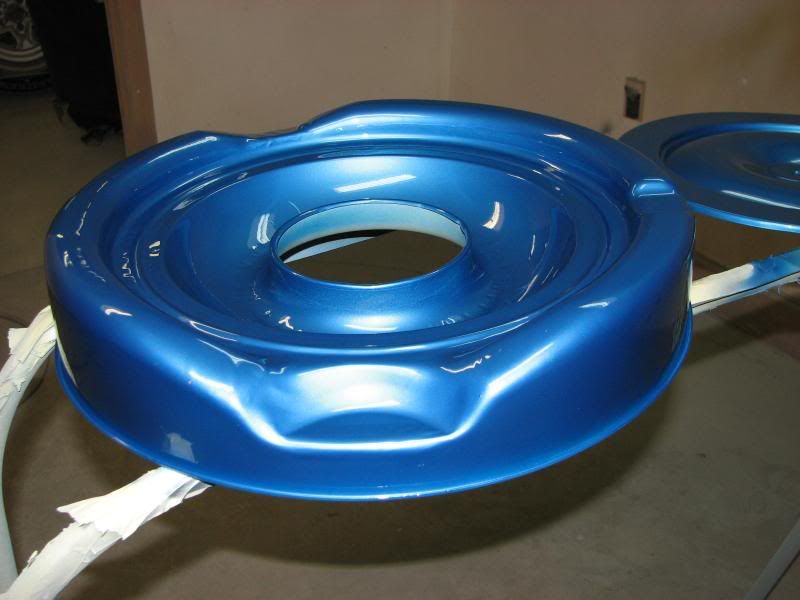
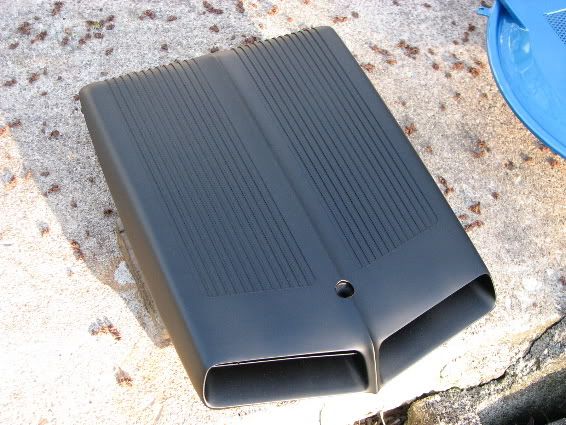
finally got around to finishing the paintwork this week. this is the custom blue pearl that i'm using on the car. the snorkel is black basecoat with PPG 2060 pre flattened clearcoat.
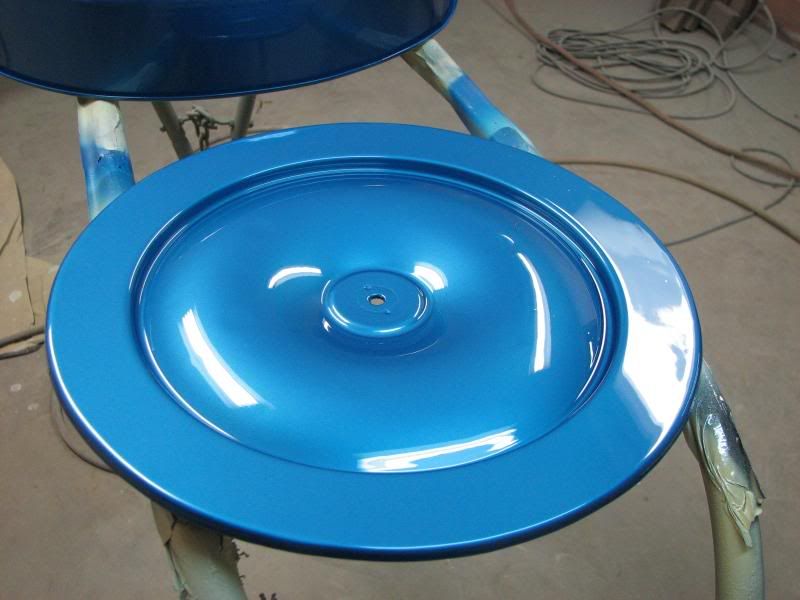
IMG_0609.jpg

IMG_0611.jpg

IMG_2024.jpg

IMG_2023.jpg
 
Damn Steve, once again a work of art, what can't you do?
I was feeling pretty good about my brake line bending and bending and alum. bracket to hold my distribution valve, now i gotta go out and look at it again.
Jon
 
Very , very nice job :ep :ep :ep

BTW , how did you make the ring in the hood?

Did you stretched the metal in the corner and what kind of tool did you used ?

Great job man !
 
Steve,

That is freakin' awesome!

Having a couple of prototype pieces that Steve built in my possession, I can testify to his fabricating skilz.

Great work.
 
Very nice indeed! Out of curiosity, did you already have the torino scoop or what was the reasoning for using it over the mustang scoop? I think the 03/04 Mach scoops can be used on our cars and don't vary by much.
 
thanks for the positive comments!!

"BTW , how did you make the ring in the hood?
Did you stretched the metal in the corner and what kind of tool did you used ?"

the ring in the hood was fabricated from 1" strips of sheetmetal . first, they were put in a brake & folded 90 deg to make angle strips. then they were formed to shape using a shrinker/stretcher (one of my most used pieces of equipment)
http://www.eastwood.com/shrinker-stretcher-combo-set-two-bodiestwo-jaws.html
it was attached to the hood using the new metal to metal adhesives & plug welded on each corner (glueing saves from warping the hood due to heat from welding)


"NICE! How much for a mid plate to fit my stock base??"
it would probably be around $100 to fab up the lid. alot has to be considered to get it right. i would need a few measurements as to distance from lid to hood etc. due to variances in different intake/carb setups etc.


"Out of curiosity, did you already have the torino scoop or what was the reasoning for using it over the mustang scoop? I think the 03/04 Mach scoops can be used on our cars and don't vary by much."
i wanted the torino scoop because the tapered front matches the front edges of the 69-70 hood. it looked like a natural fit to me. from what i hear, the late model mach1 scoops are made to the exact same specs as the old ones, so are interchangeable.
 
Wow - too cool!!! I have used shrinker/stretchers in aircraft metal work and dont think I could get that much radius stretched in an aluminum without it cracking (unless it was annealed). Maybe steel is more workable?

That color really pops! Makes my medium bright blue metallic look dull and boring.What do you plan to do with the edging on the top side? Are you going to bondo in the edge so its a smooth step or?
 
"miketyler" said:
Wow - too cool!!! I have used shrinker/stretchers in aircraft metal work and dont think I could get that much radius stretched in an aluminum without it cracking (unless it was annealed). Maybe steel is more workable?

That color really pops! Makes my medium bright blue metallic look dull and boring.What do you plan to do with the edging on the top side? Are you going to bondo in the edge so its a smooth step or?

yeah, the steel is a little more workable than aluminum. the aluminum tends to tear after a few bends. i'm planning on using some of the 2 part epoxy seam sealer along the edge of the ring. if you put a rubber glove on & run your finger around the edge it will leave a nice tight transition between the hood & ring that will be sealed up & easy to keep clean.
 
WOW....did I say WOW yet?


Sure wished I lived close to you, I'd love to learn some of those skills!
 
Wow what a great looking job. I guess the only question is why the Torino shaker for a Mustang? Although I have always liked the pointed nose on the Torino shakers.
 
"silverblueBP" said:
WOW....did I say WOW yet?


Sure wished I lived close to you, I'd love to learn some of those skills!
dude you got skilz! I might just be bugging you a lot with my hood!
 
Back
Top