Fast68back
Guest
Nice score! Did you get a good deal?
Follow along with the video below to see how to install our site as a web app on your home screen.

Note: This feature currently requires accessing the site using the built-in Safari browser.
Hello there guest and Welcome to The #1 Classic Mustang forum!
To gain full access you must Register. Registration is free and it takes only a few moments to complete.
Already a member? Login here then!

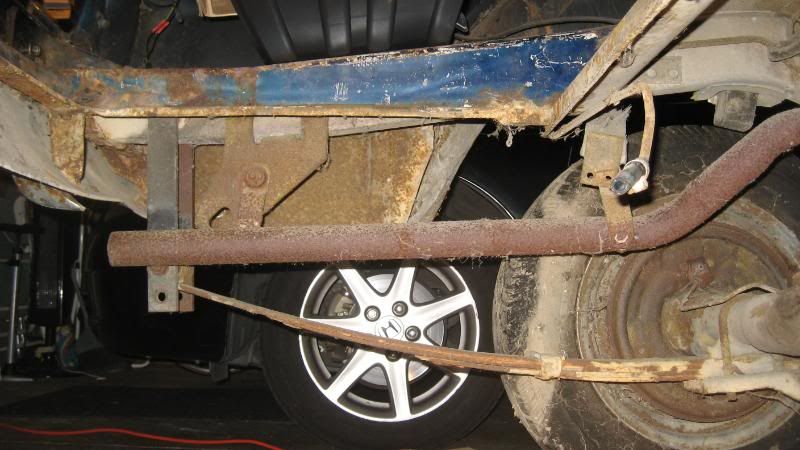
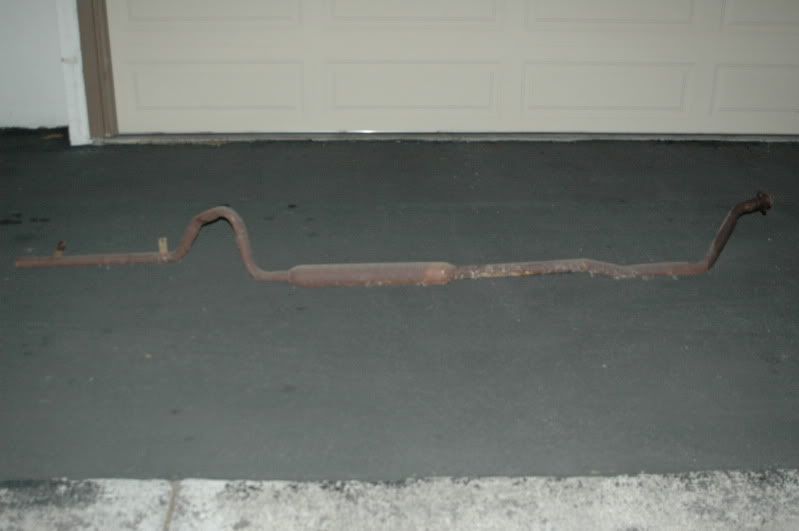
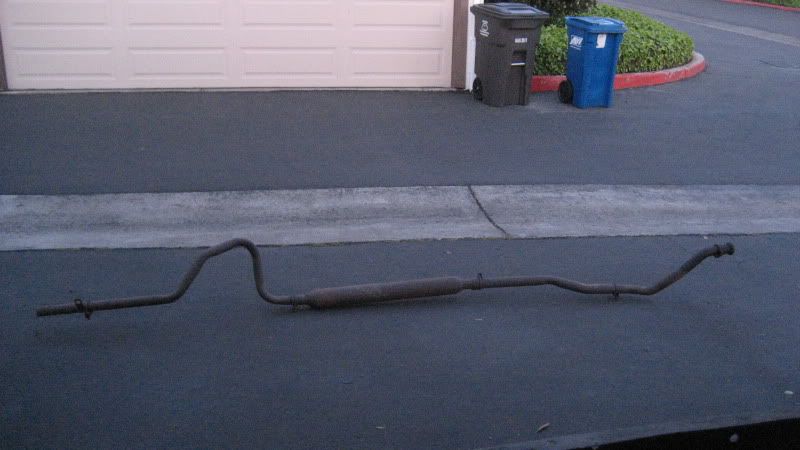

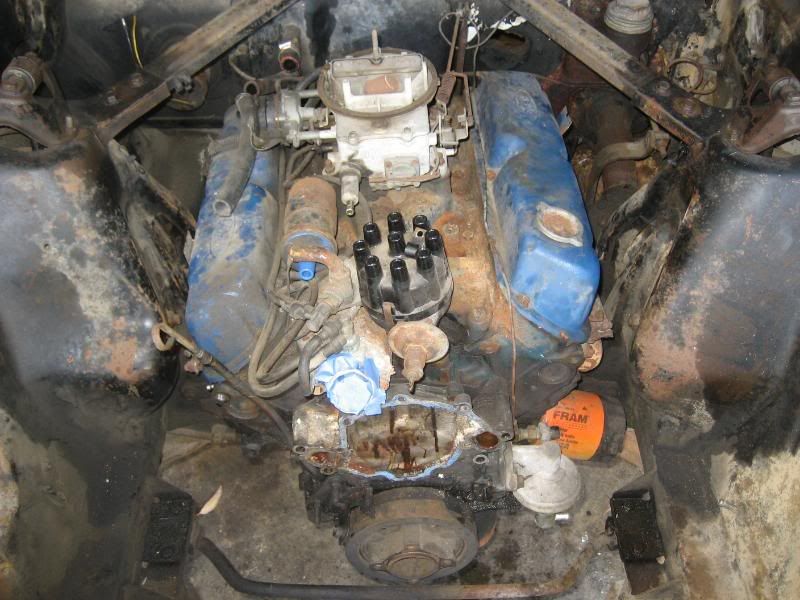
"AzPete" said:I liked to keep the parts until the new was mounted and functional. You never know when you might miss a screw, nut plate or some critical, small piece. Also, it is nice to have the original for matching the new with. Then again, some things are not needed such as the exhaust you removed as long as you know you need nothing from it
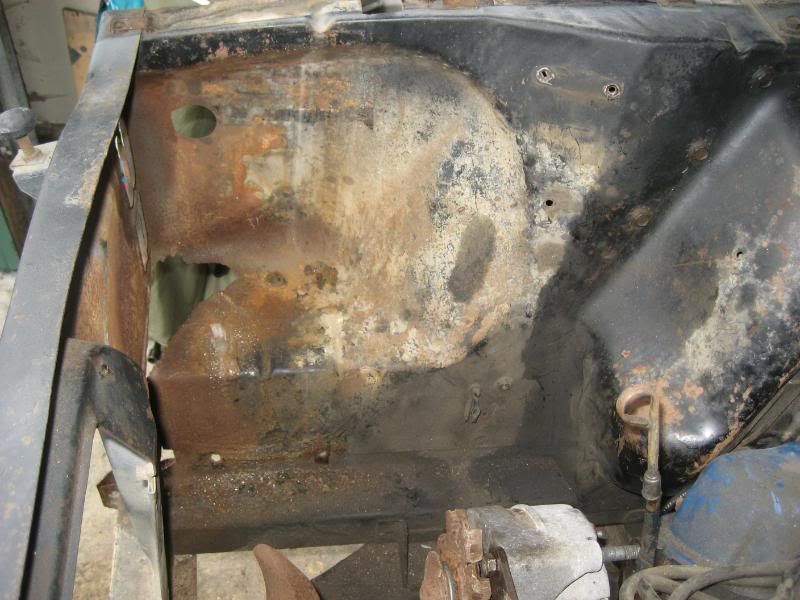
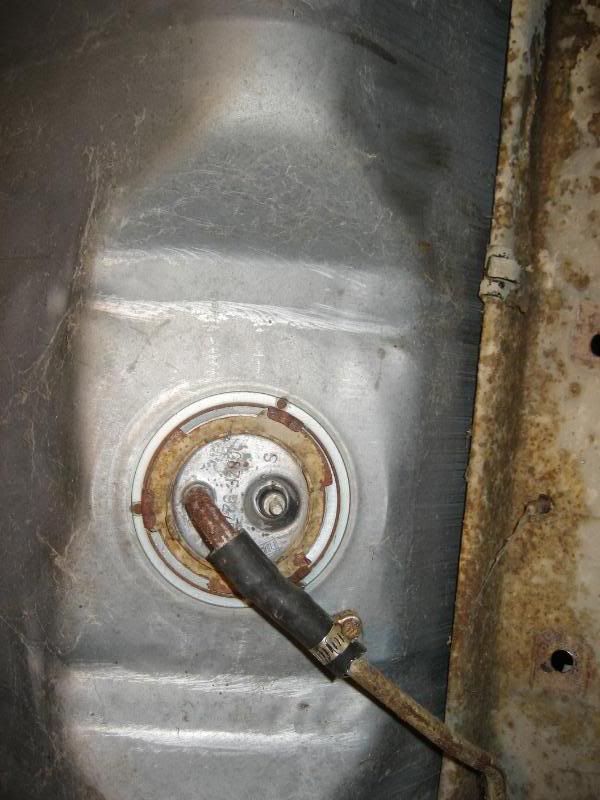
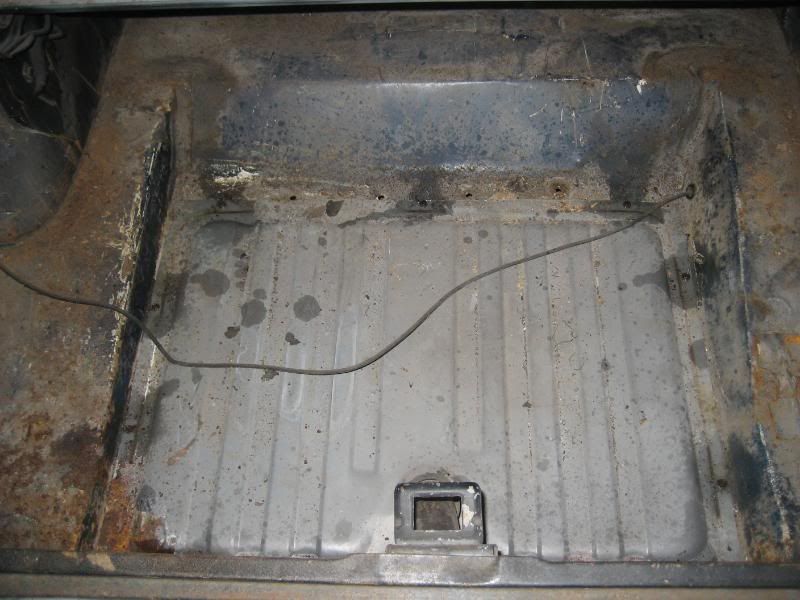
"AzPete" said:Yep, cut the things holding the wire to the body panels....new straps are out there
"lethal289" said:Watch yourself out there Abe. Thats some crazy stuff happening around you.
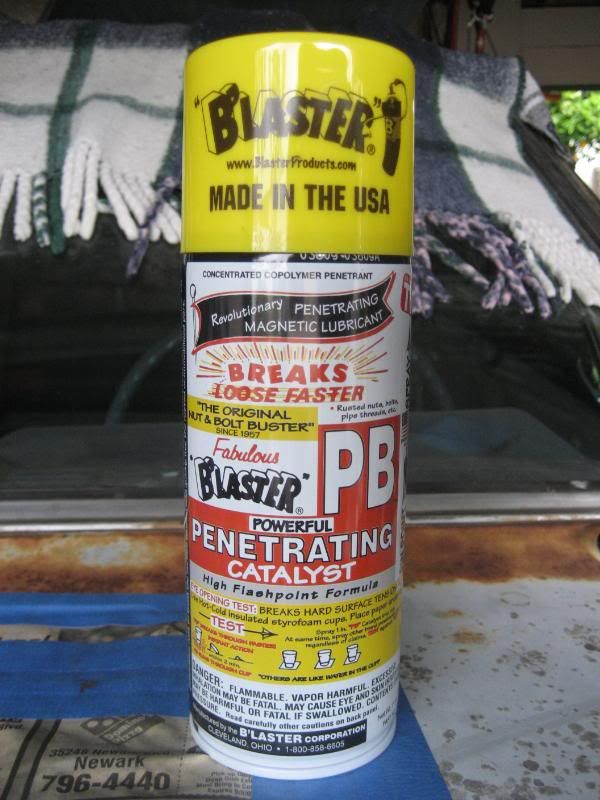
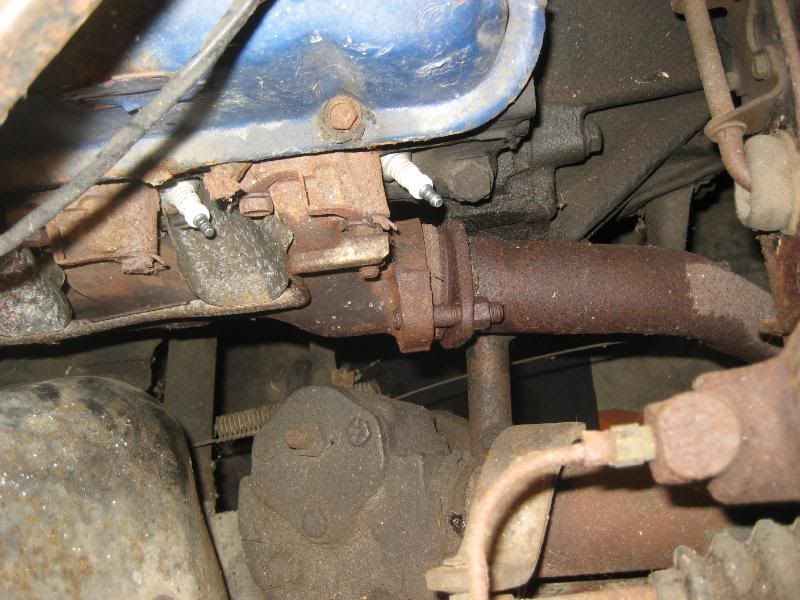
IMO, Ditch the WD40, Its a good lubricant, but not very good as a penetrating oil. You will have better luck with PB Blaster, or SeaFoam.
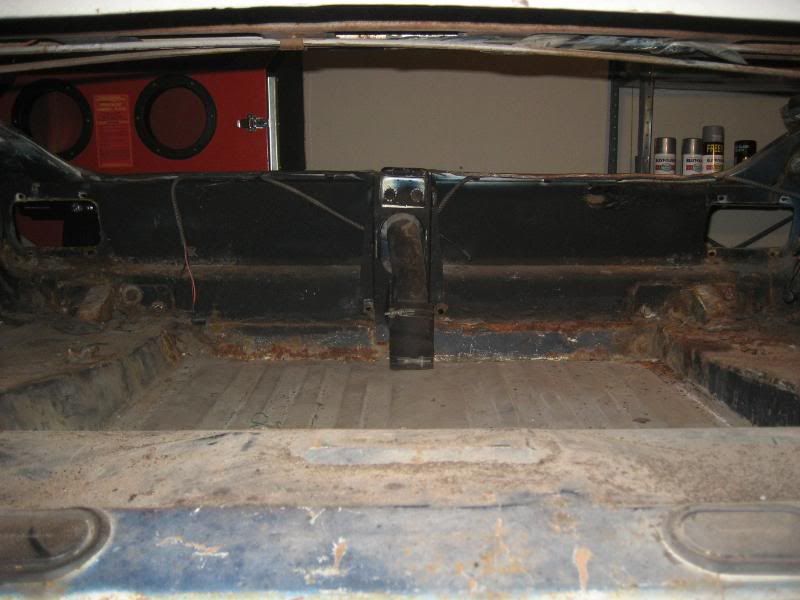
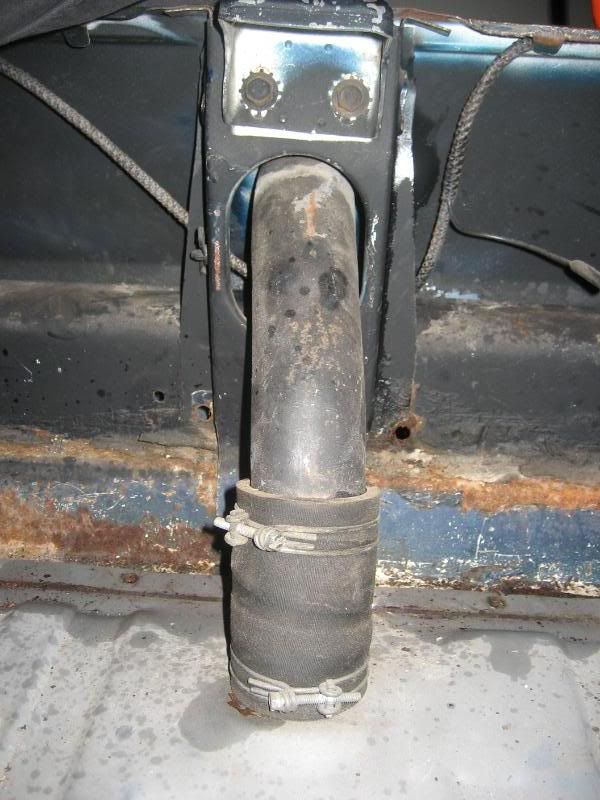
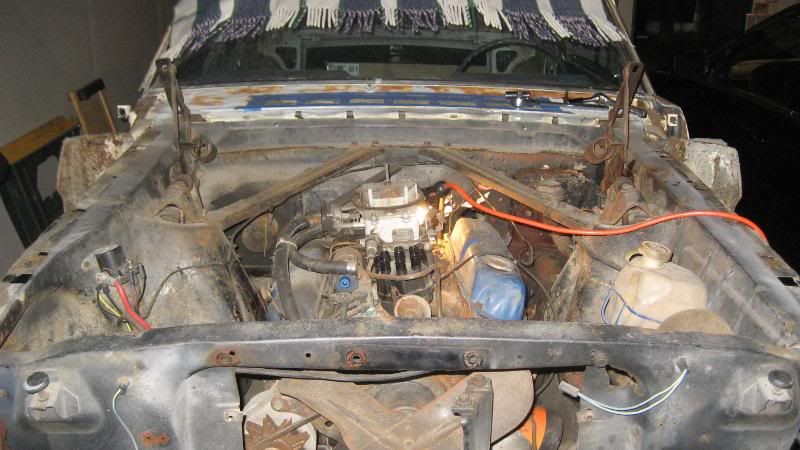
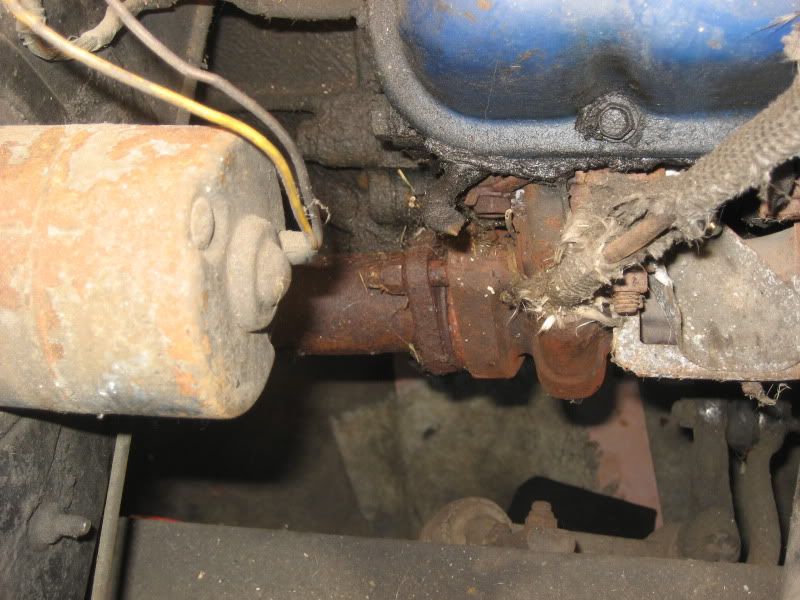
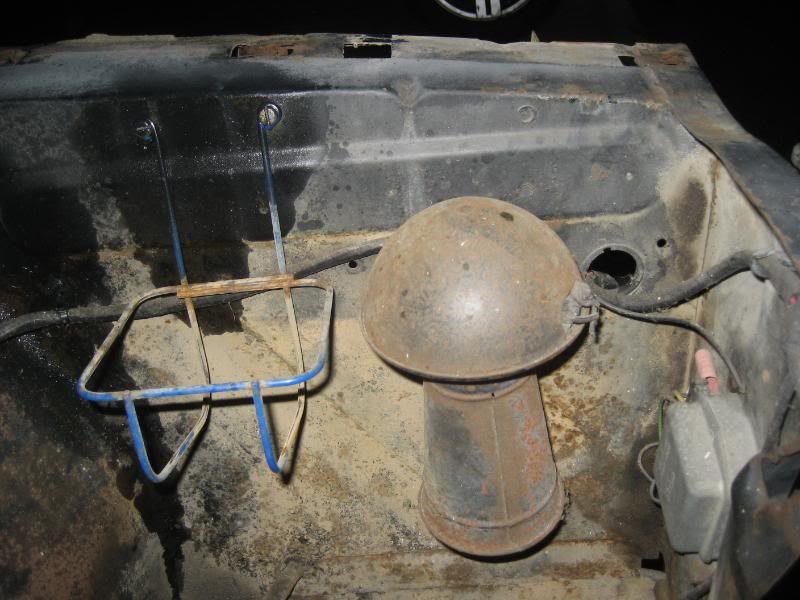
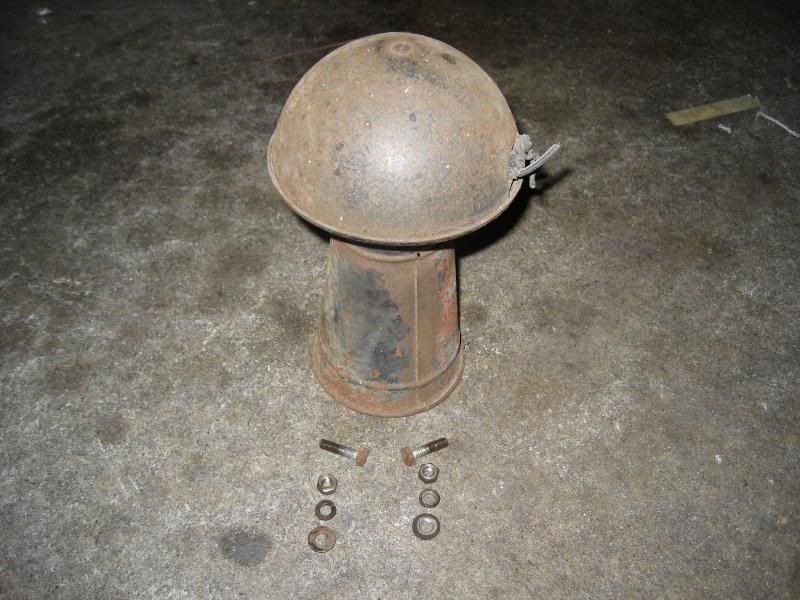
"AzPete" said:Yep, cut the things holding the wire to the body panels....new straps are out there. As for that mushroom thing....it looks like an old style horn. Might try grounding the case and momentarily applying power...might scare the bejeesas out of you.
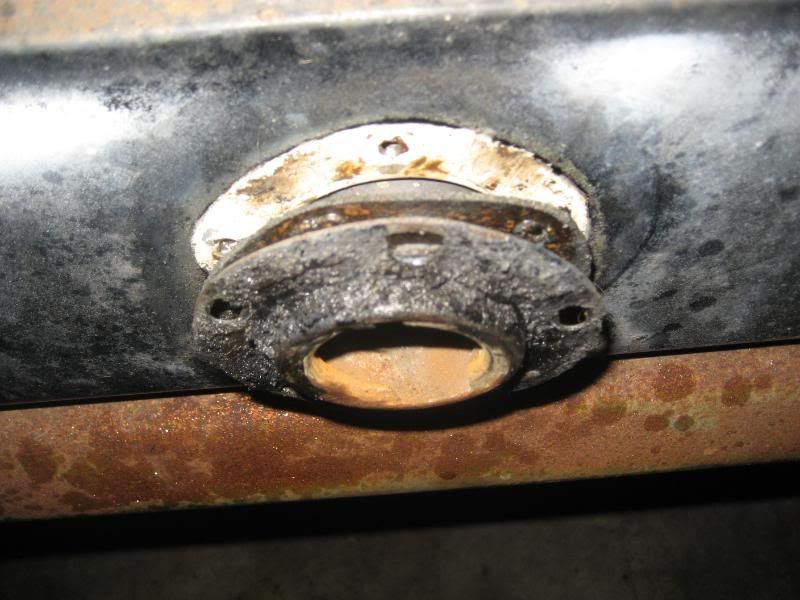
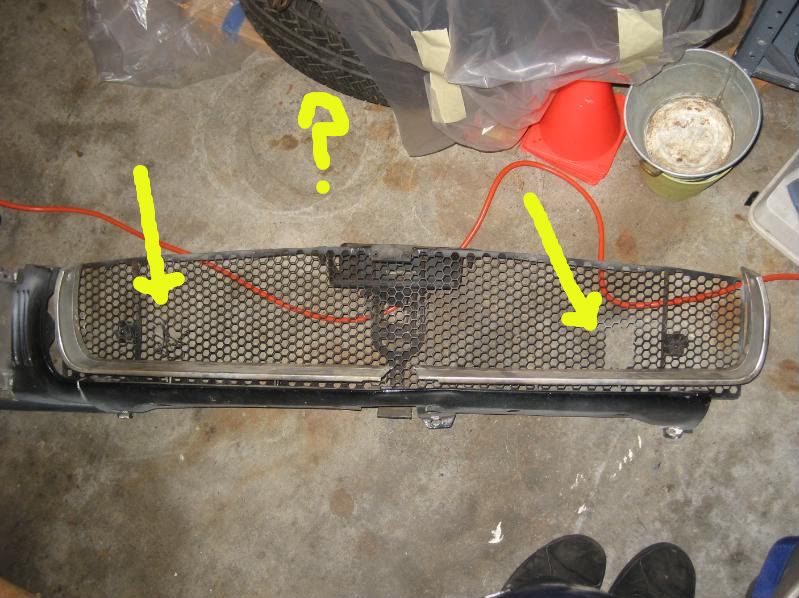
"crustycurmudgeon" said:I think he's talking about the rubber grommets in the holes in the sheet metal.
Frank

"lethal289" said:Watch yourself out there Abe. Thats some crazy stuff happening around you.
IMO, Ditch the WD40, Its a good lubricant, but not very good as a penetrating oil. You will have better luck with PB Blaster, or SeaFoam.