
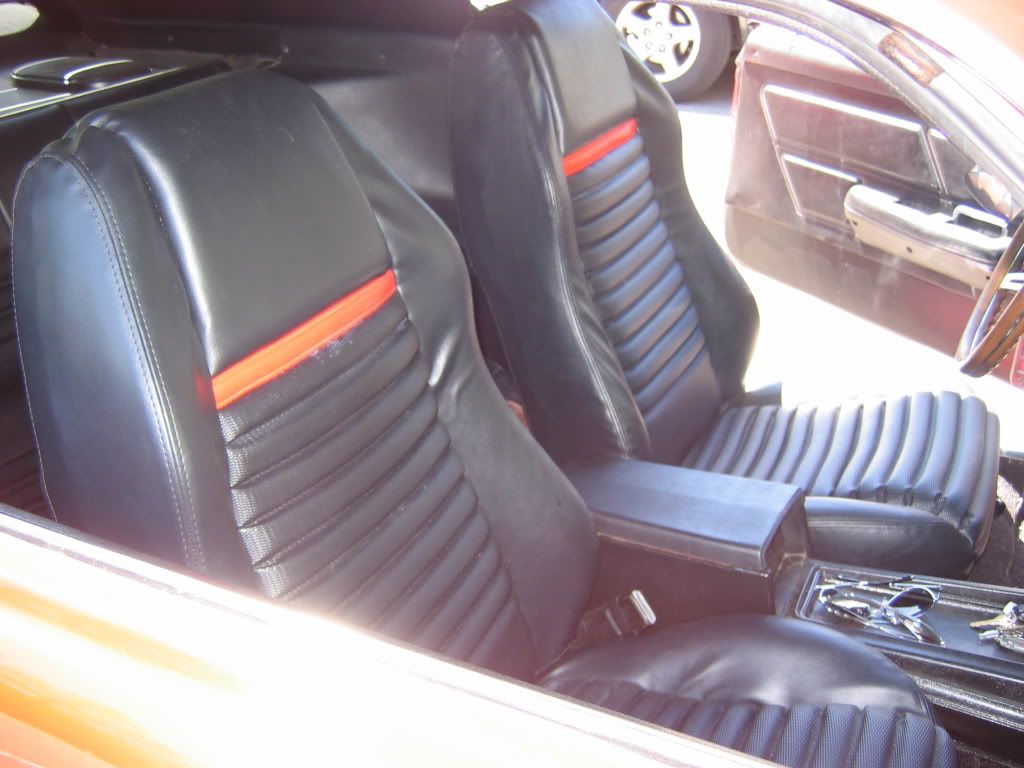
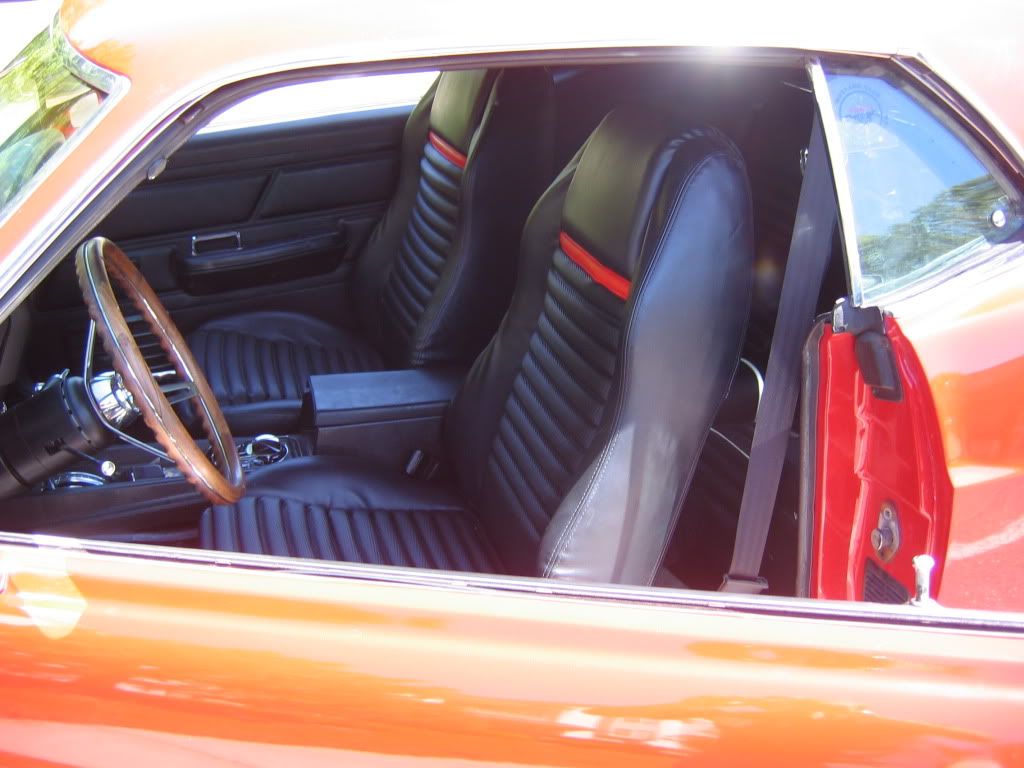
Ok, I did the sport seat conversion in my 70. I wanted the red mach 1 stripe to match my red car, so I got that color combo.
I'd like to premise this by saying I am NOT a professional upholsterer. This was my first time doing it, and all in all, I'm pretty proud of how it turned out considering this fact.
Review:
Price: Pretty comparable to standard seat reupholstery for my year. A good upgrade for a similar price.
Quality: The material matches the original stuff exactly (comparing to mach 1 upholstery, I had standard prior)
Installation: Fit could've been better, but everything aftermarket tends to not fit so well. The foams were SUPER stiff, which is fine, but the upholstery did NOT fit like it should. I know it should be tough to install, but I know for a FACT the top of the seat back is where it should be, and there was not enough material to come down to the seat latch button. There should've been another flap of fabric to help hide the extra foam at the bottom and there wasn't. I made it work with some pieces of the old upholstery, but I shouldn't have had to.
Comfort: I LOVE this stuff. The side bolsters prevent me from sliding out of my seat on a rough turn.
Fit: I hadn't considered the height difference as opposed to my original, crushed foam, which I sank into, so now my head is SUPER close to the sealing, and I see a tilt column in my near future. (I'm 6'4"... I don't slide right in like I used to.) On a side note, the bolsters on the side might make it more uncomfortable for the wife to give me road-head. I will keep the original material to her seat in case this becomes problematic, and I will have mach 1 sport seat upholstery all around, except for her seat, if necessary.") )
)
Time: Took maybe 3 days total, working on it here and there when I had time. This was my first time doing upholstery at all, so I'm sure others could do it in an afternoon.
Overall cost: Upholstery, seat foams, hog ring shears and hog rings and pliers kit; $490.
Overall: A good investment. Looks good, feels good. I like it and am happy I did it (though I had to sell one of my rifles to pay for it.)
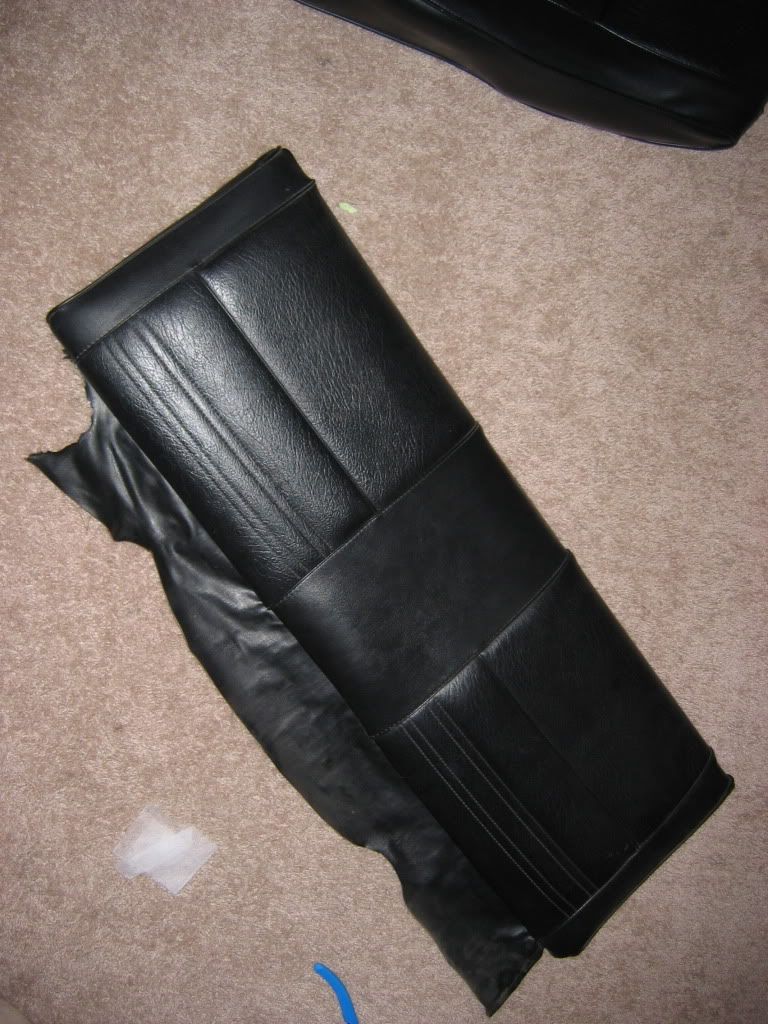
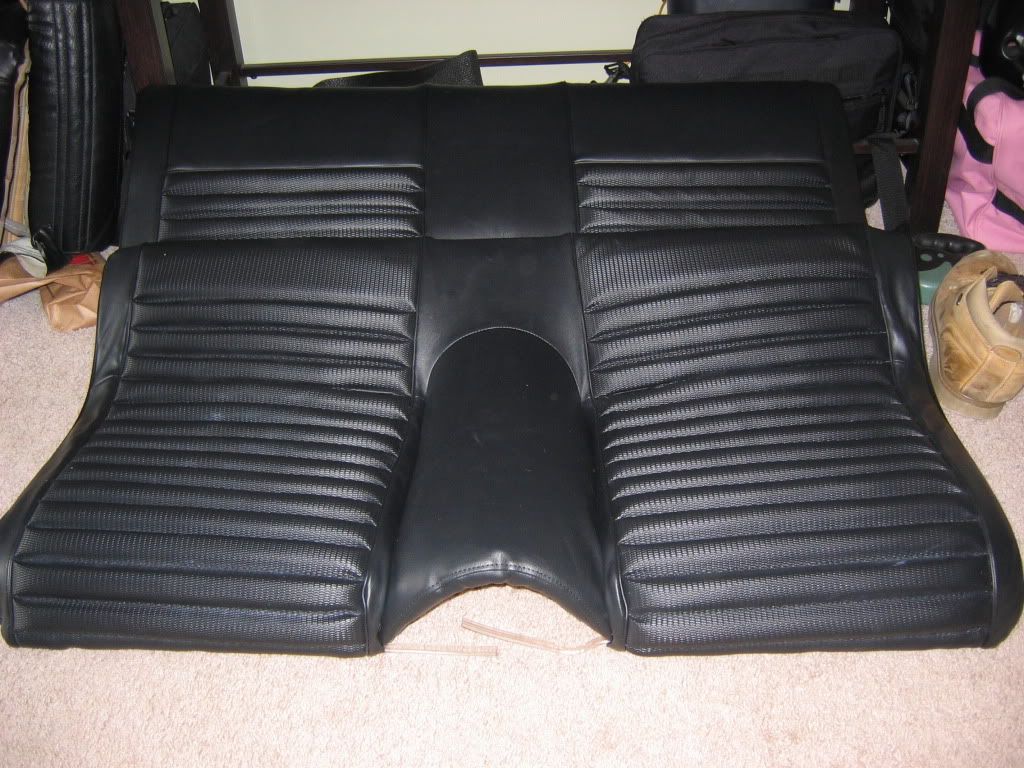
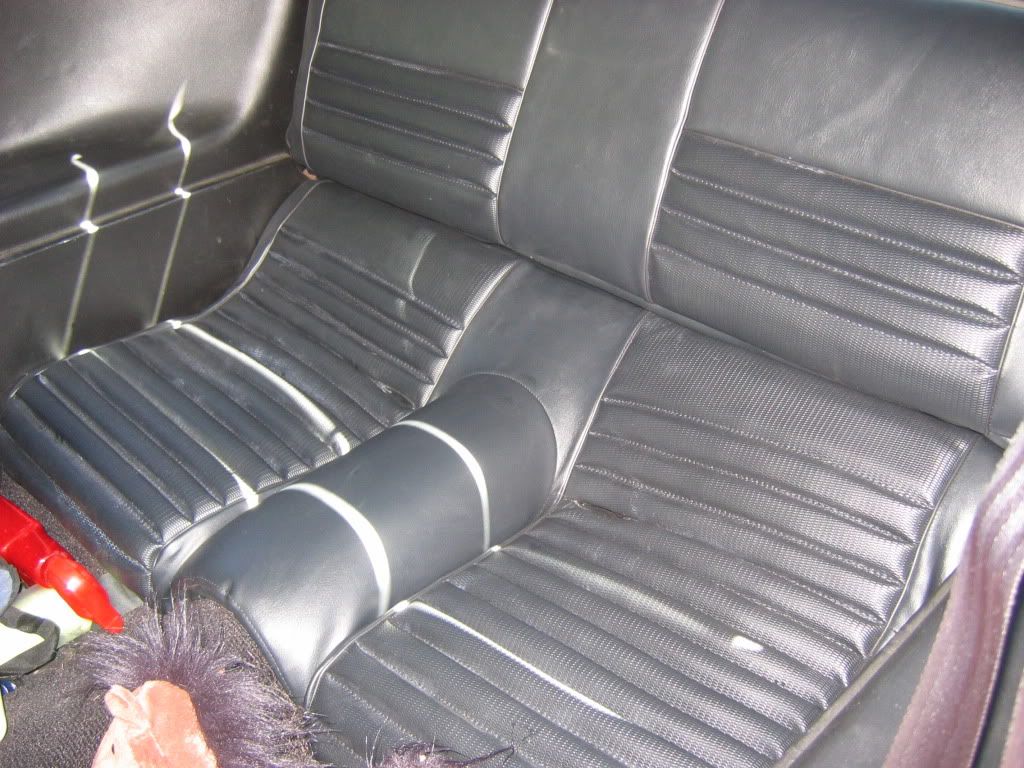
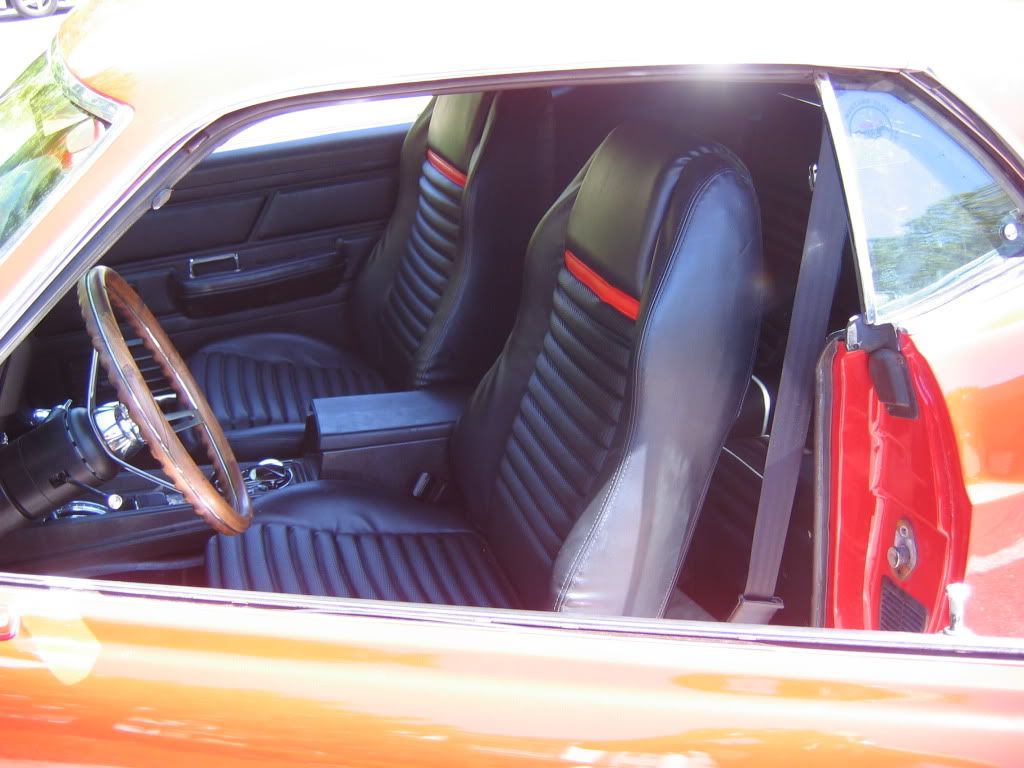
Pics: (Keep in mind the camera is very unforgiving with wrinkles, they don't look so bad in person. )
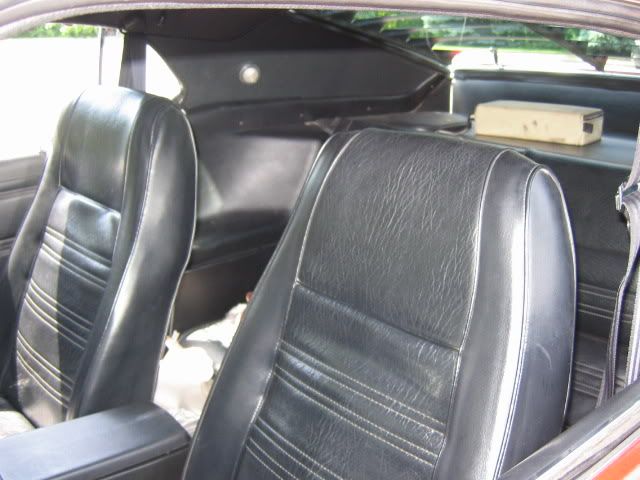
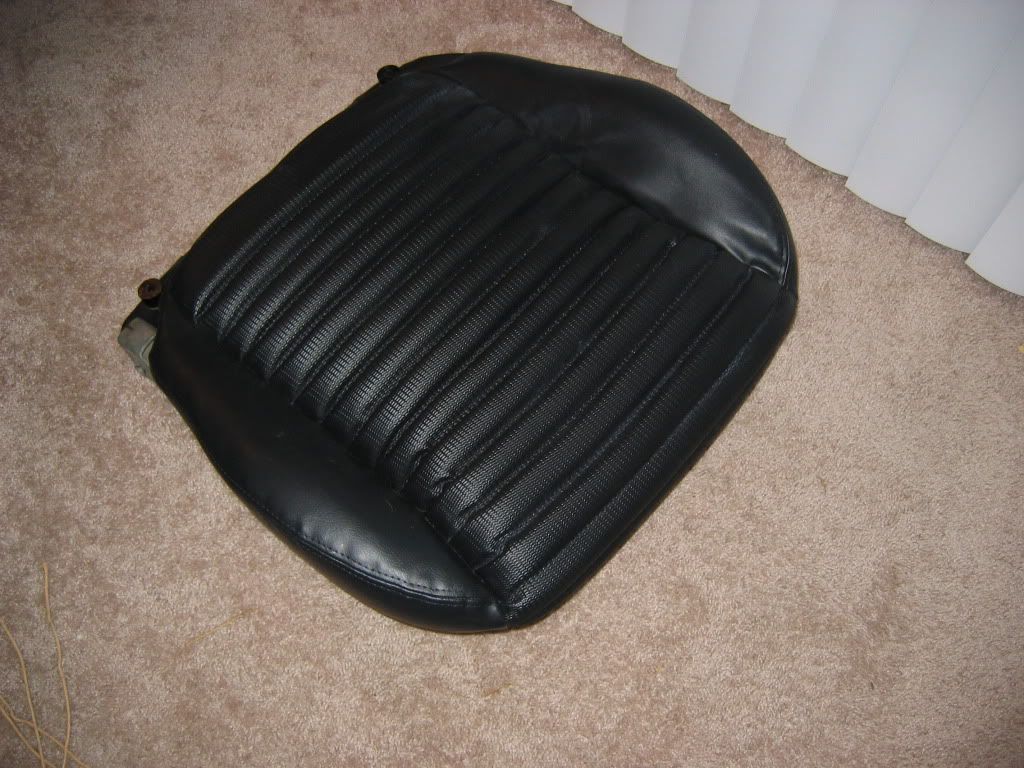
Before:
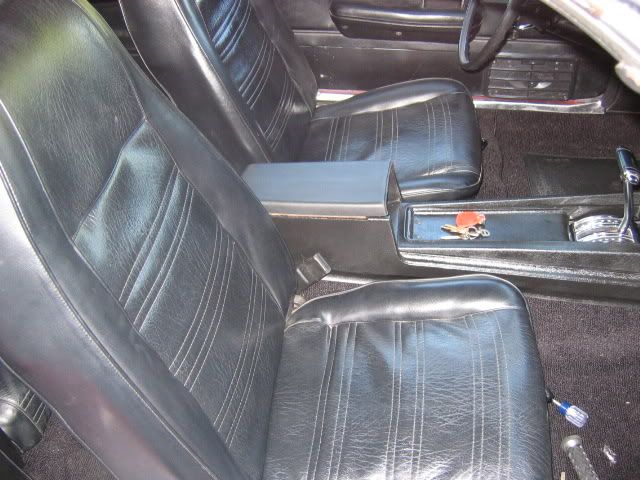
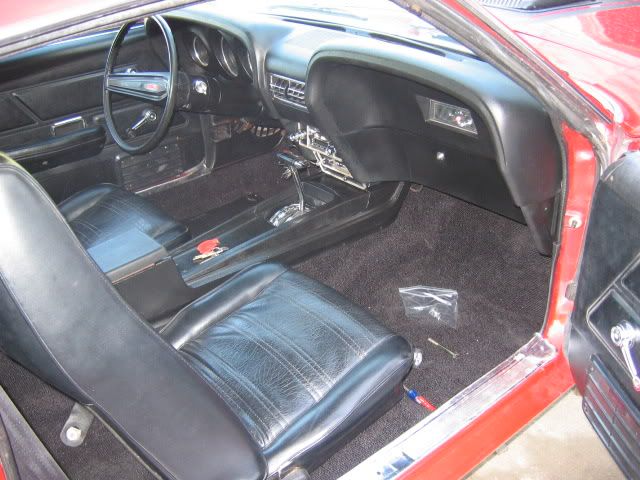
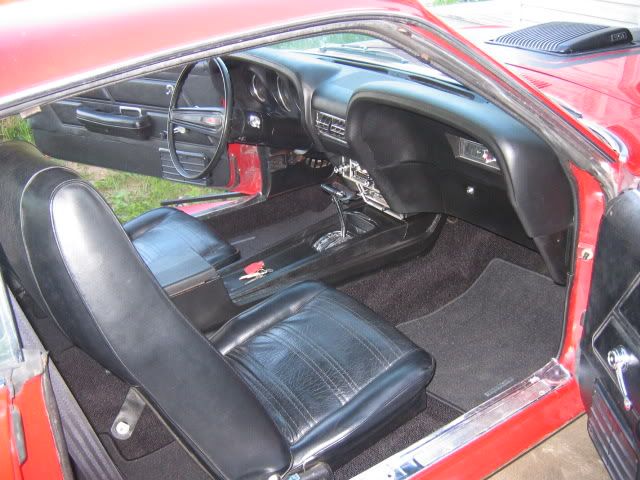
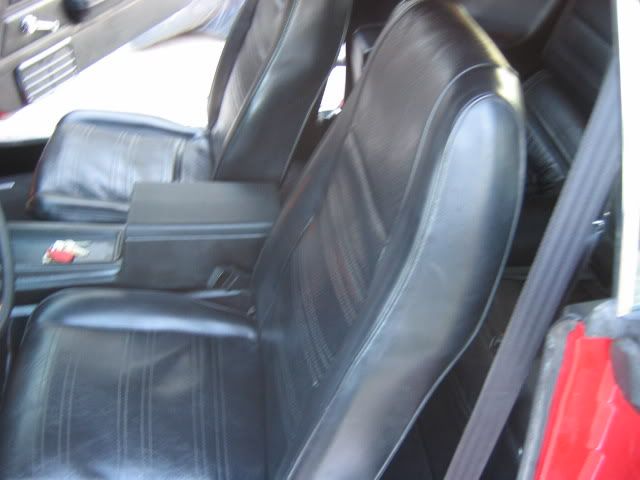
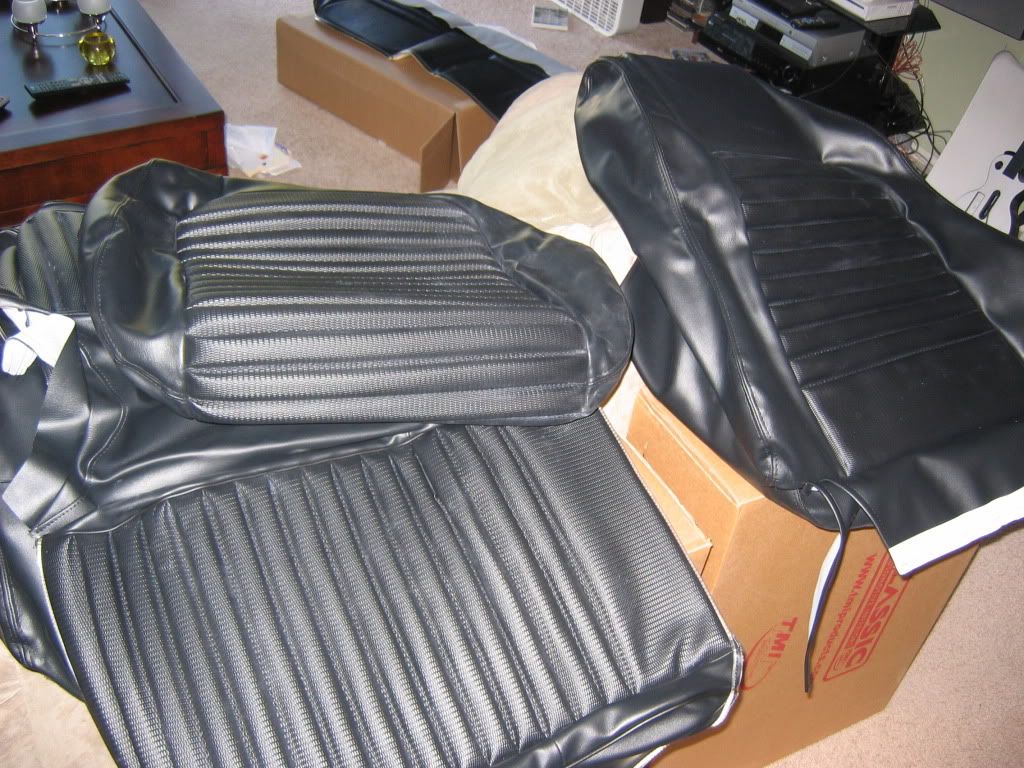
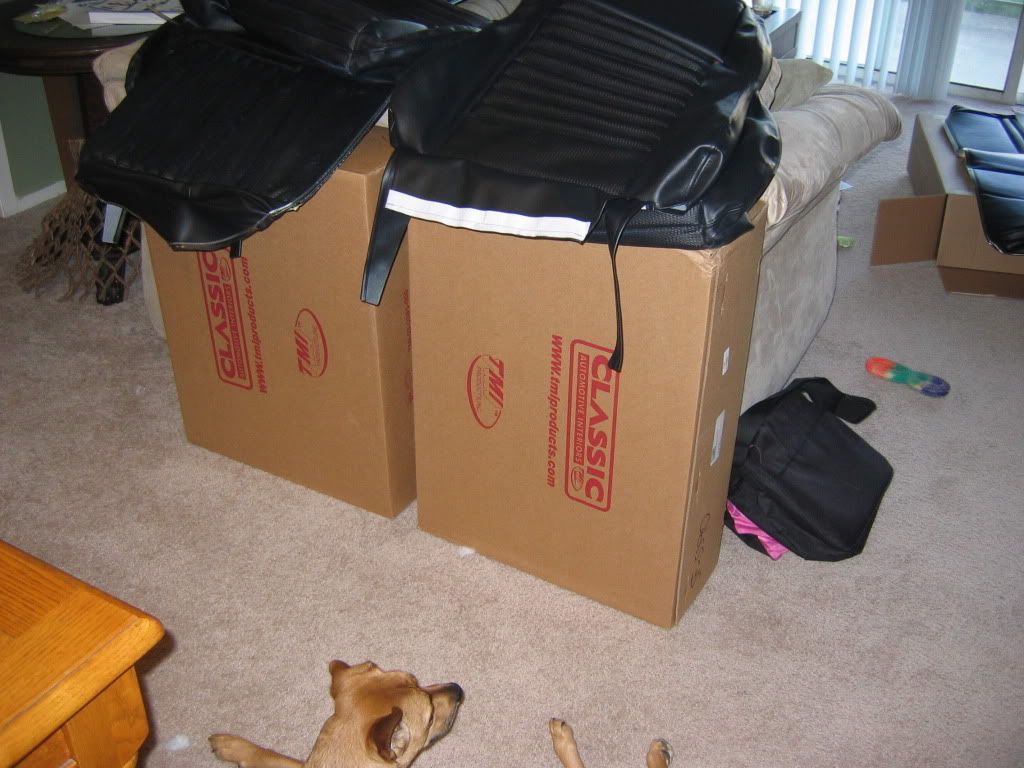
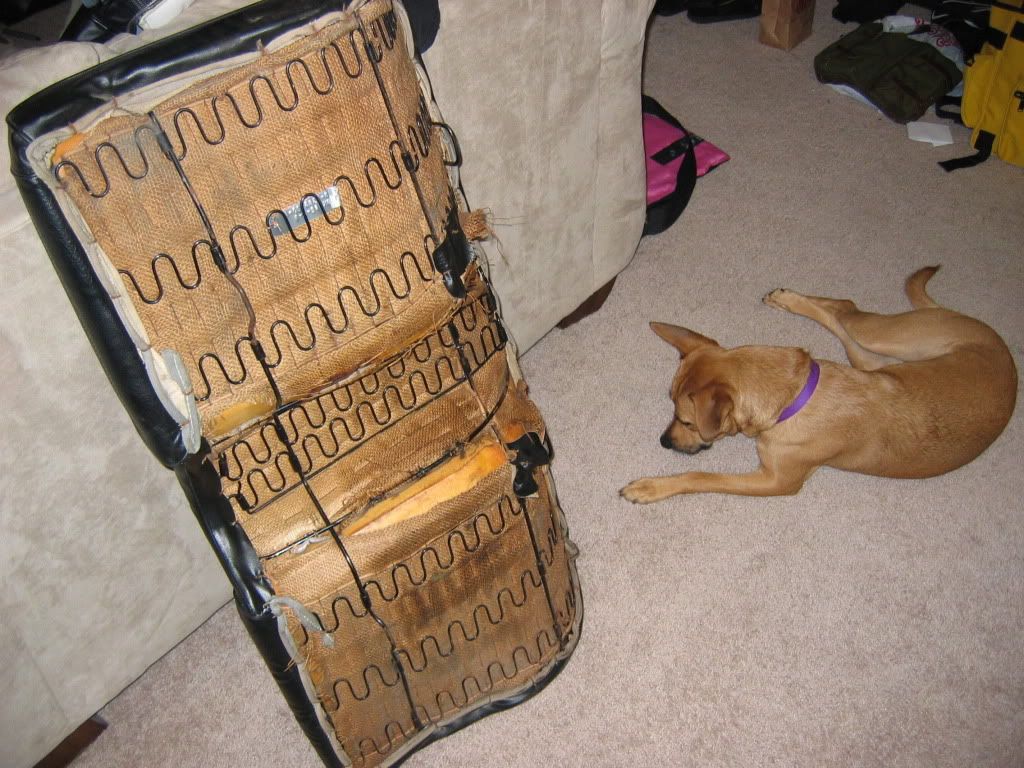
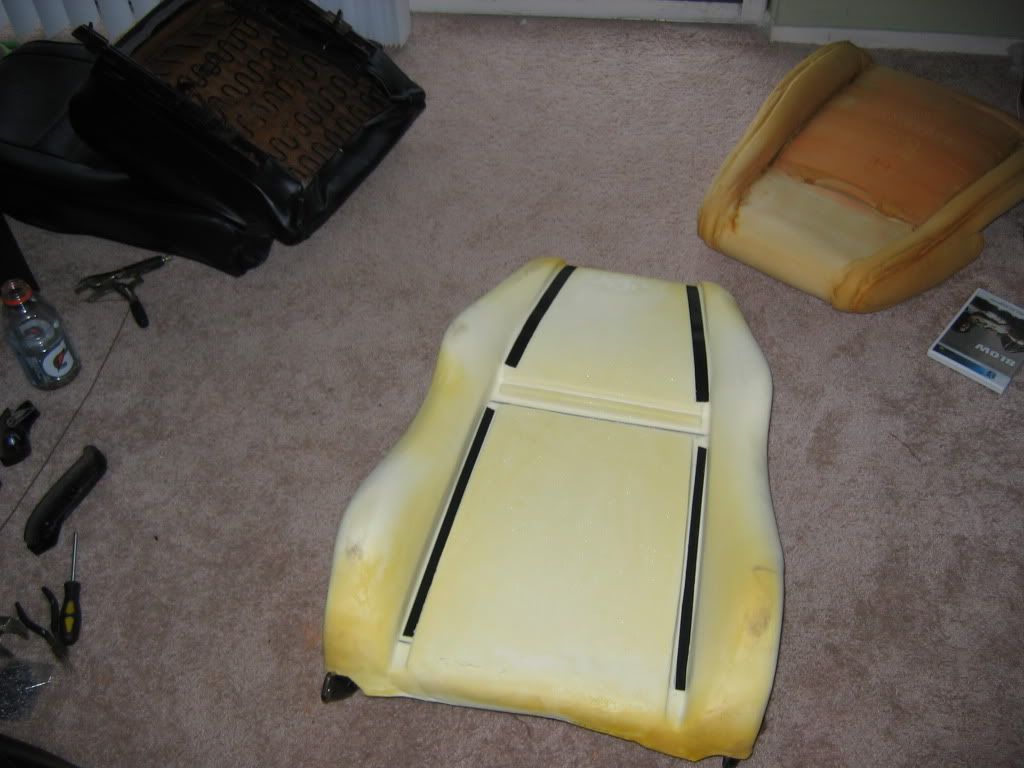
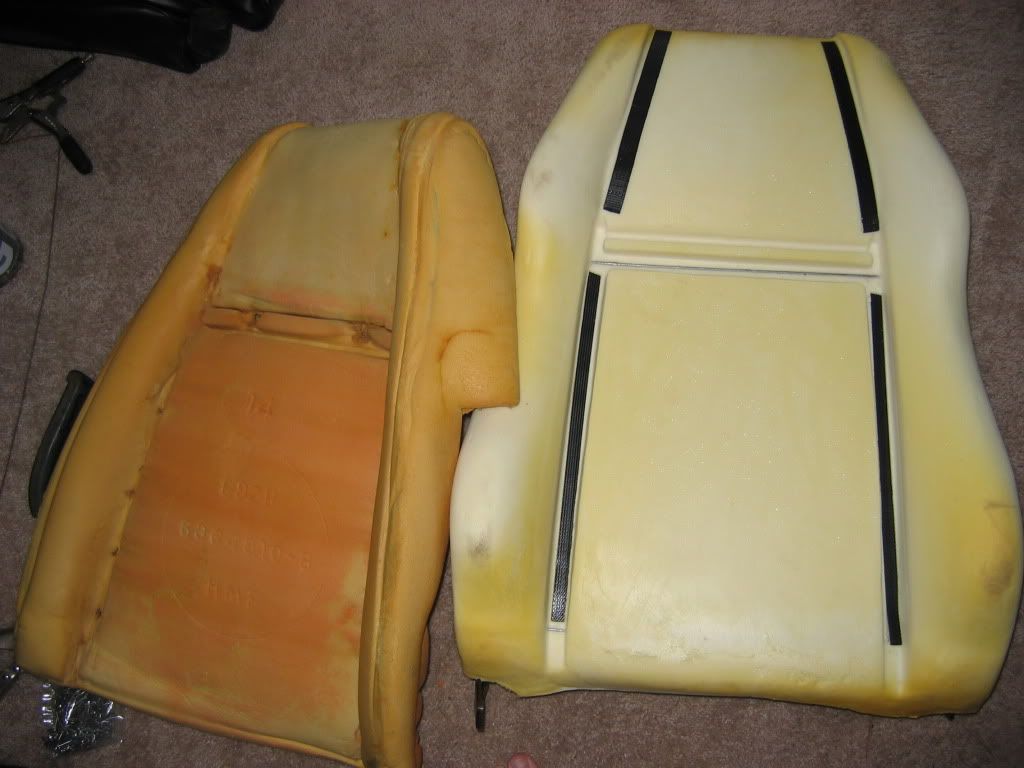
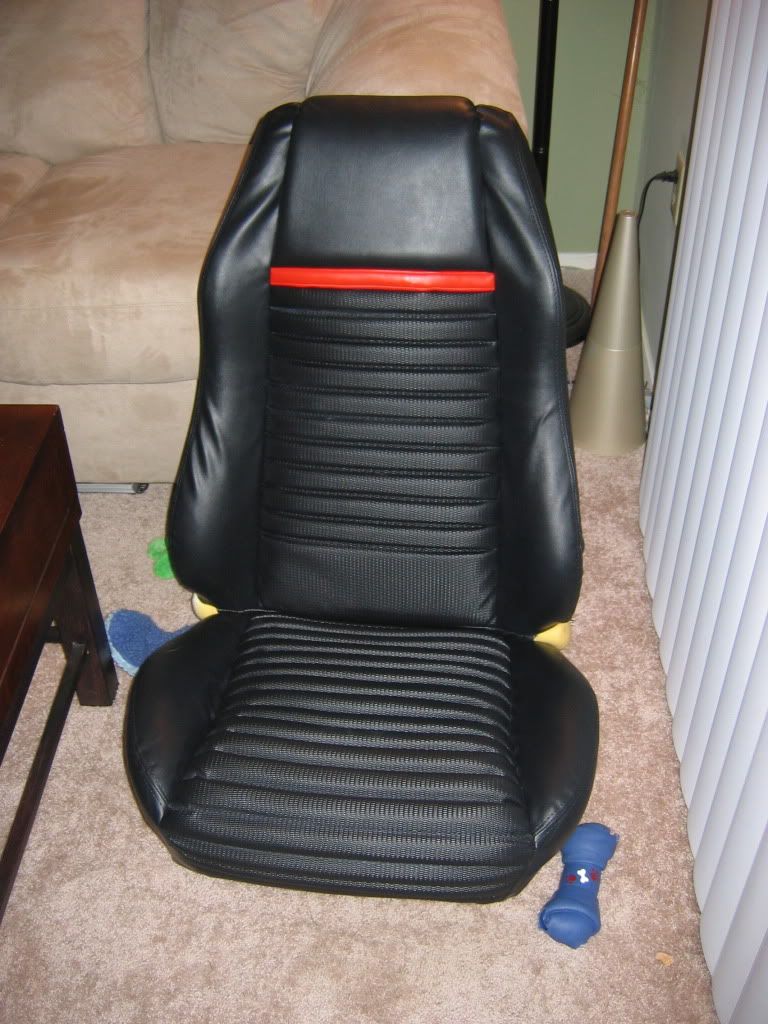
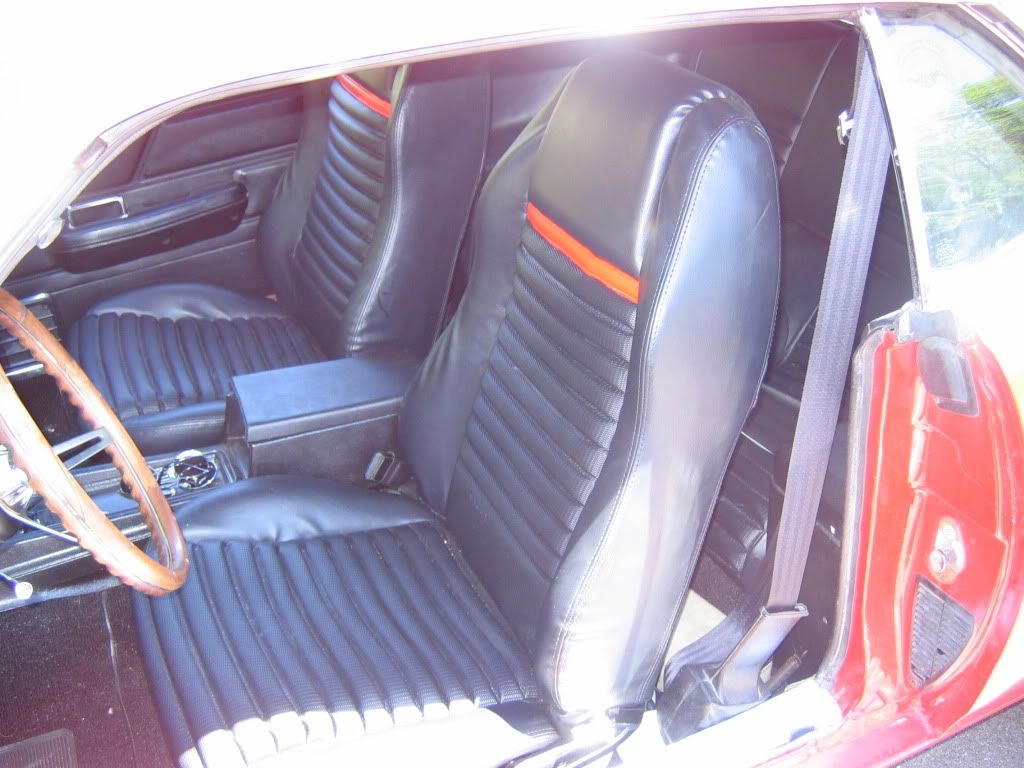
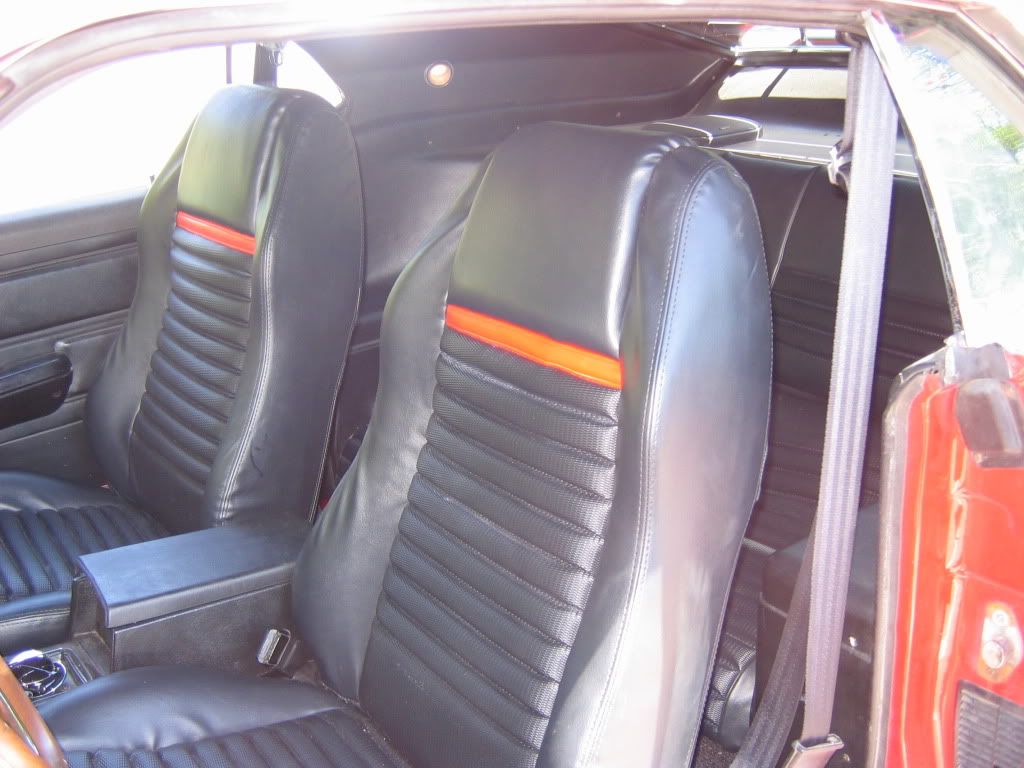
During and After:


I'd like to premise this by saying I am NOT a professional upholsterer. This was my first time doing it, and all in all, I'm pretty proud of how it turned out considering this fact.
Review:
Price: Pretty comparable to standard seat reupholstery for my year. A good upgrade for a similar price.
Quality: The material matches the original stuff exactly (comparing to mach 1 upholstery, I had standard prior)
Installation: Fit could've been better, but everything aftermarket tends to not fit so well. The foams were SUPER stiff, which is fine, but the upholstery did NOT fit like it should. I know it should be tough to install, but I know for a FACT the top of the seat back is where it should be, and there was not enough material to come down to the seat latch button. There should've been another flap of fabric to help hide the extra foam at the bottom and there wasn't. I made it work with some pieces of the old upholstery, but I shouldn't have had to.
Comfort: I LOVE this stuff. The side bolsters prevent me from sliding out of my seat on a rough turn.
Fit: I hadn't considered the height difference as opposed to my original, crushed foam, which I sank into, so now my head is SUPER close to the sealing, and I see a tilt column in my near future. (I'm 6'4"... I don't slide right in like I used to.) On a side note, the bolsters on the side might make it more uncomfortable for the wife to give me road-head. I will keep the original material to her seat in case this becomes problematic, and I will have mach 1 sport seat upholstery all around, except for her seat, if necessary.
)Time: Took maybe 3 days total, working on it here and there when I had time. This was my first time doing upholstery at all, so I'm sure others could do it in an afternoon.
Overall cost: Upholstery, seat foams, hog ring shears and hog rings and pliers kit; $490.
Overall: A good investment. Looks good, feels good. I like it and am happy I did it (though I had to sell one of my rifles to pay for it.)
Pics: (Keep in mind the camera is very unforgiving with wrinkles, they don't look so bad in person.
)Before:
During and After:
Last edited by a moderator: