• Hello there guest and Welcome to The #1 Classic Mustang forum!
    To gain full access you must Register. Registration is free and it takes only a few moments to complete.
    Already a member? Login here then!

67 Coupe Restomod

pwbabcock

New Member
I stumbled across this site a few weeks ago and am very impressed at the amount of knowledge and support in here (new favorite site). I am a little over a year into the rebuild which has been a very enjoyable family project. I have been documenting the day to day of the resto on a blog:
http://pwbabcock.blogspot.com/
These are some highlights of the build so far.
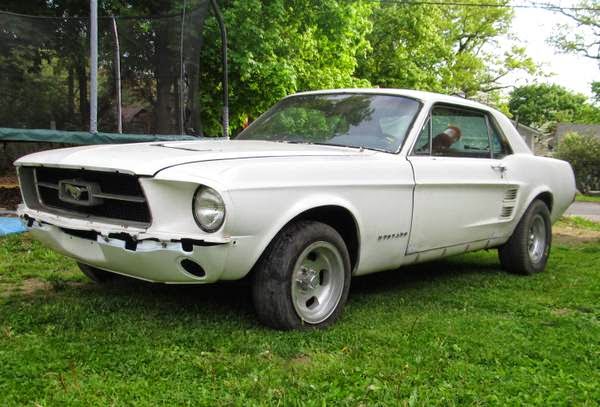
As purchased in June 2013
1967%2BMustang%2BFront.jpg

1967%2BMustang%2BInterior.jpg

IMG_20130802_141047_792.jpg

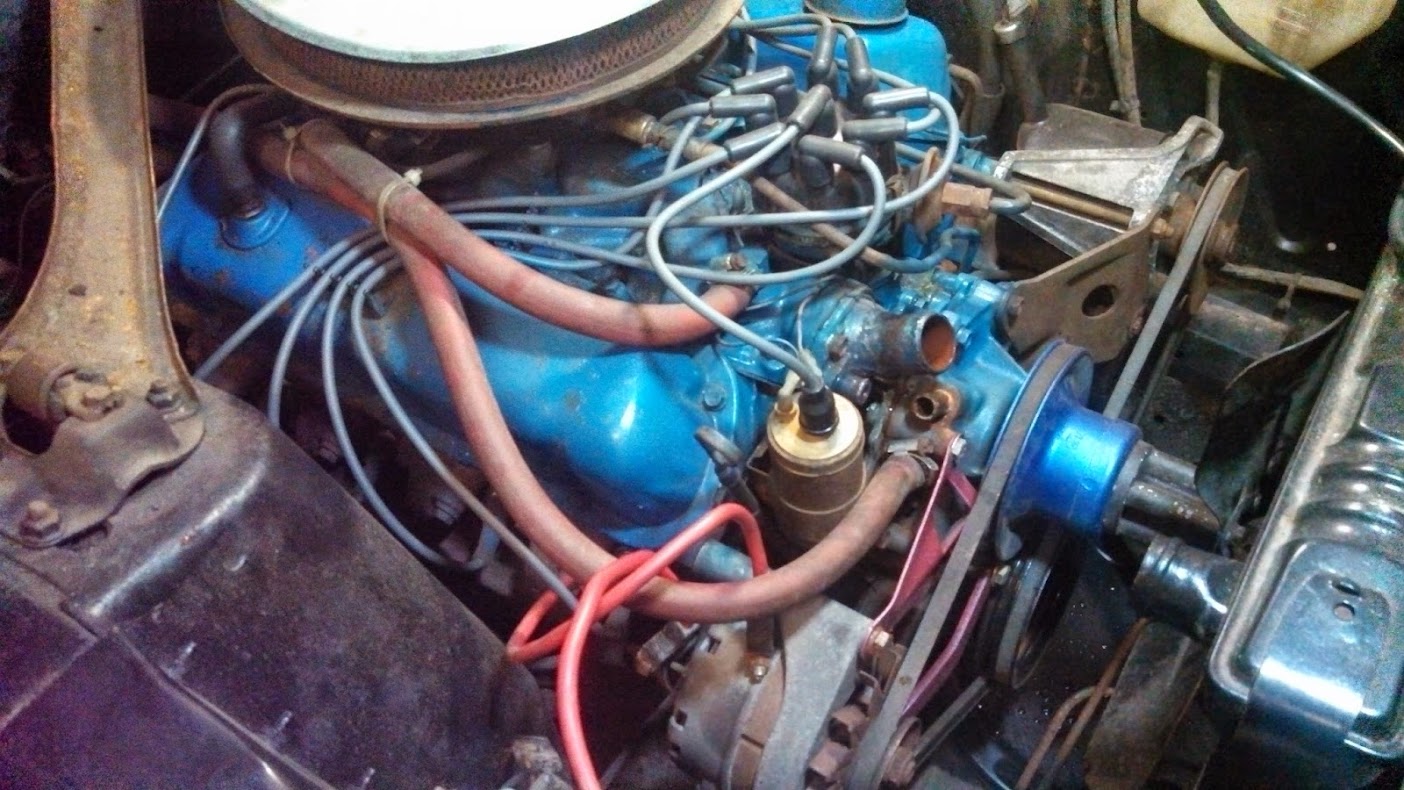
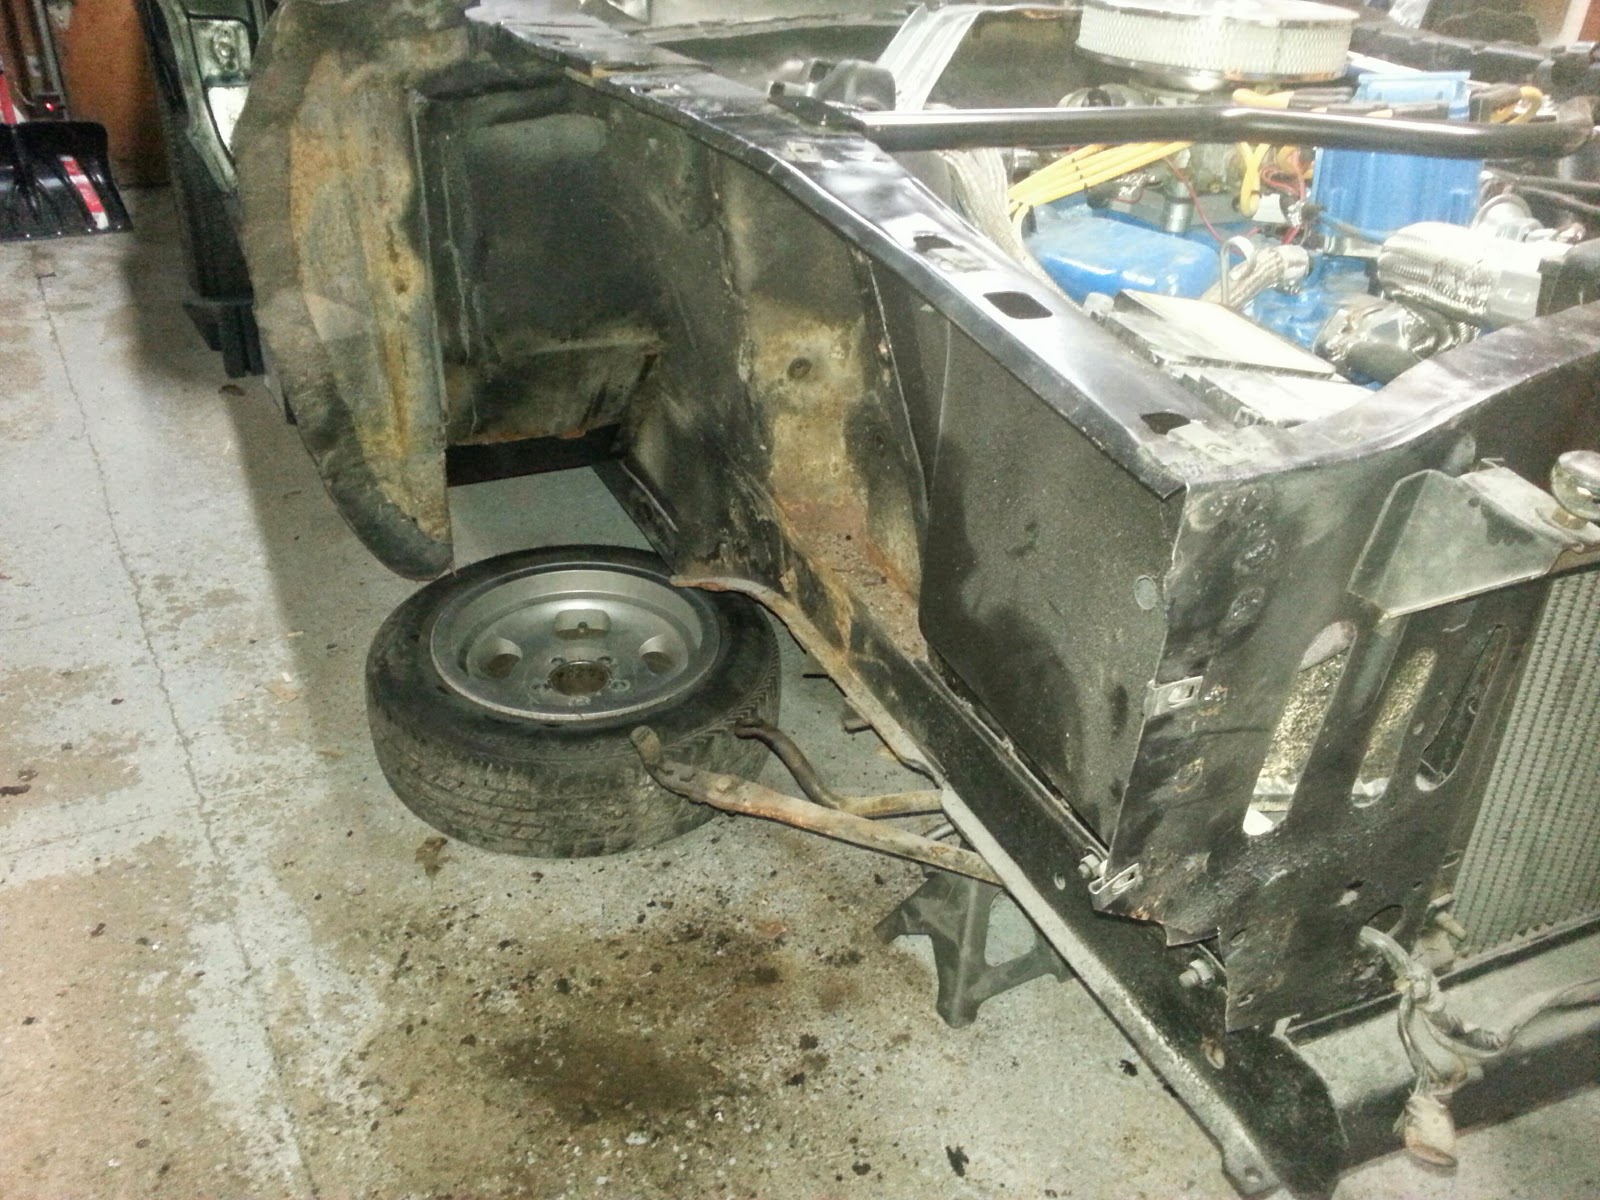
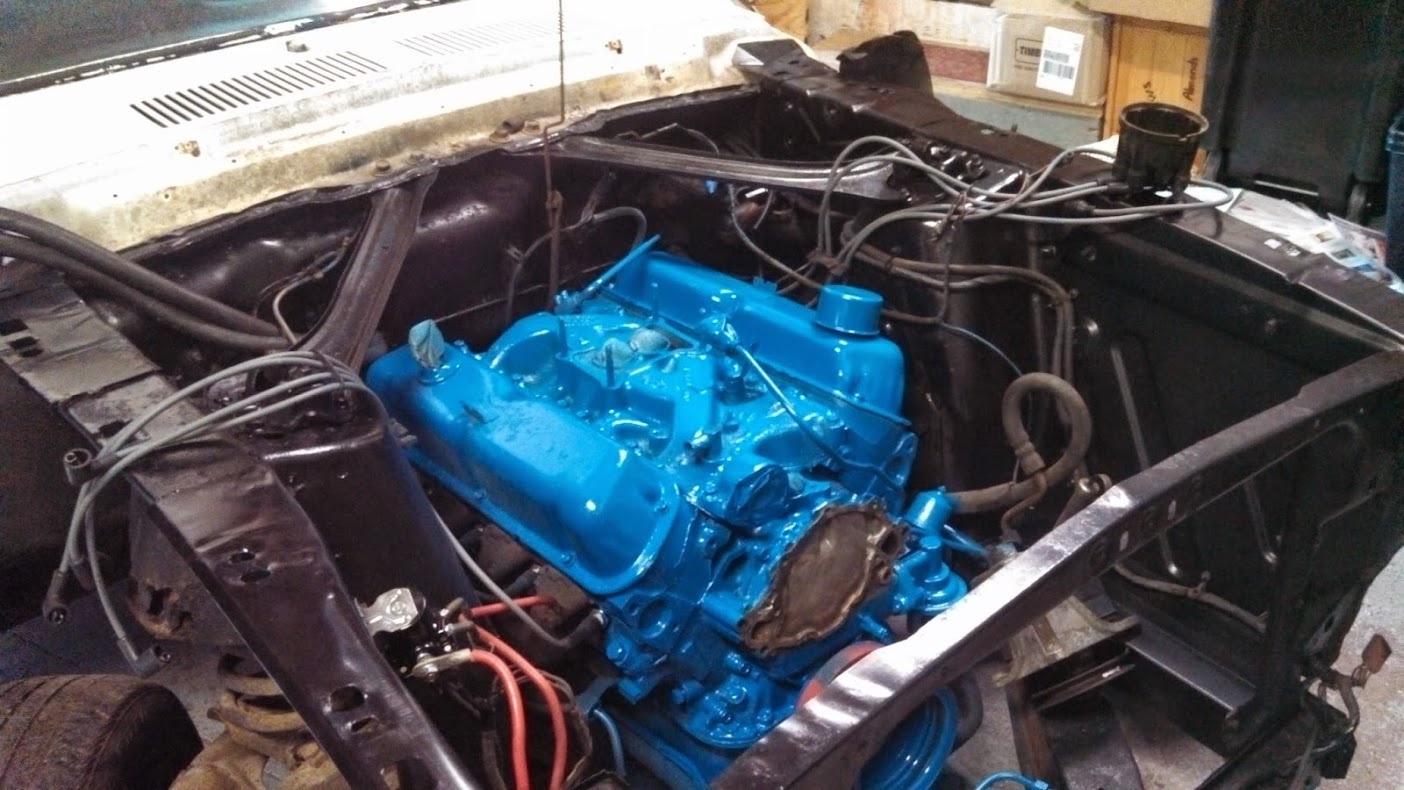
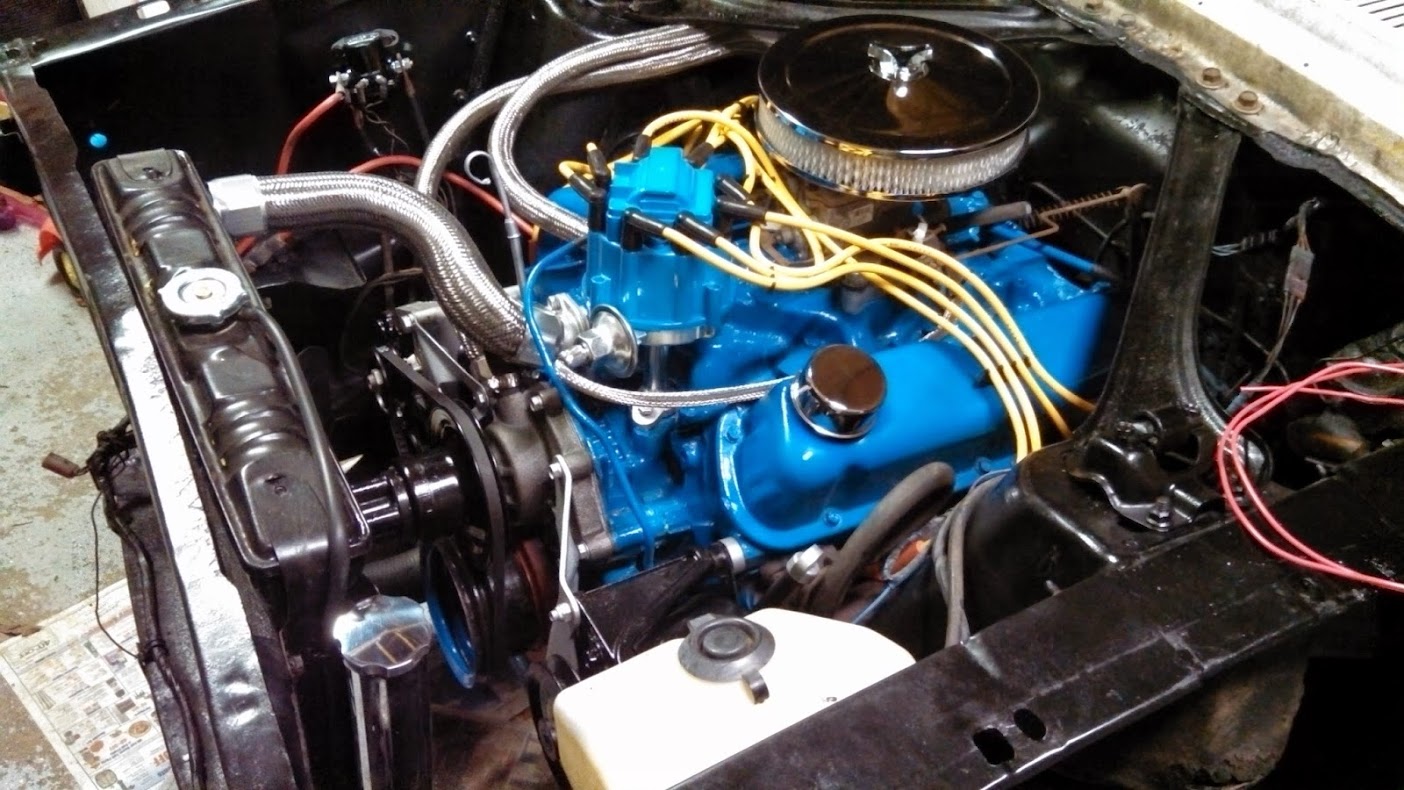
First, some engine bay cleanup. Original 289 runs great by the way.
IMG_20130817_171541_578.jpg

IMG_20130917_202909_661.jpg

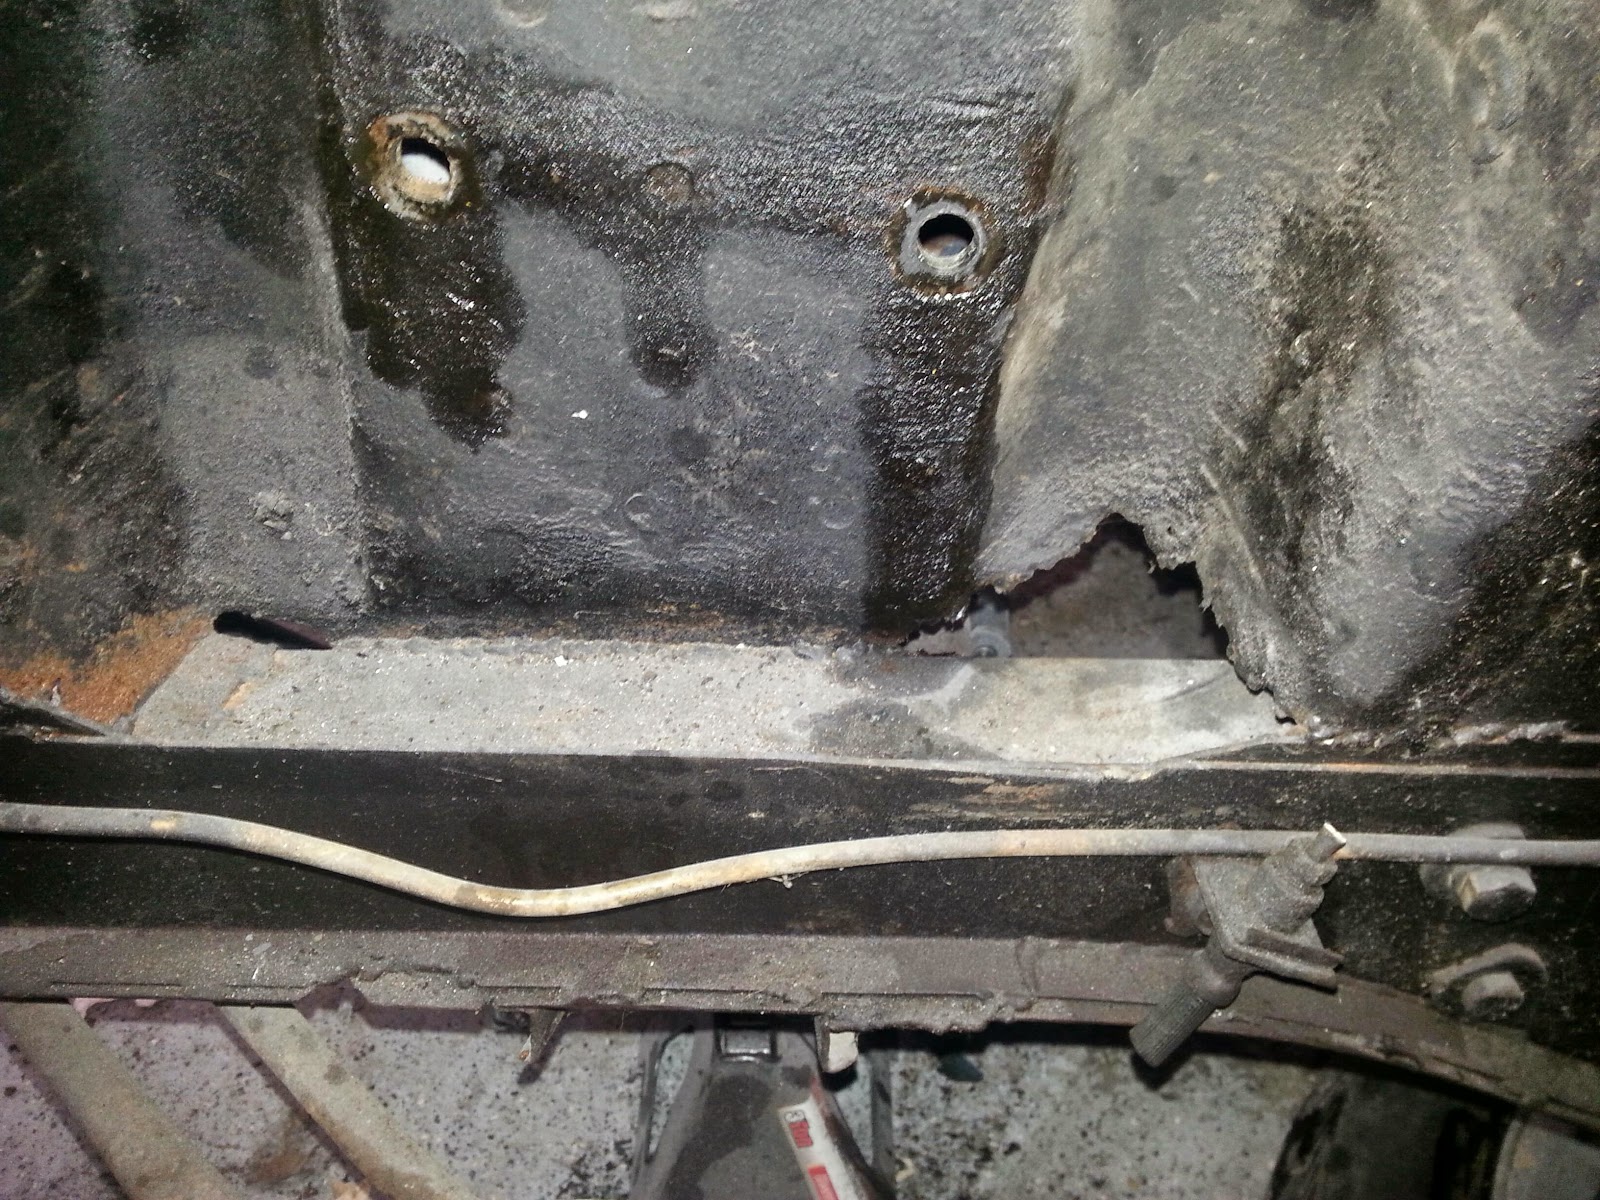
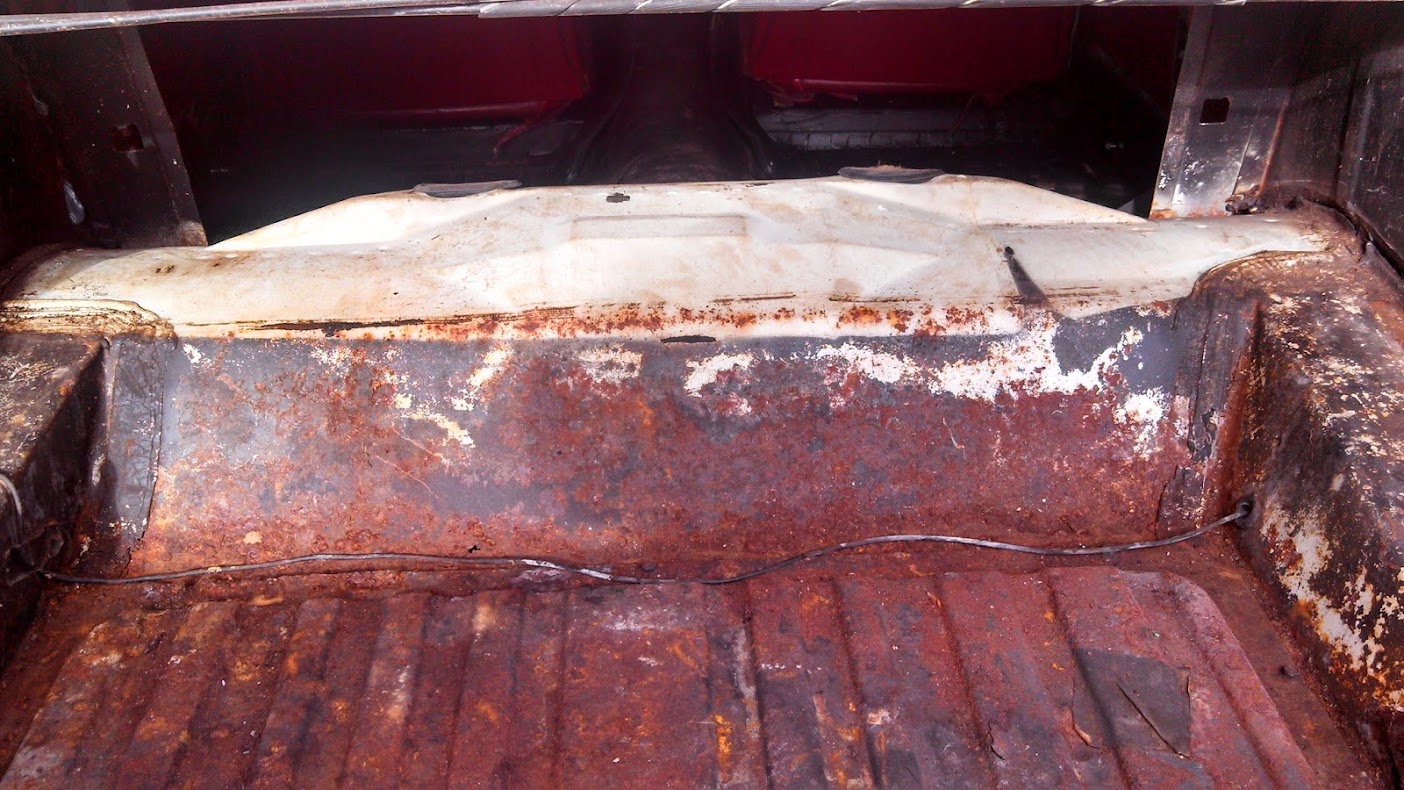
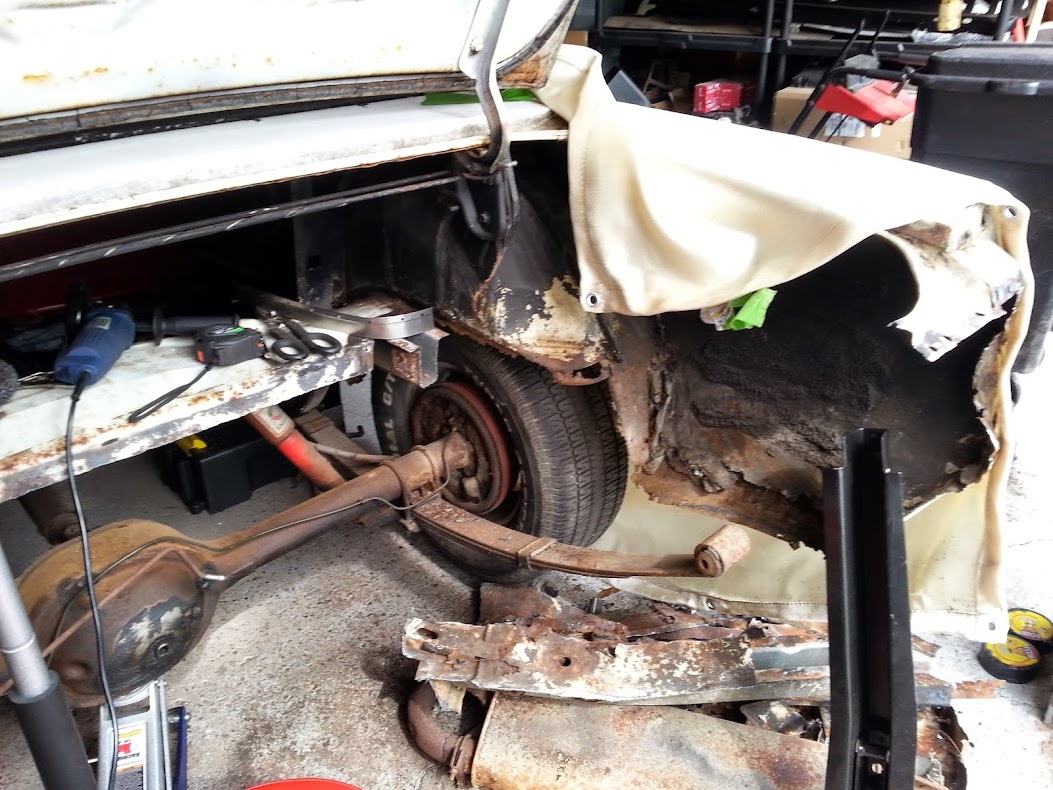
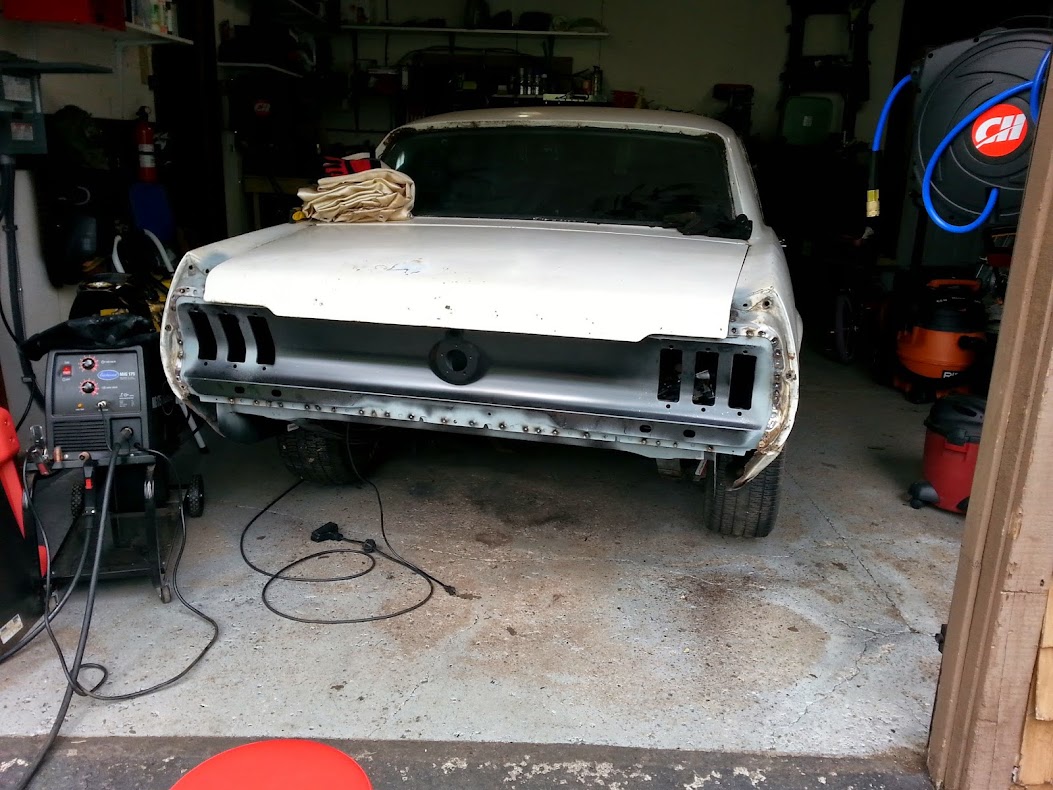
Lots of rust in trunk area.
IMG_20140401_165627_082.jpg

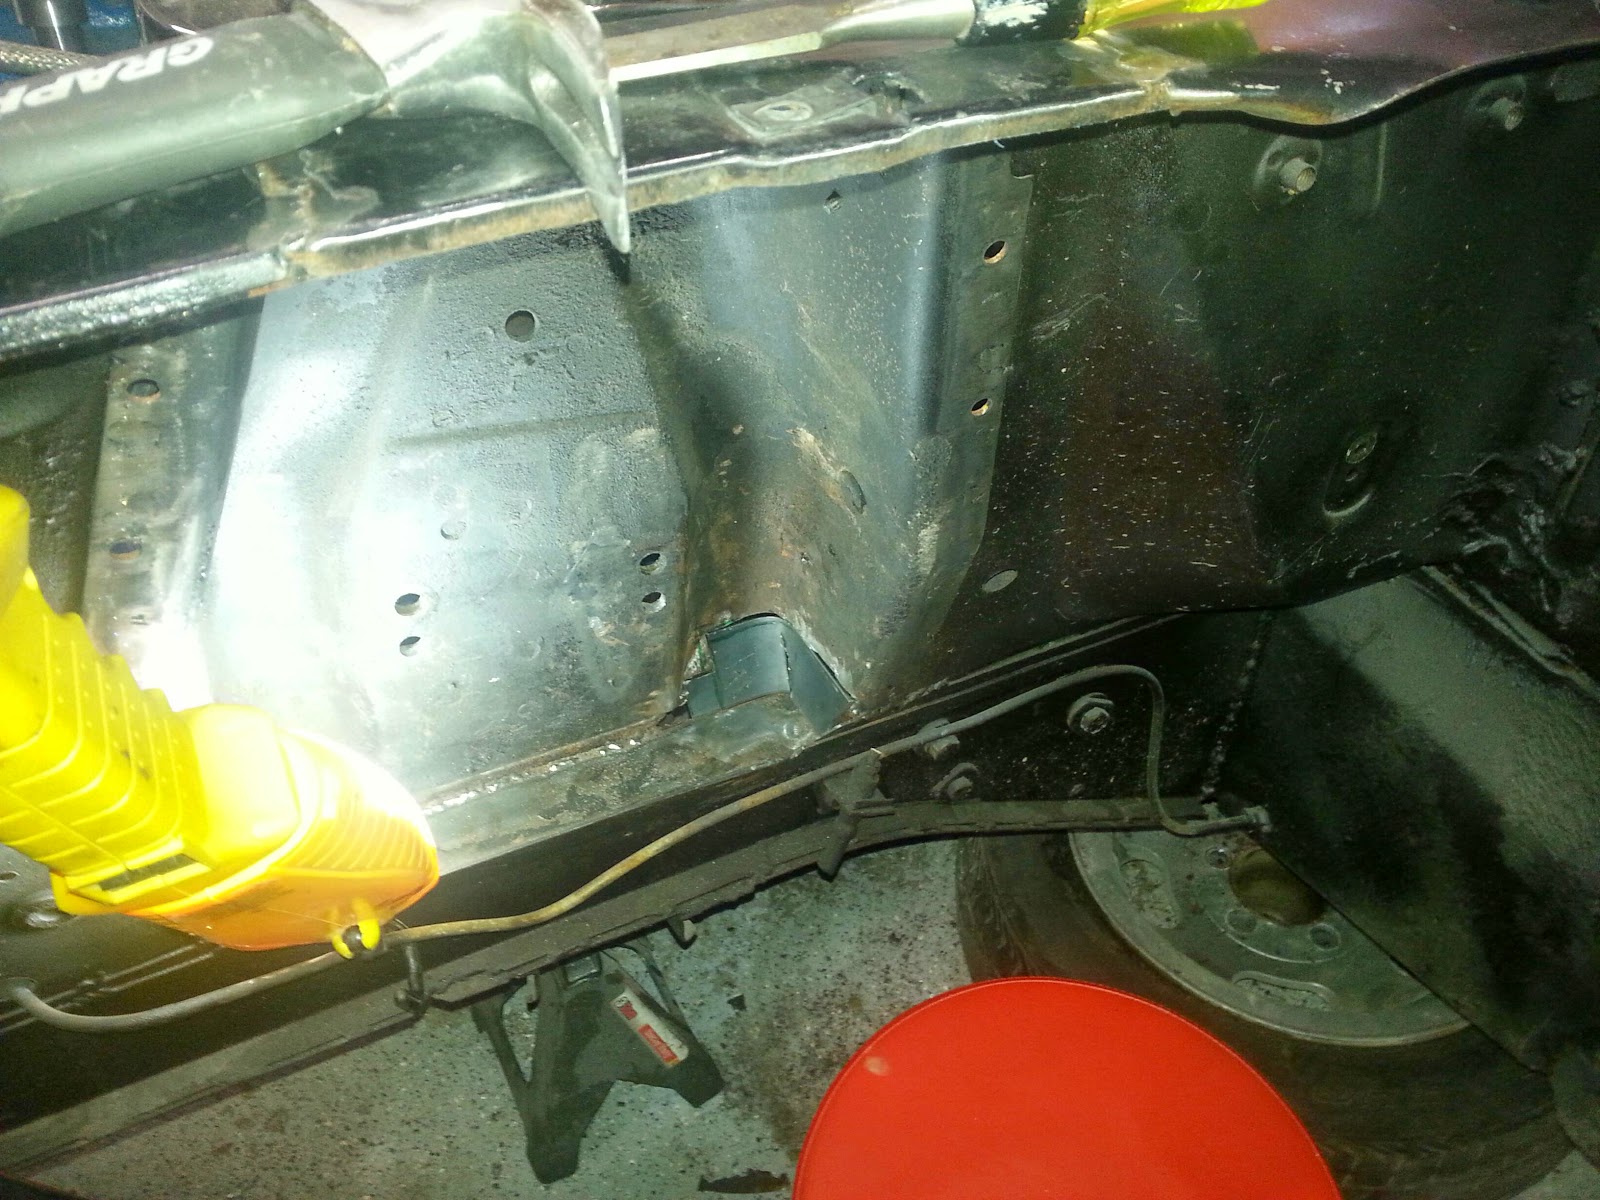
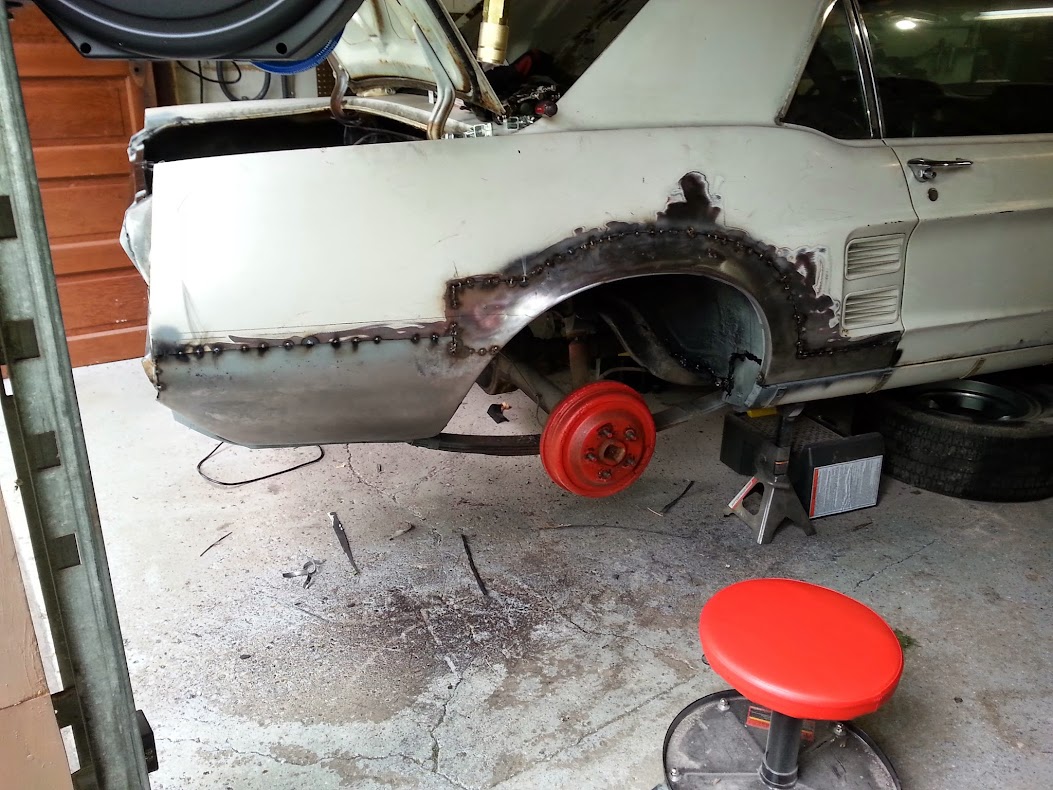
Quick work with the plasma cutter.
20140514_154620.jpg

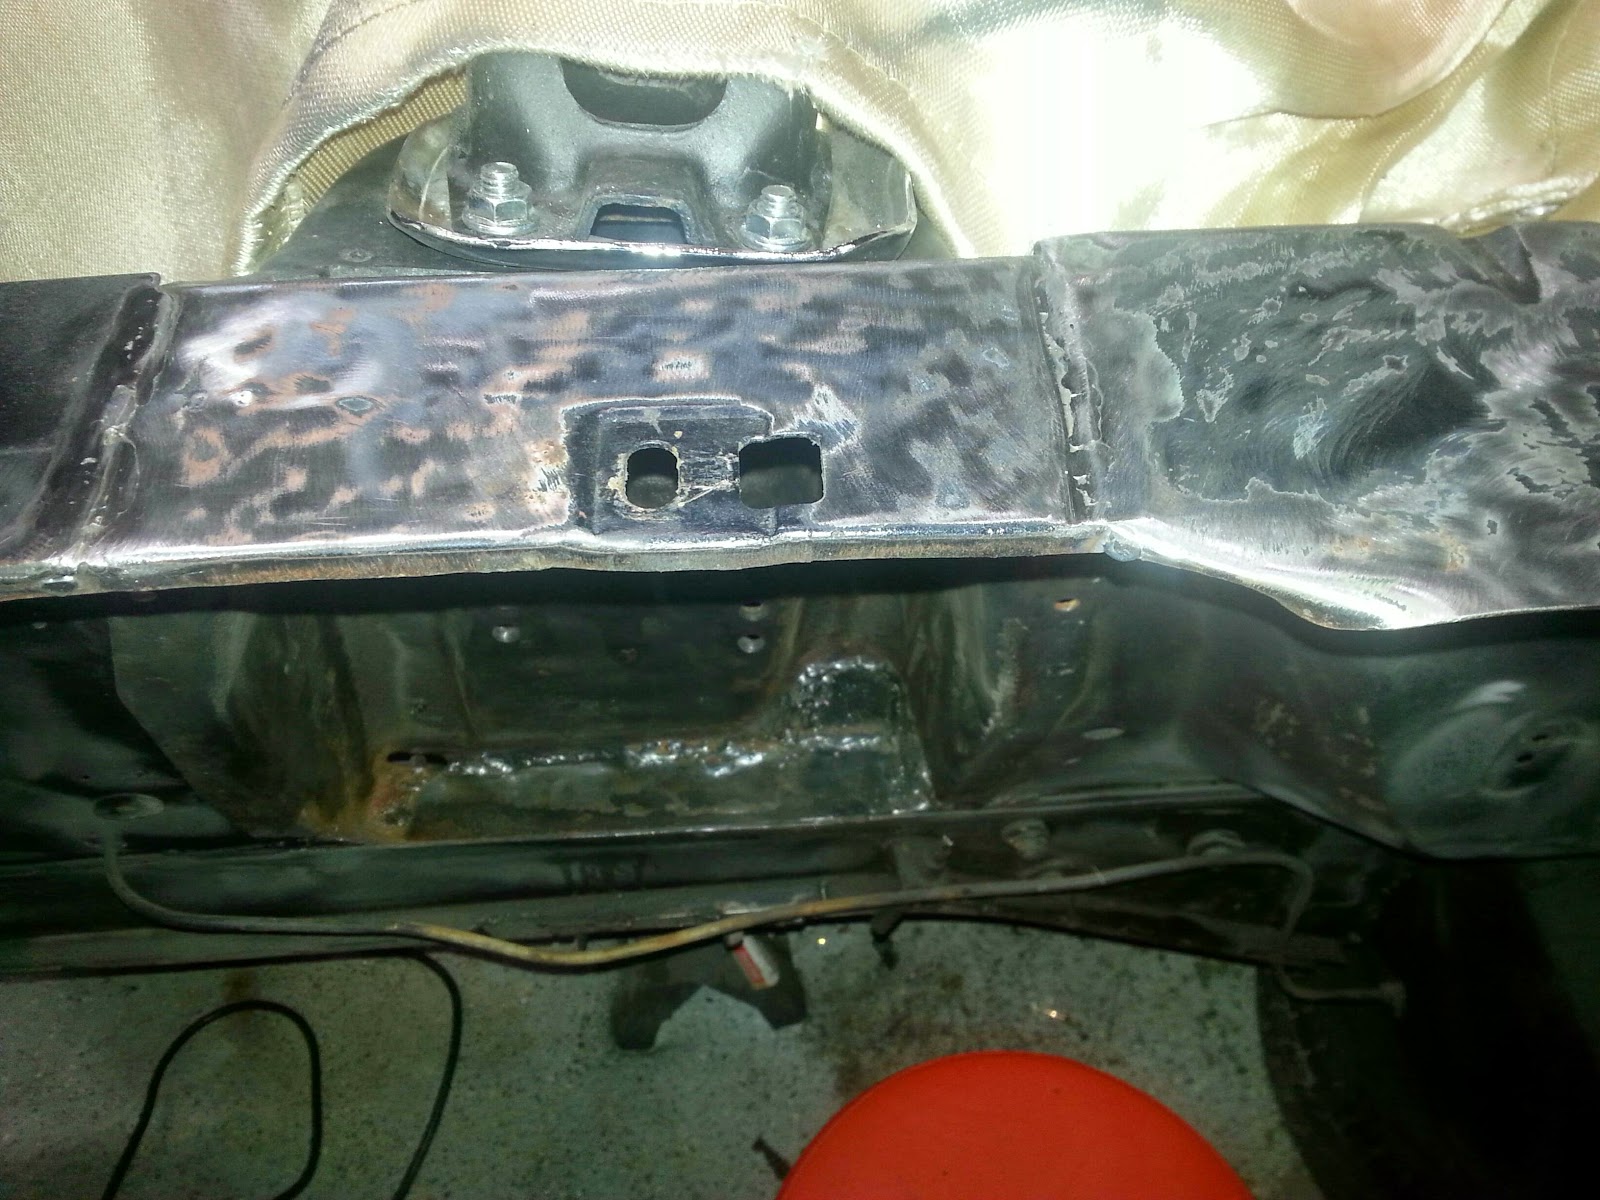
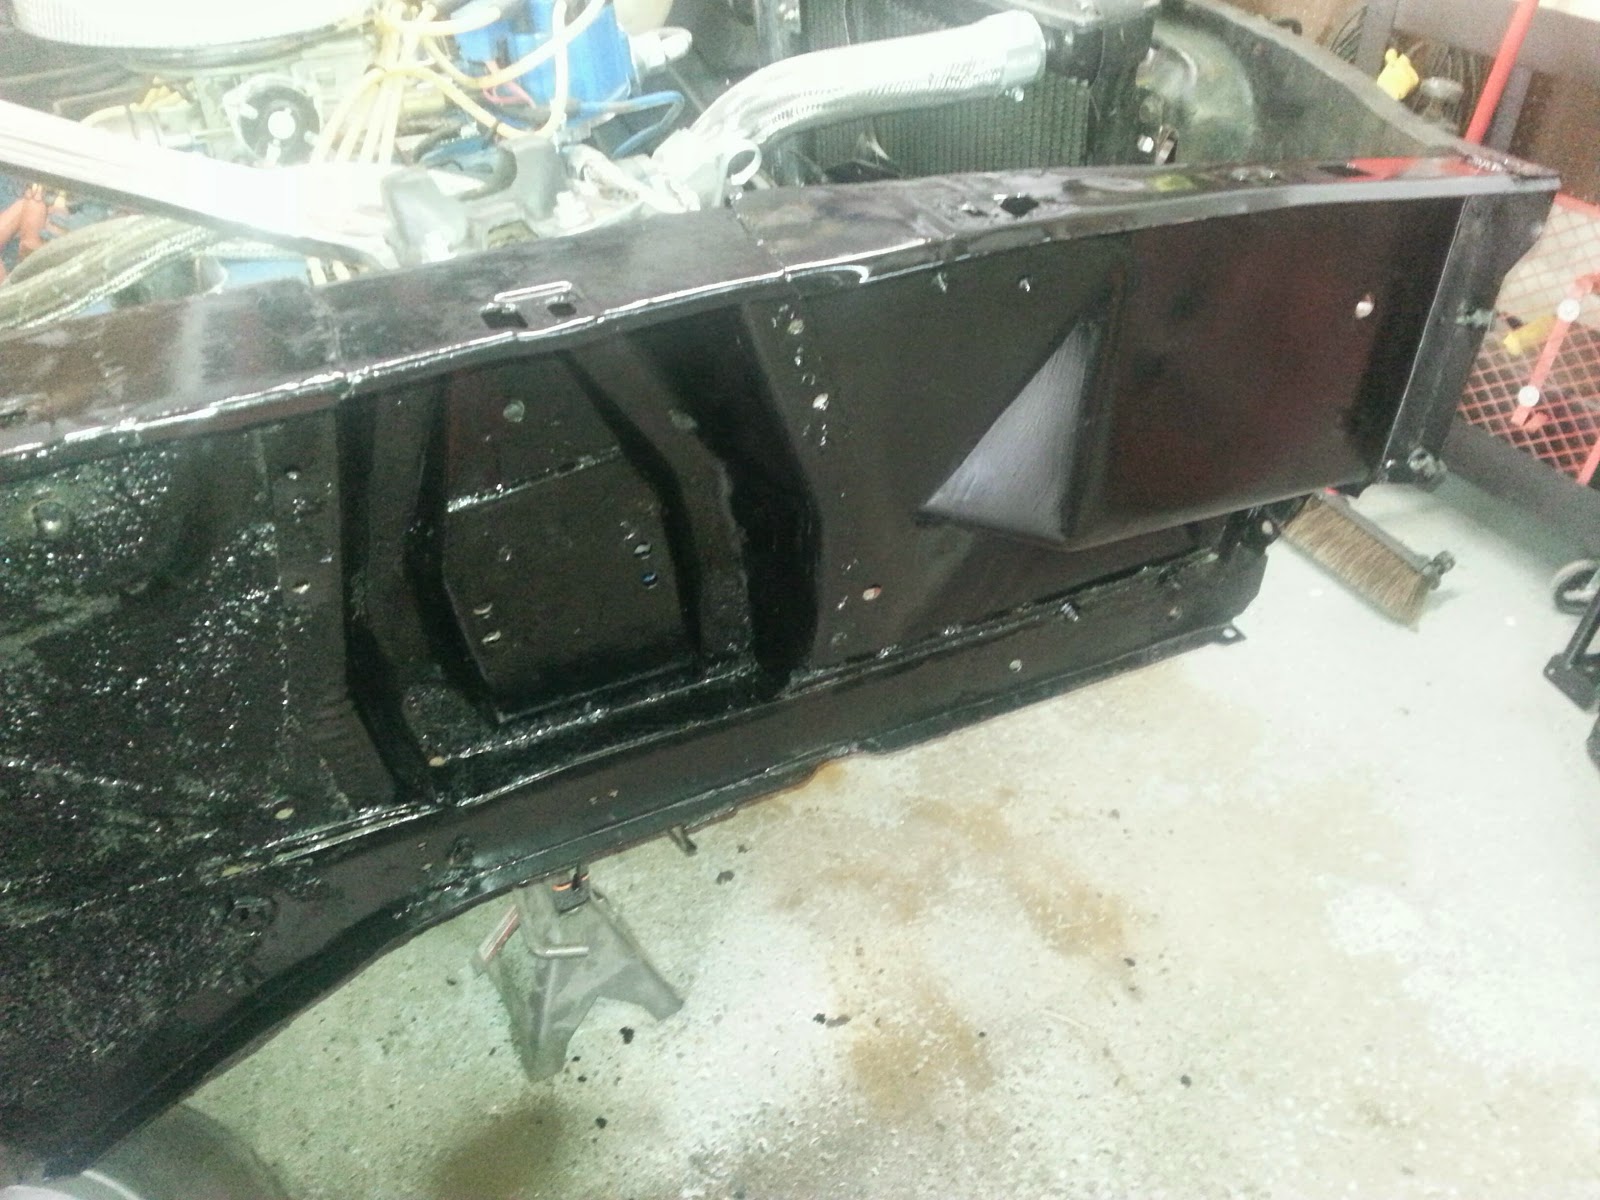
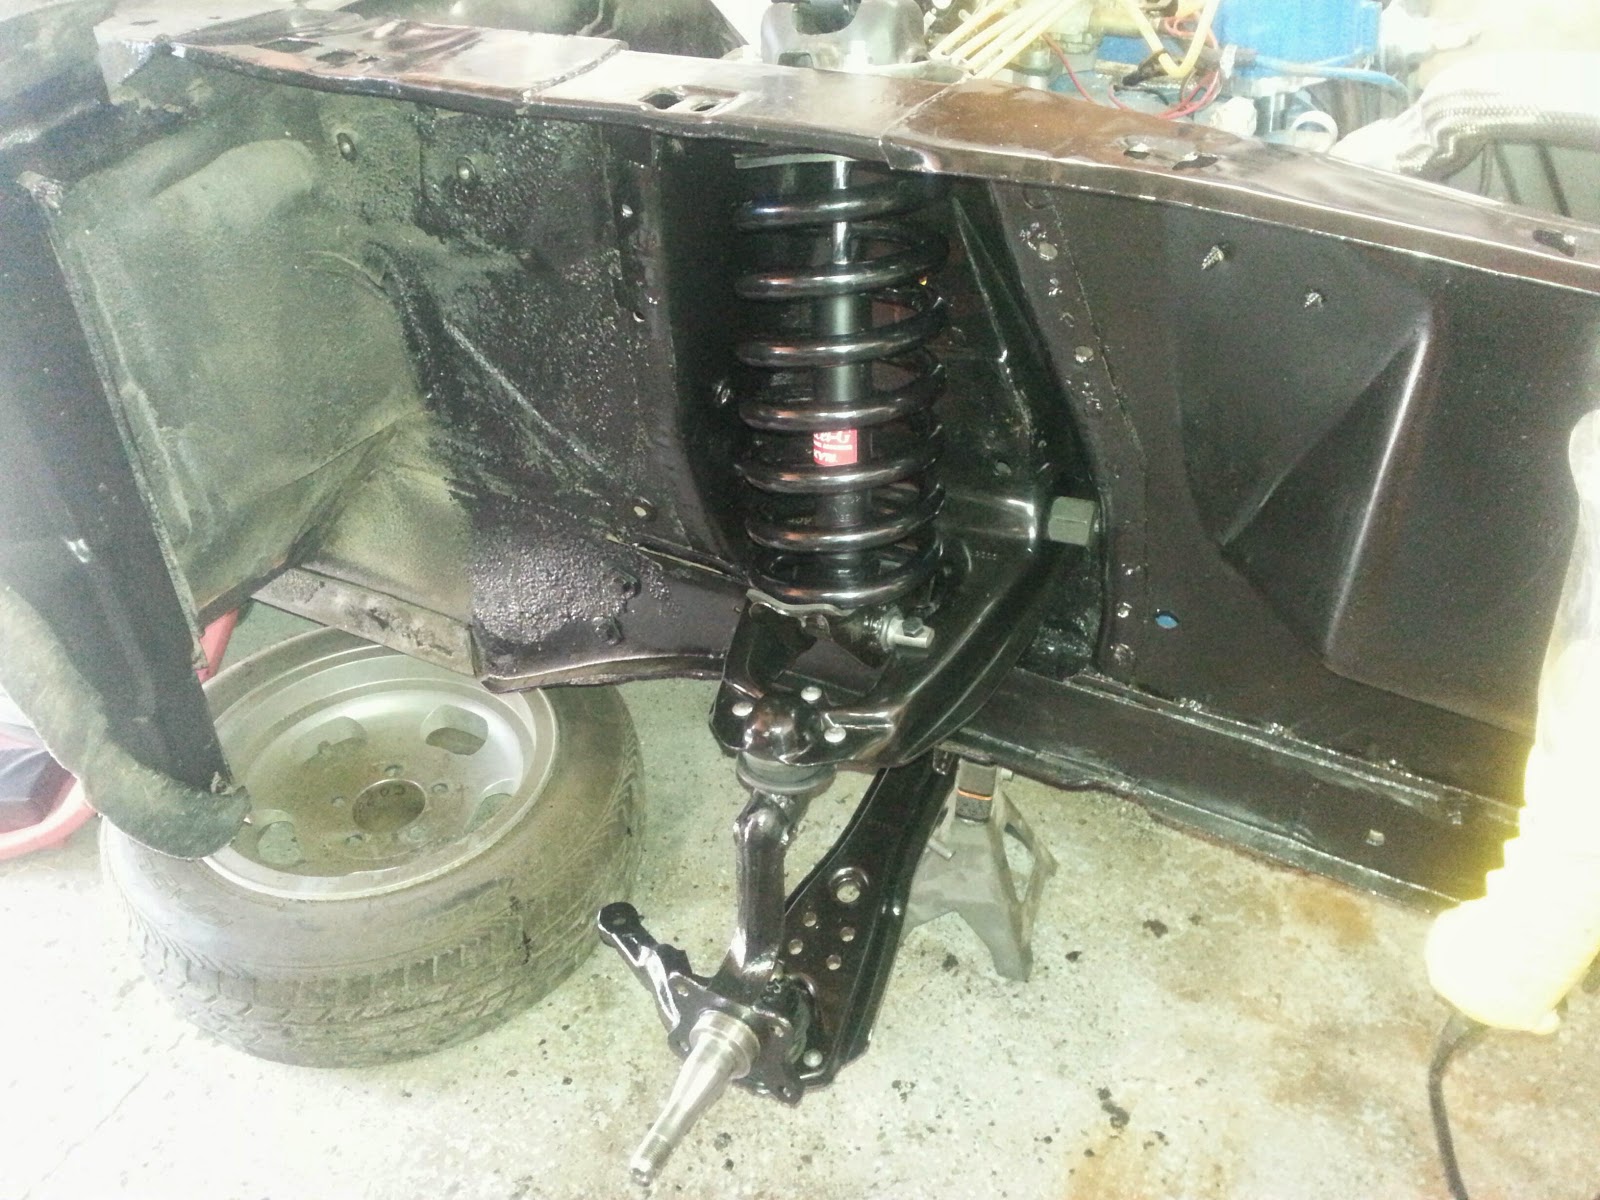
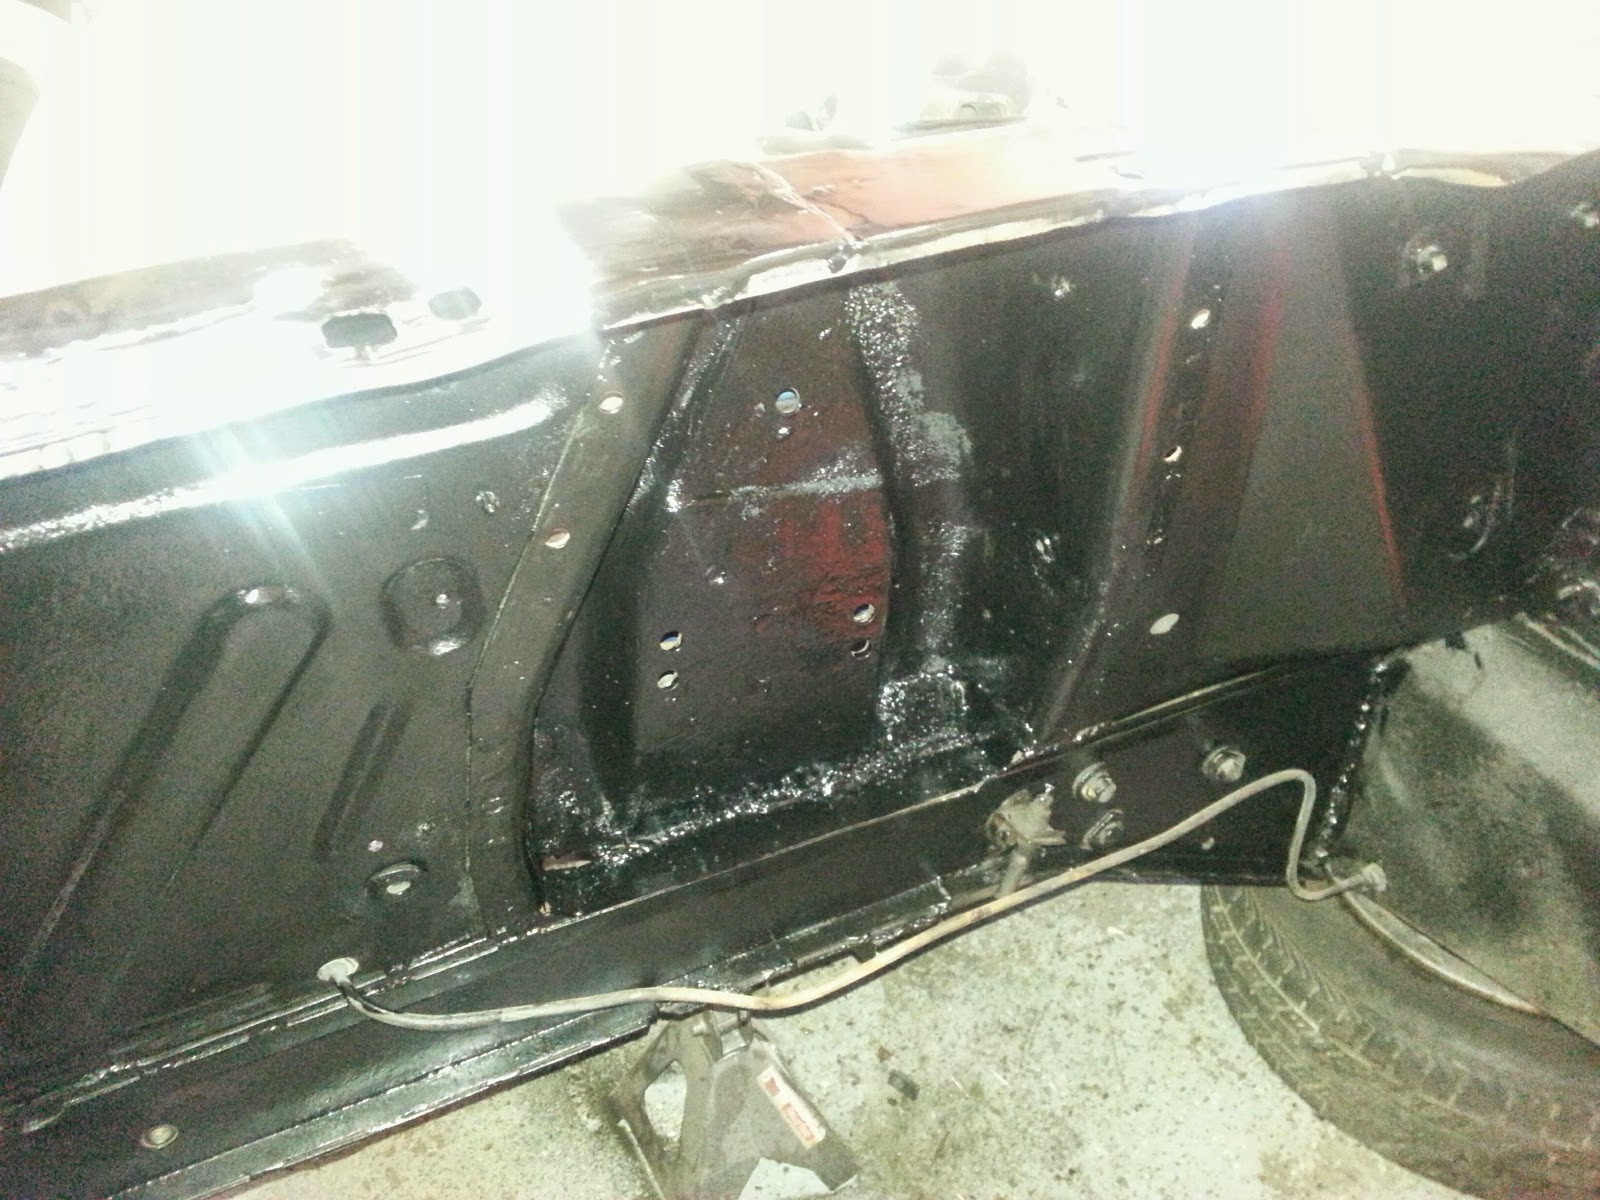
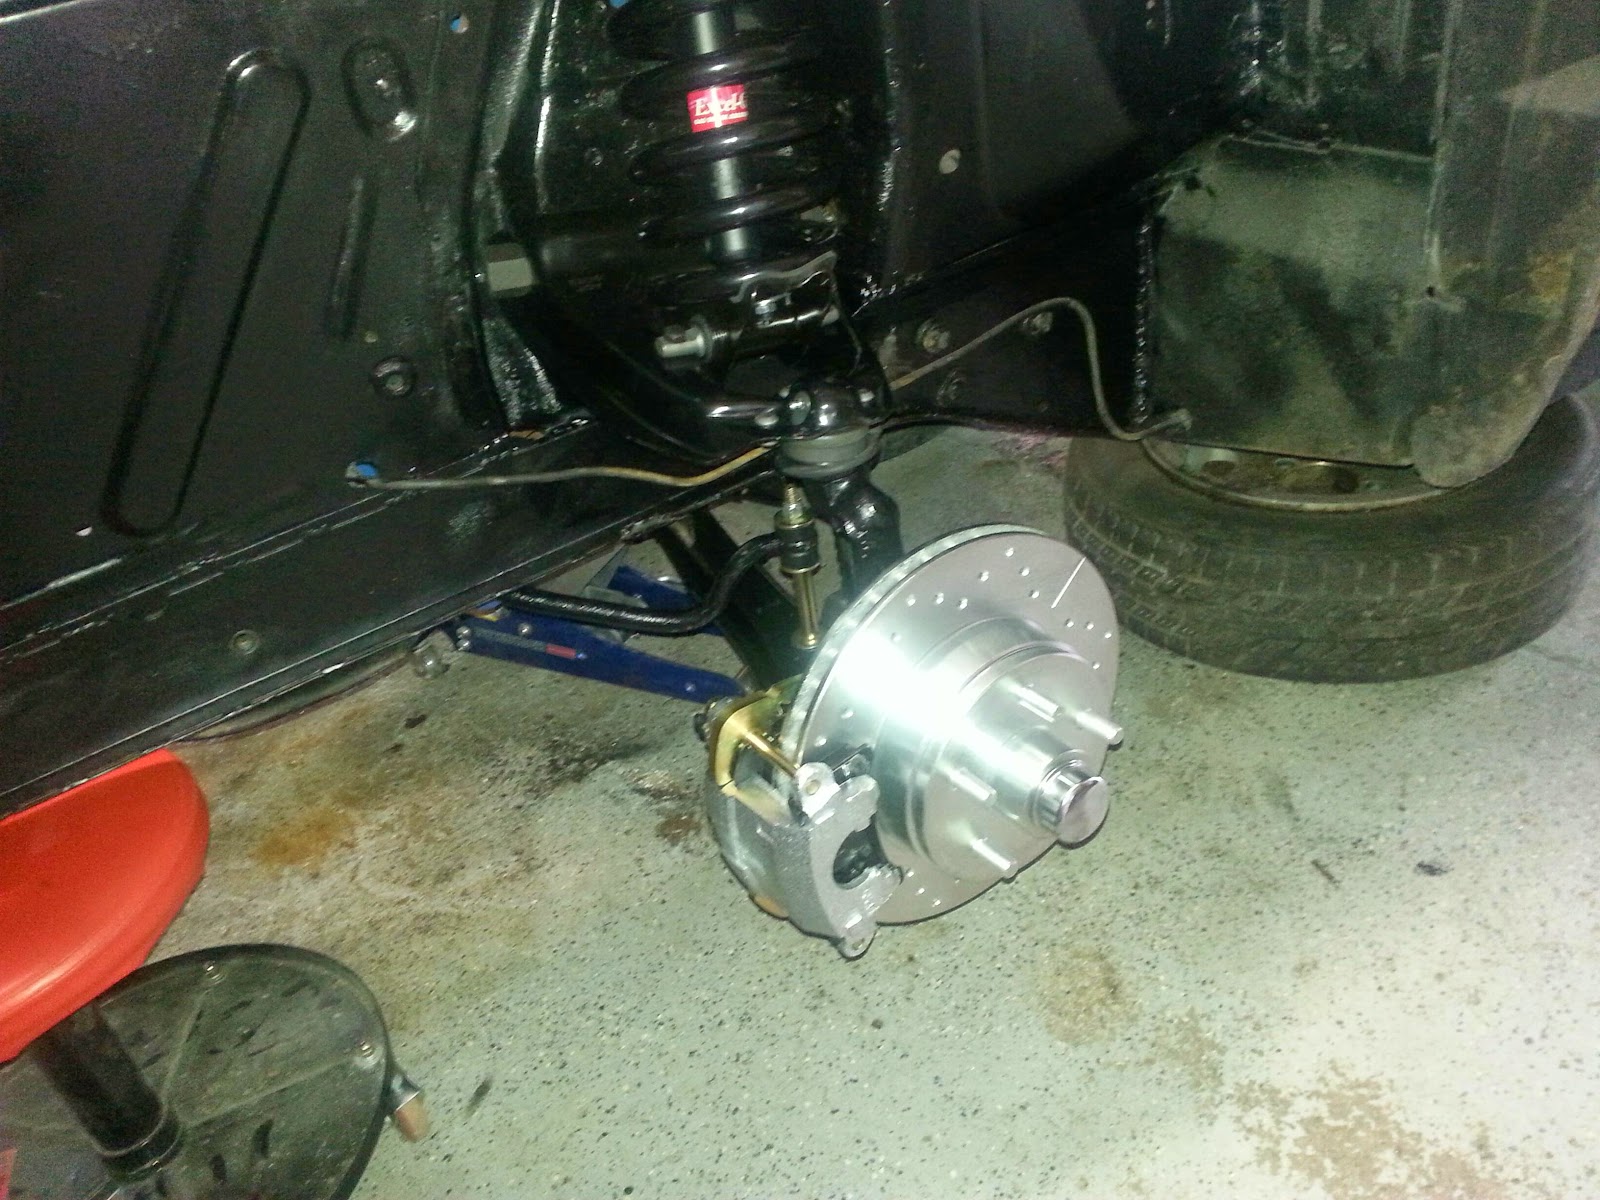
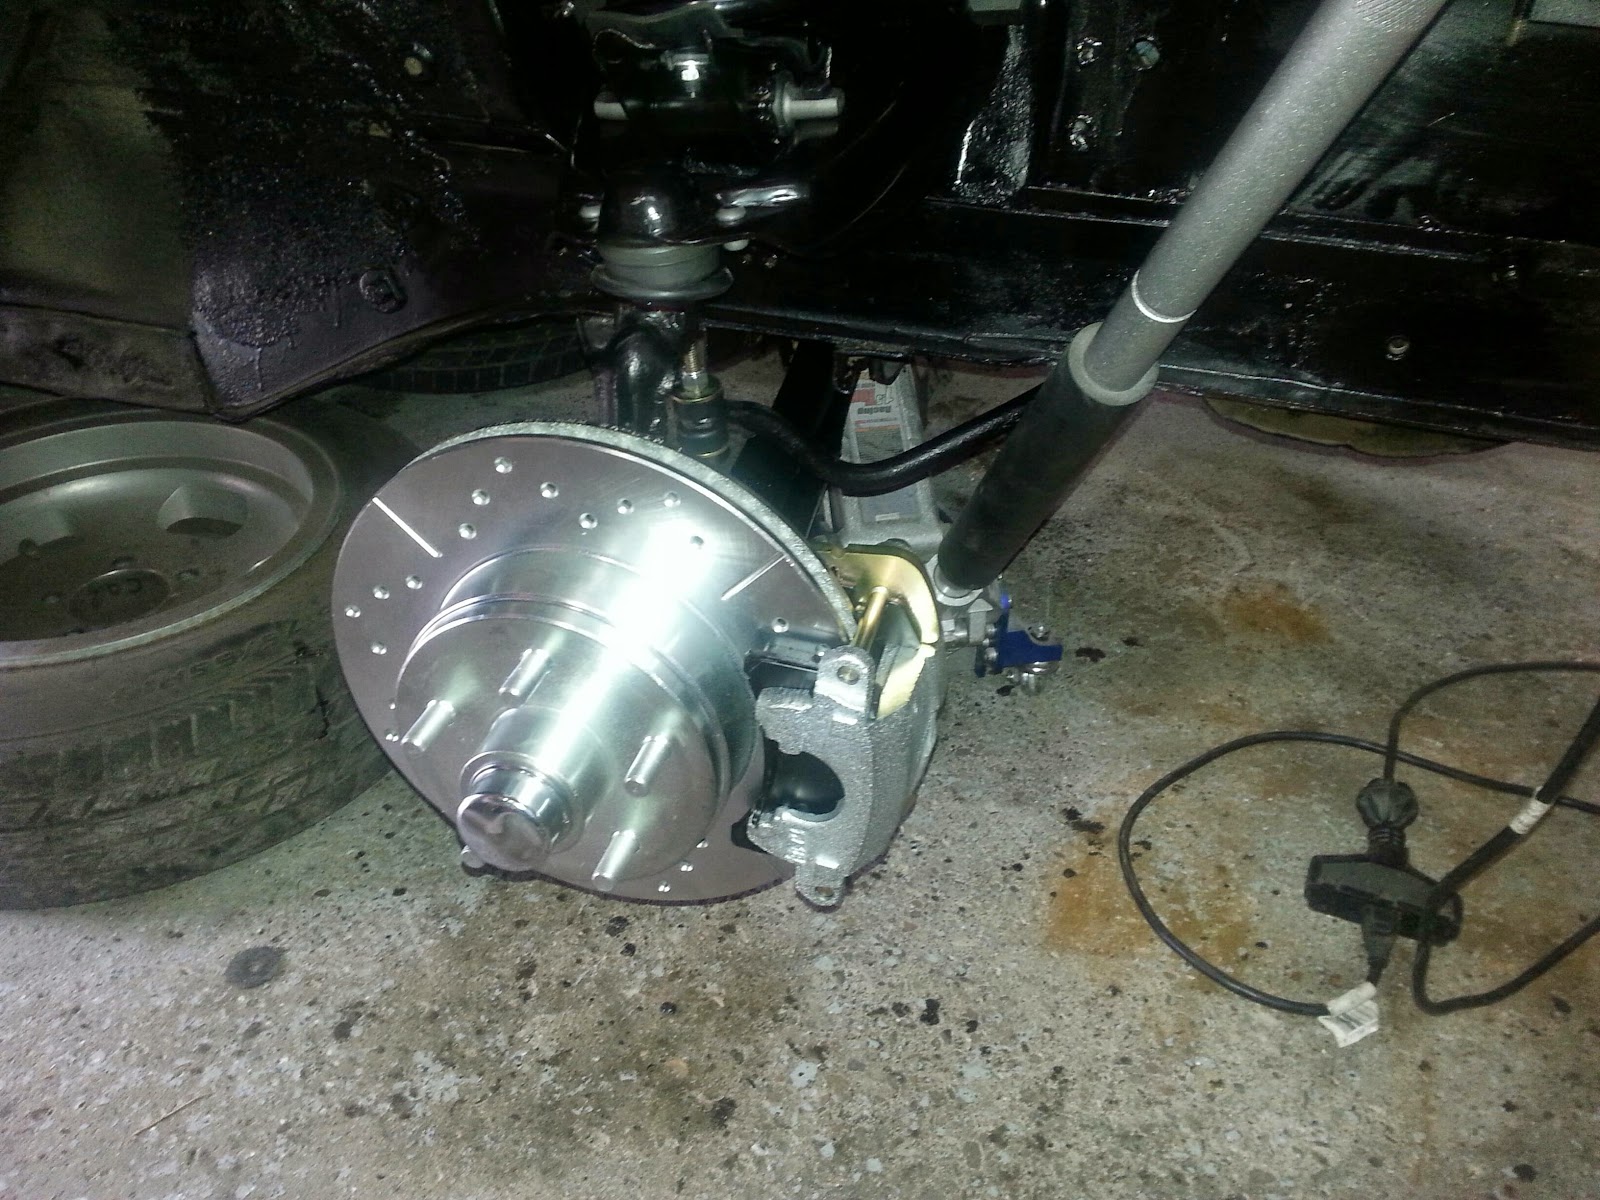
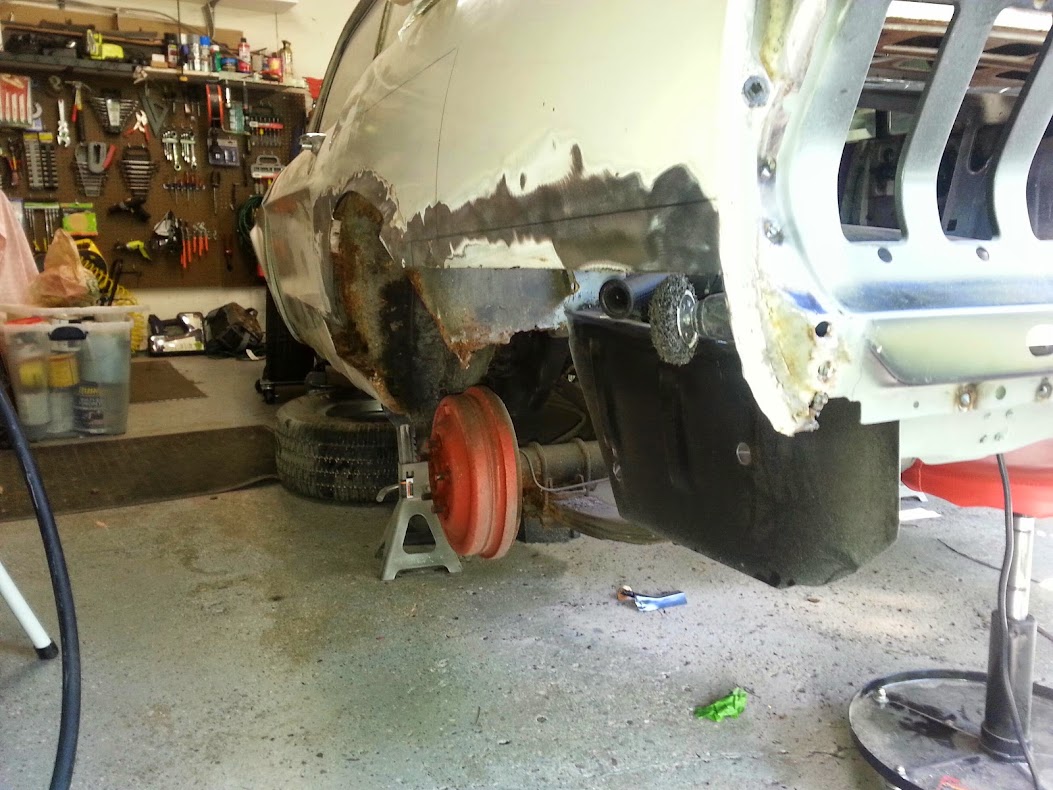
New frame rails and floor.
20140517_165243.jpg

20140520_160657.jpg

20140525_114533.jpg

20140605_172604.jpg

20140606_174249.jpg

20140728_214153.jpg

20140907_131246.jpg

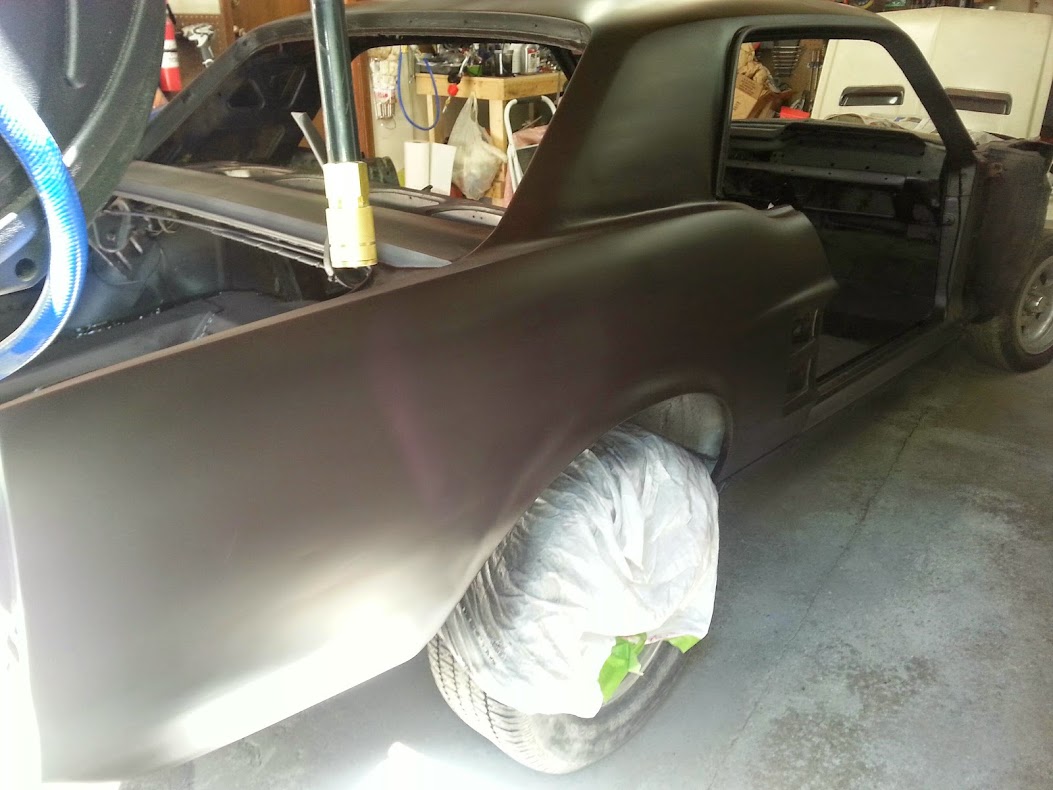
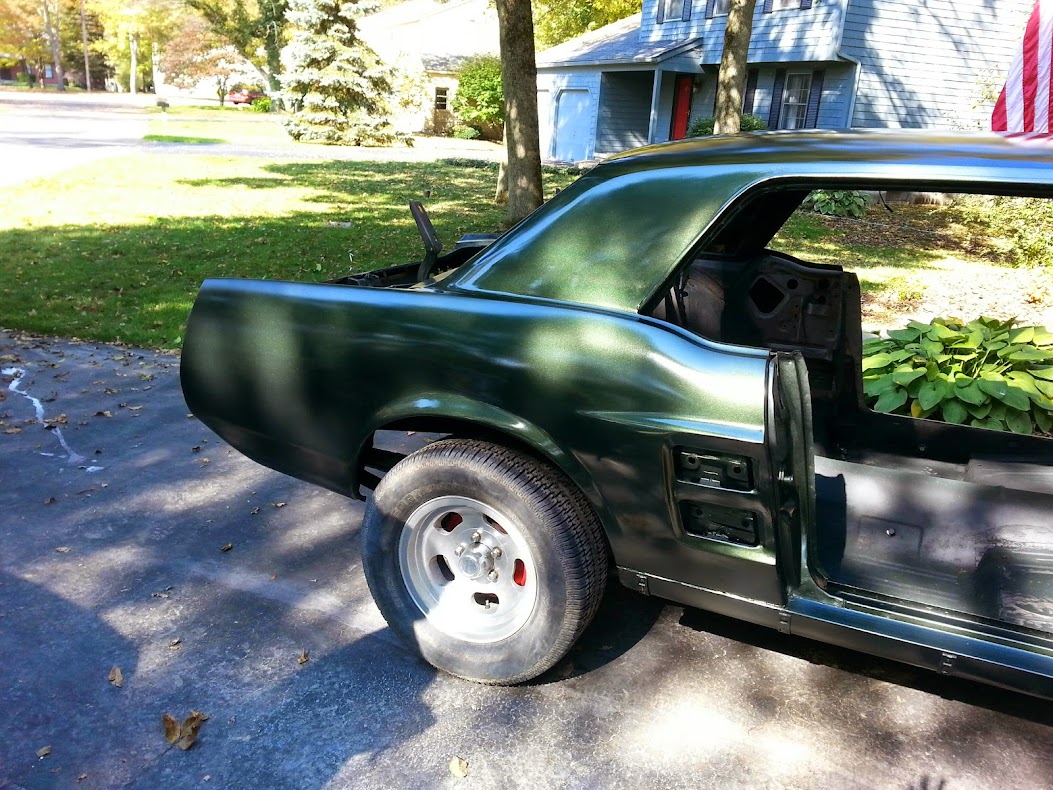
Paint on. Eastwood Jaded Green Metallic
20140930_110456.jpg

20141010_173912.jpg

20141010_173930.jpg

20140920_164728.jpg

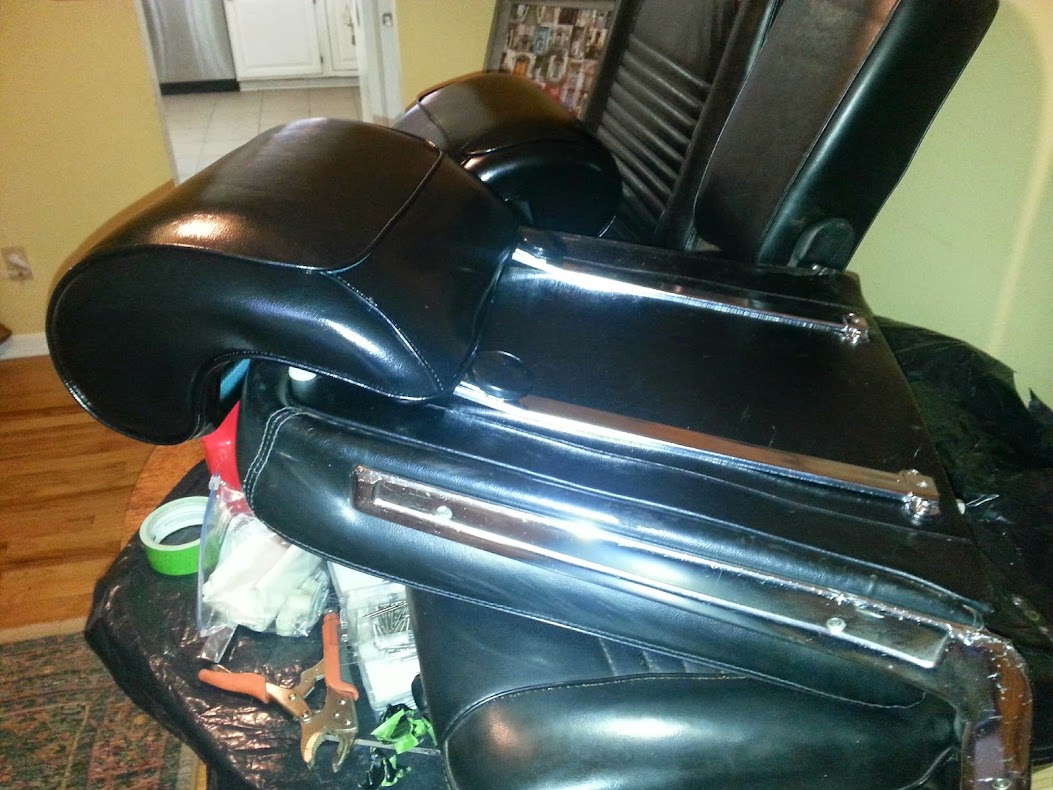
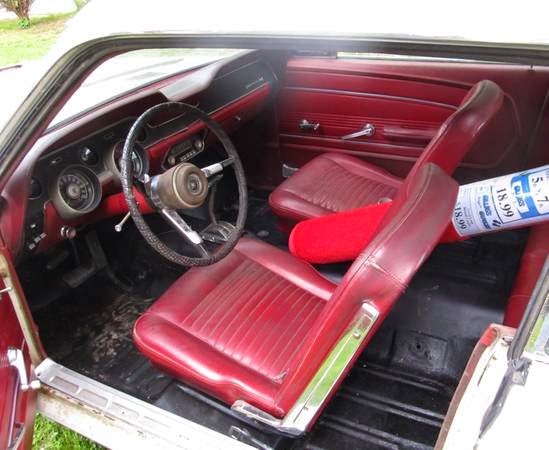
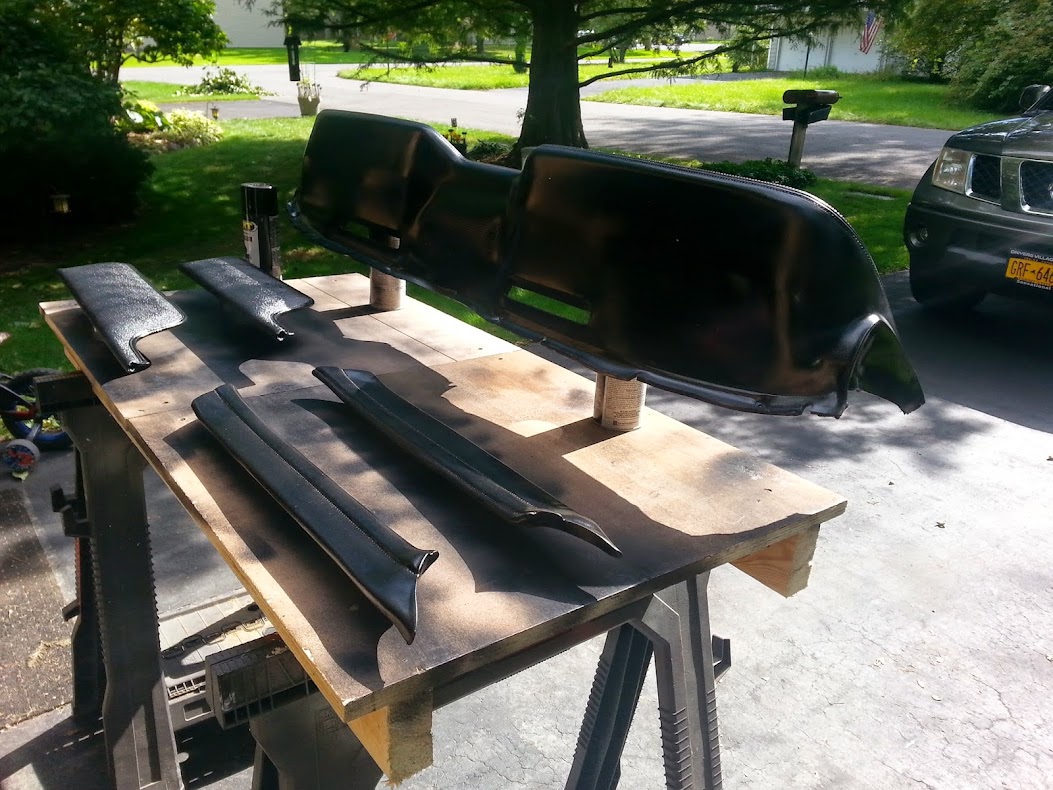
Dying interior black.
20140917_144415.jpg

20141002_155519.jpg

Headers and Exhaust (Magnaflow)
20140915_163417.jpg

20140915_164259.jpg
 
All I can say is......WOW! You are determined to bring that pony back to life. Congrats.
 
Looking good man and glad to see another 67/68 style coming back to life.

Got a question for ya man.

Did you spray that motor wile in car and if so how easy was it?
 
Thanks everyone.
Drumr90 - I did spray while in the car (since I plan on removing it next year for a full rebuild and mild stroke). There was actually plenty of room to get all around with the engine enamel. It also helped with the radiator, water pump, alternator and power steering system out of the way.
Fst Blk - The door is definitely a work in progress. My goal on this was to save as much original steel as possible. Nothing teaches you welding and metal fab faster than necessity.
 
It has been a little while, so here are some updates:
http://pwbabcock.blogspot.com/
Parts have been accumulating all winter so its time to start getting them on.
I tore down the suspension.
20141227_142729.jpg

This is what I found on the driver side shock tower. The PO had at least coated it with a rust encapsulator to stop progression. I had to cut away the bad and weld in some patch pieces.
20150311_154716.jpg
20150410_174244.jpg

The welds in the tower are a little ugly as I couldn't get me grinder in to dress them, but it is solid.
20150411_140455.jpg

Coated with KBS Rustseal. This is some good stuff.
20150403_153019.jpg

All new suspension components (minus the original spindles). I did the UCA drop and am using 1" drop springs. I will be fabricating some adjustable strut rods.
20150412_160312.jpg

20150412_112742.jpg

Power 4 wheel disc brake conversion well under way.
20150413_165625.jpg
20150413_161556.jpg
 
Did you brace the top of the shock tower prior welding ??
I also didn't do it but in case I must do it again , i will.

ps nice shiny brakes :cool::cool::cool:
 
GOOD BOY !!!!!! :p:p:p:p

Notice: use some clamps for your fuel line cause vibrations could brake/crack them.
 
Back
Top