
Roller perch kit in hand, I went over to a buddy's shop and we got to work.
The vise was just the tool for the job:
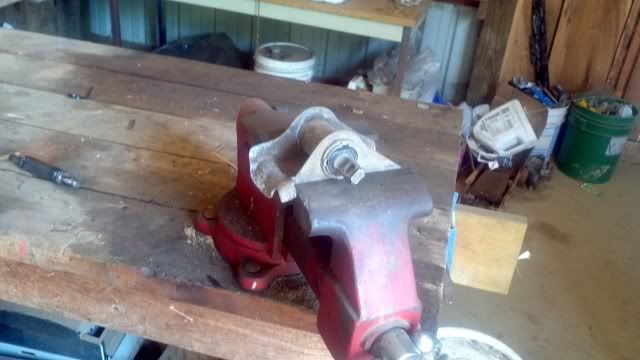
Once it was securely in the vise, we used the cutting wheel to remove part of each side so the shaft would come out. If you have really good eyes, you can see where Brandon cut straight down the side to defeat the tabs that held the shaft in place.

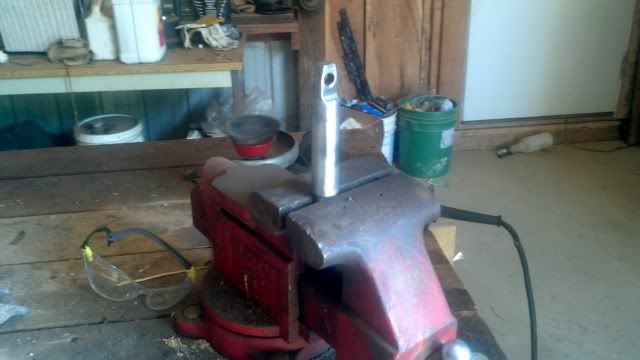
With a little help from a crow bar, the shaft popped right out.

Then, we put the shaft in the vise, cut the metal sleeve lengthwise, rotated it 180*, then cut again. Then, the sleeve fell off, leaving just the rubber, which we slit with a utility knife and peeled off. No pics of this.... :shrug :wtf
Now, the shafts went into the vise to clean off the left over rubber/grime/swarf.
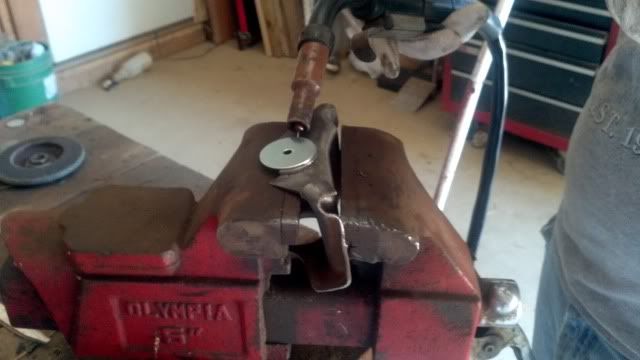
A file helped flatten out the surface, then the ESAB MIG came out to tack the washers in place:
Note to self: Don't tack the bottom....you're gonna have to saw through it later:
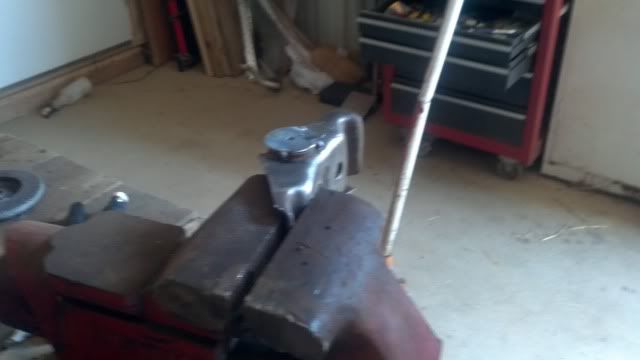
Now the washers are tacked in place and the hole saw will have a guide when it comes time to notch the perches for the new bearing sleeves. TO BE CONTINUED.....
The vise was just the tool for the job:
Once it was securely in the vise, we used the cutting wheel to remove part of each side so the shaft would come out. If you have really good eyes, you can see where Brandon cut straight down the side to defeat the tabs that held the shaft in place.
With a little help from a crow bar, the shaft popped right out.
Then, we put the shaft in the vise, cut the metal sleeve lengthwise, rotated it 180*, then cut again. Then, the sleeve fell off, leaving just the rubber, which we slit with a utility knife and peeled off. No pics of this.... :shrug :wtf
Now, the shafts went into the vise to clean off the left over rubber/grime/swarf.
A file helped flatten out the surface, then the ESAB MIG came out to tack the washers in place:
Note to self: Don't tack the bottom....you're gonna have to saw through it later:
Now the washers are tacked in place and the hole saw will have a guide when it comes time to notch the perches for the new bearing sleeves. TO BE CONTINUED.....