• Hello there guest and Welcome to The #1 Classic Mustang forum!
    To gain full access you must Register. Registration is free and it takes only a few moments to complete.
    Already a member? Login here then!

How do you match the patch

abrahamfh

Active Member
Good evening everyone,

I have come across a great problem (it's great only because I am glad to be at this juncture of the restoration).

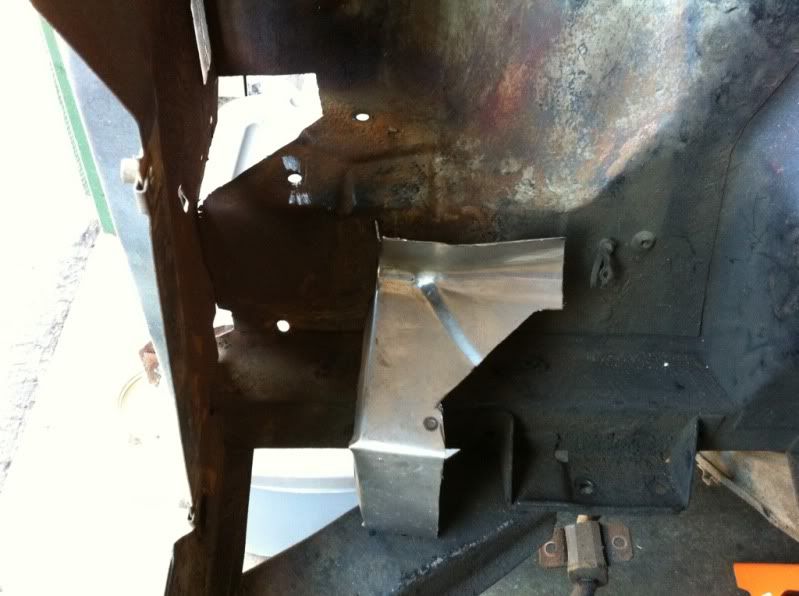
How have you all found the most accurate and efficient way to match a patch panel to fit into the cut out portion of bad metal. I cut out a general patch from the repro fender but having some trouble figuring out whether I should cut out the original fender to match the patch or keep cutting away at the patch until it fits into the cut out.

406a1745.jpg
 
It's much easier to fit the patch to the hole. I use a bench grinder on the patch piece, starting on one side, and make it fit to the hole on that side. Then I move to the next side. I use a grease pencil on the patch piece to indicate which areas I need to grind down. It's a tedious process, but I can get the patch to fit quite nicely with the gap I need for welding it in.
 
As Mid said.......I also bring in a 4" hand held grinder for use. I try to leave any curved area (if the patch makes a corner) until the last as on some curves, cutting them to fit first can bring them up a bit short in the end if not compensated for in the marking. The less complex the shape, the better you are for ease of cutting but any shape that is cut from the body can have a patch cut to fit....just slow and careful.
 
Personally, I'd call MPWAD (Menlo Park Welding and Drinking) society for help , realizing that a massive lunch and margaritas would be a necessity to keep the welder happy. Can't say how nice the work would end up looking after a couple hours of major blender madness but it'd be fun which is more important.
 
Get comfortable in a place close to the hole and slowly cut away the extra metal until it fits just right. Cut a little, test fit, cut a little, test fit, etc. I have clamped the panel in as close to how it will eventually sit and used spray paint give me a rough idea of what metal needs to be cut off. Don't cut it right on the line you made, though. Like others mentioned, curves and such tend to cause other areas to come up short if you work on them too soon.
 
Not to go against the grain here, but I tried the approach others have suggested (test fit, grind the patch, fit again, grind a little more) and there's a MUCH better way. Lay the patch on top of the rusted part, and either tack weld it in place or put it in place with self tapping screws. Cut through BOTH panels with a cutoff wheel or air saw, making sure to cut a little outside of the affected area. Once you've cut through both pieces, simply lay the newly cut patch panel in place and weld it in. It's that easy. No more hours of grinding, then finding out you ground away way too much material. Believe me, it sounds crazy, but once you get the idea down, it works great!
 
"cmayna" said:
Personally, I'd call MPWAD (Menlo Park Welding and Drinking) society for help , realizing that a massive lunch and margaritas would be a necessity to keep the welder happy. Can't say how nice the work would end up looking after a couple hours of major blender madness but it'd be fun which is more important.

Abe !!

Watch out for this poisoned proposal !!!
 
"drummingrocks" said:
Not to go against the grain here, but I tried the approach others have suggested (test fit, grind the patch, fit again, grind a little more) and there's a MUCH better way. Lay the patch on top of the rusted part, and either tack weld it in place or put it in place with self tapping screws. Cut through BOTH panels with a cutoff wheel or air saw, making sure to cut a little outside of the affected area. Once you've cut through both pieces, simply lay the newly cut patch panel in place and weld it in. It's that easy. No more hours of grinding, then finding out you ground away way too much material. Believe me, it sounds crazy, but once you get the idea down, it works great!

This does work well if you have a precision cutter with a small kerf. The size of the kerf is key, as the wider the gap, the harder it will be to butt weld the patch into the original. Too wide, and you'll never be able to butt weld it, but only blow out the metal at the gap.
 
We use poster board from Wal-Mart. Cut the bad section out lay it on the poster board and trace it, that way you don't have to do a lot of grinding. Rich.
 
I've heard of all the ways mentioned but must say that Rich's suggestion seems to be the easiest. Whatever method you choose Abe, I'll be over there to keep the bar hoppin with scantly clad welding babes.
 
I've been using the poster board method, except I'm too lazy to buy poster board so I use old non corrugated boxes like a cereal box.

Anyway I find as close as I can get to no gap, welded with higher heat, and a copper backer when I can get to the back of the panel.
 
"jtfx6552" said:
I've been using the poster board method, except I'm too lazy to buy poster board so I use old non corrugated boxes like acetal box.

Anyway I find as close as I can get to no gap, welded with higher heat, and a copper backer when I can get to the back of the panel.
That is a good way to. the advantage of poster board is it is more flexible. Rich.
 
Back
Top