
Yesterday am, GTSCODE came over to help me test the rear seat latch setup. It showed me that I needed to tweak the LH latch so it would engage as well as the RH latch. Later Abraham came over because.....he was bored and lonely?...LOL. Nah, he wanted to return my steering wheel puller and knew I would be heavily involved with Shag. We spent the afternoon roughing in the lower trim panels and relocating some of the brackets these panels afix to. Thanks Abe.
Today I spent yet more time roughing in the lower and upper interior panels until I paneled out. Then I finally started installing the carpeting.
Here's a shot of Second Skin's luxury liner pro installed over their deamplifier pro. Note if you are running a floor console, you probably cannot add so much sound deadening material for it would greatly affect the ability of securing the console to the floor. In Shag, I am not using a floor console.

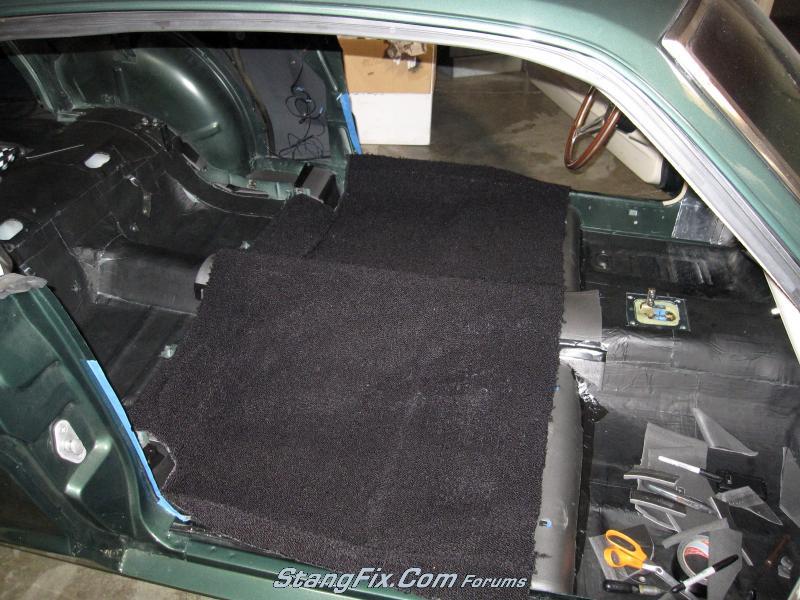
Here's the rear carpet, thrown in. Tomorrow am I will get serious and burn in the 3pt seatbelt and seat rail holes as required. Afterwards I will start installing the rear interior panels skipping to install the front carpet and it's insulation until next weekend.
Today I spent yet more time roughing in the lower and upper interior panels until I paneled out. Then I finally started installing the carpeting.
Here's a shot of Second Skin's luxury liner pro installed over their deamplifier pro. Note if you are running a floor console, you probably cannot add so much sound deadening material for it would greatly affect the ability of securing the console to the floor. In Shag, I am not using a floor console.
Here's the rear carpet, thrown in. Tomorrow am I will get serious and burn in the 3pt seatbelt and seat rail holes as required. Afterwards I will start installing the rear interior panels skipping to install the front carpet and it's insulation until next weekend.