
Why can't anything be simple? Let me preface this by saying this is the first old car I've had since I was young and I'm 61 now. There's much I don't know.
I have a 68 coupe that came to me with generic racing seats. I want to get them out temporarily to work on the carpet, but looking at the way they're installed has me asking more questions before I even start. They're on what I assume are aftermarket rails that are bolted to the floor. The bolt head is in the rail and under the car are 4 holes on each side to access the nut. Up inside these holes I can see the nuts at the other end of the bolts.
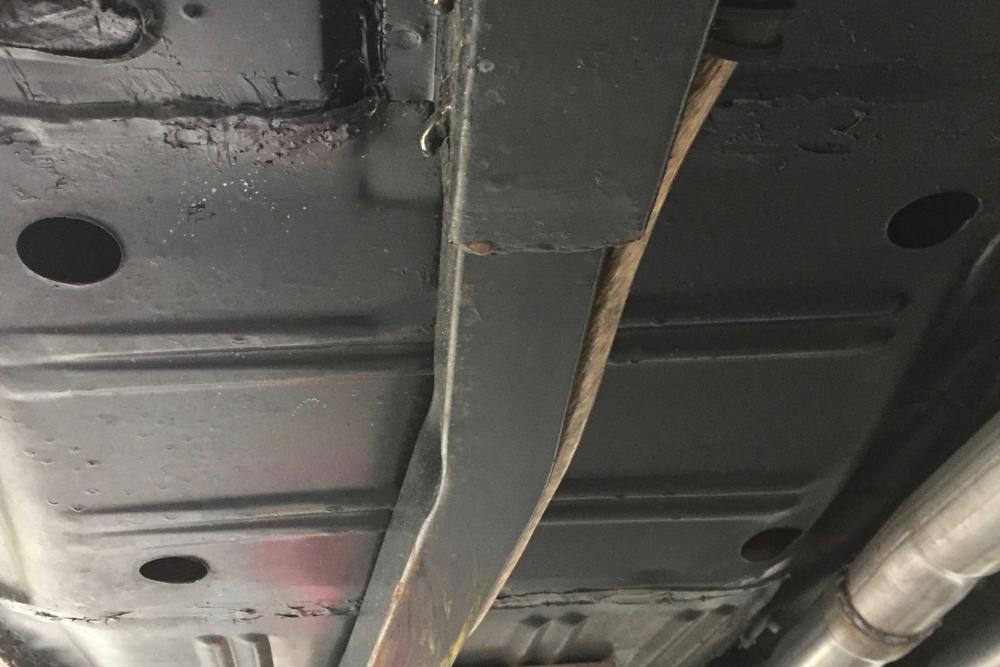
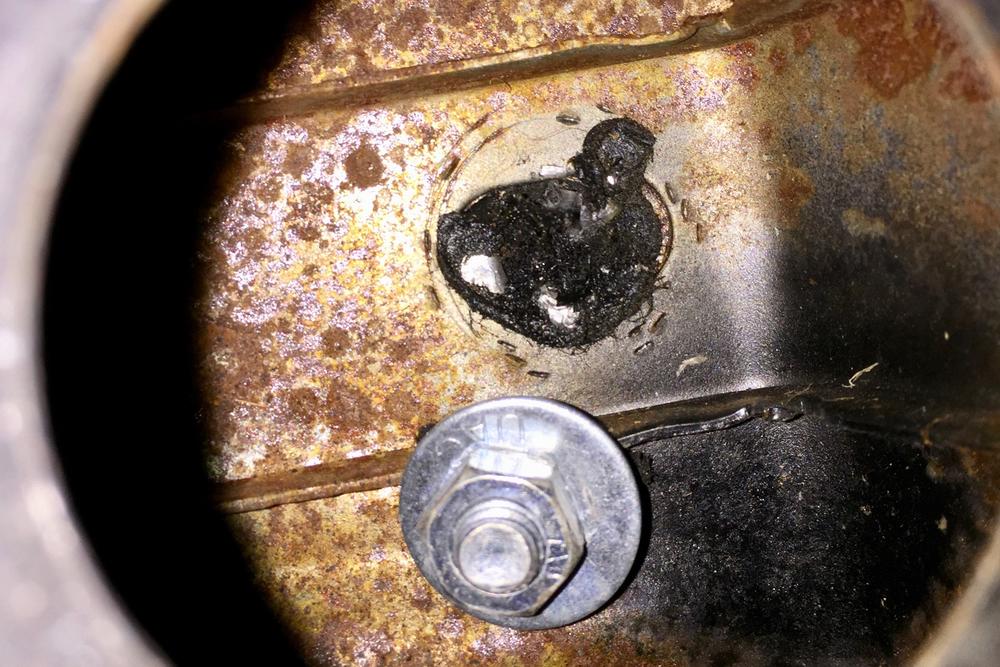
These bolts and nuts appear to be tragically weak. I don't see much more than a single thickness of floor pan metal between them and it looks like the seats would break free easily in a crash. I contrast this to the mounting points that were built for the harness with 1/4" steel plates backing the bolts under the car. Is this the way the original seats were mounted?
Also, the bolts for the seat rails don't match what appear to be the original holes. New holes have been drilled for each. In at least a couple cases the new holes are far enough off center with the big hole that getting a socket on them is going to require a u-jointed adaptor. Was this really necessary? Do aftermarket seat rails never line up with stock holes?
So, I think I can get these seat rails unbolted and out of the car so I can work on the carpet. Once I've done that should I put it back the way it is now? If not, what are my alternatives?
Lastly, I read in another thread a reference to lowering the seat pans. How difficult (expensive) is this to do? I like these seats well enough and would hate to go back to a non-bolstered seat, but they do sit high.
Thanks in advance. Pictures follow.
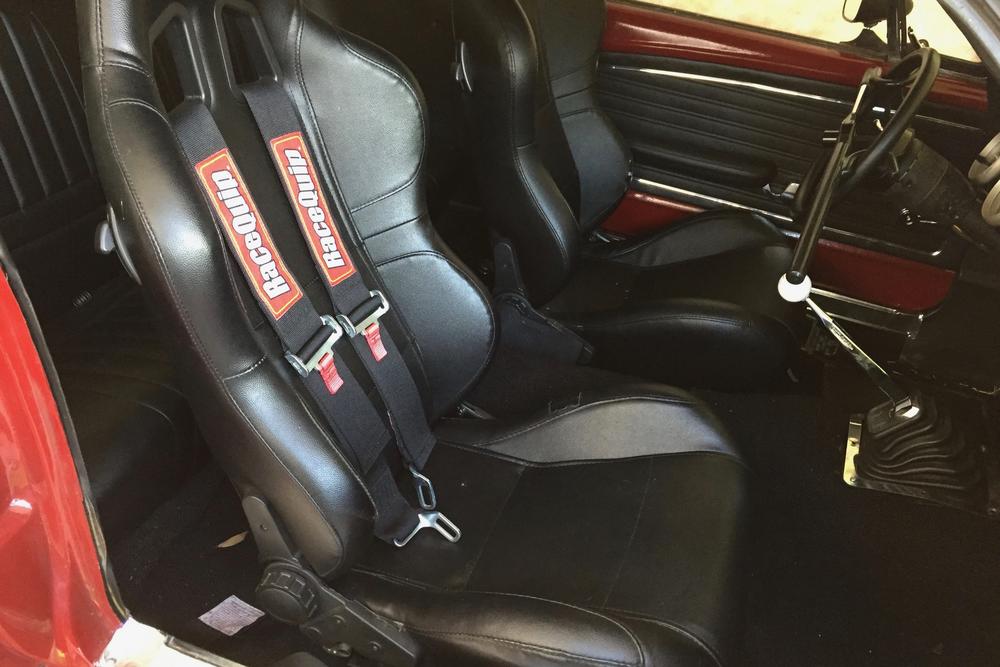
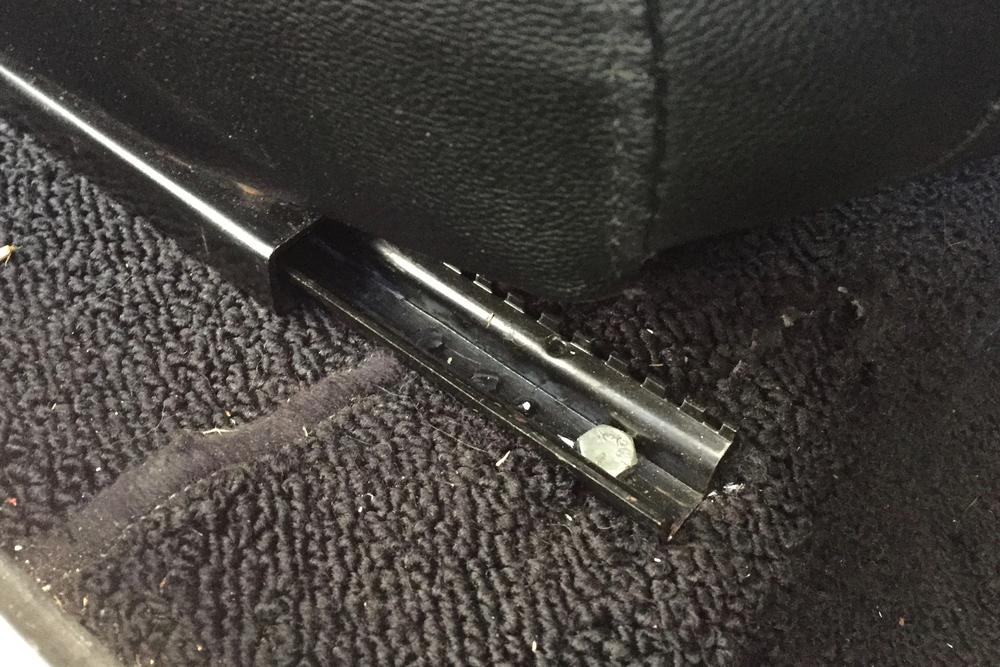
I have a 68 coupe that came to me with generic racing seats. I want to get them out temporarily to work on the carpet, but looking at the way they're installed has me asking more questions before I even start. They're on what I assume are aftermarket rails that are bolted to the floor. The bolt head is in the rail and under the car are 4 holes on each side to access the nut. Up inside these holes I can see the nuts at the other end of the bolts.
These bolts and nuts appear to be tragically weak. I don't see much more than a single thickness of floor pan metal between them and it looks like the seats would break free easily in a crash. I contrast this to the mounting points that were built for the harness with 1/4" steel plates backing the bolts under the car. Is this the way the original seats were mounted?
Also, the bolts for the seat rails don't match what appear to be the original holes. New holes have been drilled for each. In at least a couple cases the new holes are far enough off center with the big hole that getting a socket on them is going to require a u-jointed adaptor. Was this really necessary? Do aftermarket seat rails never line up with stock holes?
So, I think I can get these seat rails unbolted and out of the car so I can work on the carpet. Once I've done that should I put it back the way it is now? If not, what are my alternatives?
Lastly, I read in another thread a reference to lowering the seat pans. How difficult (expensive) is this to do? I like these seats well enough and would hate to go back to a non-bolstered seat, but they do sit high.
Thanks in advance. Pictures follow.


