GPR
Active Member
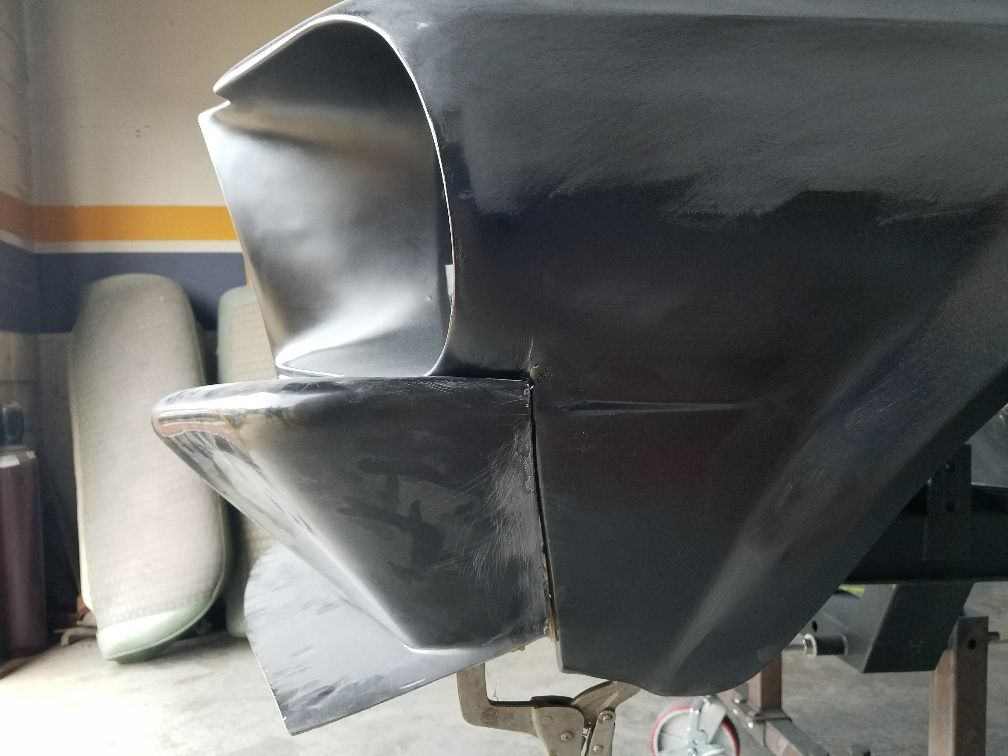
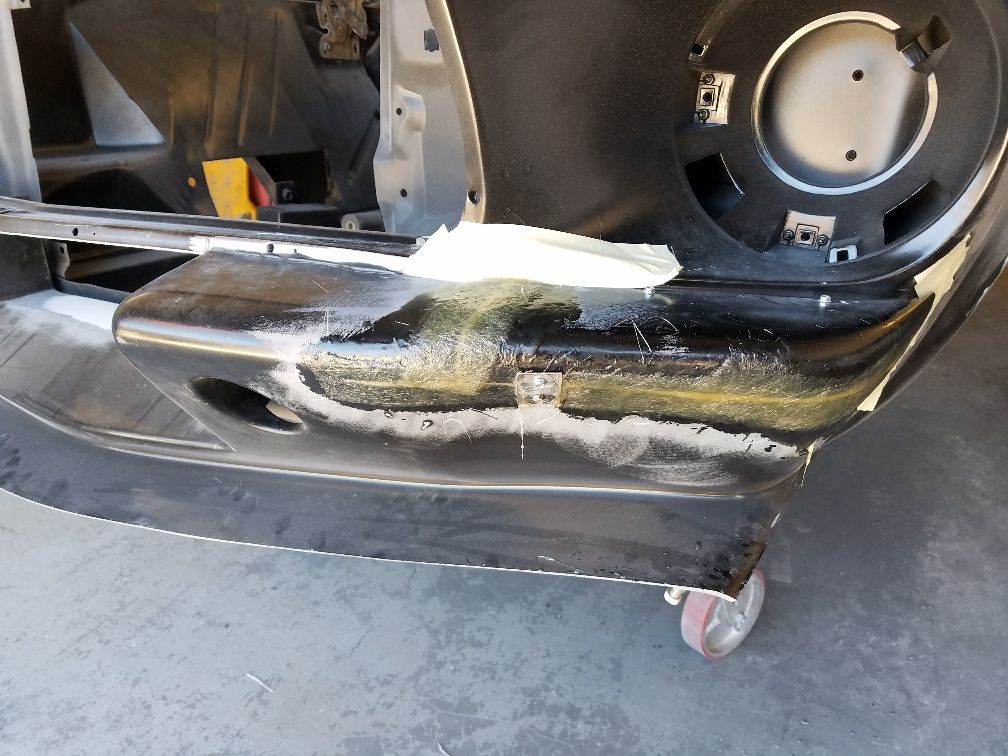
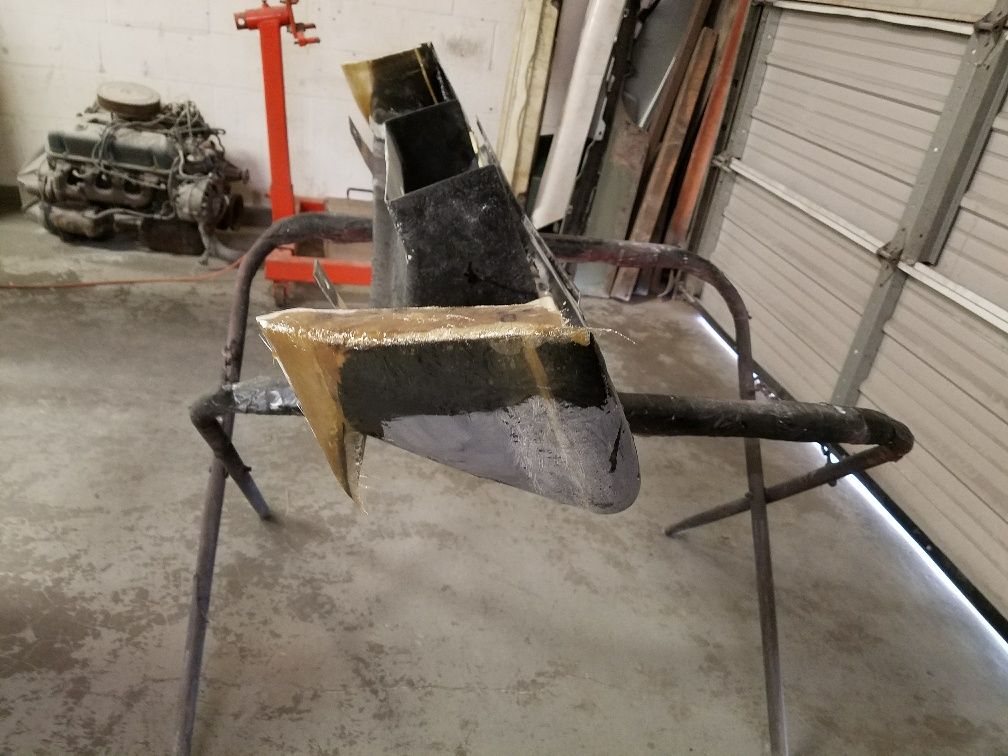
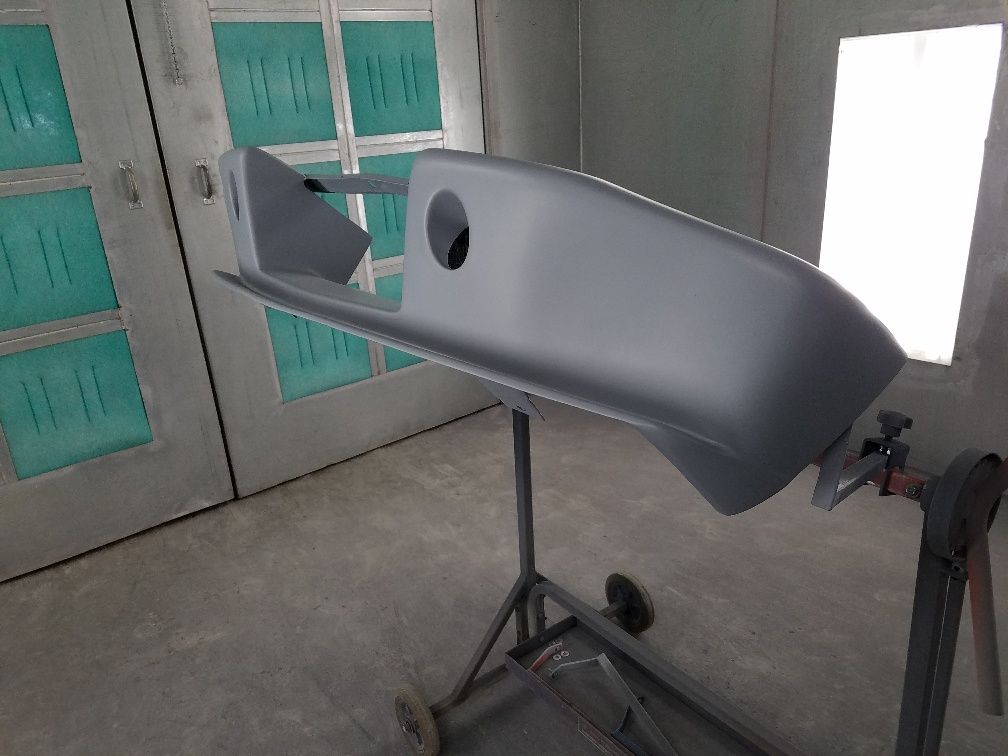
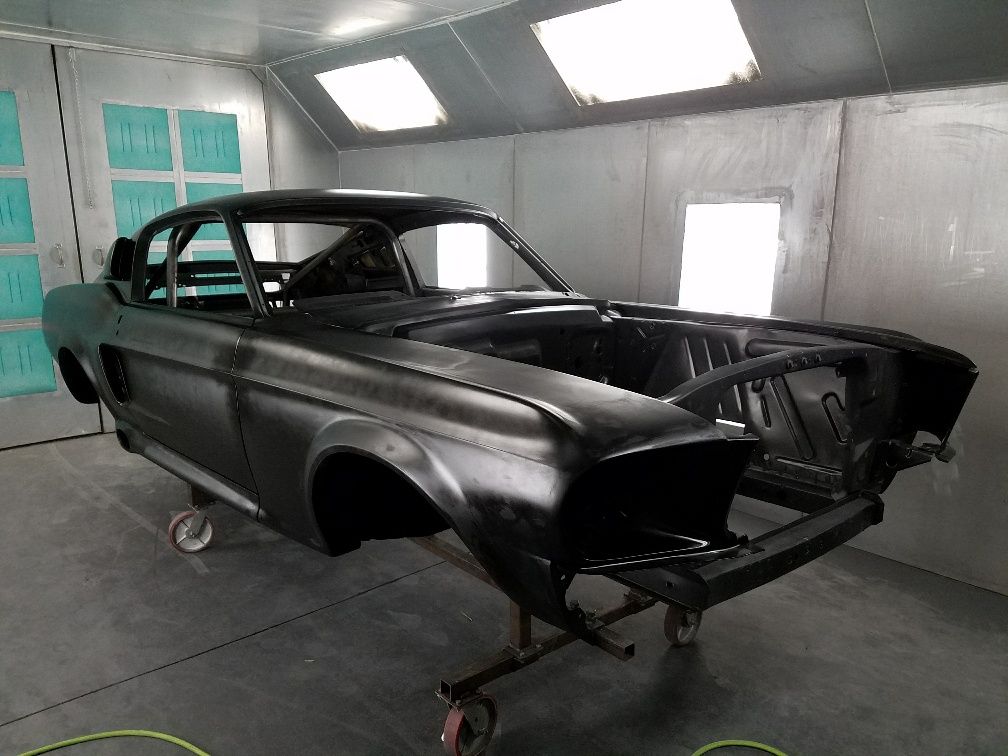
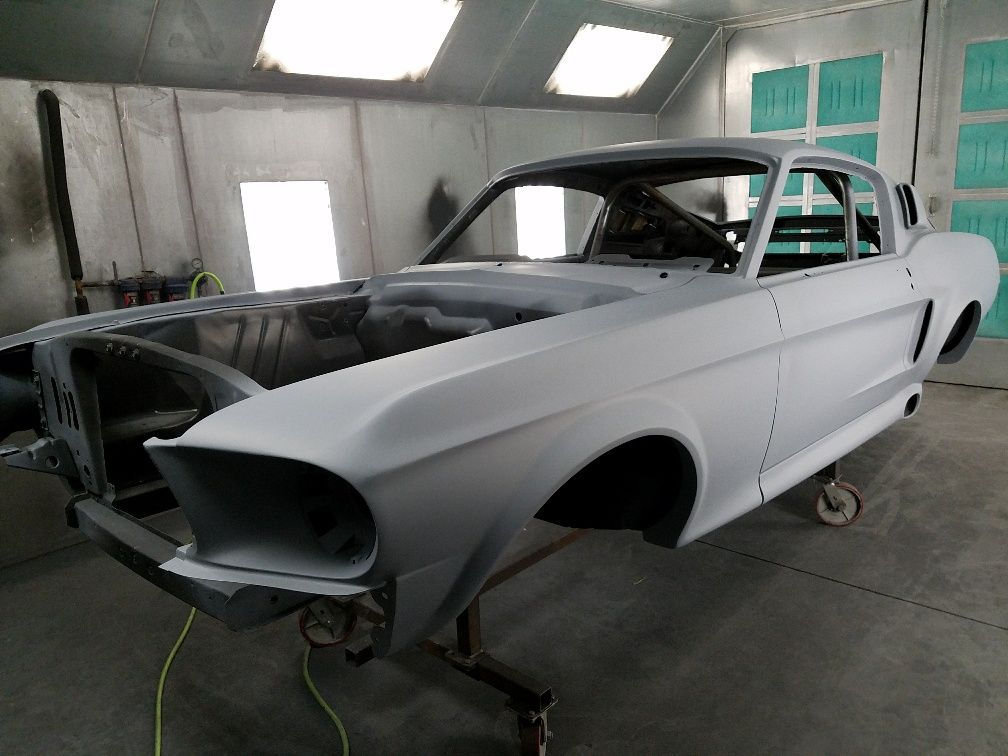
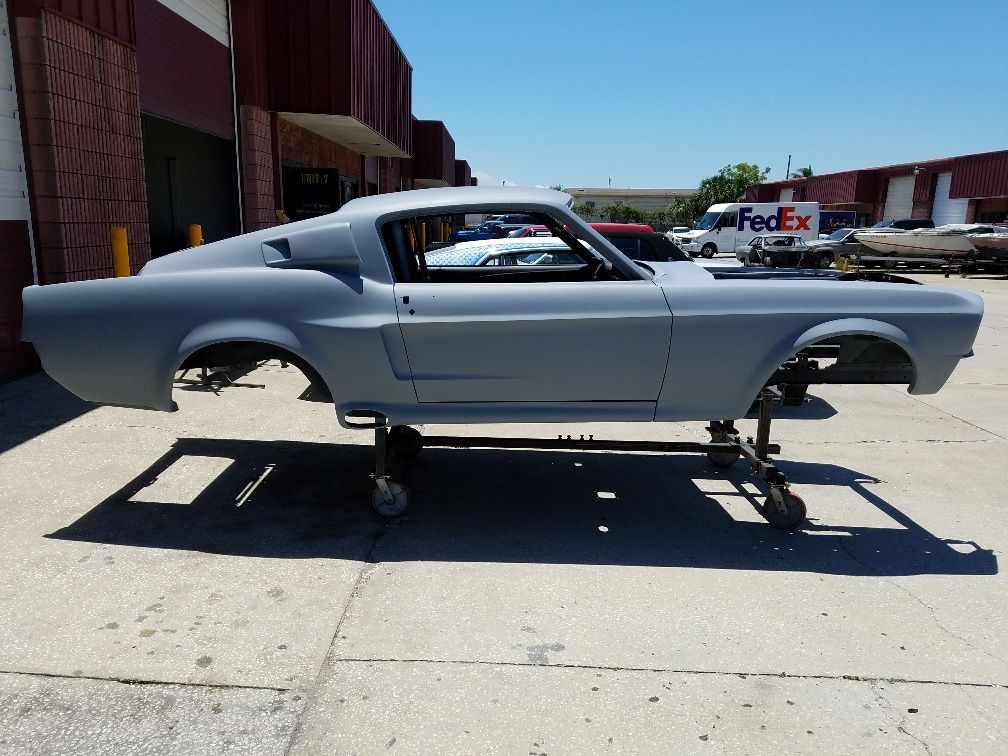
Brian finished welding and grinding on the taillight panel

Follow along with the video below to see how to install our site as a web app on your home screen.
Note: This feature may not be available in some browsers.
Hello there guest and Welcome to The #1 Classic Mustang forum!
To gain full access you must Register. Registration is free and it takes only a few moments to complete.
Already a member? Login here then!
Me too!
REQUEST: Can you post another shot of the filler panel used to replace the void left by removing the gas filler. I want to see the backside of Brian's welded in panel. Interested in seeing how the reverse side looks when finished. No one ever shows that side of the work and as a guy trying to learn the craft it would be very helpful. Thanks!


Thanks, Rusty! No one ever shows the backside of stuff so you a left to wonder to what extent they went on the hidden side. If at your level you don't go for full on perfect I know I can stop being so anal about it too!


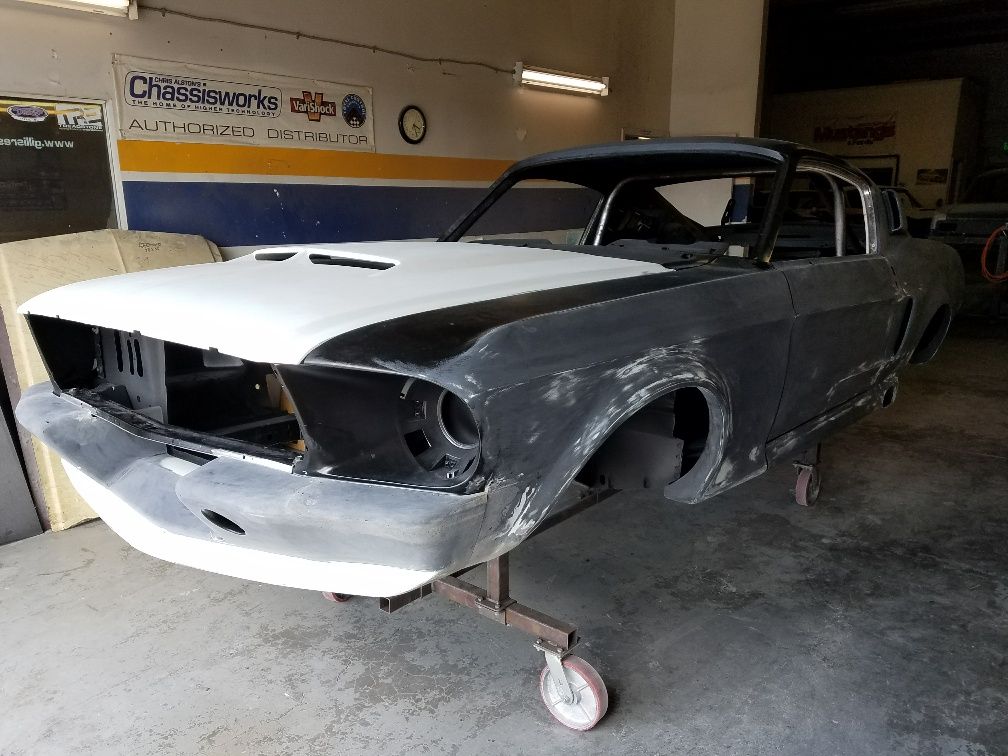
Nice bodywork you did !!!
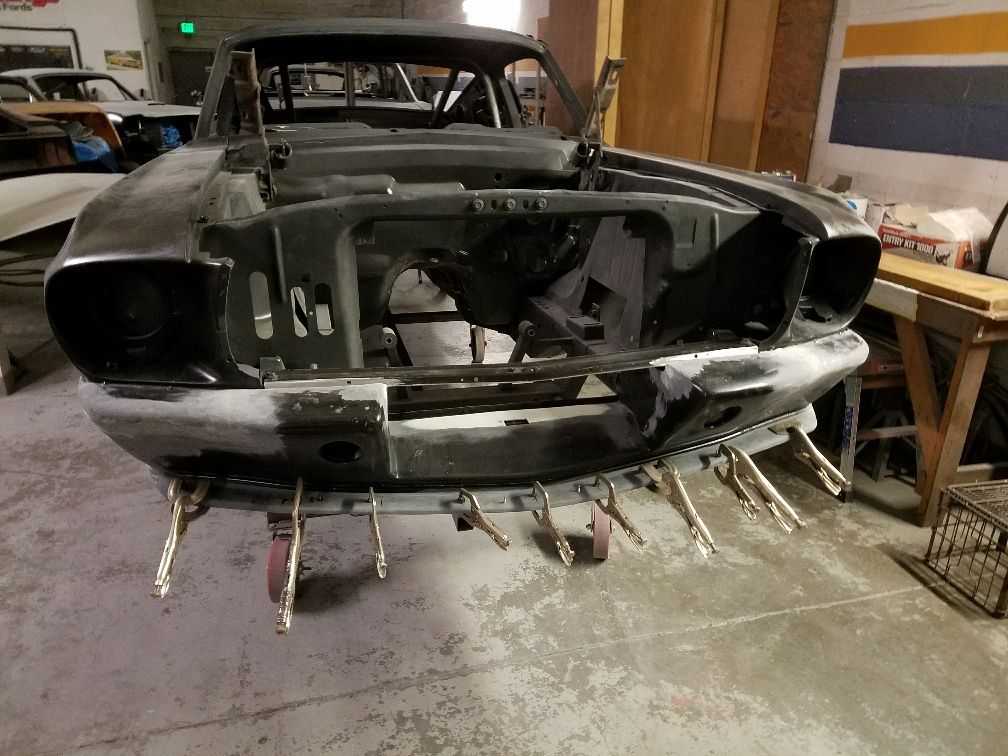
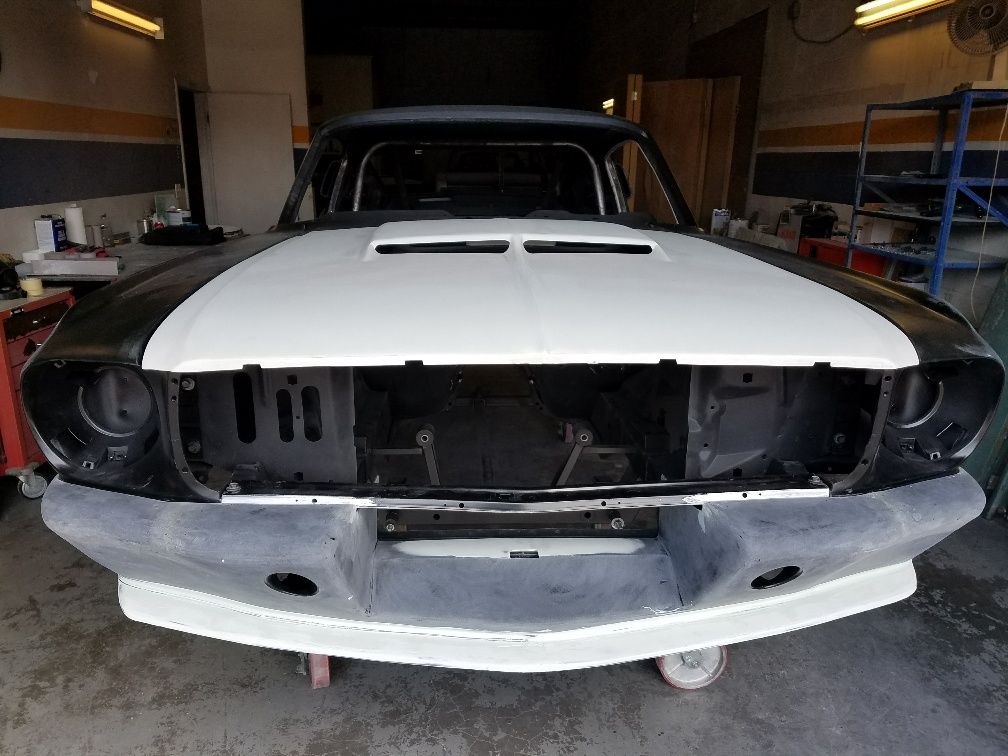
Is that a selfmade rollcage ??