
daveSanborn
Active Member
I'm initiating this thread to report progress on a fellow Mustangers 64.5 car that I've taken on as a project. He abruptly ran out of space and time to finish putting it back together and I'll use the proceeds from the work to fund something.... probably more partying.
The car is in really solid shape. No rust on the car that I've found other than a small spot (3" x 3") under the battery tray and the drivers side front floorboard.
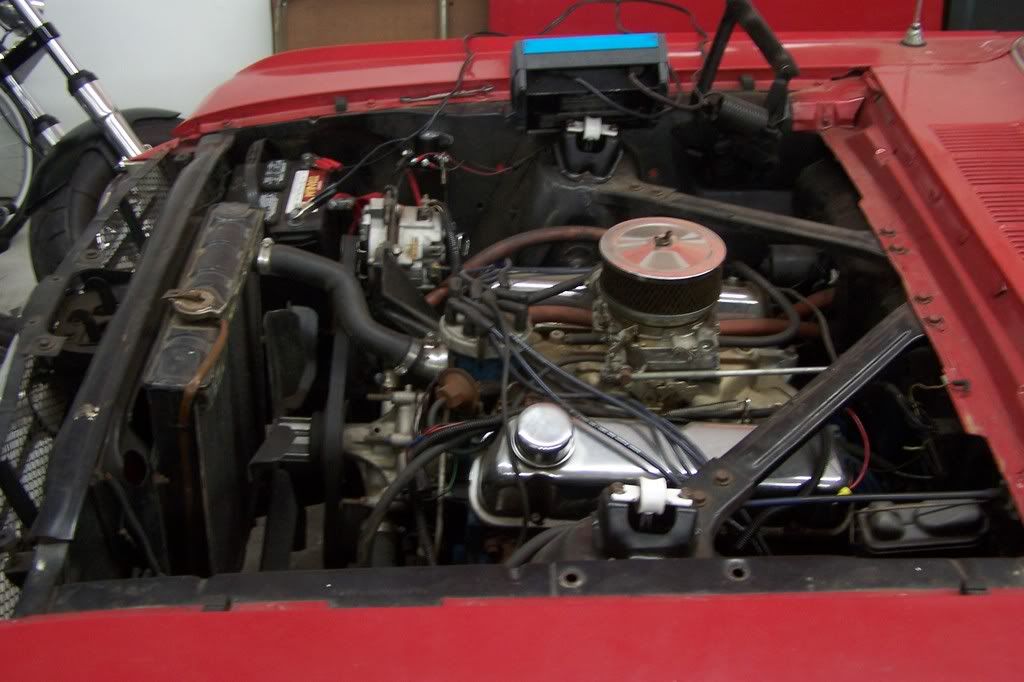
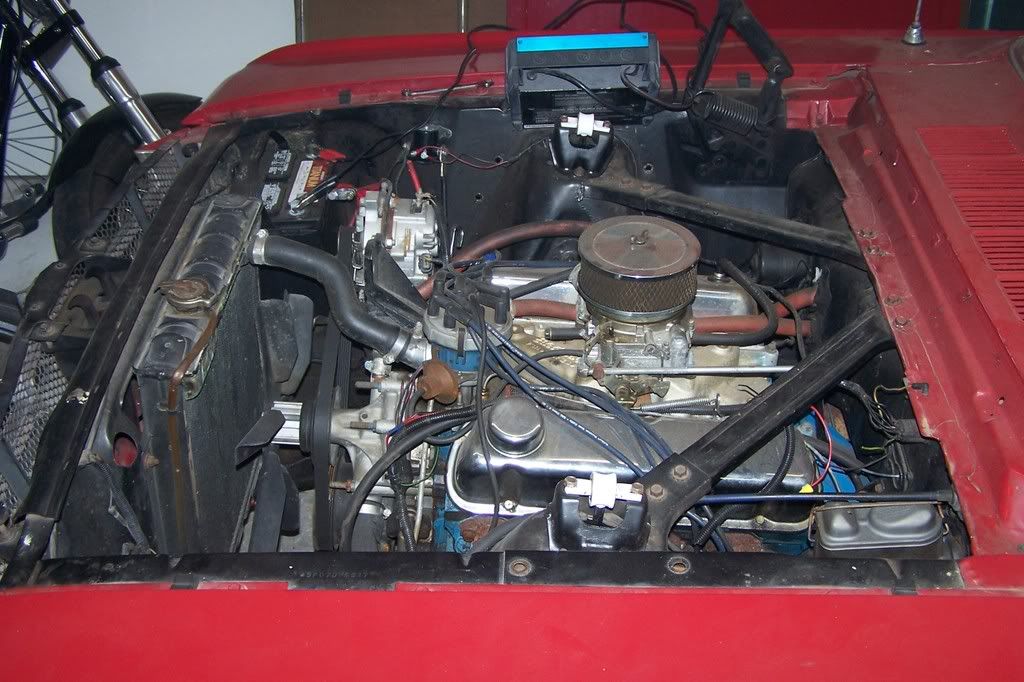
He's got most of the work done for the 4 to 5 lug suspension swap done. A new rearend is installed and a Granada swap has been installed on the front. The motor appears to be an early 5.0 motor as it has a reverse rotation water pump on it and a partial serp. belt. He states the motor is "okay", but it smokes a little and is probably getting close to rebuild time. I'm just going to get it running for him and won't be messing with a rebuild.
His previous owner hacked a few things along the way that I'll be tidying up.....
- the P side front bumper ears were tack welded onto the front frame rail as the two OEM bolts probably froze inside the frame rail/anchor nuts.
- the interior panels/doors/dash were all painted with body color urethane during the last re-paint.
- the wiring appears "shoddy" at various locations. For instance, some cut connections were re-connected with Home Depot type twist on connectors (as you'd use for home wiring.... or installing a ceiling fan).
The new owner wants a six gauge cluster installed and this is going to be a challenge. Unbeknownst to me, 64.5 cars do not have an instrument cluster wiring harness.... the wiring harness for the instrument cluster is all part of the main underdash harness. This is going to take me some time and a little head scratching.... I'm going to have to make individual connections for each of the gauges on the new 6 gauge cluster I guess.
The new owner also has started to run all new brake lines, but none are connected to anything and most are coming up a little short..... he tried buying a kit to replace the lines, but that doesn't work when doing the Granada swap and going from a single exhaust to a dual exhaust.
He also needs the heater plenum rebuilt.
Like I said, lots of little stuff.
Here's some pictures of the car in my ever shrinking garage/workshop:
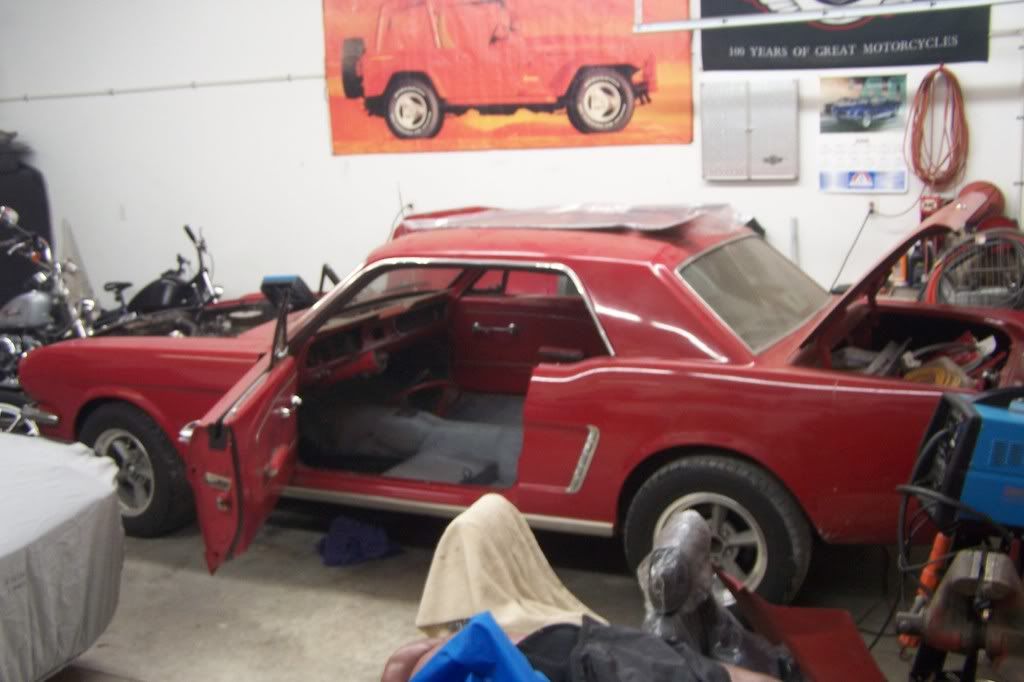
Not much room at the front of the car.... I can either work on the front or rear of the car, but not both at the same time.
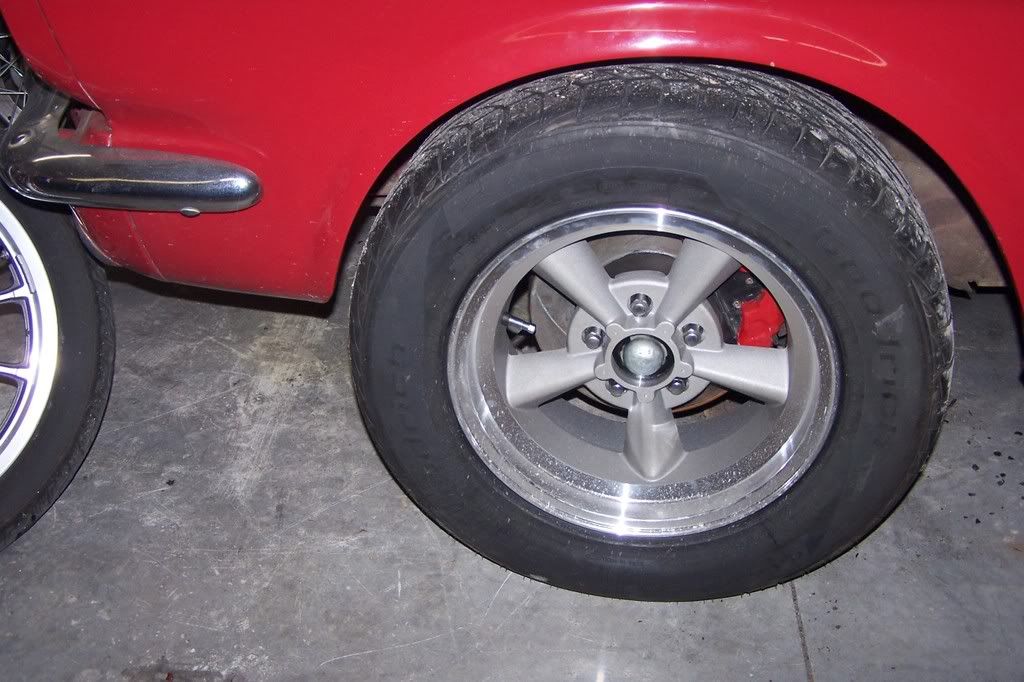
Checkout the rubbing 225/60/15 front tires. Not a lot of room here either. They rub BADLY with the wheels turned just a little bit.
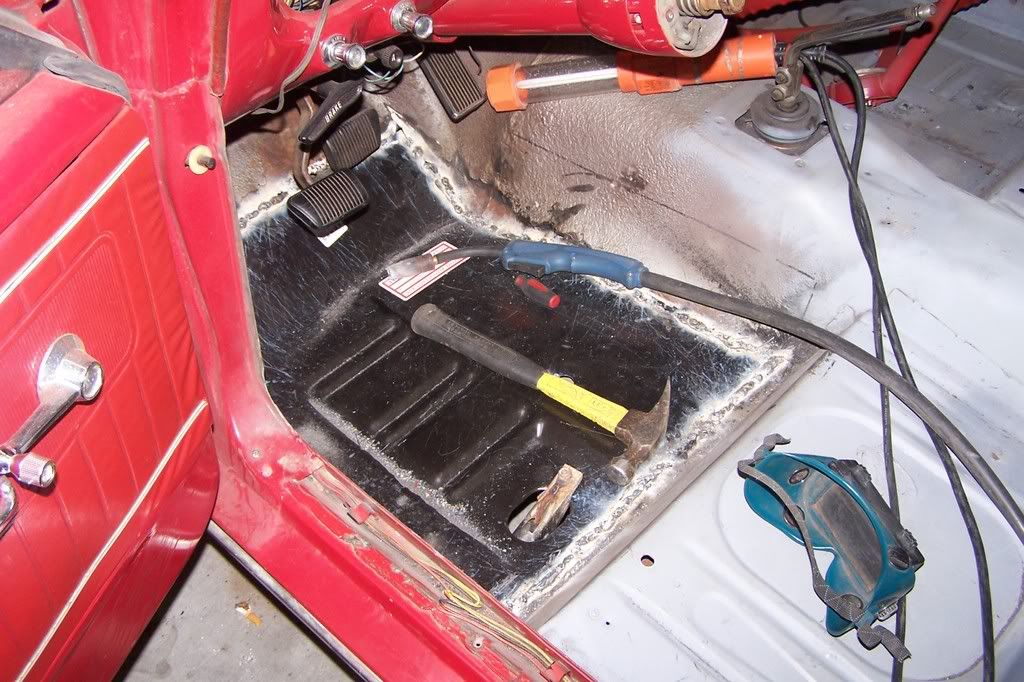
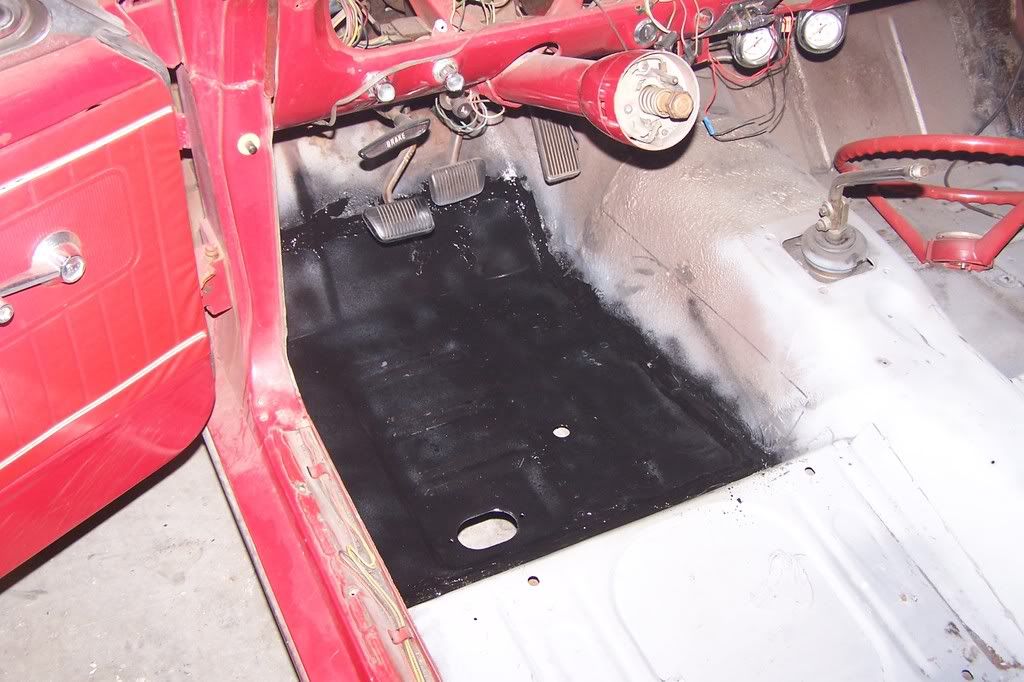
I figured I'd start with the DS floorboard. This way I can get most of the interior back into the car and off of my shrinking shop floor space. I got the replacement panel butt welded into place on Sunday and finished it off this evening.
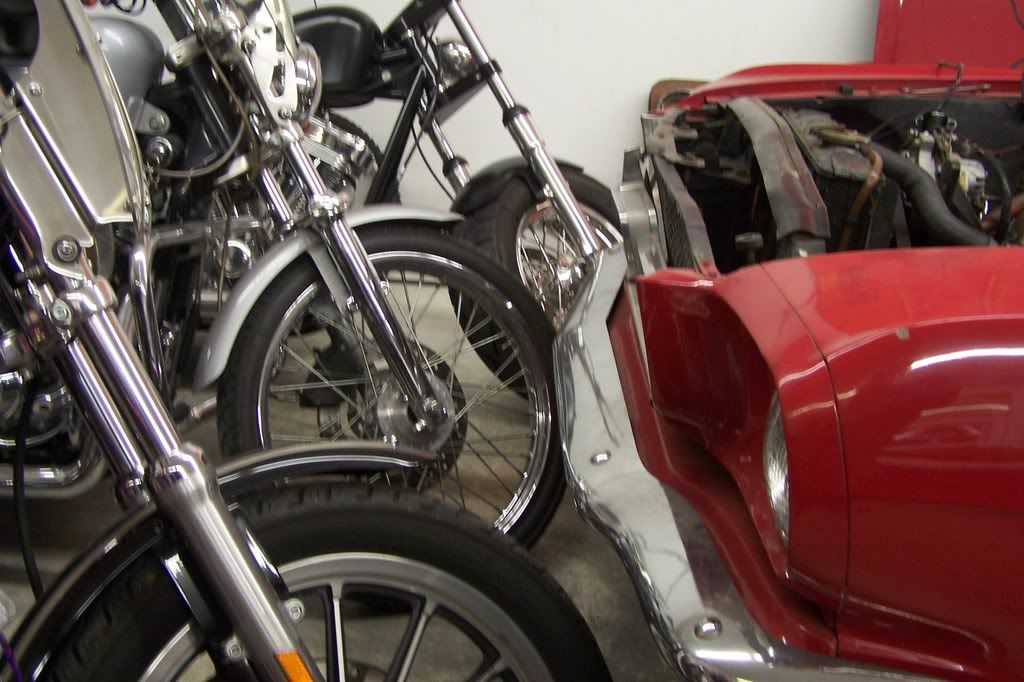
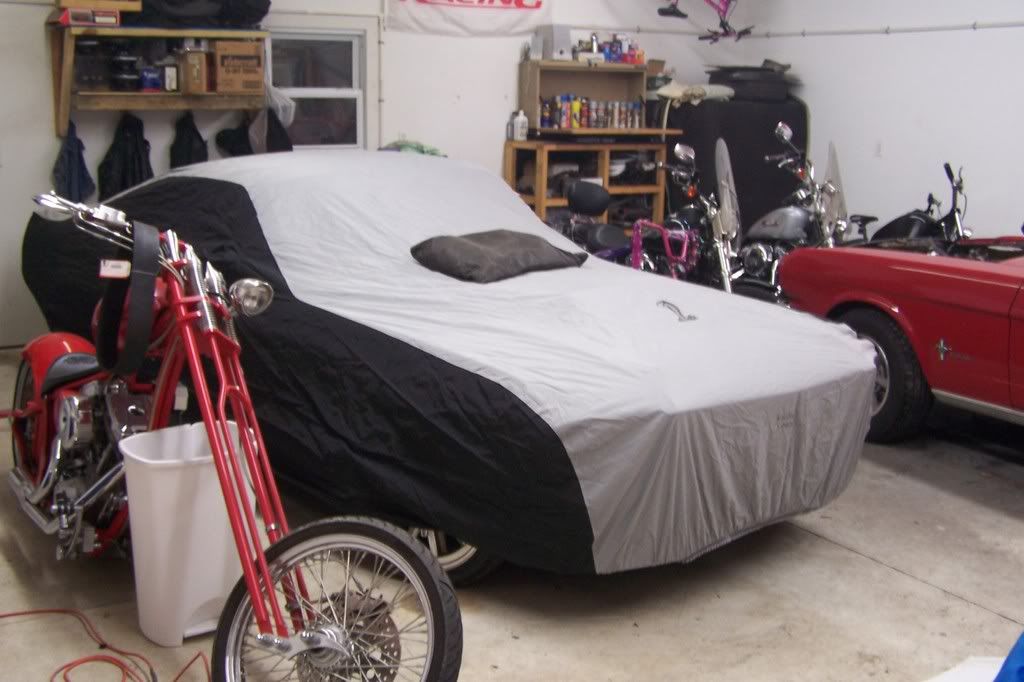
It's not overly cramped in the shop... mostly just around where the 64.5 is actually parked. Whenever I feel claustrophobic, I go hangout by my large workbench which runs 20' along the wall just to the left of the chopper. There's plenty of room on this side of the shop.
Tomorrow will be fitting the new carpet underlayment, bench bleeding and installing the new master cylinder. Does a 64.5 car use a brake light switch (on the brake pedal) as used on later year cars.... or is it on the old distribution block?
The car is in really solid shape. No rust on the car that I've found other than a small spot (3" x 3") under the battery tray and the drivers side front floorboard.
He's got most of the work done for the 4 to 5 lug suspension swap done. A new rearend is installed and a Granada swap has been installed on the front. The motor appears to be an early 5.0 motor as it has a reverse rotation water pump on it and a partial serp. belt. He states the motor is "okay", but it smokes a little and is probably getting close to rebuild time. I'm just going to get it running for him and won't be messing with a rebuild.
His previous owner hacked a few things along the way that I'll be tidying up.....
- the P side front bumper ears were tack welded onto the front frame rail as the two OEM bolts probably froze inside the frame rail/anchor nuts.
- the interior panels/doors/dash were all painted with body color urethane during the last re-paint.
- the wiring appears "shoddy" at various locations. For instance, some cut connections were re-connected with Home Depot type twist on connectors (as you'd use for home wiring.... or installing a ceiling fan).
The new owner wants a six gauge cluster installed and this is going to be a challenge. Unbeknownst to me, 64.5 cars do not have an instrument cluster wiring harness.... the wiring harness for the instrument cluster is all part of the main underdash harness. This is going to take me some time and a little head scratching.... I'm going to have to make individual connections for each of the gauges on the new 6 gauge cluster I guess.
The new owner also has started to run all new brake lines, but none are connected to anything and most are coming up a little short..... he tried buying a kit to replace the lines, but that doesn't work when doing the Granada swap and going from a single exhaust to a dual exhaust.
He also needs the heater plenum rebuilt.
Like I said, lots of little stuff.
Here's some pictures of the car in my ever shrinking garage/workshop:
Not much room at the front of the car.... I can either work on the front or rear of the car, but not both at the same time.
Checkout the rubbing 225/60/15 front tires. Not a lot of room here either. They rub BADLY with the wheels turned just a little bit.
I figured I'd start with the DS floorboard. This way I can get most of the interior back into the car and off of my shrinking shop floor space. I got the replacement panel butt welded into place on Sunday and finished it off this evening.
It's not overly cramped in the shop... mostly just around where the 64.5 is actually parked. Whenever I feel claustrophobic, I go hangout by my large workbench which runs 20' along the wall just to the left of the chopper. There's plenty of room on this side of the shop.
Tomorrow will be fitting the new carpet underlayment, bench bleeding and installing the new master cylinder. Does a 64.5 car use a brake light switch (on the brake pedal) as used on later year cars.... or is it on the old distribution block?
Last edited by a moderator: