• Hello there guest and Welcome to The #1 Classic Mustang forum!
    To gain full access you must Register. Registration is free and it takes only a few moments to complete.
    Already a member? Login here then!

65 Mustang vert build

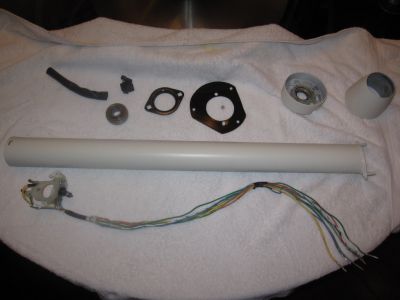
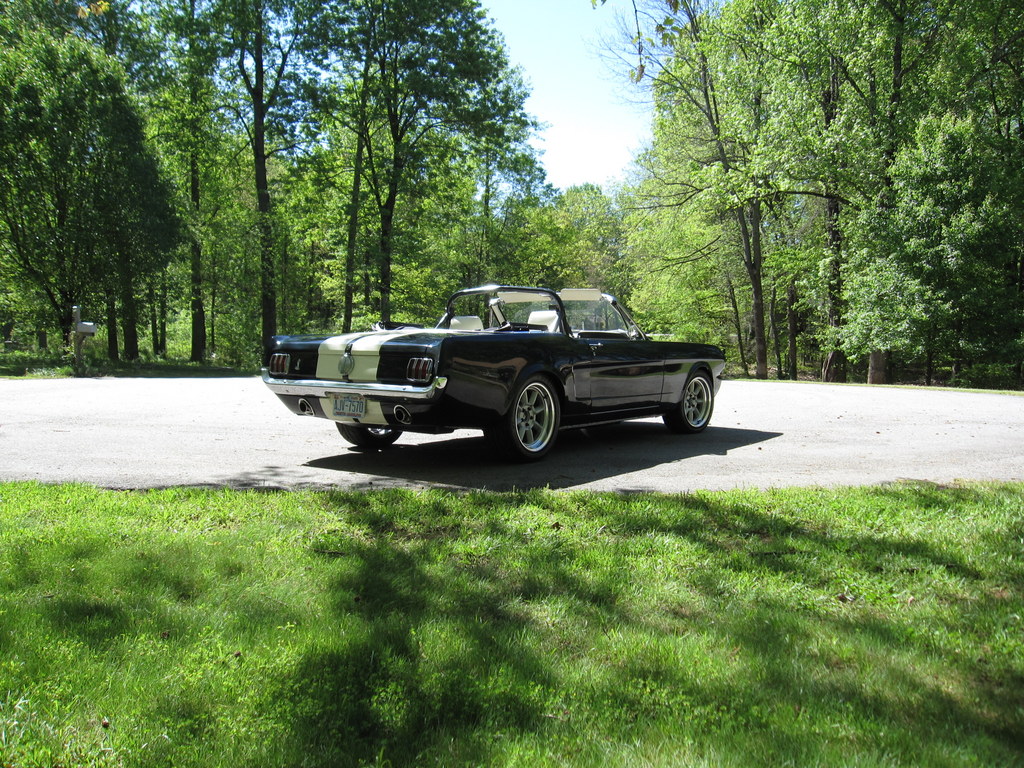
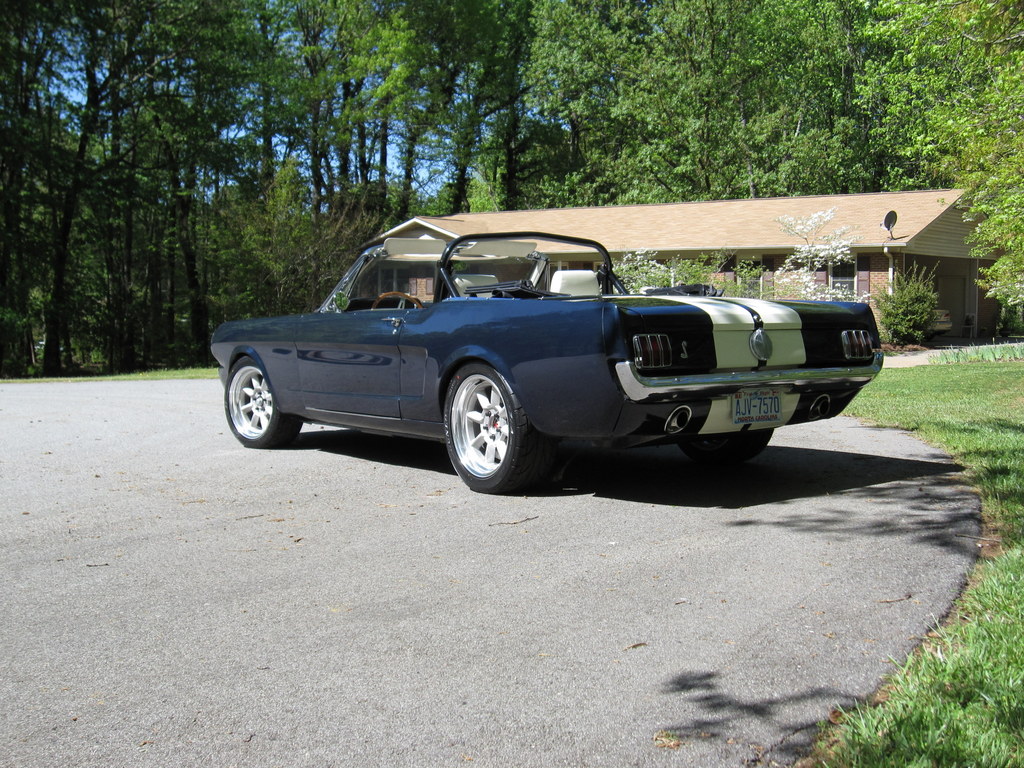
Looky what the mail man brought this week!!!

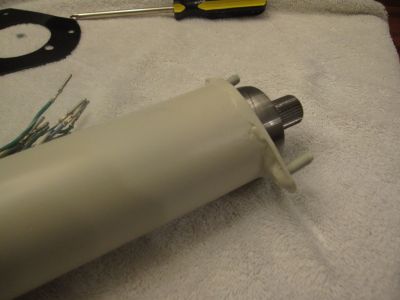
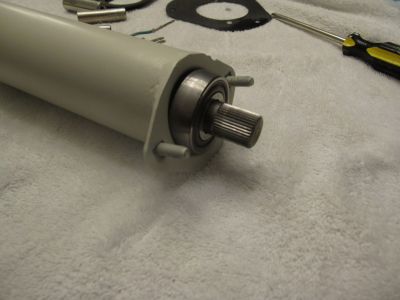
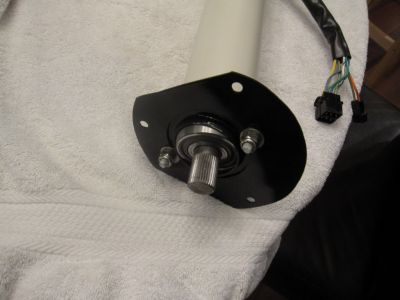
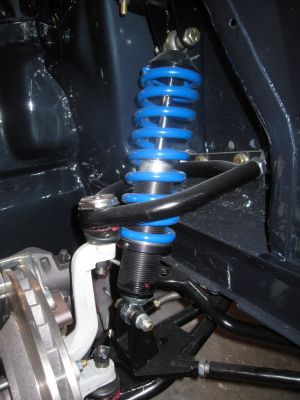
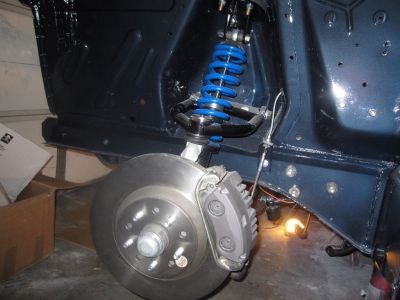
Street or Track coil over shock system!!!

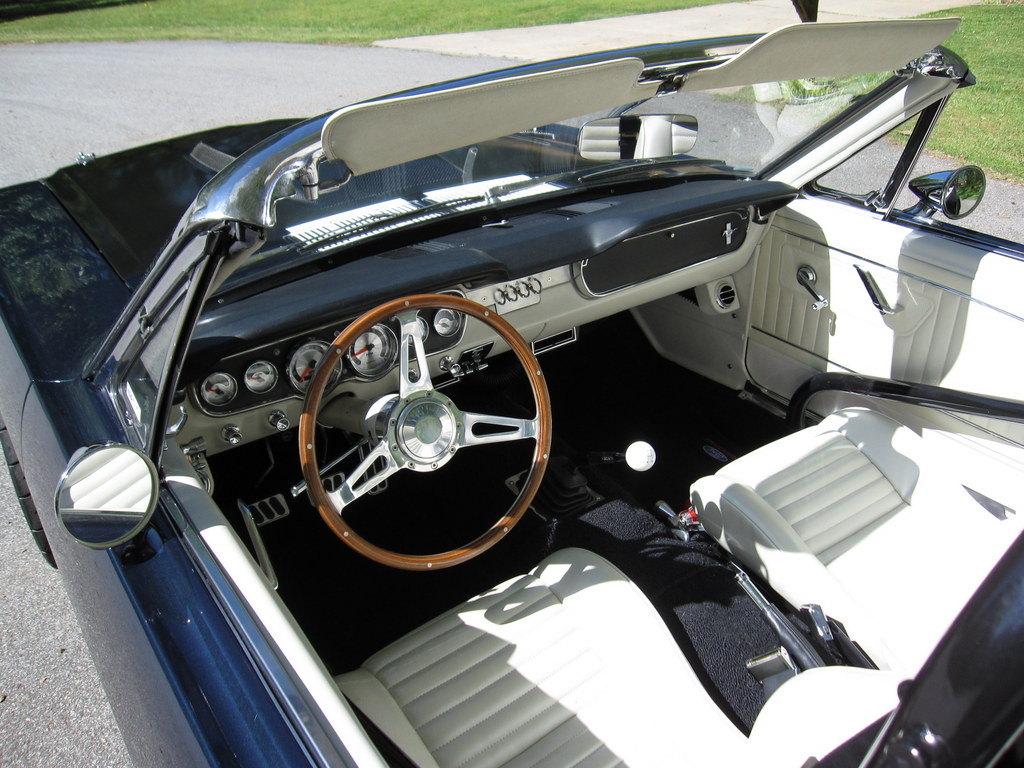
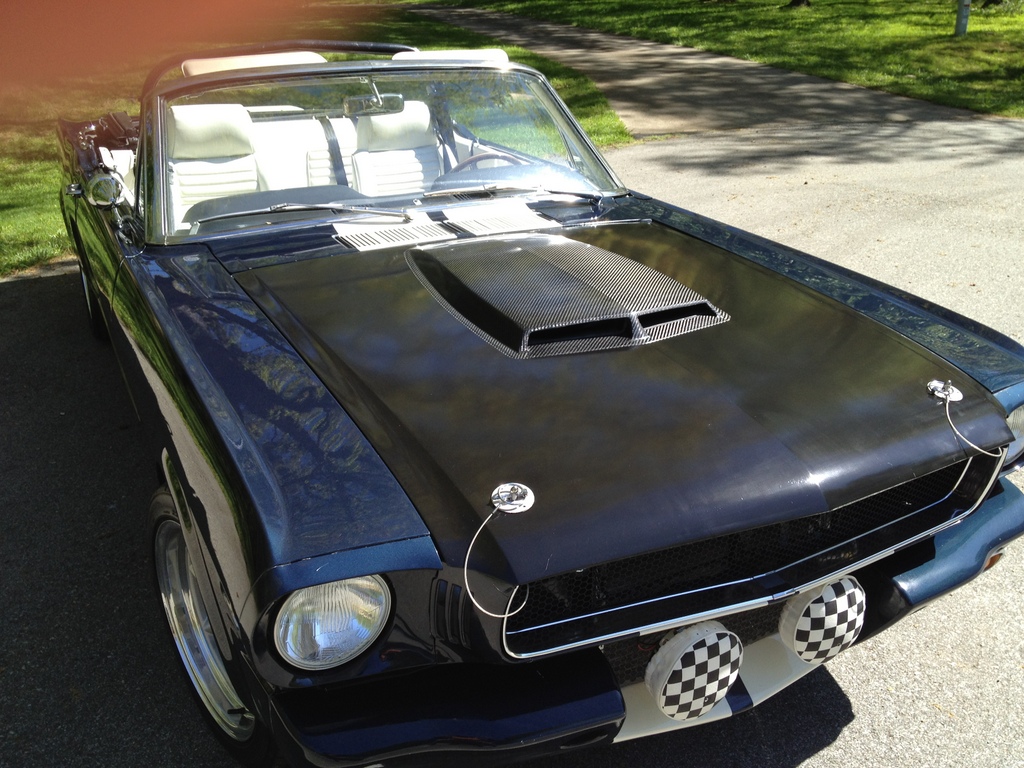
It's insane the quality that went into making these parts. Shaun, you've done an incredible job!

I can't wait to get this stuff installed.

2010-12-12_-_1965_Mustang_Suspension_002.jpg


-Shannon
 
Last edited by a moderator:
Nice coil over system Shaun came out with. I went to his website, but couldn't find a price. Is that still a proto, like the Boss one he did?
 
Yikes! More than I paid for my 66 FB, but I guess it's still cheaper than some of the competition out there. Nice looking kit though. Good news is I'm still a ways out before I get started and maybe prices will come down a little, bad news is, I'm still a ways out before I get started.
 
Posted in the interior forum as well, but I copied the post here for documentation purposes:


After a ton of research, I decided that because of size and height, that the seats out of a Fiero were pretty much the best option for an "aftermarket" seat. Fortunately, there's a guy down in Florida that makes custom seat covers for Fiero seats. (www.mrmikes.com).

So about 6 months ago, I picked up a pair of Fiero seats in pretty good shape for $100 off of Craigslist. A couple months ago I sent the seats to Mike since he said that he could match the pattern, color and grain of the 65 pearl white... well turns out that none of his fabric options worked and I ended up participating in a three week nightmare with Mustang's Unlimited attempting to get a few yards of matching fabric. With that done, MrMike did his magic and I got the covers few weeks ago. The "kit" the he provides includes video instructions and all the tools that you need to install the covers. And even though it's my first time attempting anything upholstery related.. I don't think they turned out half bad. Each cover took a little over two hours per seat but that included cutting 4pt harness holes in the seats (MrMike has that as an option).

I'll be modifying the Fiero seat tracks for installation... I've got some z-brackets made to weld to bottom of the Fiero tracks so it will fit the Mustang floor pan. I'll be posting that thread when I get closer to installing the seats.

What do you think?

2010-12-22_-_1965_Mustang_Front_Seats_016.jpg


-shannon
 
Last edited by a moderator:
This post is copied from the Paint and Body Section to document the build.

Engine bay painted!!

OK, a little history:

I started off adding some shock tower reinforcements. The engine bay was already painted blue like exterior of the car, and I wanted to keep the engine bay the same color. However, the paint in the engine bay wasn't the same shade as the exterior, nor did it have any metal flake in the paint. So with that being said, I decided to get same shade of Caspian Blue and shoot the engine bay.

Well first off, this is my first time at ever using a spray gun... I broke down and bought a Debliss paint gun kit from Eastwood and reading everything I could find on the Internet about car painting. I decided to use Acrylic enamel since that's what on the rest of the car with an epoxy primer base. I did use some kind of hardener for enamels on the advice of a paint guy that I know.

My first attempt at shooting epoxy primer turned out really bad with A LOT of wrinkling. As a result, I had to strip all the paint off the engine bay. It felt like I would overcome one hurdle only for something else to prop up... and this went on for what seemed an eternity. Well today, I finally shot the blue. I had to be a little inventive with the cold weather; it was about 45-50 degrees in NC today, so between coats I would close the garage doors, turn the heat up full blast until it warmed the body up a bit, then open the doors again to shoot another coat.

All-in-all, I don't think it turned out that bad considering it's my first time. It definitely looks better than what was on it.

Here are the results:

normal_2011-01-03_-_Engine_Bay_Painting_002.jpg

normal_2011-01-03_-_Engine_Bay_Painting_006.jpg


In this next pic notice the big 5" hold where the battery used to be; that's the start of my cold air intake for the EFI. More on that at a later date.

normal_2011-01-03_-_Engine_Bay_Painting_007.jpg


-Shannon
 
Steering column modifications.

I have the Borgeson power steering unit. So part of the install is to cut a few inches off of the end of the column... This leaves the bottom of the column open to have hot air, smoke, whatever blown into the steering column. I also didn't like the way that Borgeson has the bottom of the steering column attached to the firewall.

One of the members bought a steering column bearing from American Mustang Parts in CA and welded onto the bottom of the steering column to effectively seal it. I took this one step further and made a plate out of 16GA steel to bolt to the firewall. Making a very sold feeling that just wasn't there with the Borgeson setup.

Here are some pics:

The bearing kit from American Mustang Parts:
normal_2011-02-15_-_65_Mustang_Steering_Column_002.jpg


All the parts ready to assemble:
normal_2011-02-15_-_65_Mustang_Steering_Column_010.jpg


The bearing retainer welded onto the end of the column:
normal_2011-02-15_-_65_Mustang_Steering_Column_012.jpg


Another angle:
normal_2011-02-15_-_65_Mustang_Steering_Column_013.jpg


The other bearing retainer on the end.. thus keeping the bearing in place:
normal_2011-02-15_-_65_Mustang_Steering_Column_015.jpg


Final assembley with the firewall plate bolted on:
normal_2011-02-15_-_65_Mustang_Steering_Column_016.jpg


Once I get the dash painted I can bolt the sucker in!!!

-Shannon
 
A little more progress. I finally have the steering, brakes and suspension complete.

The brakes are Street or Track 13" Cobra kit with 1" master cylinder. The suspension, as mentioned before is the Street or Track coil over kit... Believe it or not, I installed both sides of the suspension and brakes in about 3 hours time. The quality of the kit is amazing.

normal_2011-03-06_-_Street_or_Track_Front_Suspension_008.jpg


normal_2011-03-06_-_Street_or_Track_Front_Suspension_002.jpg


normal_2011-03-06_-_MC_and_line_routing_1.jpg


I've also been building the engine. I've got the short block done. I will hopefully be done with that this week.

-Shannon
 
So after taking almost every nut and bolt off of this car and reassembling it over the course of over two years.. PLUS after countless change in directions and second thoughts, my 65 Mustang vert's engine is now running.

I couldn't take a video it running because I didn't realize that the Borgeson power steering pressure hose doesn't have the correct fitting on the end to seal to my 90's model power steering pump.. and it leaked all over my garage. I'm going try to get a new hose made tomorrow and post a video of the exhaust.

But in the 15 minutes or so that it was running, it sounded like a beast! I'm hoping to have time tomorrow to get it timed so I can roll it down the cul de sac!

One funny lesson about moving the battery to the trunk: NOTHING TO CONNECT A TIMING LIGHT TOO!!:shrug:

Engine/Drivetrain stats:

331 stroker ,roller block
Trick Flow FAC 170 heads 2.02/1.6, little over 10:1 CR
Trick Flow 1.6 roller rocker arms
Trick Flow stage 2 cam: Duration @ 050 lift: 224 int./232 exh.
Canton 9qt road racing oil pan
Holley Systemax II intake
30 lbs injectors
75mm Accufab throttle body
90mm MAF with 4" intake tubing
JBA stainless shorty headers
T5-z with hydrualic clutch
Aluminum driveshaft
9" diff with 3.89 gears and TruTrac diff

Here is what it looks like now: I need to clean up the wiring a bit. It's a tight fit, but it's all in.
65_Mustang_EFI_Engine.jpg


Thanks,
-Shannon
 
Last edited by a moderator:
Sorry I should have read to the end of the thread before I posted. I see you answered most of what I originally asked, in the post about shooting the color.

Did you ever figure out why the original epoxy wrinkled? What brand epoxy did you use? Did you shoot that with the devilbis, or something else?
 
I took the ole girl out a few days ago and shot a few pics. I'm pretty much done until I can afford a respray.. at least as done as you can be with one of these things:

IMG_0023.JPG


IMG_0028.JPG


IMG_0031.JPG


IMG_0037.JPG


IMG_0042.JPG


IMG_0211.JPG


IMG_0212.JPG


-Shannon
 
Last edited by a moderator:
Back
Top