Dne'
Well-Known Member
HI ya'll! I couldn't figure out how to put another thread to continue the radiator thing I'm working on, so I just started another one.
Thanks to Rick's help, I bought a Griffin radiator, dual electric fans, overflow tank, and brackets to install my aluminum radiator. (Rick you may jump right in here anytime!)lol
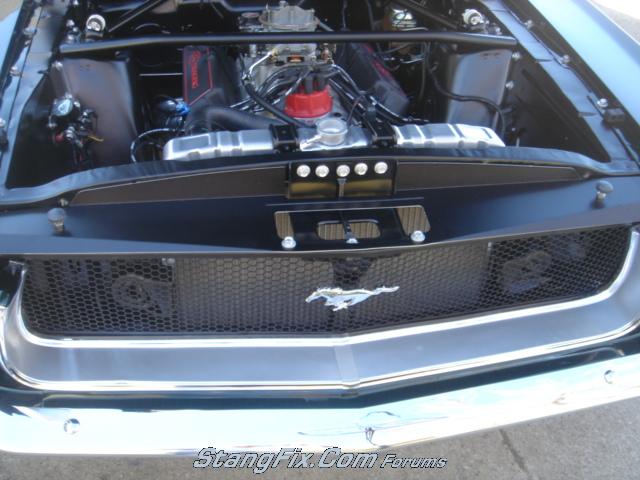
This is my first question: The radiator doesn't fit into the little bracket here, so do I just widen it and make it fit? and bolt it in?(there's such a large hole in the little bracket for attaching, why did they make the mounting hole so large.

Here the radiator is just resting on the strut channels. I'm so excited about this radiator~ it's beautiful! The lower brakets will raise it enough right to fit in the upper bracket? and it's just held by the top braket and nothing else right? got to go, I'll be back!
dne'

Thanks to Rick's help, I bought a Griffin radiator, dual electric fans, overflow tank, and brackets to install my aluminum radiator. (Rick you may jump right in here anytime!)lol
This is my first question: The radiator doesn't fit into the little bracket here, so do I just widen it and make it fit? and bolt it in?(there's such a large hole in the little bracket for attaching, why did they make the mounting hole so large.
Here the radiator is just resting on the strut channels. I'm so excited about this radiator~ it's beautiful! The lower brakets will raise it enough right to fit in the upper bracket? and it's just held by the top braket and nothing else right? got to go, I'll be back!
dne'