• Hello there guest and Welcome to The #1 Classic Mustang forum!
    To gain full access you must Register. Registration is free and it takes only a few moments to complete.
    Already a member? Login here then!

Taurus E-Fan Install

buening

Active Member
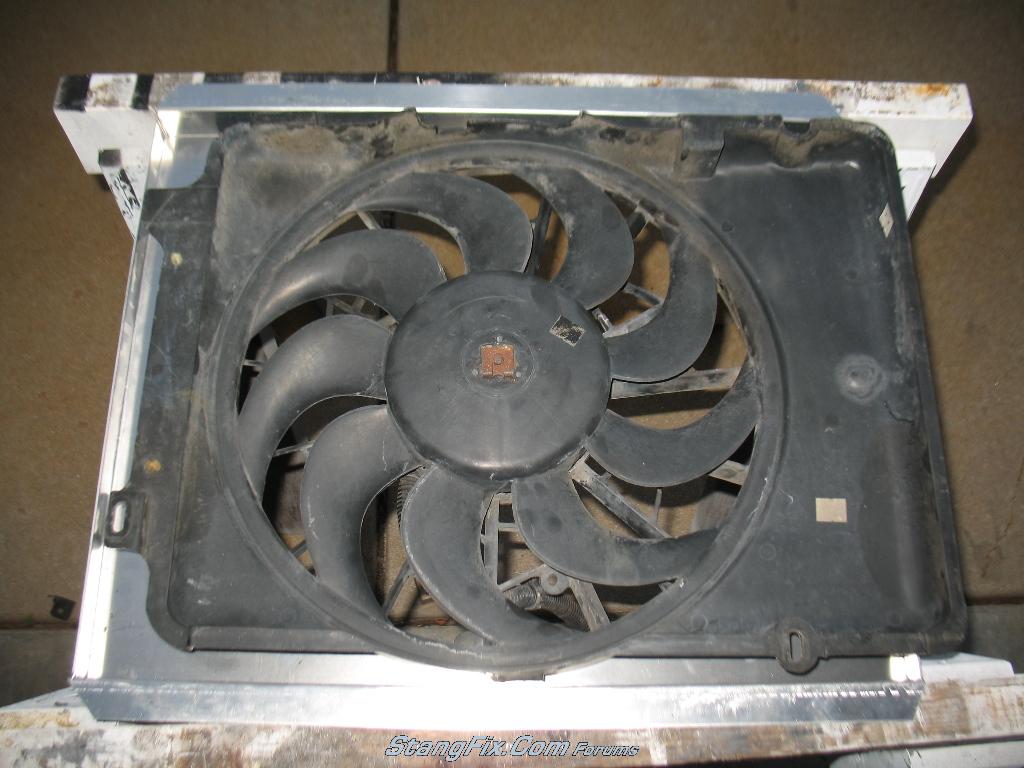
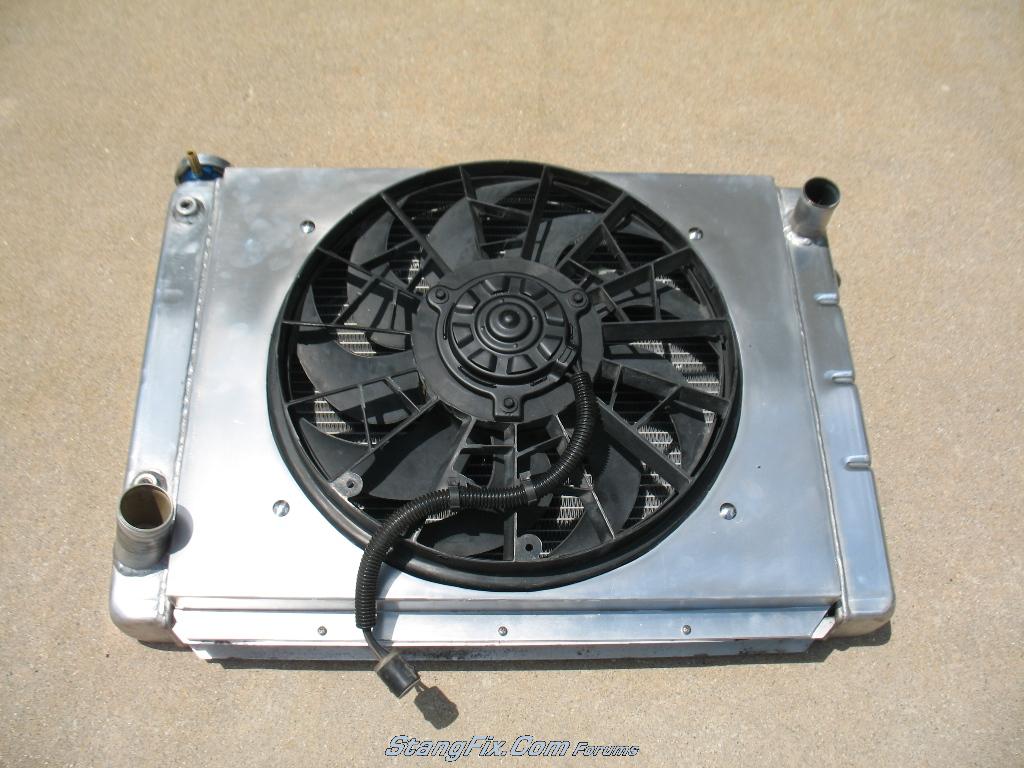
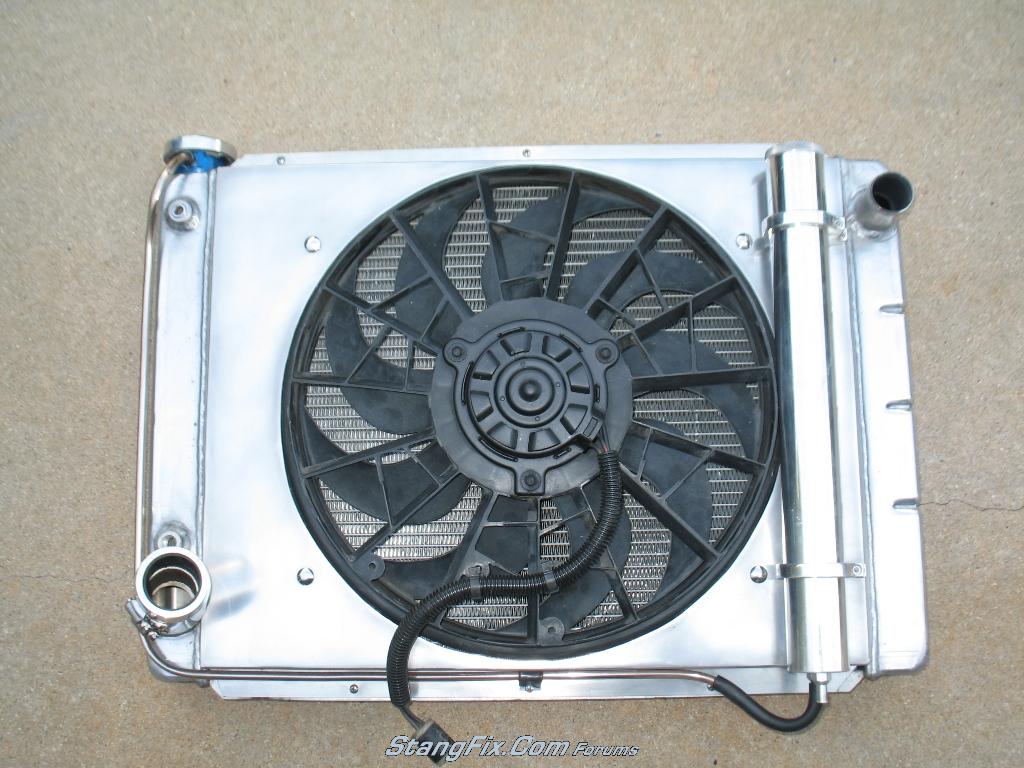
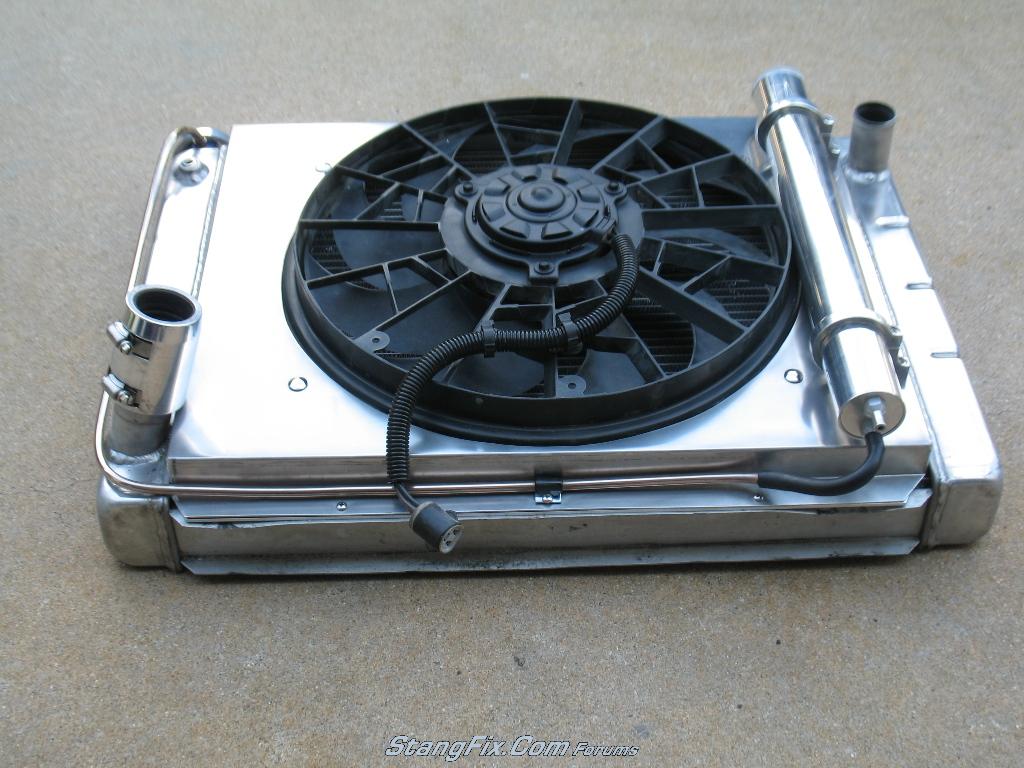
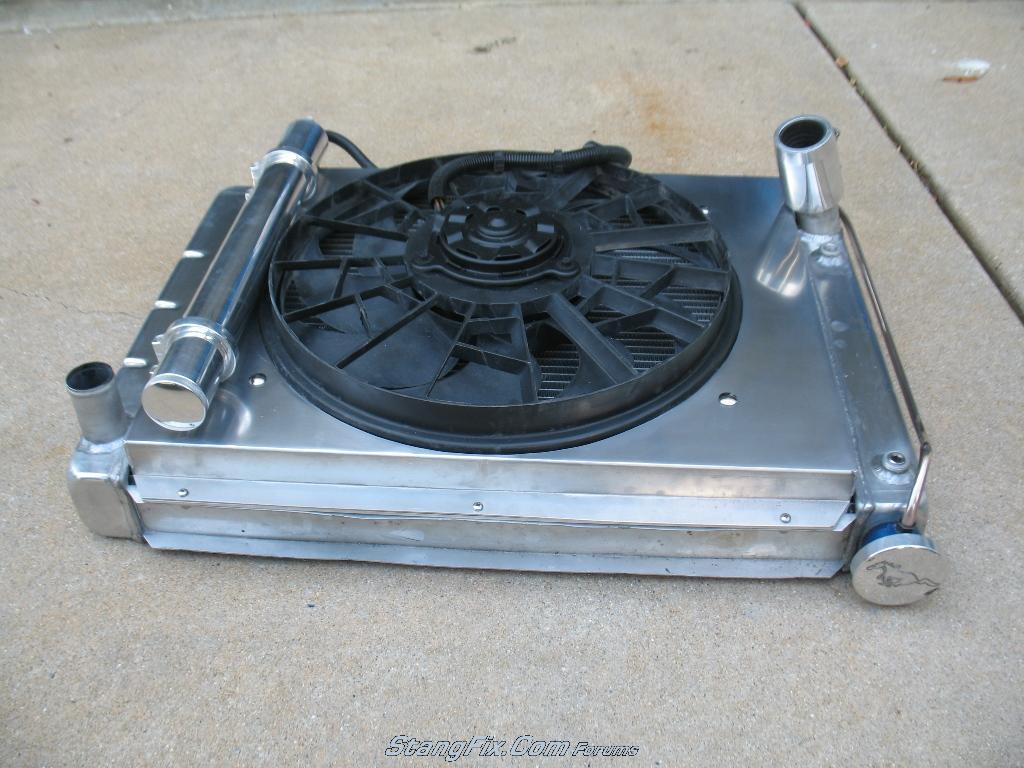
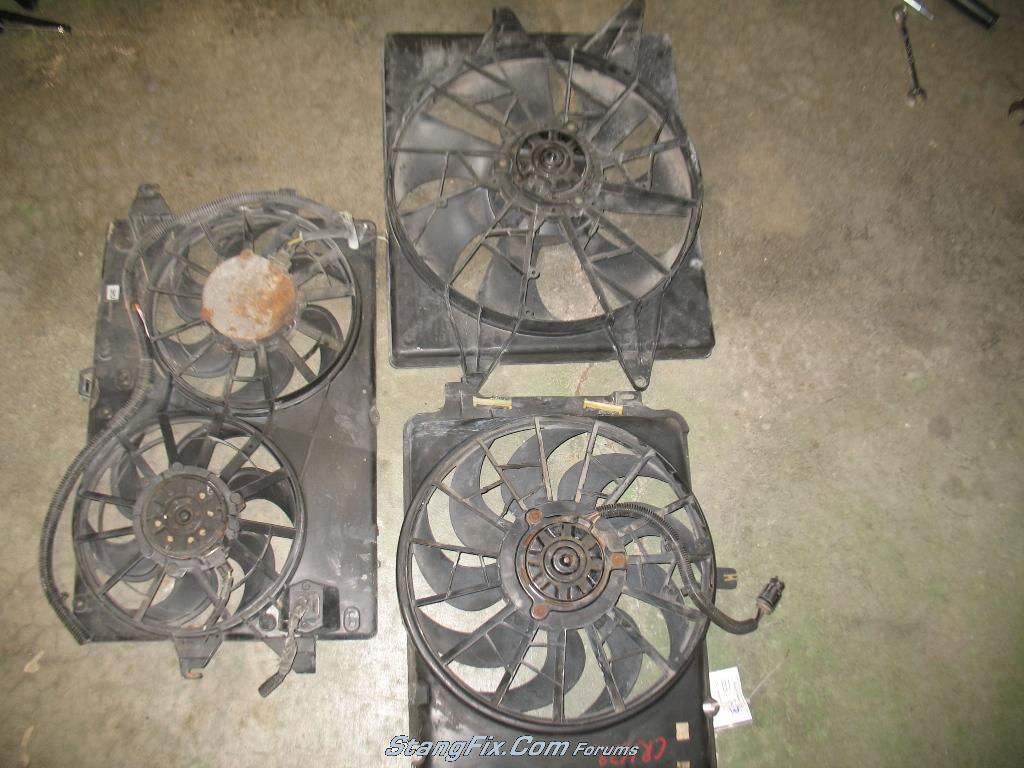
I'm juggling a few different upgrades at the same time as my transmission swap, and got to the point of waiting on some parts for the trans so I decided to tackle the E-fan. My previous setup was the Northern 19x27.5 crossflow radiator and a Zirgo Beyond Cool electric fan. I wasn't overly impressed with the fan, but really didn't have any cooling issues. Bored with the tiny fan,the Tim Taylor inside of me said that I needed more power :lol I set out to get some cheap Efans from the top 3 OEM swaps. I bought the Mark VIII fan (which this one actually came off the Tbird 4.6 car and are the same fans), the Taurus fan, and the Contour/Mystique dual fan setup. Below are a couple pics of the three fans next to each other

231_28_06_10_8_17_43_0.JPG


231_28_06_10_8_17_43_1.JPG


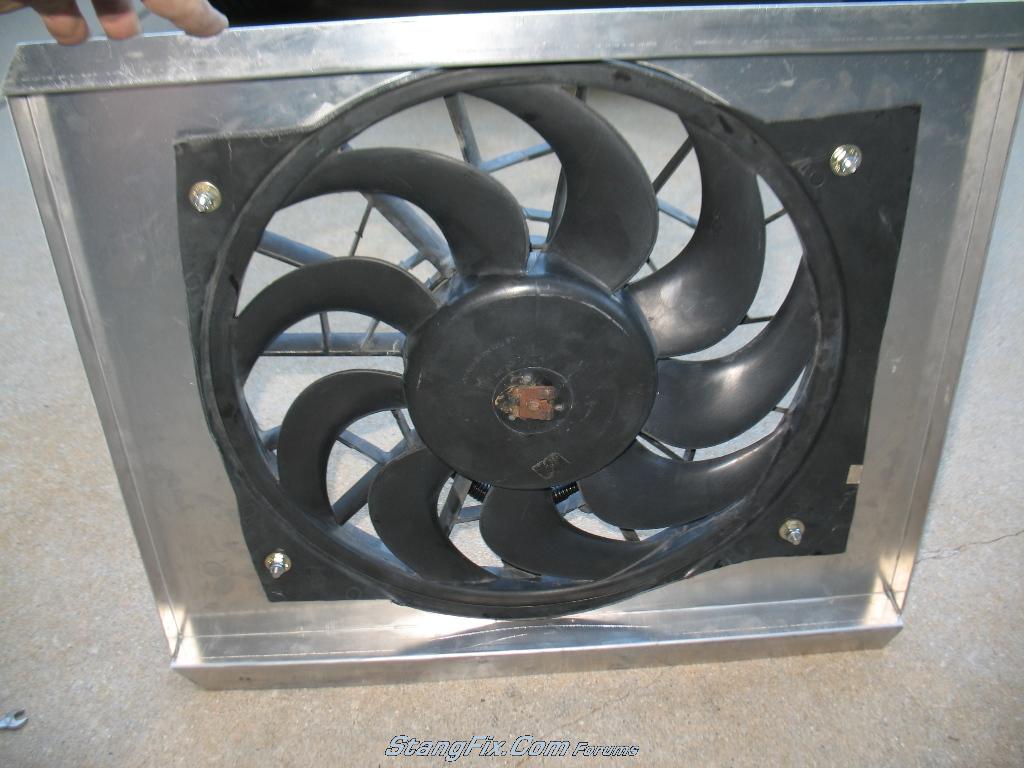
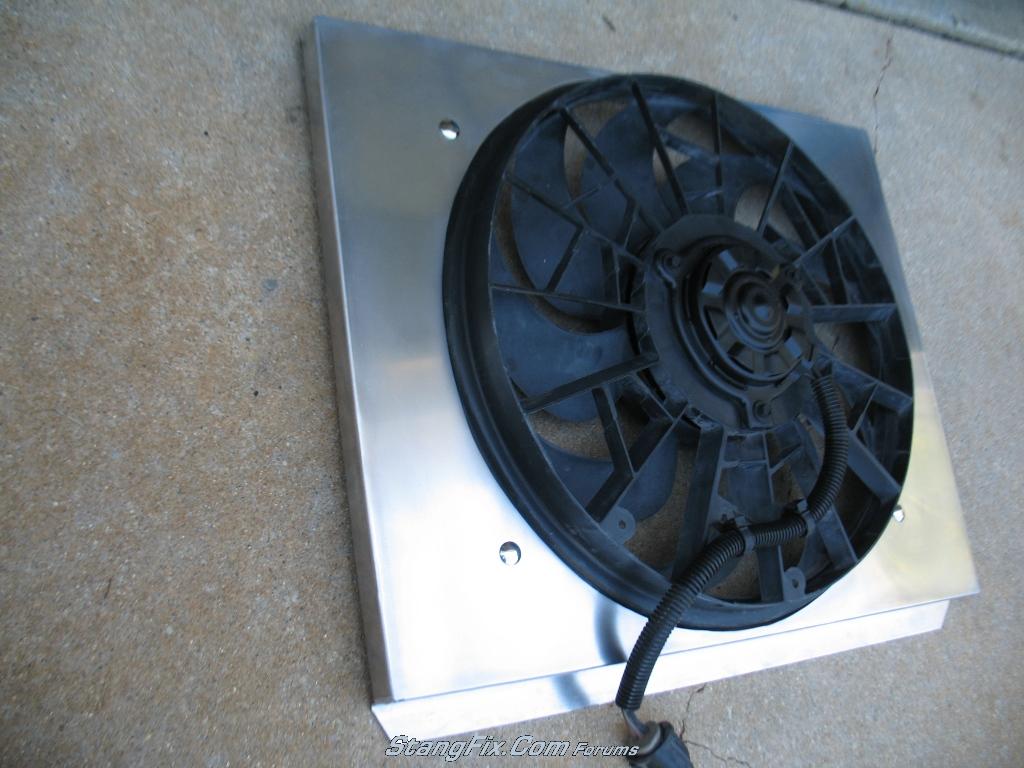
Since I slid the motor back 1.25" I was hoping I could fit the behemoth Mark VIII fan. I measured 4.75" clearance between the radiator and the water pump pulley. With the blades against the radiator I'd still need over 5" of clearance, so that threw that idea out the window. I did think about cutting up the radiator support to gain more clearance, but am not keen on cutting up a car like that. I then was torn between the remaining two fans. The Taurus fan would just barely fit, but the Contour/Mystique don't need the big amp relays and such...making it a bit easier to run. The dual fans also don't have the CFM that the Taurus does. Taking measurements of the two Contour fans, I realized that they are about an inch wider than my radiator core. They may look goofy installed on my aluminum shroud and the ends hanging off the sides of the shroud. So, I conceded to install the Taurus fan.

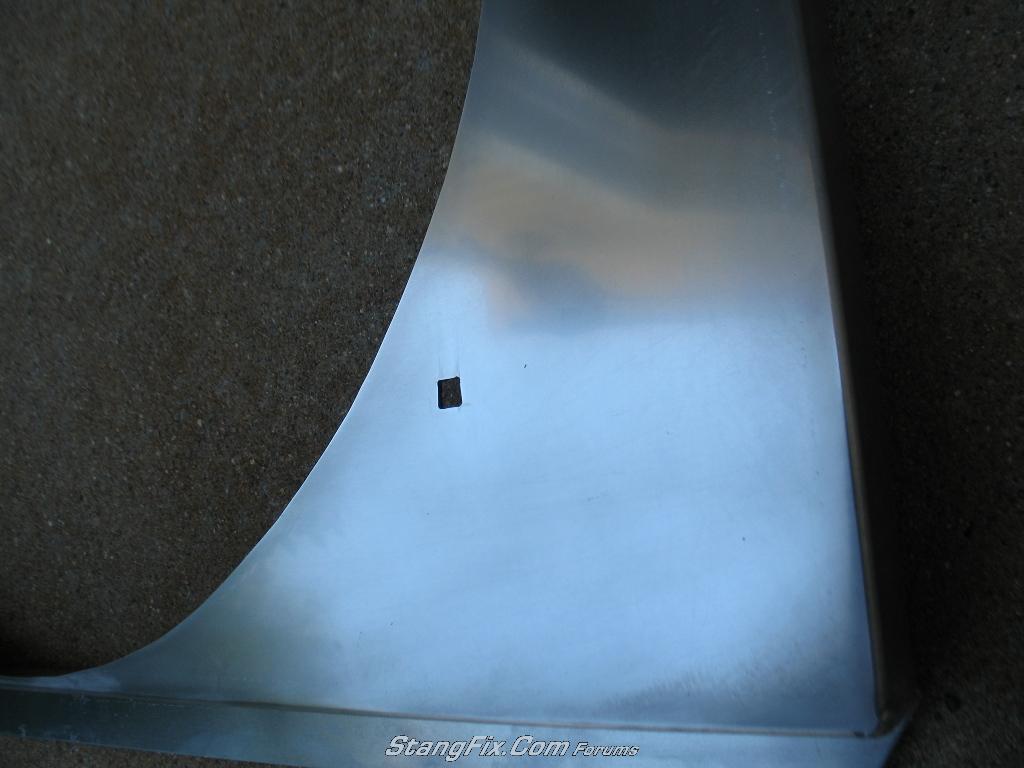
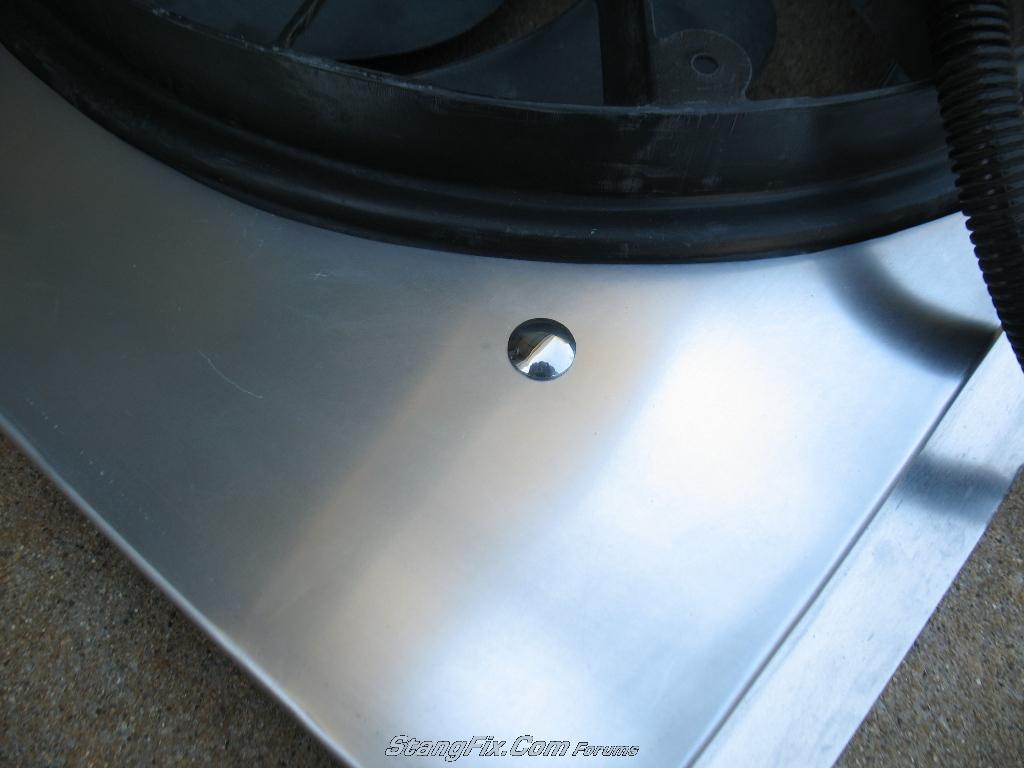
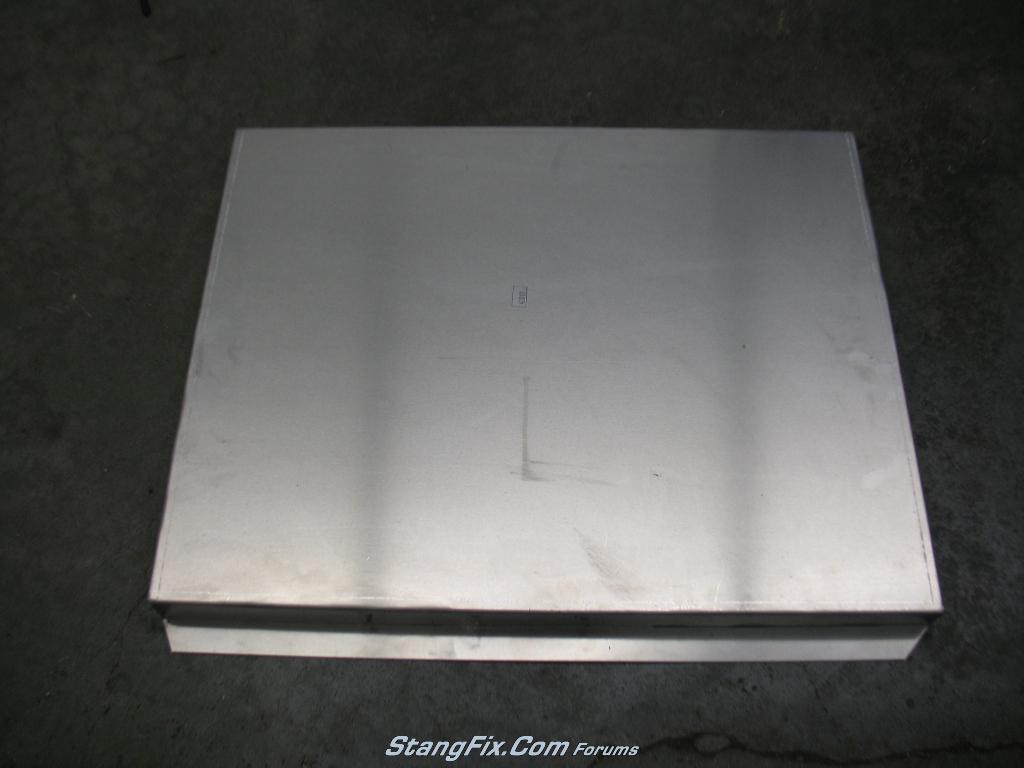
Below is a picture of my aluminum shroud that was made to fit my Northern radiator perfectly. I bought it off Ebay, but Northern has part numbers for these shrouds on their website IIRC.

231_28_06_10_8_17_43_2.JPG


I started off by finding the center of the shroud and marking it. I then measured the diameter of the Taurus fan (16" diameter) and transferred that to the shroud. I then drilled a hole at the established center of the shroud, and used a punch with string tied to it and a marker. This was as far as I got tonight. Hopefully I'll get it cut out in the next few days. I'm thinking of using a jigsaw with a metal blade, unless you have a better idea :)

231_28_06_10_8_17_44_3.JPG
 
Last edited by a moderator:
Jigsaw with metal blade will definitely be the cleanest approach. The depth of the shroud won't cause interference between the fan and water pump?
 
I will have to set the fan into the shroud a bit more than what is typically done. Whenever I get it cut I'll show some pics of what I'll be doing. Hopefully it won't restrict airflow too much, but I guess we will see!
 
Not sure how thick that aluminum shroud is but I think a jigsaw is going to leave a pretty rough and wavy edge. I would get a high-speed die grinder with a radiac or cutoff disc. Will be a cleaner cut and leave aluminum surface undistorted.
 
I may have to try a test spot in the center of the shroud with the jigsaw to see how clean it cuts. I do have an air die grinder as well as a Dremel with the small base to act like a router. That may work good too. I'm pretty sure I have a rotary bit for it.
 
Wouldn't be too difficult to rig up something to clamp a Dremel tool to that you could rotate in a perfect arc or circle. The time it took to put the contraption together would not only probably be faster than cutting freehand but the result would be so much better. That or take it to a local shop. I gotta agree, unless it is some pretty heavy gauge a jigsaw regardless of blade will not give the type of result you want.
If you have access to a deep throated scroll or band saw that would be another very good option.
 
"buening" said:
I may have to try a test spot in the center of the shroud with the jigsaw to see how clean it cuts.

You can make a pretty clean cut with a jigsaw provided you use a nicer jigsaw... one that doesn't have any slop in the reciprocating mechanism and has a guide bearing to keep the blade from wandering. Also make sure the orbital action is off and keep even downward pressure and a steady feed. Also put some masking tape on the bottom of the saw's bed, or better yet, tape off the cutting area on the aluminum so the saw and chips don't mar up the finish. You might want to do something to keep the chips away from the saw's base. If the material seems too unstable, attach it to a scrap piece of 1/4" luan and cut the two pieces together... the luan will act as a stiffener and also help control the cutting speed.
 
Well I had went and bought the $8 Dremel rotary bit and it was taking way too friggin long. So I busted out the jigsaw with the 14tpi blade and went to town. The cuts were very nice with the jigsaw. I think the aluminum is 1/8", fairly heavy duty.

No pictures just yet, left them in the camera at home. I got the hole cut out and the fan installed, but the darn clip that attaches the blade to the fan motor is touching the radiator. A tiny bit of the blade center it touching as well, so I'm probably off by 3/8". I could either buy an aluminum bar that is 3/8" thick and use that as a spacer for the shroud or cut the hole slightly bigger so that the second "ring" will go through the hole. The picture above of the Taurus fan will help picture this. Either way I have the clearance for the fan to fit with either solution.
 
1/8" thick would be fine then, I was thinking this was .032 or .040 thick sheet. You DEFINITELY would jack up thinner material with a jig saw.

.125 is pretty thick aluminum for a shroud, must be a good one. Where did you get it?
 
Time for an update. I have the fan all finished, all I need to do is attach it to the radiator some how. Not sure what kind of fastener to use that will look decent.

I started out cutting the hole out for the fan and then stuck the fan in place before cutting the plastic shroud. The fan is offset in the plastic shroud

231_03_07_10_3_28_53_0.JPG


Here is the front view of the fan in the opening.

231_03_07_10_3_28_53_1.JPG


The only problem is the clip that holds the blade to the motor sticks out from the back of the shroud, meaning it won't bolt up to the radiator like this. I thought about using spacers, but I'd have to have about a 1/2" thick spacer for the shroud. I hated to do it, but I needed to open up the hole in the shroud and let the second "ring" of the fan stick out. After a few hours of cutting and grinding, I got the fan to fit in the opening. Its not a perfect circle but it'll do. Here is a pic of the finished shroud that I sanded and polished, as well as drilled mounting holes and made them square for carriage bolts

231_03_07_10_3_30_24_0.JPG


up close picture of the carriage bolt hole I made using a triangular file after drilling the hole

231_03_07_10_3_30_25_1.JPG


I then bought some stainless carriage bolts, chucked them up in the drill, and polished them to perfection. After that I trimmed up the plastic shroud, and installed it into the aluminum shroud using the carriage bolts and nylok nuts.

231_03_07_10_3_30_25_2.JPG


Here is a pic of the final assembly

231_03_07_10_3_30_25_3.JPG


231_03_07_10_3_30_25_4.JPG


231_03_07_10_3_31_08.JPG


Next up will be to install the shroud onto the radiator and then deal with the 3g alternator install
 
Last edited by a moderator:
Thanks! It would have looked a LOT better if I didn't have to cut the hole larger and allow the second ring to pass through the aluminum shroud. I am still going to need an 1/8" shim, but it won't look as goofy as a 3/4" shim. Had family stuff this weekend, hopefully will get it finished tomorrow.


And yeah its one of the best cooling fans you can get. The picture of the Thunderbird/MarkVIII is the most powerful fan at around 5000cfms, and this Taurus fan pulls about 4000cfms or so.

I have the Thunderbird as well as the dual fan Contour fan for sale if anyones interested :ecit
 
One other thing to note, I'll most likely be purchasing the Delta Current Controls fan controller. Its kind of like the SPAL PWM fan controller but tons better. The SPAL is limited to a 30A fan, whereas the DCC can go up to 50A and 85A depending on which controller you buy. It is also PWM controlled, so you don't have the huge power spike at the beginning like you would if you wired it up using just relays. The fan speed starts out low and gets faster as the demand increases.

http://www.dccontrol.com/fancontrol.htm
 
Lets keep it rolling. Even with setting the fan further out of the shroud, the blade clip only had maybe 1/8" clearance to the fan core. This was a bit too close for my comfort, so I went and bought a 4' section of 1"x1/8" aluminum at my local hardware store. I cut it down to the size and clipped corners of the shroud:

231_11_07_10_6_51_13_0.JPG


After that, it was a matter of lining up the shroud over the spacers and the radiator, drilling holes, and installing the fasteners to attach the shroud to the radiator. I chose to use stainless #8x1/2" machine bolts with stainless nylok nuts on the back. Here are a few pics of the shroud installed:

231_11_07_10_6_51_14_1.JPG


231_11_07_10_6_51_14_2.JPG


After I got it installed, I remembered that I had an aluminum overflow tank that I couldn't find a place to install under the hood. With the shroud now on my radiator, I'd have a surface that it could be installed to. Sooo, off goes the fan and shroud from the radiator, then drilled holes for the overflow, and then installed it after I gave it a good polishing. Once installed, I went through the pain of trying to plumb the overflow tubing. Initially I had a straight nipple that came with the radiator for a 3/8" rubber line to attach to. The overflow tank has a nipple as well, but I wasn't please with the look of rubber hose in this application. I took the fitting from both the radiator neck and the overflow tank and went to see if I could get some brake line to plumb up. As my luck would have it, the filler neck fitting was a metric and the overflow tank was 1/2" but wasn't a compression fitting. It had a rubber seal instead.

I managed to get a 50" section of 5/16" brake line (new copper/nickel stuff) that has 1/2" fittings. I tried to get the fitting to install in the overflow tank, but it wasn't happening. So, I drilled out the filler neck to 1/2"x20 and then bent the line to fit as shown below in the pics. I gave it a good polish as well, and cut it fairly close to the overflow tank and installed a rubber hose. It'll be hidden for the most part. I think it turned out sweet :ecit :ecit

Only thing left now is to get it installed in the car, reinstall the flex hoses, and order the DCControl fan controller. I moved the oveflow tube up higher so that the cap cleared the shroud, making it easier to remove and install the cap.

231_11_07_10_6_52_07_1.JPG


231_11_07_10_6_52_07_2.JPG


231_11_07_10_6_52_07_0.JPG


231_11_07_10_6_51_15_4.JPG


231_11_07_10_6_51_14_3.JPG
 
Last edited by a moderator:
Back
Top