• Hello there guest and Welcome to The #1 Classic Mustang forum!
    To gain full access you must Register. Registration is free and it takes only a few moments to complete.
    Already a member? Login here then!

Cool New Tool Thread

Consumables for this one are pretty nickel and dime for this one. On eBay anyway. A 35 piece set for around $18.
It's pilot arc, you can spot them by them having that extra fat wire where the connections are. On the bargain ones three connectors mains scratch start and four means pilot arc.
I swung by the hardware store this weekend and made myself an adapter so no I can just use my super duty 110 volt extension cable (that I use with my MIG) and plug it into my 220 outlet or leave the adapter off and just use 110. The adapter I wrote all over as being 220 VOLTS! and "for plasma cutter only!" because you can potentially plug in something meant to run on 110 volts and let all the smoke out of it in a hurry. Some of the pricier auctions include such an adapter which I'm sure is worth a few extra bucks as the plugs at the store ran me almost $20 by themselves.
 
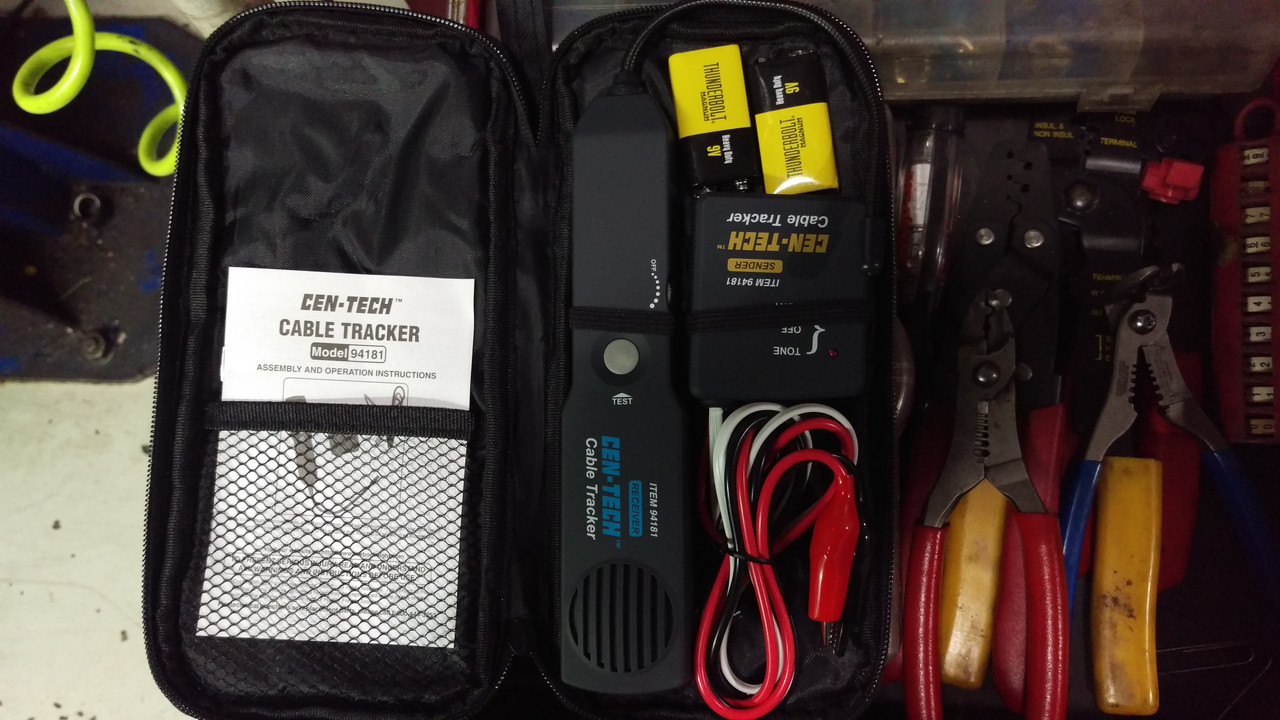
And.... I had to go by Harbor Freight because apparently you can only buy their gift cards in their store. And came out with this.
IMAG1915.jpg

Had one on my want list for about a year. Now having an intermittent connection on a 38 foot long RV's wiring harness pushed me over the edge. You hook this thing up to your wire then you take the other part (sniffer) down the length of the wiring harness and it whines as long as the wire is good and then suddenly stops whining where the mouse chewed it in half or whatever. Theoretically. Also you can connect it to something and then trace back to see which fuse is supposed to power it. Stuff like that. Haven't tried it yet but i has good reviews. The batteries included with it say "Thunderbolt Magnum" on them. Like two Clint Eastwood movies in one so they've GOT to be good, right?
We just used a similar tool to find MY wiring error in my garage ? We found the problem in less than an hour.
 
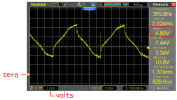
OK, Gypsy started talking about electronic toys so I have to mention mine. You probably think it isn't car related, but actually I did use it on the alternator's Stator to see what the wave was doing. If someone wants to know how to power an electric choke from the Stator, now I can show you what is happening, what works, and why.
I finally replaced my old defunct analog scope with a digital storage scope. These digital scopes have all sorts of neat features- they will display measurements and even do math, like taking the "mean".
1640258005684.png

This is a shot of the Stator waveform- isn't that cool!
1640258919577.png

If you want to know how alternators work and see this explained, go here: http://1969stang.com/forum/index.php?/topic/119582-how-alternators-work/
 
Last edited:
I had a '97 V6 Camaro once and I was on a forum for same. Everyone there was looking for "secrets" to squeeze more hp out of the little 3.8L engine. I remember that I told them that you could get extra performance out of the car by pulling back the driver's side floor mat. One guy thought I was smoking something until another one explained that I was referring to the tendency for the factory carpeted floor mats to bunch up under the accelerator.:)
 
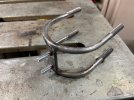
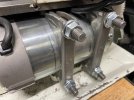
So I was playing around with the lathe the other day and found it had an issue. The drive was acting funky, to be technical. Upon taking off some covers and doing a little investigating I found the issue. And wow. What a crazy bad design for the motor mount. Two tiny studs threaded into the motor housing not even two inches apart that hold the motor in suspension (from the side no less!) under the main head. There might be two and a half threads for each that are actually connected to the motor. They are metric but about the size of a 10-24 screw in diameter. They pass through a couple slots in the main casting which are wide enough to fit a 5/16" bolt through. All that slop and flex in such tiny studs its no wonder they came loose allowing the motor to bounce around a bit. Time for a major improvement.

Working within the constraints given here's what I did. A couple of exhaust clamps and a piece of scrap 3/16" steel welded together make a nice little motor cradle. Threaded a couple 5/16-18 holes, cut some threaded stock down screwed them in place and a little dab of red Loctite. As an after thought I came back and added a tack weld on the backside of each stud for good measure. Solid as a rock now.

lathecrap.jpglathemod.jpglathemod2.jpg
 
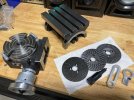
Behind on new tool updates so time to play catch-up. First up are a couple accessories I got for the mill. Both tilting and rotary tables. The rotary table can sit both horizontal and vertical and includes a set of dividing plates. Having both gives me all kinds of abilities as far as parts making goes.

I have a workshop room in the corner of my basement to which I'm contemplating moving the mill and lathe. I can set them up more permanently down there as opposed to having to move them around in and out of useable position in the garage. Probably make that move in the next couple weeks and then I can really start to play with them.
rotarytilttables.jpg
 
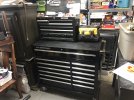
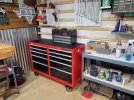
72448B25-99BD-48D4-AF80-FA3DBCF6C283.jpeg0768E2D2-FB71-462C-9987-74D9943E8BF9.jpegNot a tool...but it holds tools!

Wife got me a bottom box to get my top box (and the overflowing tool pile) off the bench.

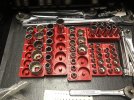
I've been printing socket organizers for the past week. Pretty happy with them vs the generic ones with the tall pins.
 
What? No money shot of how you are organizing the stuff in the drawers?

Years ago I got the idea to cut off the top half or so off an antifreeeze bottle and dumped a collection nuts in it and put it in my bottom toolbox drawer. Later it was joined by another with washers, then lock washers, etc, etc. 40 years later....I still can't beat them. Custom trimmed to just fit in the drawer. They wedge shoulder to shoulder nicely to maximize space usage. Any oil, grit, rust, or whatever is easily wiped out of them. If the parts in it are nasty, dump cleaner right in on them. The plastic seems proof against every solvent I've used.
The companion tool is a sorting funnel. If you don't see what you want, grab the whole container out and dump it in the funnel. When done funnel it all back into the container. So much easier than rooting. The only thing I don't like is I can never quite seem to cut and trim the edges as nice and smooth as a purchased version might be. Efforts made with a heat gun and a soldering iron to "roll" the lip didn't yield very good results so I gave up.
 
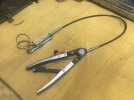
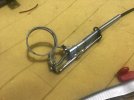
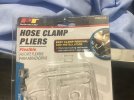
This tool is worth every penny of the $40. I bought it to change all the hose clamps on my 2001 Mountaineer 5.0 . What a time and sanity saver. Yesterday I used it for some clamps on my washing machine drain.
 

Attachments

  • 89154825-5282-4D74-BB66-8406433795AC.jpeg
    89154825-5282-4D74-BB66-8406433795AC.jpeg
    240.5 KB · Views: 17
  • 5DC3125F-E8D4-46B6-903A-52CDEEA3A094.jpeg
    5DC3125F-E8D4-46B6-903A-52CDEEA3A094.jpeg
    269.5 KB · Views: 17
  • 939C76CF-DDF8-496B-B761-194EA657789D.jpeg
    939C76CF-DDF8-496B-B761-194EA657789D.jpeg
    289.1 KB · Views: 17
This tool is worth every penny of the $40. I bought it to change all the hose clamps on my 2001 Mountaineer 5.0 . What a time and sanity saver. Yesterday I used it for some clamps on my washing machine drain.
Thats cool. Want one now
 
Last edited:
This tool is worth every penny of the $40. I bought it to change all the hose clamps on my 2001 Mountaineer 5.0 . What a time and sanity saver. Yesterday I used it for some clamps on my washing machine drain.
are you sure?
i think i saw this in one of Midlifes vacation pictures from at the Blue Oyster Bar & Cafe.
 
No, that was a picture of me at a cattle ranch castrating a bull. Handy tool for that task!
 
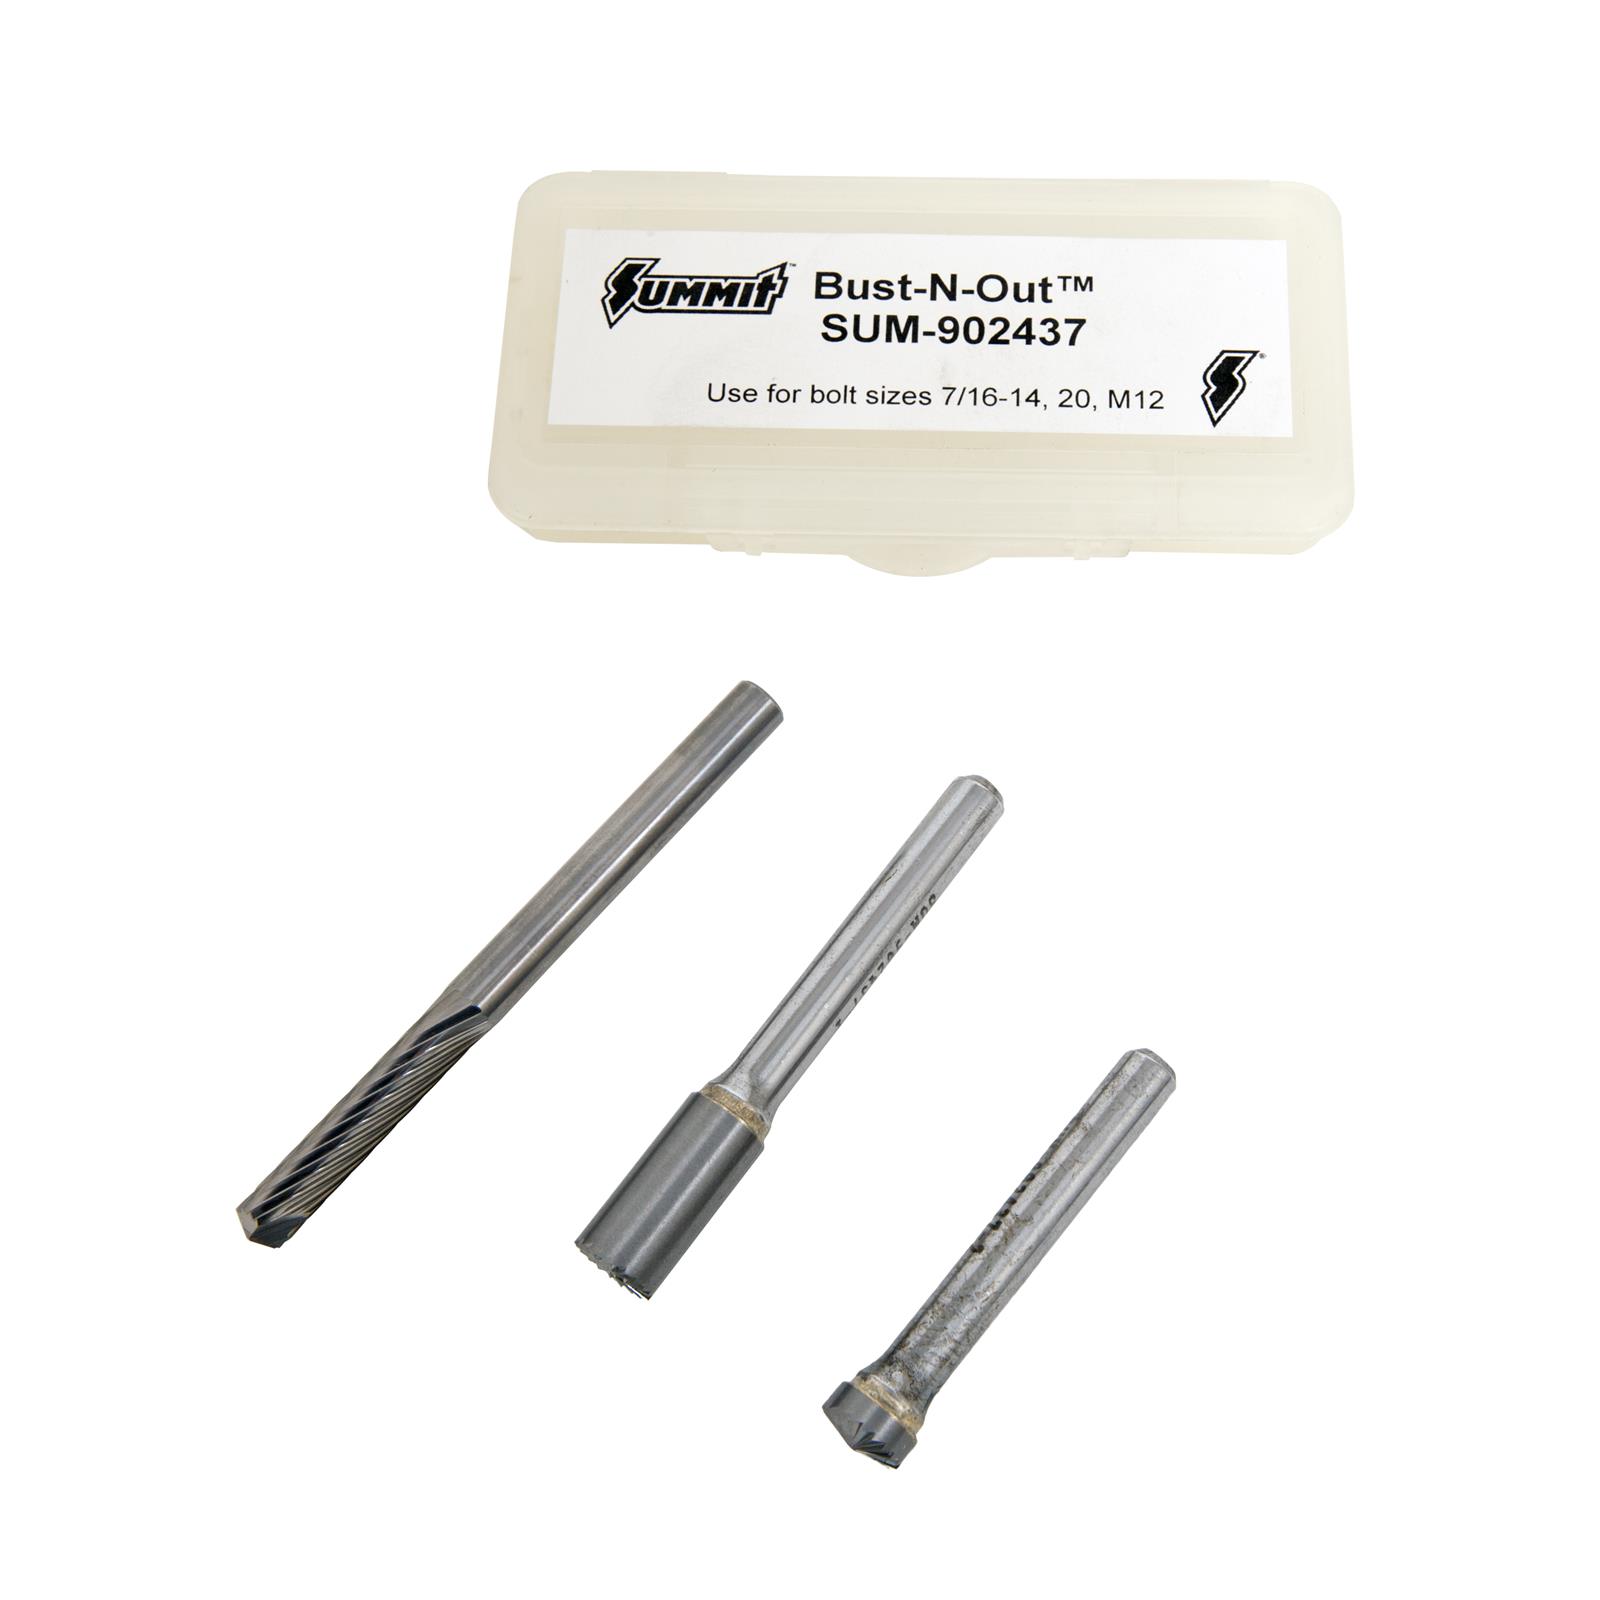
Stupid expensive I think, but worth a lot in some situations.
sum-902437_xl.jpg

I have a smaller version and it came from Cornwell Tools, but I found that nice picture. I think Matco also sells them.
I ran into a broken exhaust stud on a newer 4.6 Mustang. One that had heat cycled until it was about bulletproof. Usually I would drill a tiny hole and then use progressively larger drill bits to sneak up on hole size. But my cobalt bits just bounced off this one. Usually I would fall back to a cutting torch and "blow" the stud out. Not a method I like and it's a bit sloppy. So I tried this setup.
First bit is sized to the diameter of the hole. Assuming your bolt is broken off below the surface. Since bolts rarely break off straight, this flattens the remains out. Second bit is also sized to the hole and used the same way but cuts a dimple dead center. No more trying your best to get a punch dead center and being off by just a tad.
Now. If you have a broken fastener that isn't evil tight/corroded/seized you can use left handed drill bits or whatever you like to try and get the fastener out. You WILL start dead center so if you have to tap threads later you'll be happy with just that much of the kit.
But if your broken stud is like this one, the third bit comes in. The first two are sized to fit a 1/4" high speed grinder. This one goes in a drill. An odd bit, instead of two big flutes on the sides it has many flutes like cutting surfaces. Whatever the other reasons for that, I've found this keeps the bits from going "sudden stop" and snapping in two like fluted bits can do in difficult drilling situations. Nice! Sudden stops snap (expensive!) traditional style carbide bits like twigs. It was slow going but it surely drilled. Seemed a little happier with a touch of lube. I used Tap Magic.
In my kit the third bit was smaller than the actual application where the first two were the exact correct size. Odd. But once I had the pilot hole then the exact same bits I tried before were then able to incrementally enlarge the hole just like I would expect. The third bit could be used to drill other things without the first two because it's basically a super duty drill bit. Mine is 3/16"

They have different size kits but I only have the one. So far. For the money probably not worth it for the average guy. But if you are one of those folks that people bring stuff to saying they've tried everything with no luck it's a heckuva nice tool to have in your arsenal. Just the drill bit is almost worth it. A single double-ended carbide "Rescue Bit" costs almost as much.
If you want just a similar carbide bit for quite a bit less, they have a 3/16" here for about $22. I don't know how well it works (or not) because mine won't be here until sometime next week they say. https://goldencoulee.com/
 
I will have to keep this one in mind for the next time I face a snapped bolt. Good find.

I used to go by the old adage about, "if you need a tool twice...", but have since started just buying the correct tool for whatever job/situation I find myself in. It always makes the task easier and yields better results. I figure in the rare case I may never need it again one of my boys will someday. Plus, NEW TOOLS!
 
Back
Top