
Sluggo
Active Member
- I decided to make a tutorial on making harnesses for adding relays to your headlight for those that don't want to butcher up your originals.
I bought some connectors from the auto parts store. They come with 16 maybe even 18 gauge wire in them. I did not get pics of the first couple of steps but they should be self explanatory. This is for a four light system on a 69.
- Start at the far end of the harness. For me it was the low beam end of the harness
- Unpin the terminal that matches the red wire on your original harness. It will be the top one that is oriented differently than the other two. I started with this wire because it runs the full length with no splices. You can buy new terminals online but I just opened the crimp up and soldered my new wires to the one that came with the connectors.
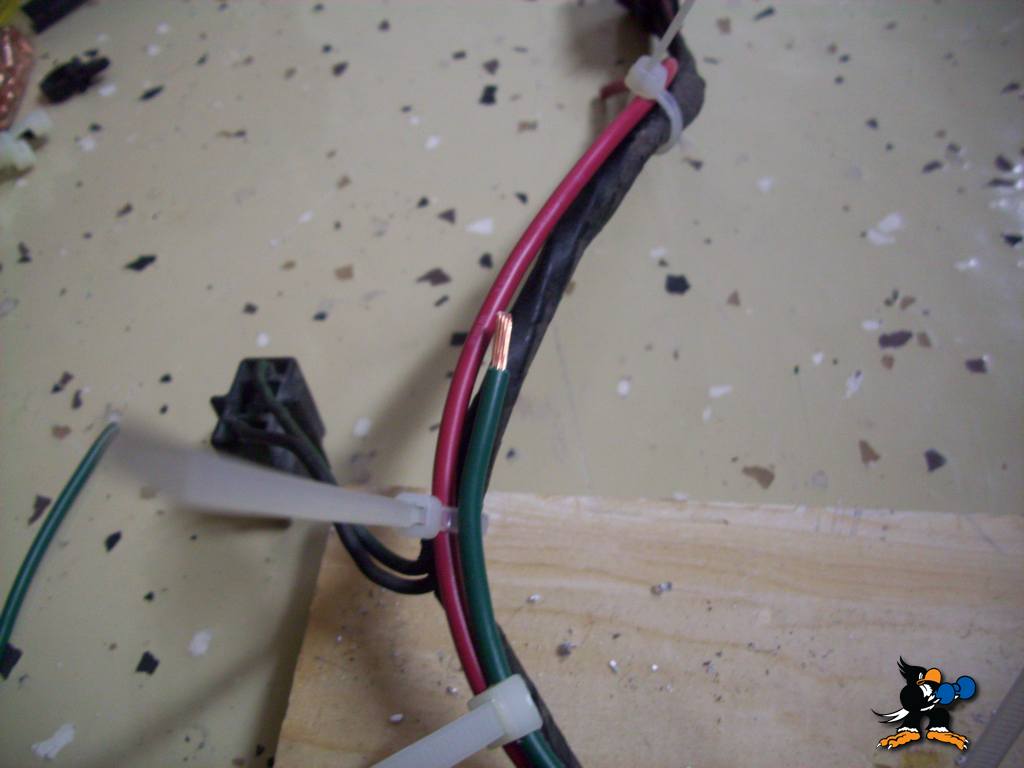
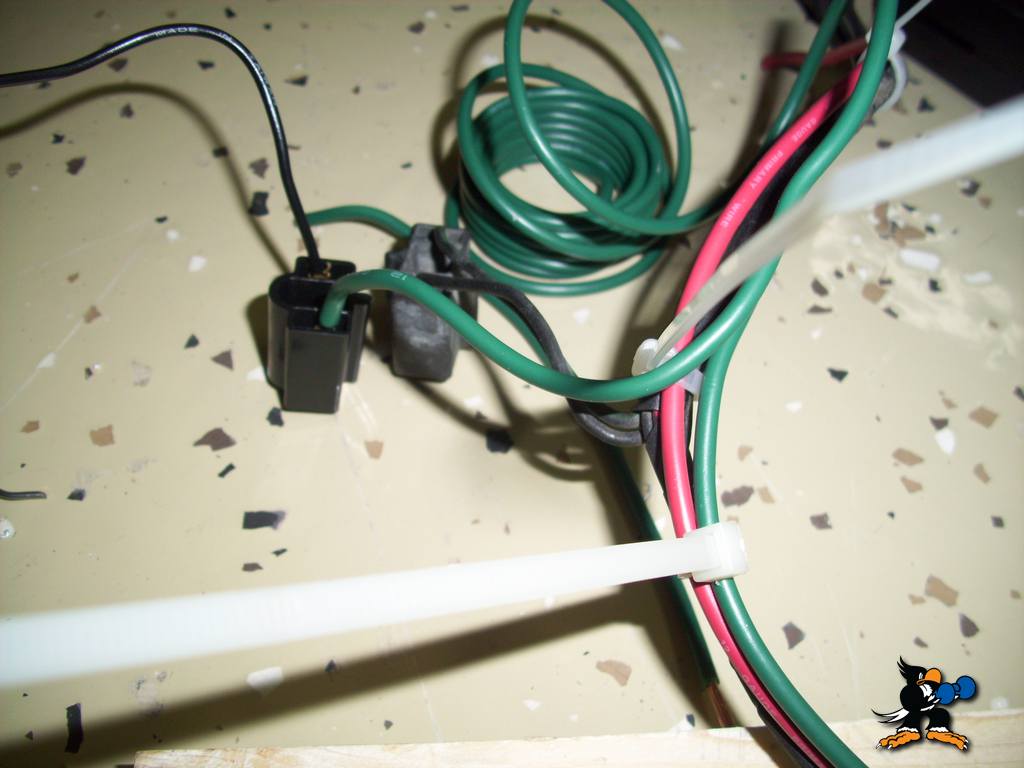
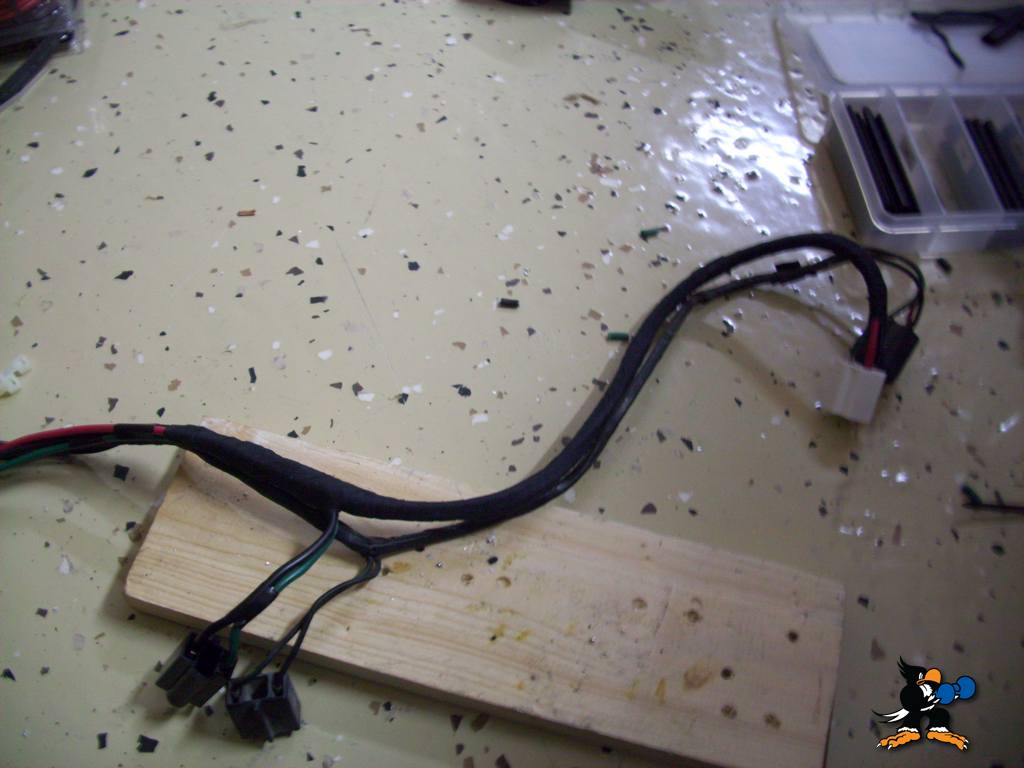
- To get your length and basic shape, find a way to attach the red wire to the old harness temporarily. I used zip ties
- Follow the above procedure working the green wire next running the wire the full length of the harness. Cut it either longer or shorter than the original so you can stagger your joints later when you connect them to the next part of the harness
This is what you should be looking at

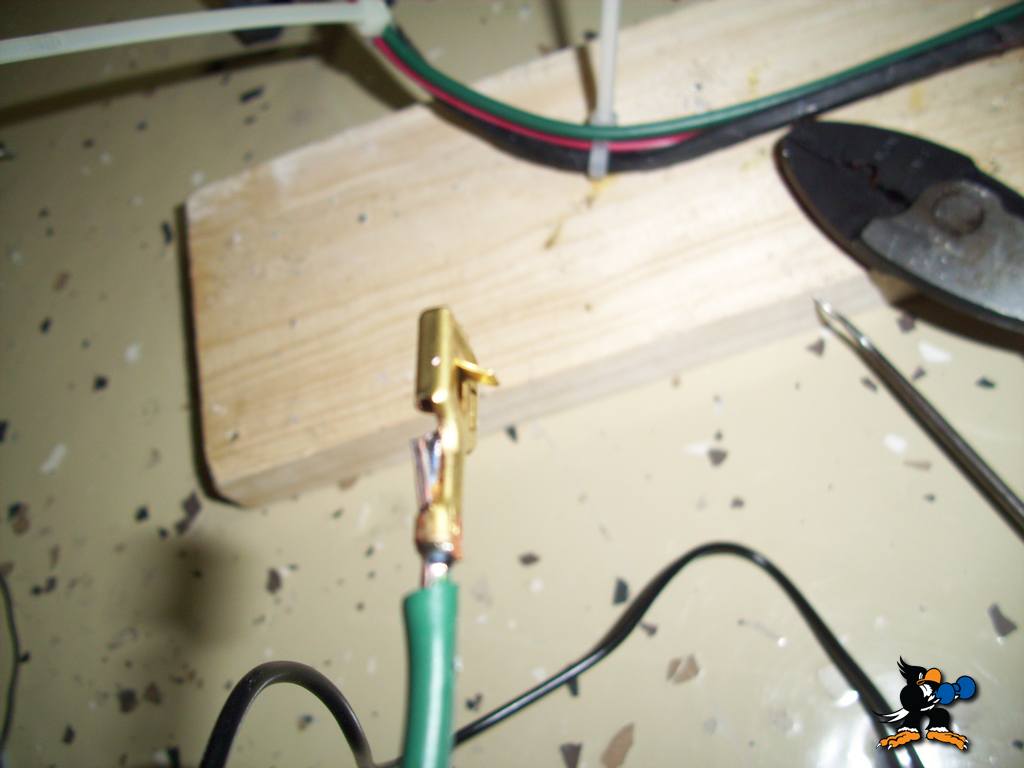
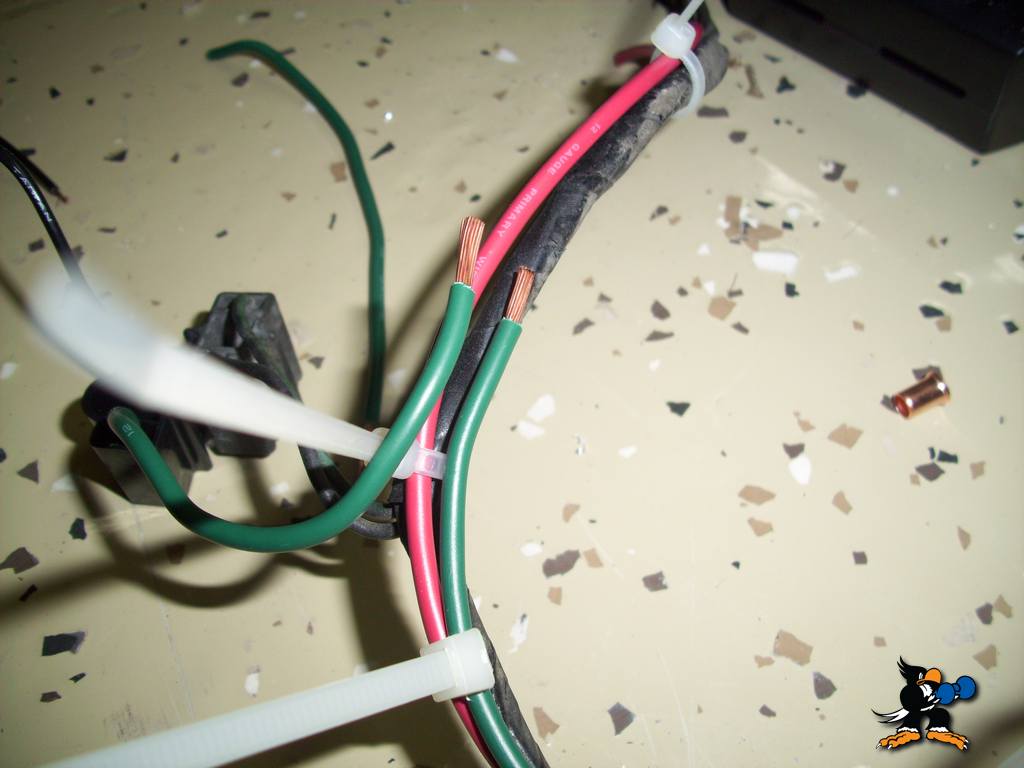
- Cut the green wire about an inch past the point where the high beam connector comes out of the harness and strip both ends you just cut. Save the cut off piece, you'll need it in a minute.
- Unpin the green wire from the high beam connector and solder you new wire to it.

After it cools put it back in the connector. Be sure to check that the pin that engages the connector body is bent back to where it will lock in.
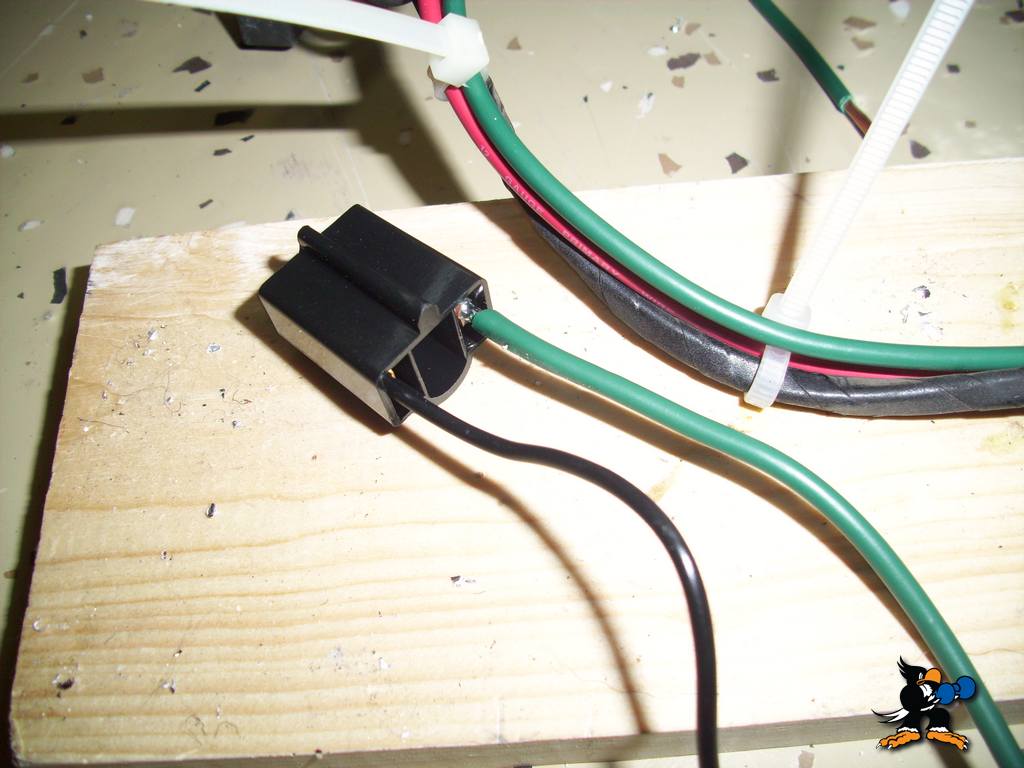
- Route your new connector similar to the old one and when you have the two green wires lined up, cut the one from the high beam connector even with the end of the other green one then strip the end to match the other one.
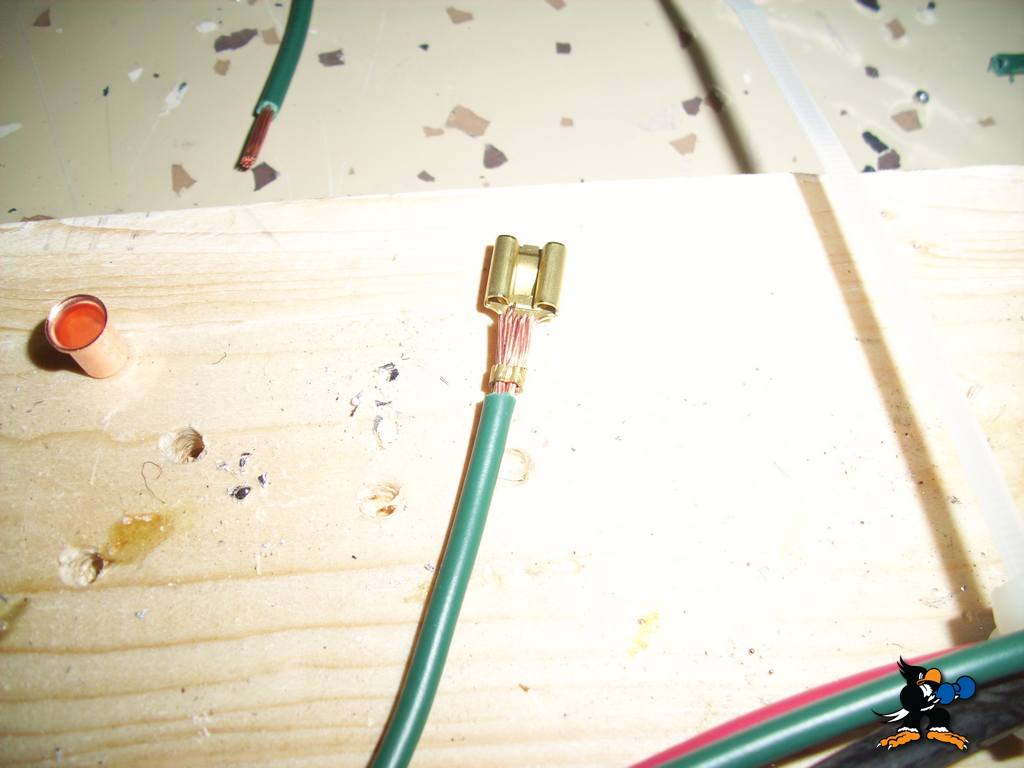
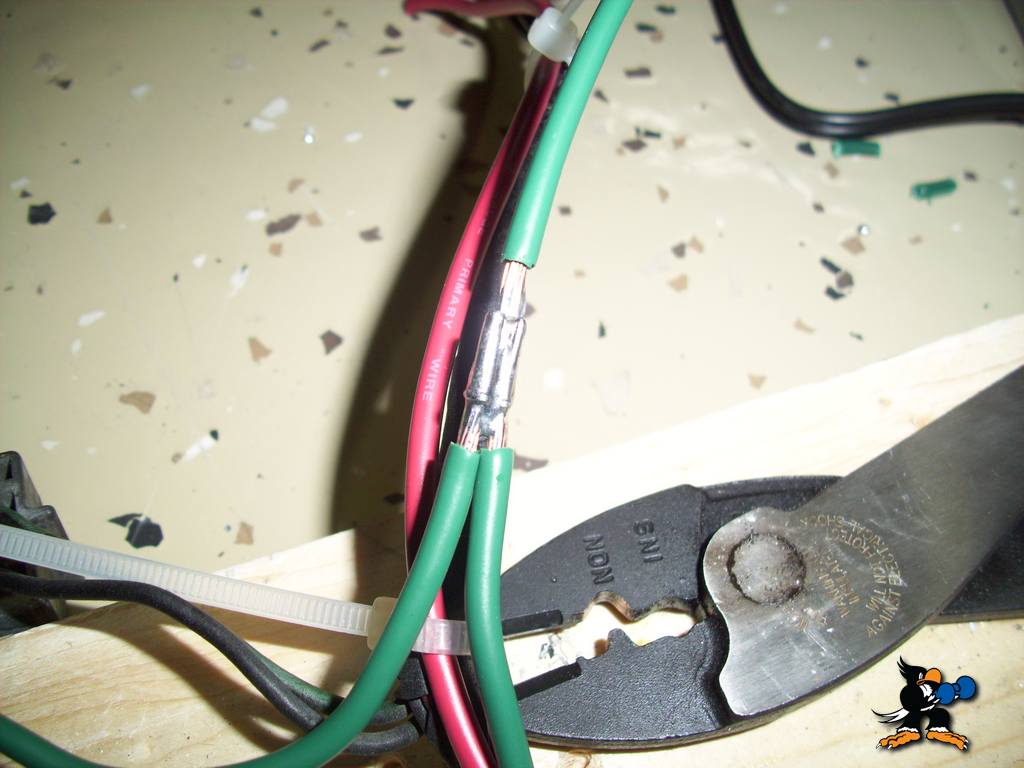
Slide a non insulated splice over the two wires and then slide the wire you saved from the earlier cut in the other end of the splice. Use a crimping pliers to crimp the splice, then use a lineman's pliers or a regular pliers to crush the splice small enough to heat shrink.
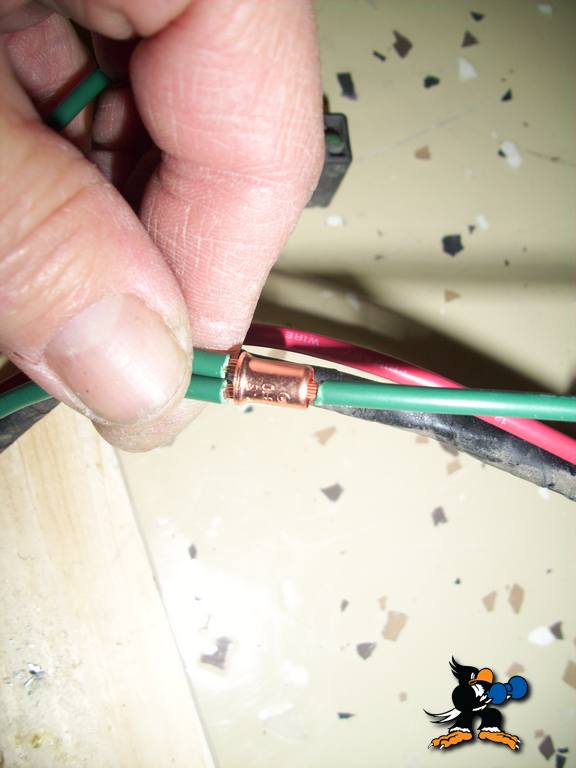
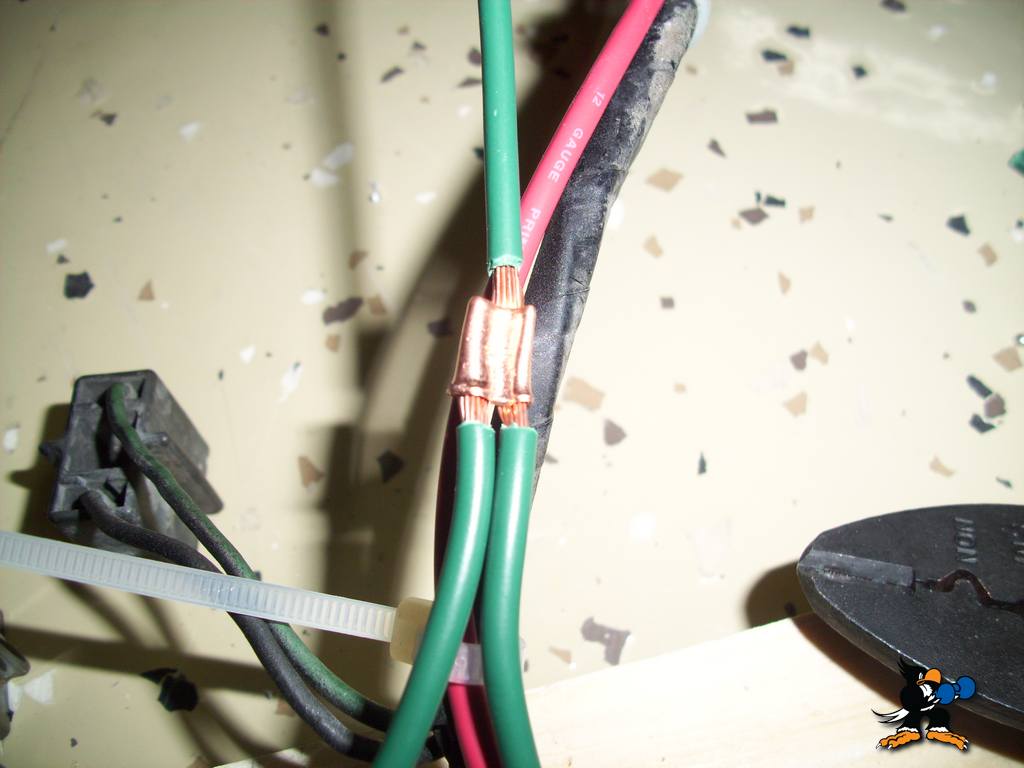

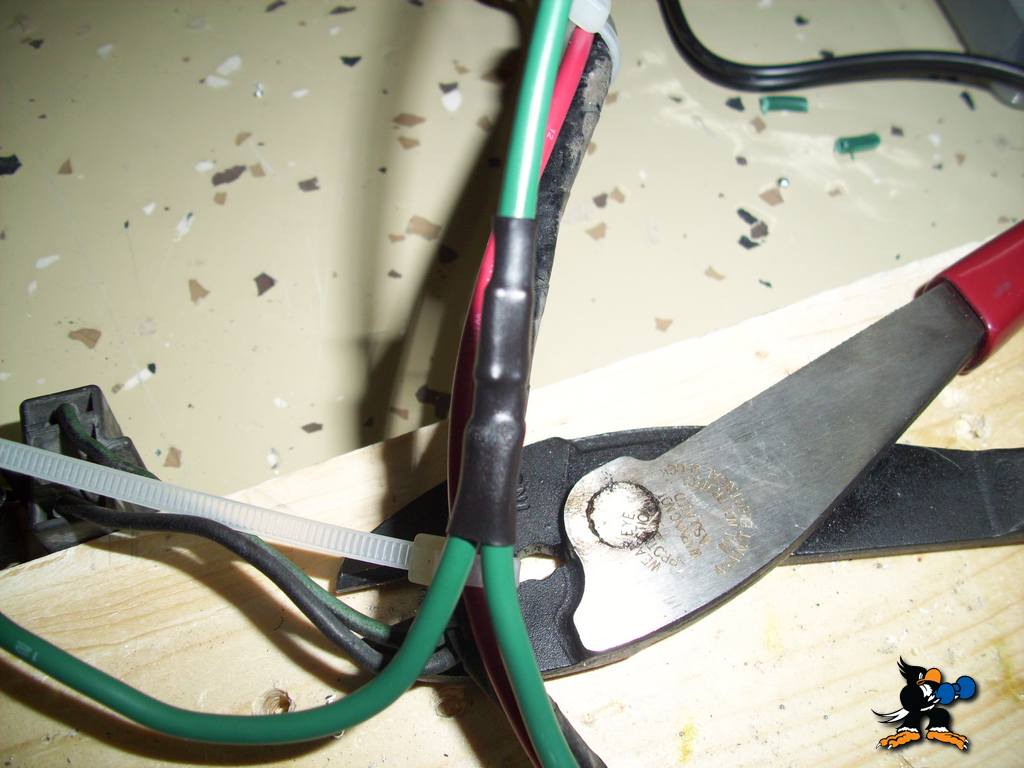
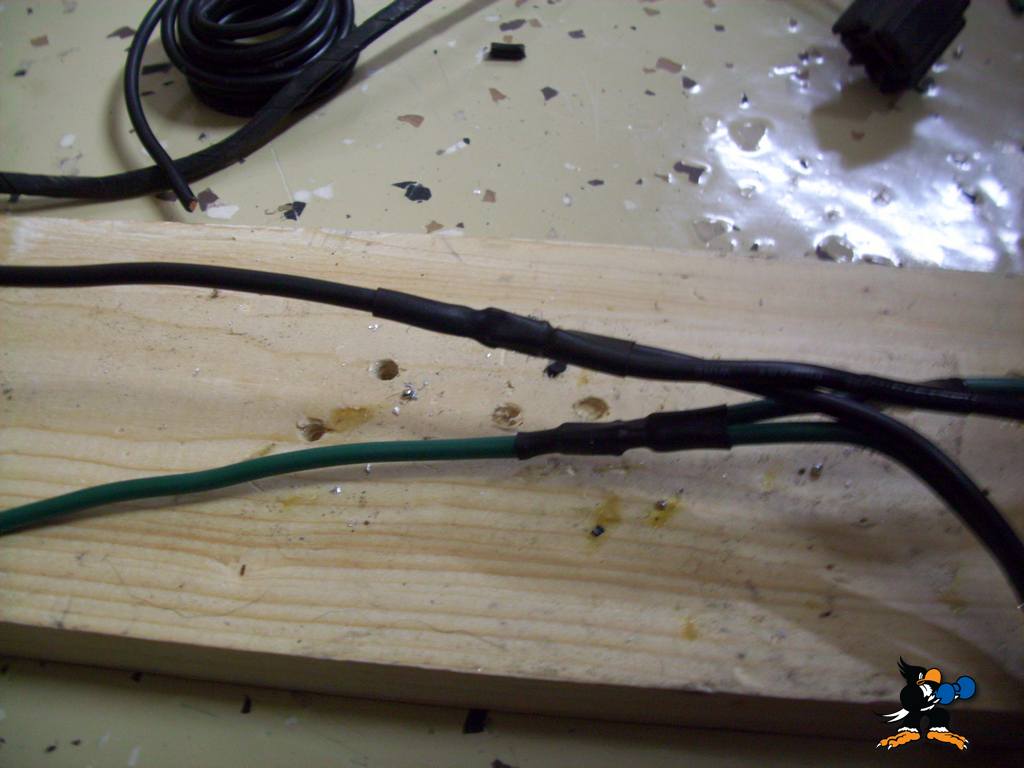
- Solder your splice and heat shrink it.
- Repeat steps 4-8 on the black wire remembering to stagger your splices. After you determine the length of the black wire you can cut away the zip ties to make it a little easier to work with.
- Tape your splices

- Tape the wires together about every three inches just to keep them nice and neat.

- Lay your new harnes next to the old one and shape it to match. Then tape the harness where the high beam wires come out to keep them in place.
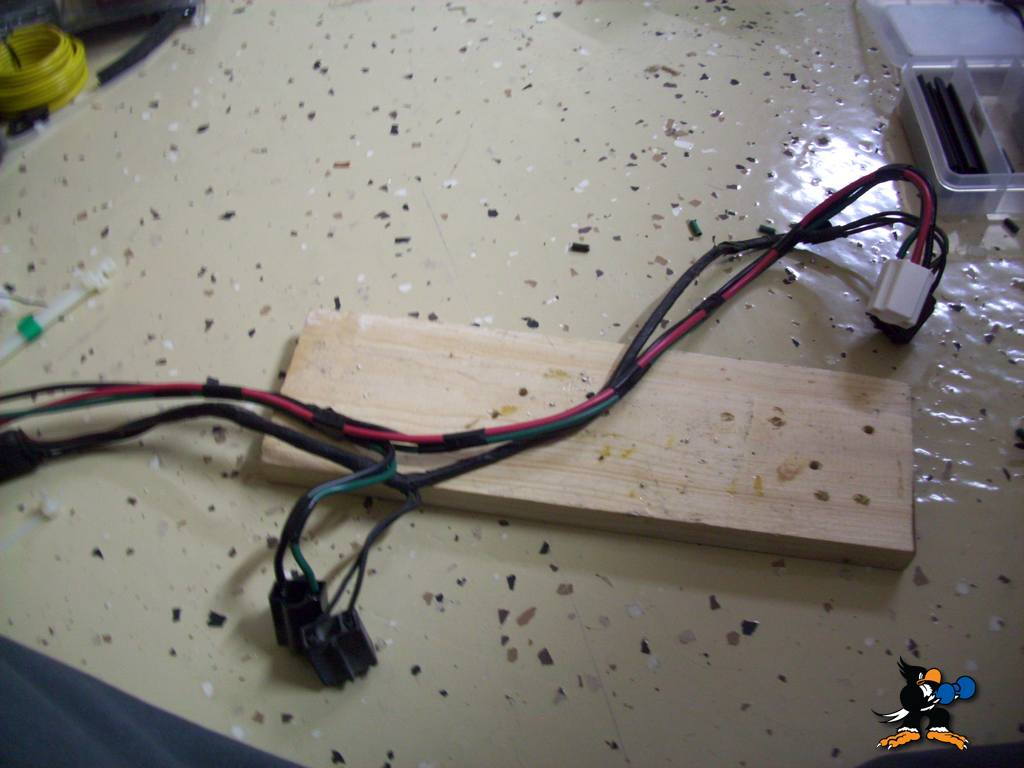
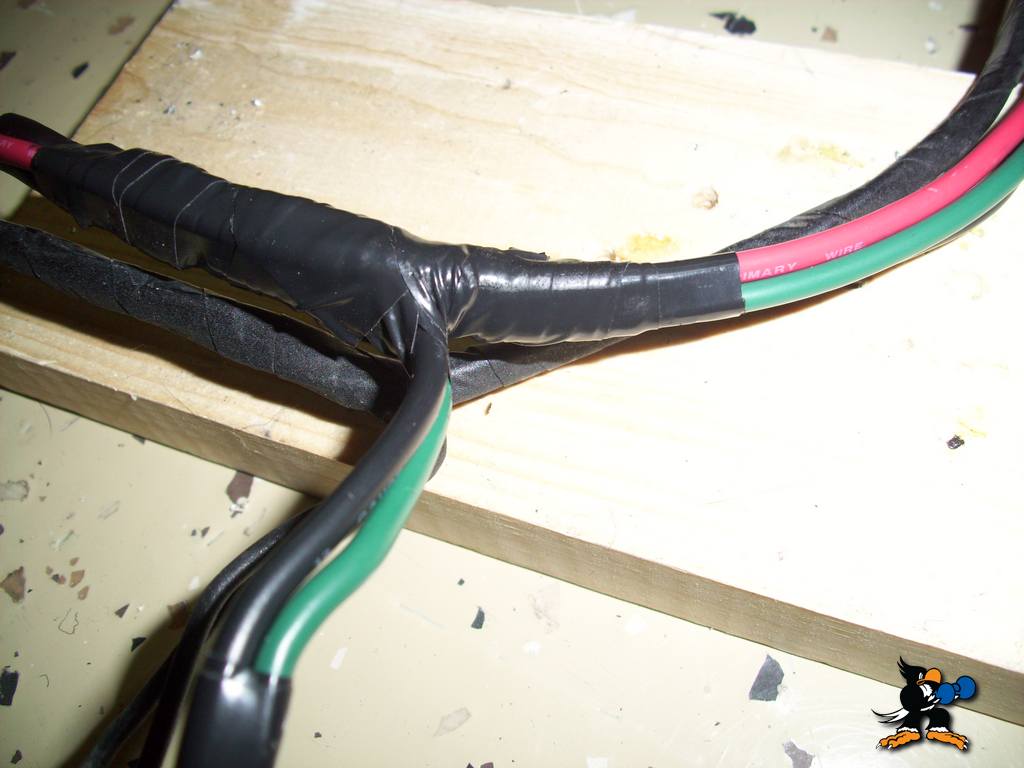
- Wrap your new harness with electrical tape or friction tape. I used friction tape.
- Repeat for the harness on the other side
If my relays ever get here I'll add to this then. Showing how I plan to connect these two harnesses together with the relays.
Last edited by a moderator: