LastDeadLast
Member
Hello folks,
I'm starting a build thread here. Most of my work so far is electrical. I bought a 5.0 engine from a 90 Mustang GT and a harness from RJM to run it all. Since a lot of the electrical was ripped out by the PO, I got a replacement harness from Painless Wiring. The harness was nice I guess, but a lot of money for what I got. If I had to do it over again, I'd go with a basic kit. This is especially true since I upgraded the headlight wiring in order to handle higher wattage lights... PLUS much of the factory engine wiring is replaced by the EFI harness. All in all, quite a few wires of the Painless harness had to be taken out because I wasn't going to use them.
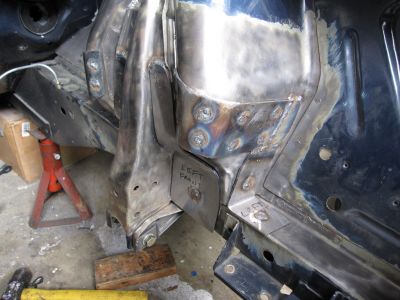
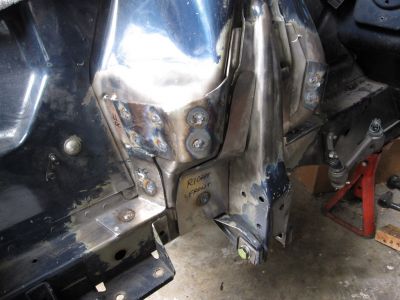
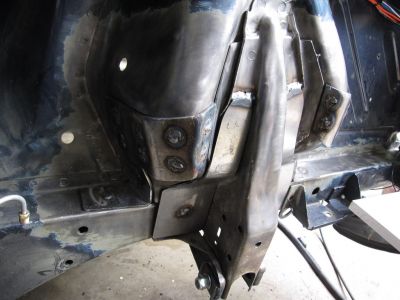
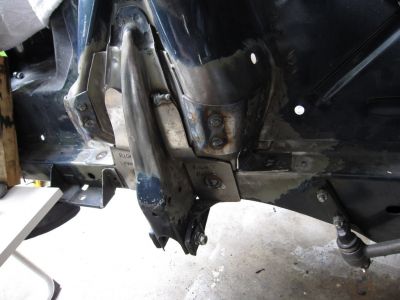
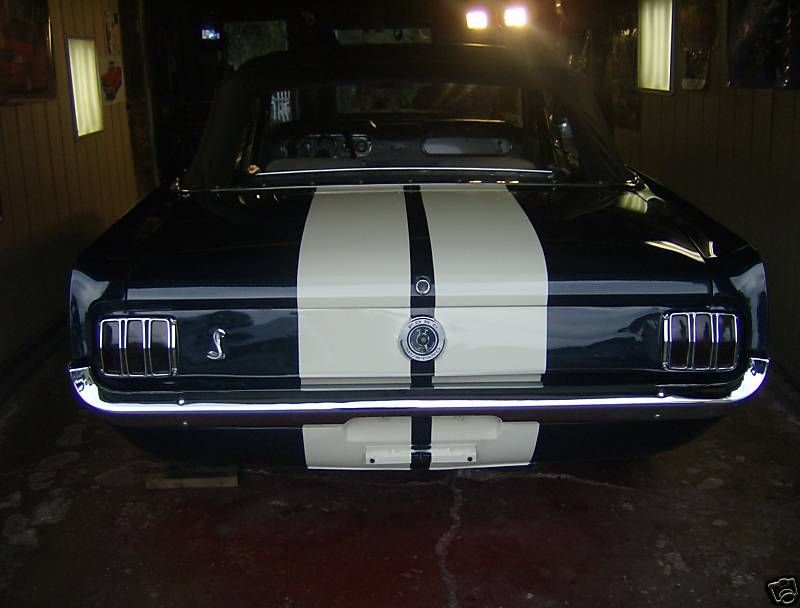
Since the car came with strips and kinda looks like a race car, I'm going for a road-racer look... and I'm setting up the suspension and brakes accordingly. The car came with the sub-frame connectors and a 6pt roll cage installed, so it's pretty darned stiff for a vert.
Anyway, here's what I envision:
Engine-Drivetrain:
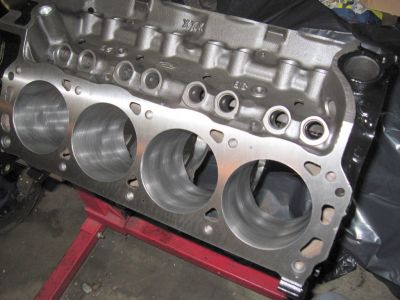
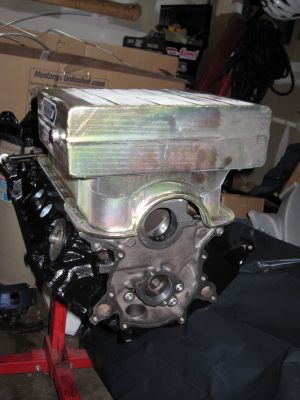
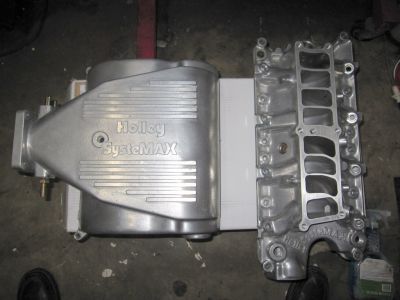
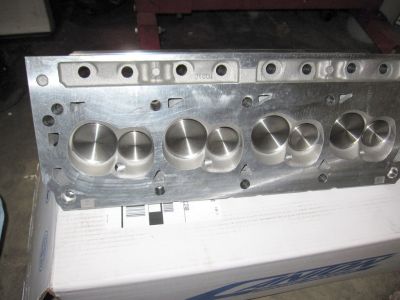
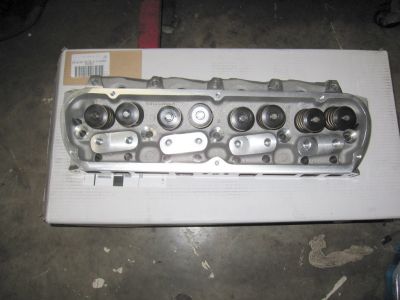
1990 5.0 EFI
Electric fan
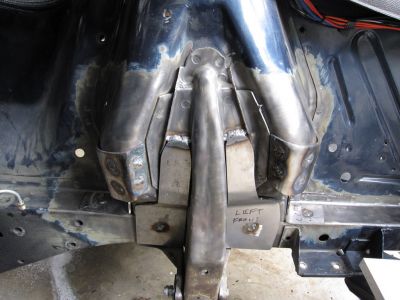
JBA shorty headers
T-5z gearbox
Aluminum driveshaft
9" diff 3.89 gears/Detroit TrueTrac/Moser Axles
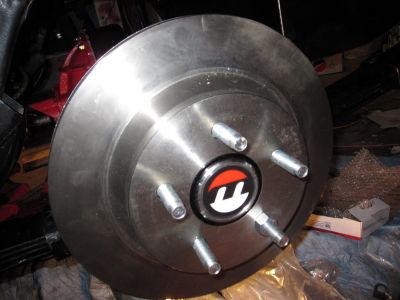
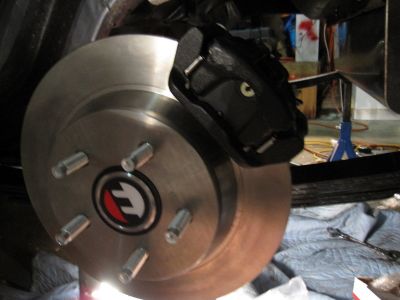
13" Cobra front brakes, 11.65 Cobra rear brakes from Street or Track
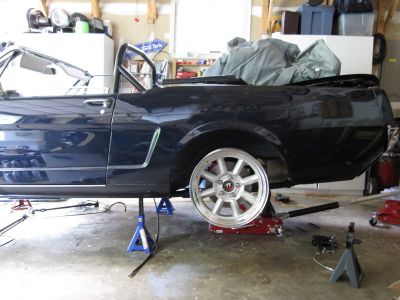
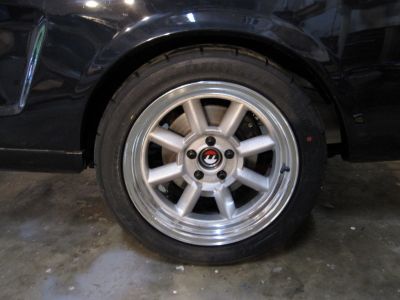
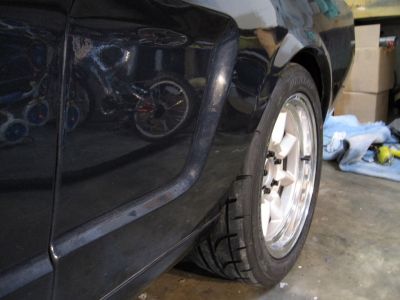
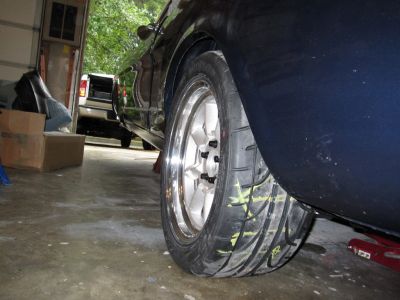
Vintage Wheel Works 17"x8" V-48 wheels 4.75" offset
235/45-17 Direzza Sport Z1 Star Spec tires
Suspension/Brakes/Steering:
Global West rear leaf springs with Del-alum bushings
Global West sub-frame connectors
6-pt roll cage
Street or Track front UCA/LCA/Strut bar
1" Sway bar
Bilstein shocks f/r
Borgeson power steering module
Strut tower brace
620 front springs
Electrical:
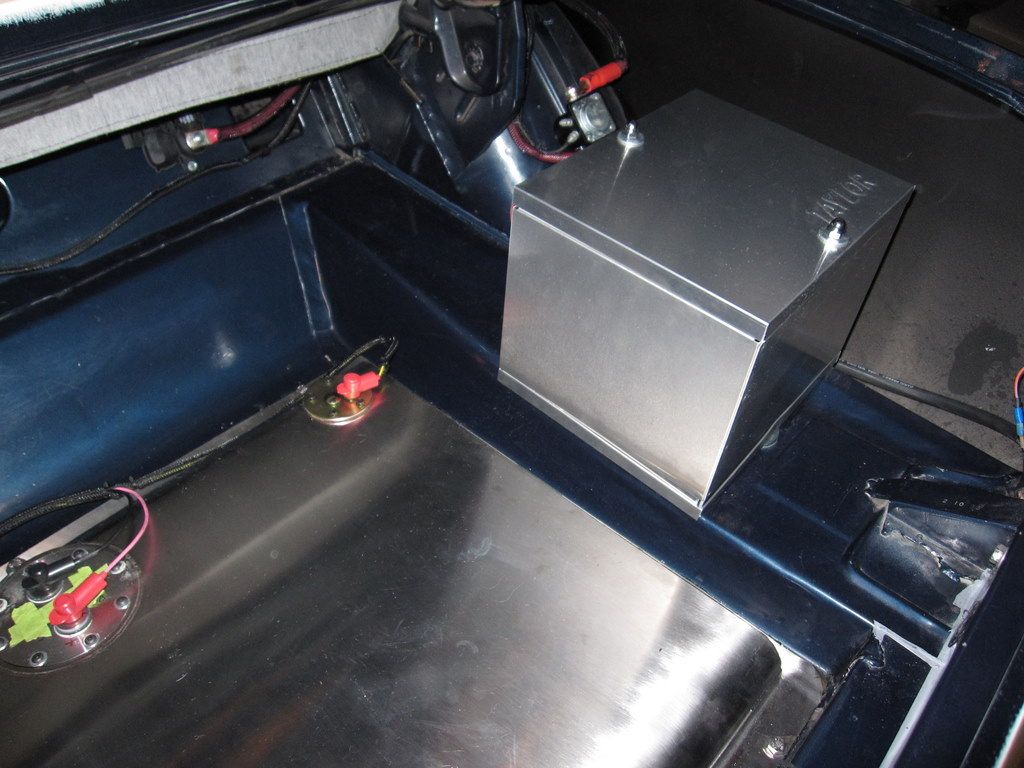
Battery/Solenoid re-located to the trunk
Painless main harness
RJM EFI harness
Upgraded wiring for headlights, driving lights and electric fan
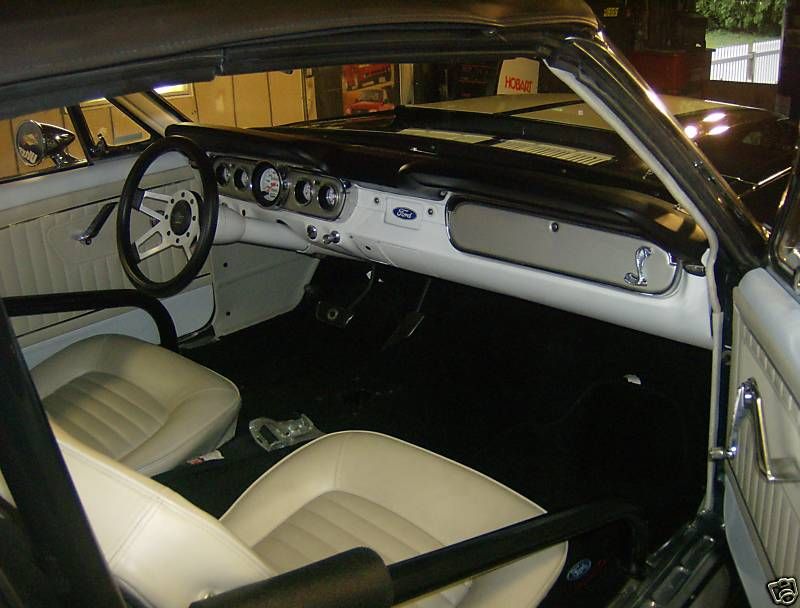
Interior:
Fiero seats (eventually)
Air conditioning
Custom aluminum radio delete panel
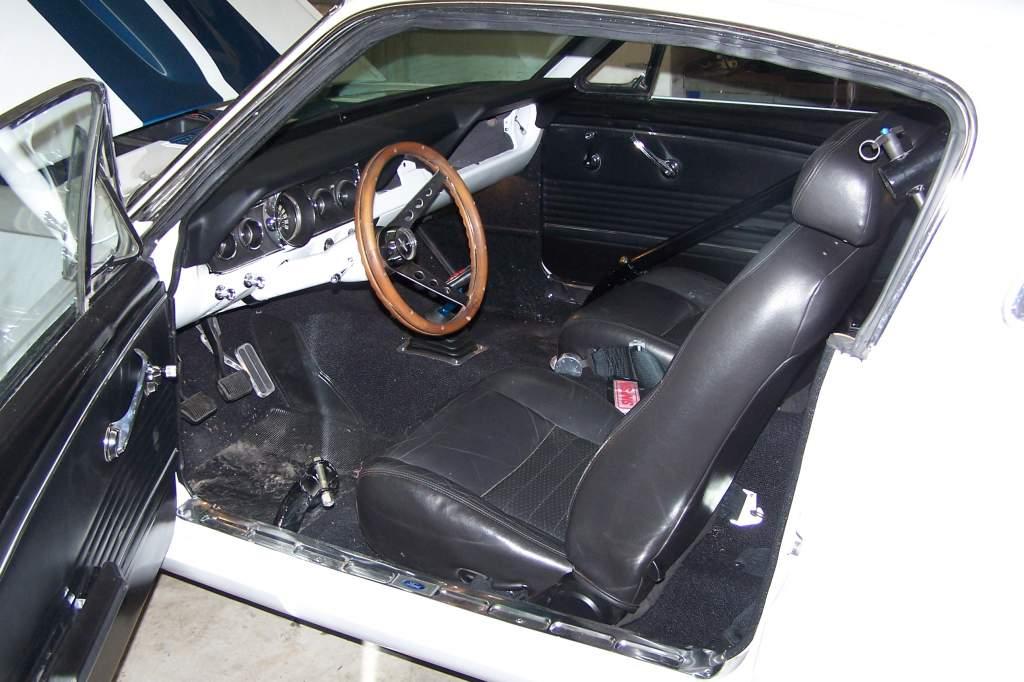
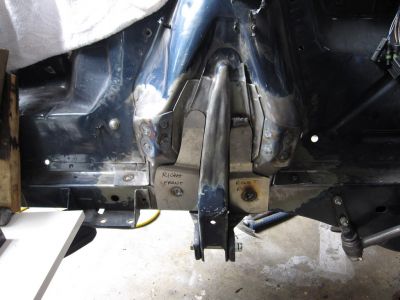
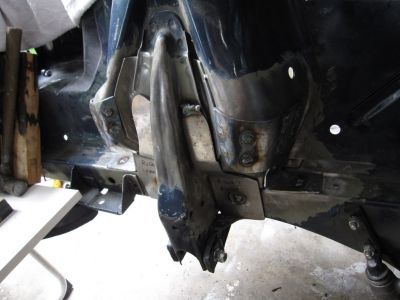
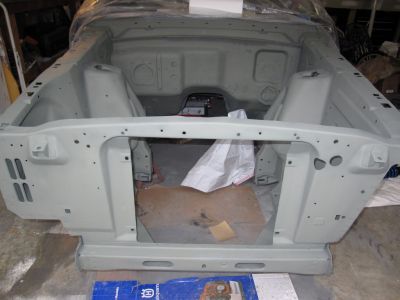
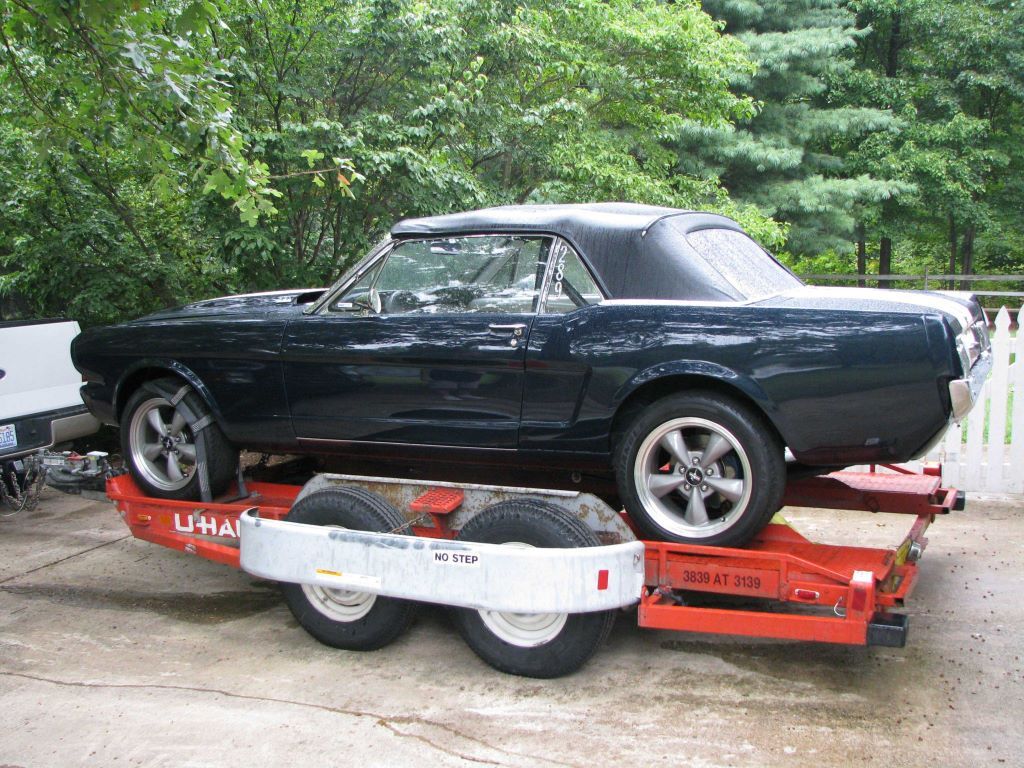
As purchased:
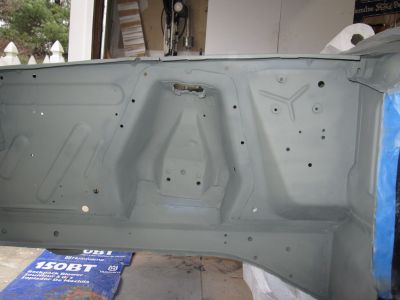
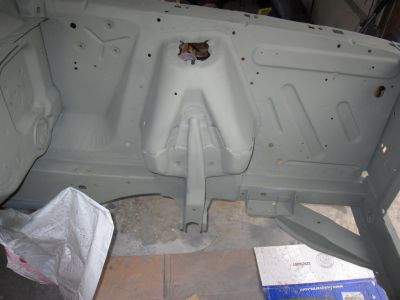
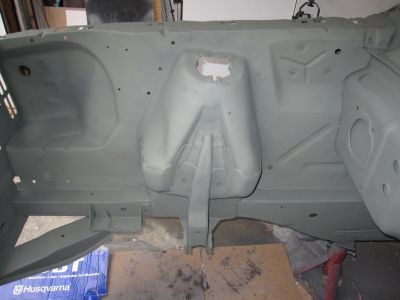
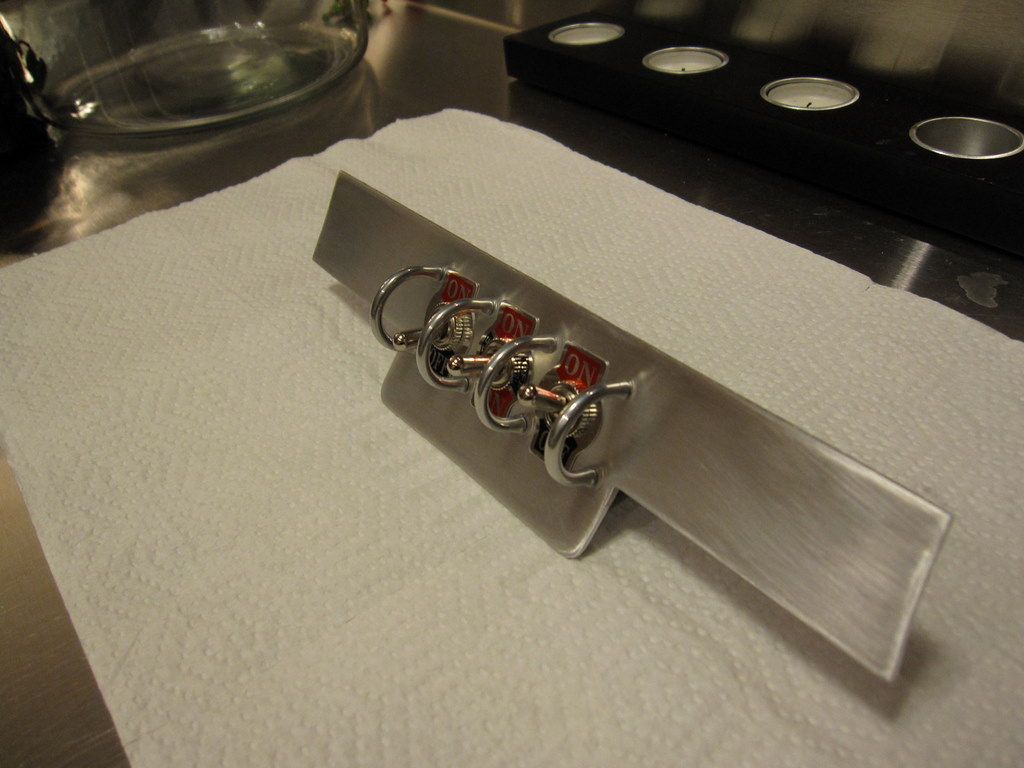
Radio delete panel:

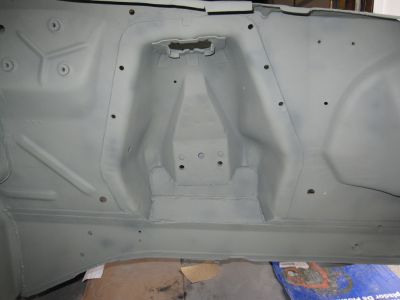
Trunk - battery rerouting:
I'll be really getting into the suspension install in a week or so, I'll post more pics as I take them.
-Shannon
I'm starting a build thread here. Most of my work so far is electrical. I bought a 5.0 engine from a 90 Mustang GT and a harness from RJM to run it all. Since a lot of the electrical was ripped out by the PO, I got a replacement harness from Painless Wiring. The harness was nice I guess, but a lot of money for what I got. If I had to do it over again, I'd go with a basic kit. This is especially true since I upgraded the headlight wiring in order to handle higher wattage lights... PLUS much of the factory engine wiring is replaced by the EFI harness. All in all, quite a few wires of the Painless harness had to be taken out because I wasn't going to use them.
Since the car came with strips and kinda looks like a race car, I'm going for a road-racer look... and I'm setting up the suspension and brakes accordingly. The car came with the sub-frame connectors and a 6pt roll cage installed, so it's pretty darned stiff for a vert.
Anyway, here's what I envision:
Engine-Drivetrain:
1990 5.0 EFI
Electric fan
JBA shorty headers
T-5z gearbox
Aluminum driveshaft
9" diff 3.89 gears/Detroit TrueTrac/Moser Axles
13" Cobra front brakes, 11.65 Cobra rear brakes from Street or Track
Vintage Wheel Works 17"x8" V-48 wheels 4.75" offset
235/45-17 Direzza Sport Z1 Star Spec tires
Suspension/Brakes/Steering:
Global West rear leaf springs with Del-alum bushings
Global West sub-frame connectors
6-pt roll cage
Street or Track front UCA/LCA/Strut bar
1" Sway bar
Bilstein shocks f/r
Borgeson power steering module
Strut tower brace
620 front springs
Electrical:
Battery/Solenoid re-located to the trunk
Painless main harness
RJM EFI harness
Upgraded wiring for headlights, driving lights and electric fan
Interior:
Fiero seats (eventually)
Air conditioning
Custom aluminum radio delete panel
As purchased:
Radio delete panel:
Trunk - battery rerouting:
I'll be really getting into the suspension install in a week or so, I'll post more pics as I take them.
-Shannon
Last edited by a moderator: