Didn't think I would have actually taken this project on, but with years of buffing the helmet under my belt, how tough can this be?
:craz
Besides since I recently finished polishing out both front and rear window trim pieces to a wonderful finish, maybe this new project wouldn't be too tough.
Well this is extremely time consuming to say the least. After watching my glass guy polish out some scratches on another piece of glass, I recognized the compound and pad as having come from Eastwood products. Because this compound only polishes the scratches, not necessarily removing them, I needed to look further into actually removing some deep scratches. Eastwood also sells the deep scratch kit, which contains the polishing kit as well. The deep scratch kit has 3 different grade abrasive pads which is used to literally sand the scratches out. You want to start out with the finest grade pad possible to remove the scratches. If it doesn't work go to a coarser grade. Once the scratch cannot be felt by your finger nail, step up to the next finer grade pad and finish off with the finest pad. The most important thing is to have running water constantly flood the area to keep the glass cool.
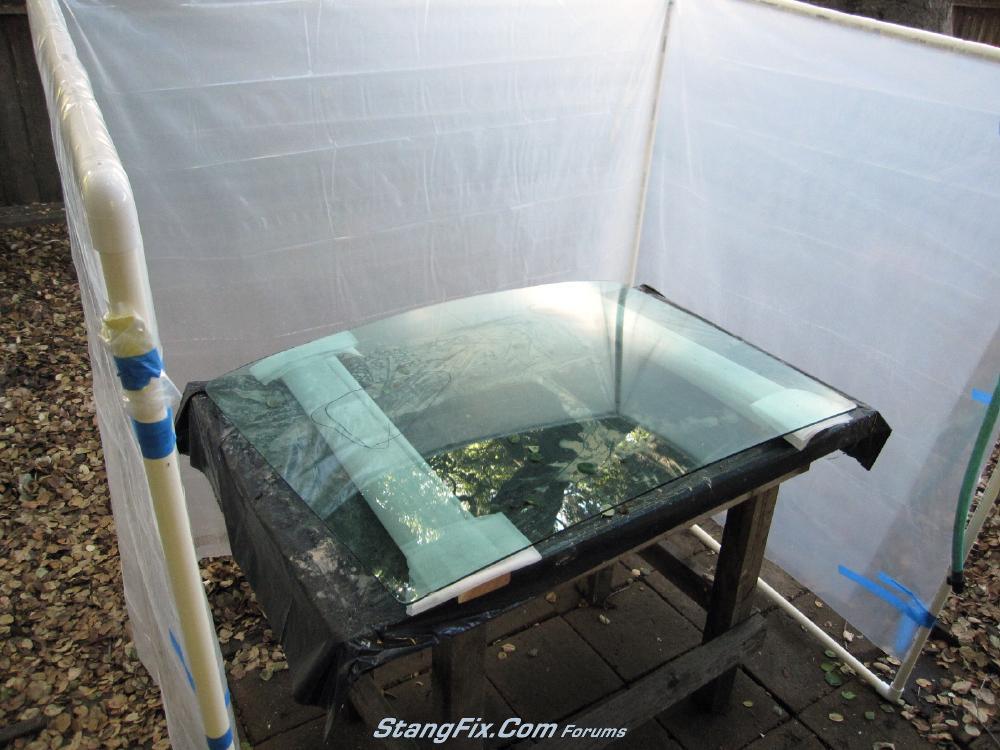
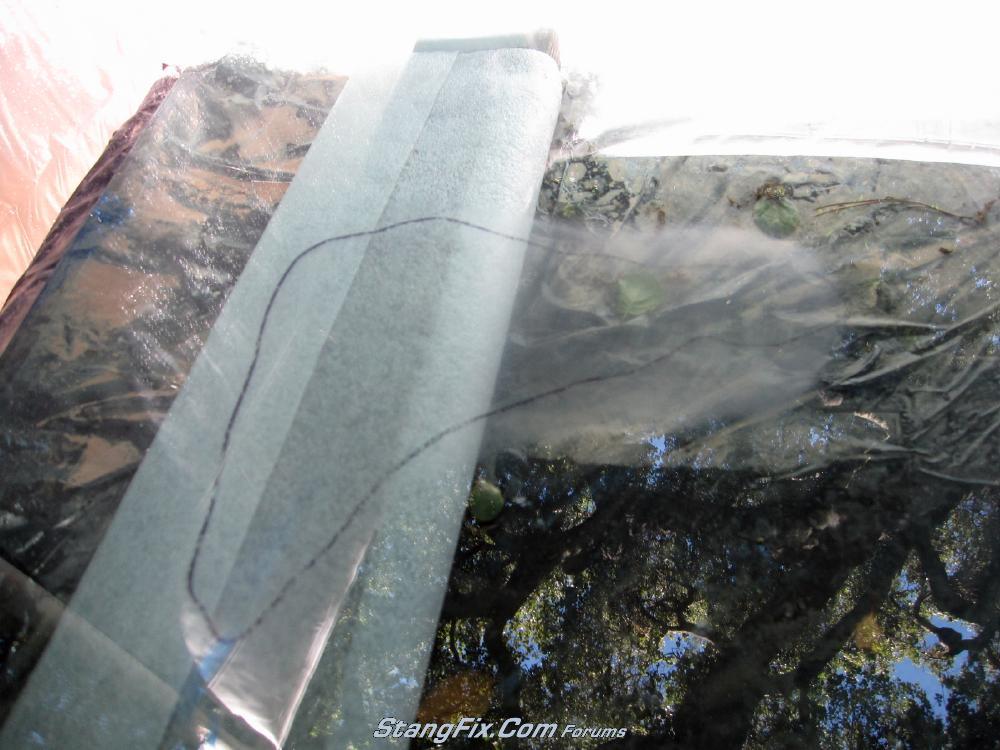
Here's my temp booth which helped prevent the polishing compound from flying all over the yard. Glass in place. Note the black circle I marked with a sharpie pen on the bottom side of the glass, circling the area I wanted to address. This is a must especially when you start using the polishing compound:
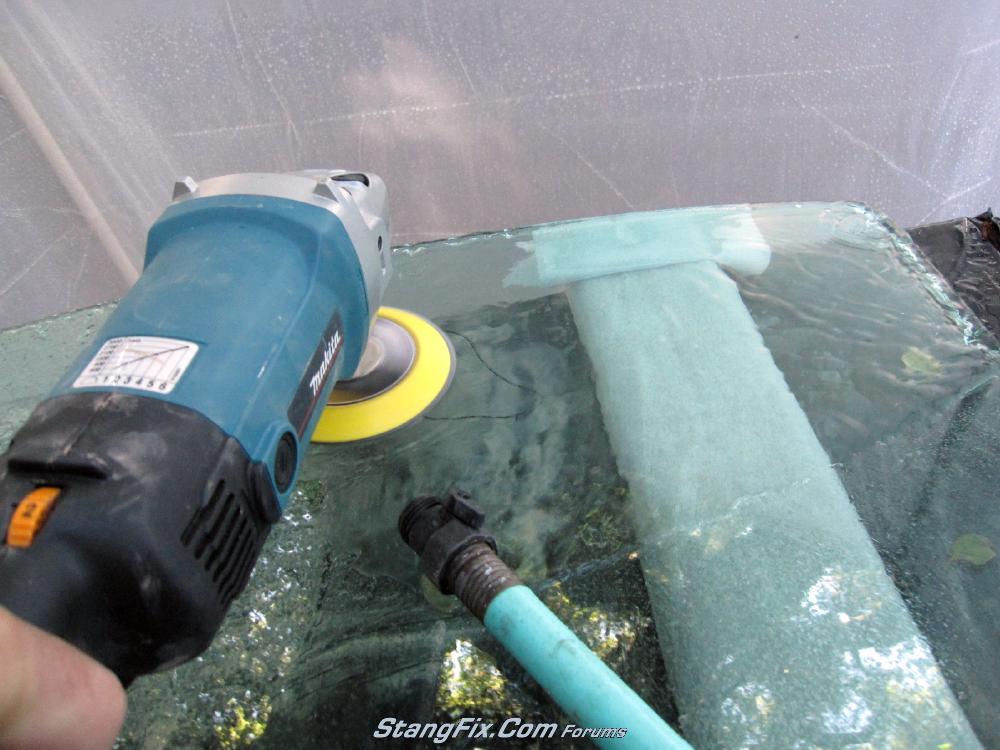
Here's a pic using my variable speed polisher set at 800-1200 rpm with water running:
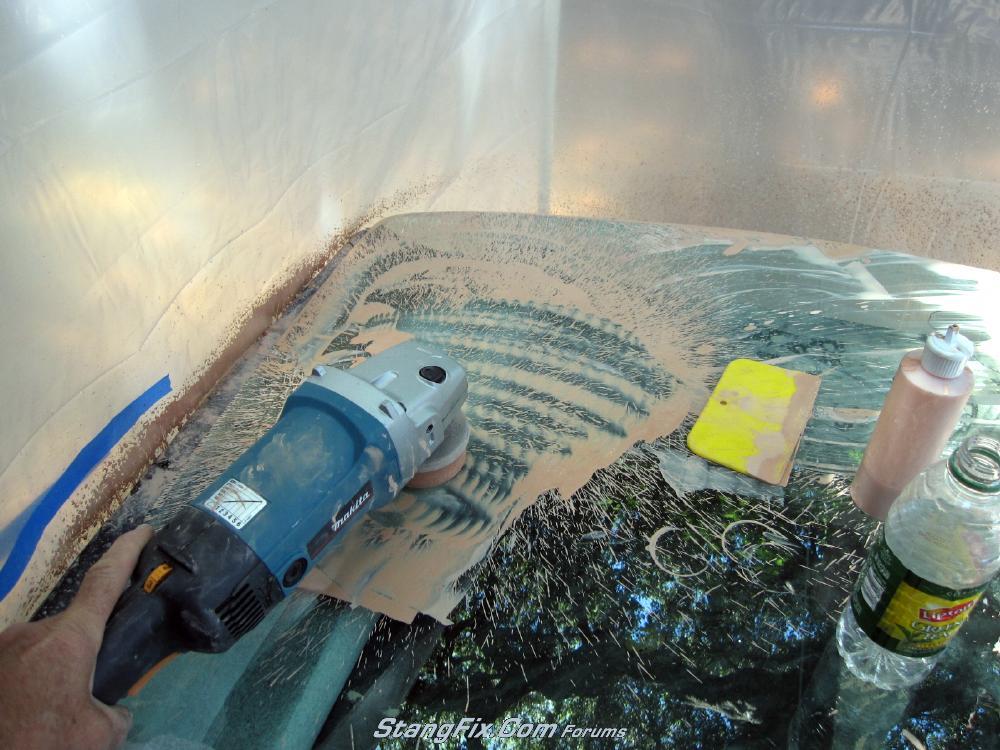
Here's a pic of the fogged area caused by the abrasive pads. As you can see I did go outside the black circle attacking neighboring scratches. Keep in mind, the more you scratch, the more fog you need to polish out:
Polishing out the fog using the special pad and compound at a speed of 1200-1500rpm. This is when having the black circle helps. Some use bright colored crayons.
What..... you want videos too?
Abrasive sanding
Polishing
:craz
Besides since I recently finished polishing out both front and rear window trim pieces to a wonderful finish, maybe this new project wouldn't be too tough.
Well this is extremely time consuming to say the least. After watching my glass guy polish out some scratches on another piece of glass, I recognized the compound and pad as having come from Eastwood products. Because this compound only polishes the scratches, not necessarily removing them, I needed to look further into actually removing some deep scratches. Eastwood also sells the deep scratch kit, which contains the polishing kit as well. The deep scratch kit has 3 different grade abrasive pads which is used to literally sand the scratches out. You want to start out with the finest grade pad possible to remove the scratches. If it doesn't work go to a coarser grade. Once the scratch cannot be felt by your finger nail, step up to the next finer grade pad and finish off with the finest pad. The most important thing is to have running water constantly flood the area to keep the glass cool.
Here's my temp booth which helped prevent the polishing compound from flying all over the yard. Glass in place. Note the black circle I marked with a sharpie pen on the bottom side of the glass, circling the area I wanted to address. This is a must especially when you start using the polishing compound:
Here's a pic using my variable speed polisher set at 800-1200 rpm with water running:
Here's a pic of the fogged area caused by the abrasive pads. As you can see I did go outside the black circle attacking neighboring scratches. Keep in mind, the more you scratch, the more fog you need to polish out:
Polishing out the fog using the special pad and compound at a speed of 1200-1500rpm. This is when having the black circle helps. Some use bright colored crayons.
What..... you want videos too?
Abrasive sanding
Polishing
Last edited by a moderator: