• Hello there guest and Welcome to The #1 Classic Mustang forum!
    To gain full access you must Register. Registration is free and it takes only a few moments to complete.
    Already a member? Login here then!

Time to repair my driver seat

janschutz

Corn Hauler
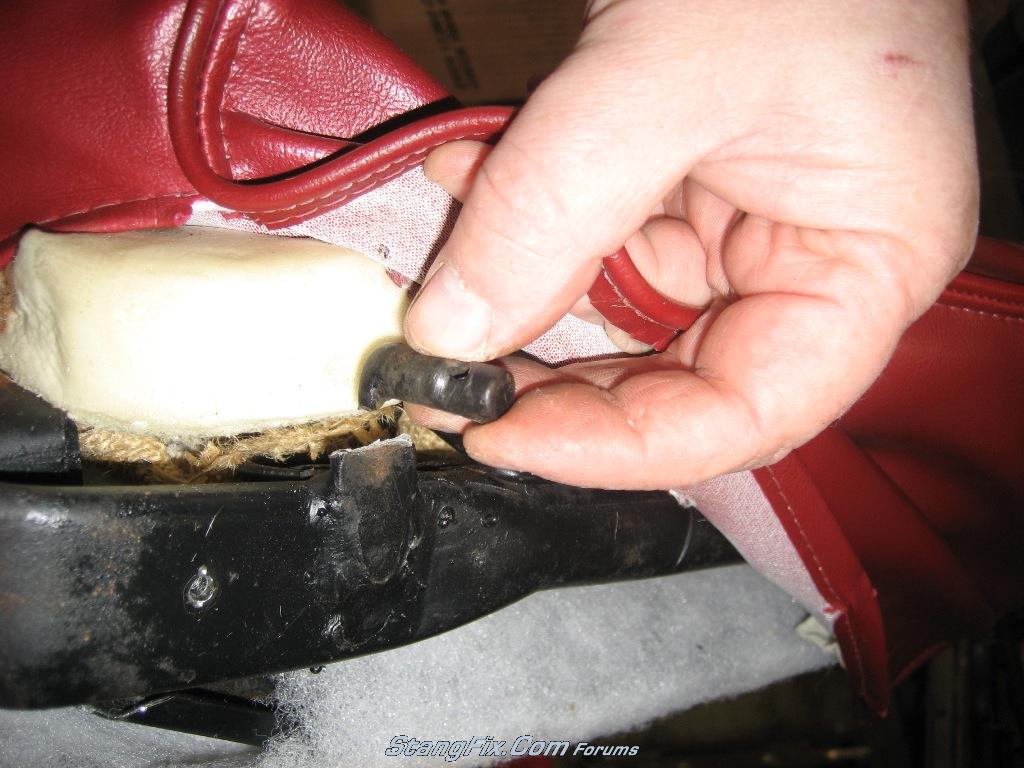
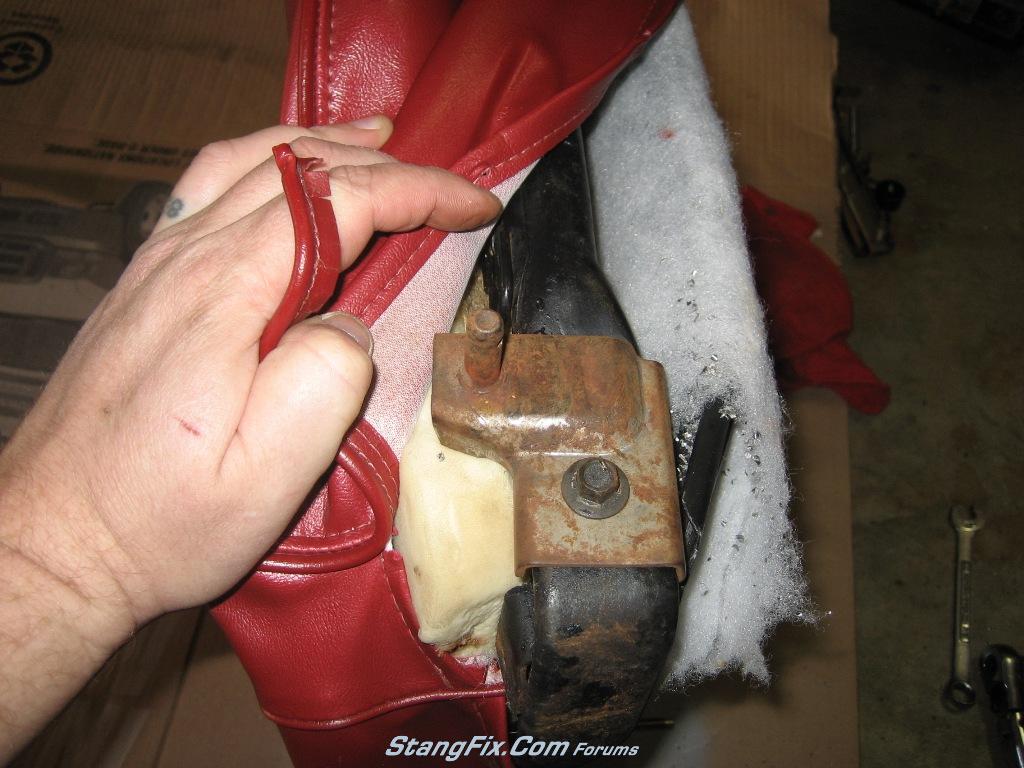
I need to cover my 68 Drivers seat. The hinge broke on the right side. This is a common problem and they have a repair hinge available at most Mustang Parts Houses. My son Steven welded it on for me. If comes with a bolt but I did not want to drill into the frame and weaken it more.

Seat001.jpg


There is some surface rust so hopefully I will have time in the next couple days to sandblast the frame and prime & paint it.
 
Last edited by a moderator:
2 months later I have finally gotten around to sandblasting and priming the seat springs.

Seat002.JPG


Seat003.JPG


Tonight I hope to paint it and then get the burlap on.
 
Last edited by a moderator:
I had the same problem, luckily I had one of those parts on some seats I had layin' around...
72_07_04_09_5_21_05_2.jpg

72_07_04_09_5_21_05_3.jpg
 
Last edited by a moderator:
Seat is now Painted
Seat004.jpg


Put the Burlap on the seat
Seat005.jpg


Seat Foam Is no hooked to the seat.
Seat006.jpg


Now, I just need to find where I put the box with the replacement covers. :po
 
Last edited by a moderator:
"janschutz" said:
Seat is now Painted
Seat004.jpg


Put the Burlap on the seat
Seat005.jpg


Seat Foam Is no hooked to the seat.
Seat006.jpg


Now, I just need to find where I put the box with the replacement covers. :po

This is awesome, thank you for the write up, please please continue the photo documentation. Ill be doing this soon and I need all the help I can get. Looks great, unfortunately you have to cover the seats up.
 
Last edited by a moderator:
I used coat hangers to strengthen the cloth channels to give the hog rings something to hold on to and not rip out the cloth
Seat007.jpg

Seat008.jpg

Wire is in. This will hold the inner seam to the wire in the channel on the seat bun.
Seat009.jpg

Seat010.jpg

Seat011.jpg

Put all you screws in before you cover them so the can be located and the hole cut for them. Finding the screw with the cover on is a lot easier than trying to find the hole where the screws goes.
Seat012.jpg

Out in the sun to soften the vinyl so it can be stretched without tearing.
Seat013.jpg

Seat014.jpg

Seat015.jpg

Another reason the vinyl need to be stretchable is that it need to be pulled around the hinges.
Seat016.jpg

Seat017.jpg

Back out in the sun for final smoothing
Seat018.jpg

Seat019.jpg
 
Last edited by a moderator:
I ordered a set of TMI headrests, 67 version. The bracket bolts to the 68 without any modifications. I test fitted the bracket last night.

Seat020.jpg

Seat021.jpg

Seat022.jpg

Seat023.jpg
 
Last edited by a moderator:
Stripped the seat, sandblasted the springs, primed and painted the springs.
Seat024.jpg

Refurbished thee seat lever and installed it and the headrest bracket.
Seat025.jpg

Folded the burlap
Seat026.jpg

Installed the support wires
Seat027.jpg


Seat028.jpg


Seat029.jpg

Ready for the foam pad.
Seat030.jpg

Pad attached.
Seat031.jpg


Seat032.jpg

old build tag reinstalled
Seat033.jpg
 
Last edited by a moderator:
Installed the deluxe buttons
Seats34.jpg

out in the sun to warm up the vinyl
Seats35.jpg

getting it tight
Seats36.jpg

out in the sun to warm up the vinyl. I seem not to be able to get rid of all the wrinkles. I blame it on the repo seat cover (not me).
Seats37.jpg

installing the headrest
Seats38.jpg

Seats39.jpg

headrest is in
Seats40.jpg
 
Last edited by a moderator:
THat was an excellent writeup :10! Amazing how the little Deluxe buttons just add flare to the seat! how would you rate the difficulty on a scale of 0-10, 10 being really bad to recover? and how much someone expect to spend on job like that? and just curious, how much would a upholstery shop charge?(of course we want the challenge!!)
thanks,
dne'
 
Back
Top