• Hello there guest and Welcome to The #1 Classic Mustang forum!
    To gain full access you must Register. Registration is free and it takes only a few moments to complete.
    Already a member? Login here then!

1967 Shelby GT500

GPR

Active Member
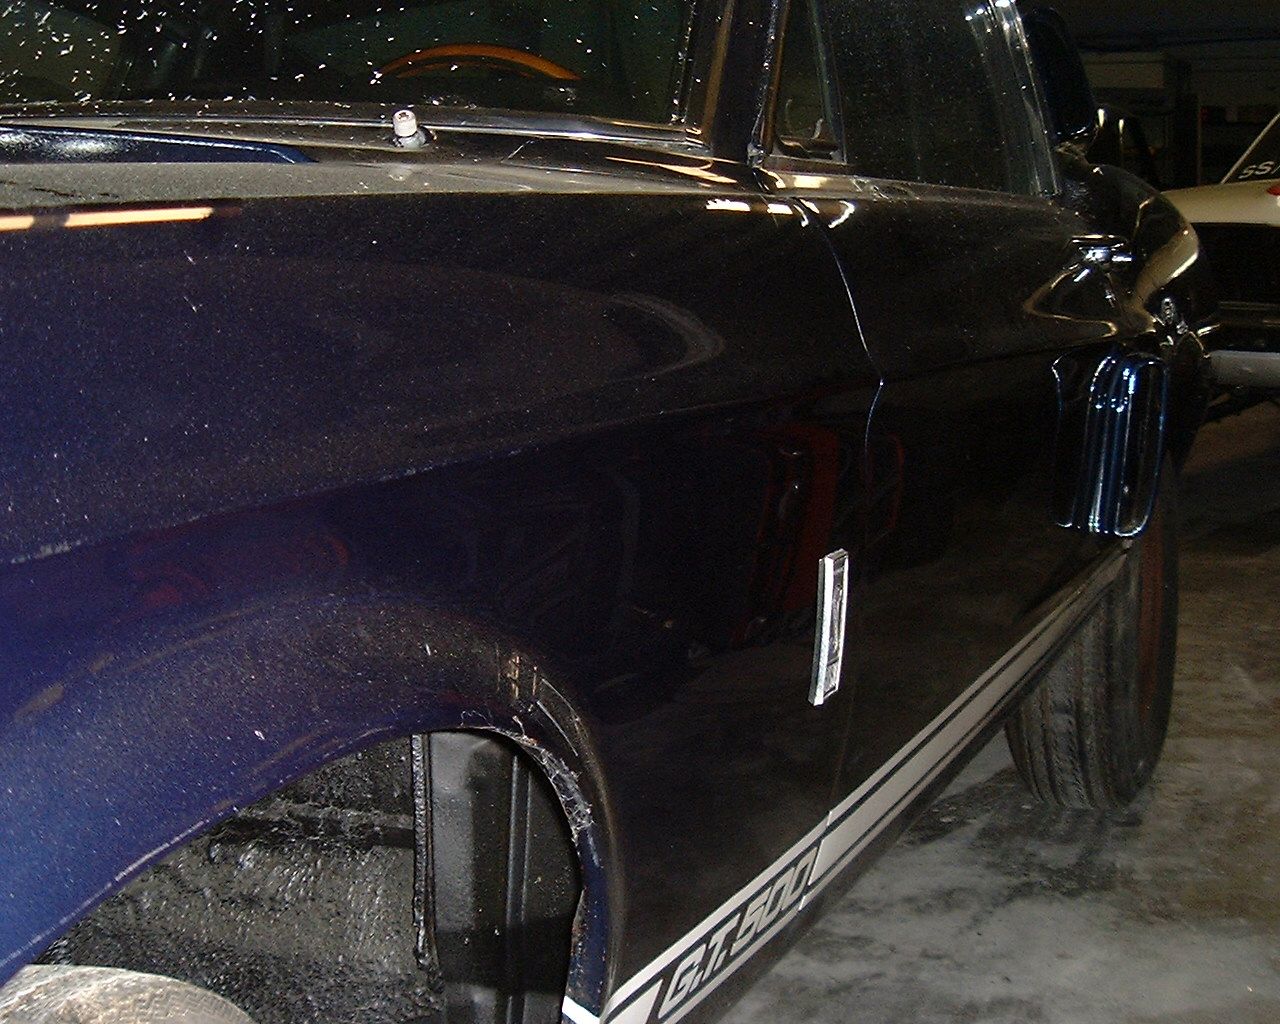
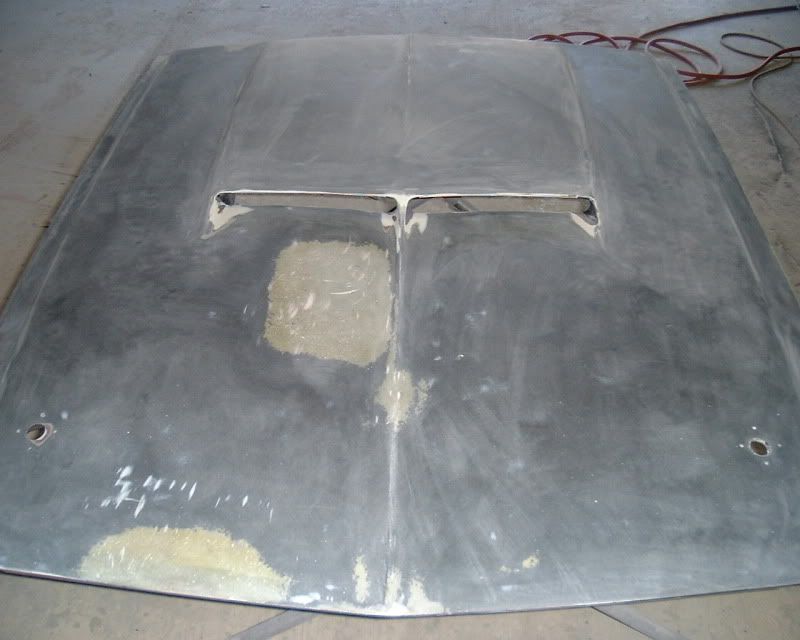
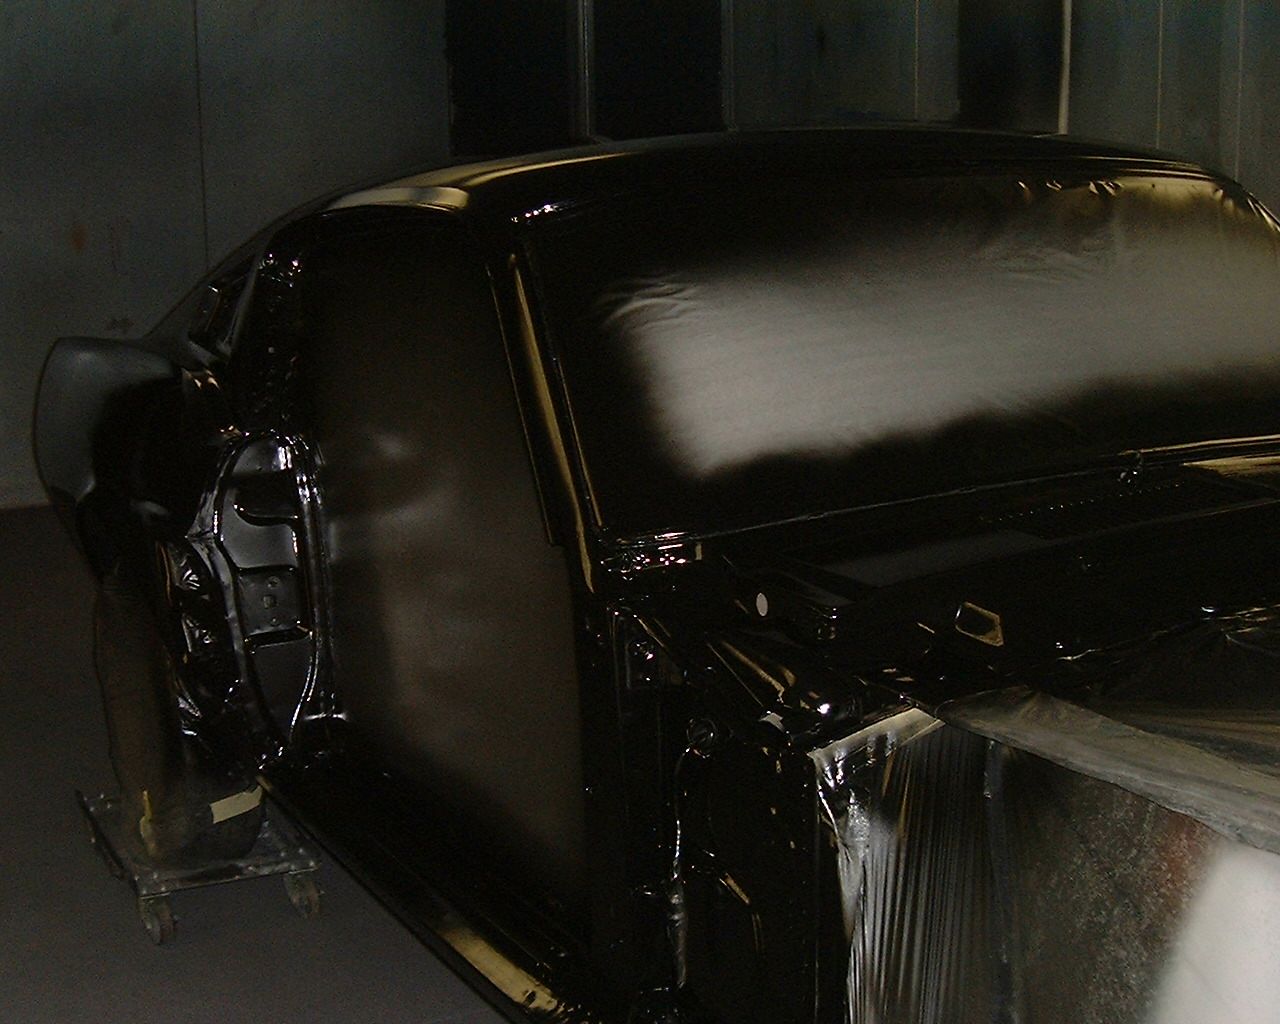
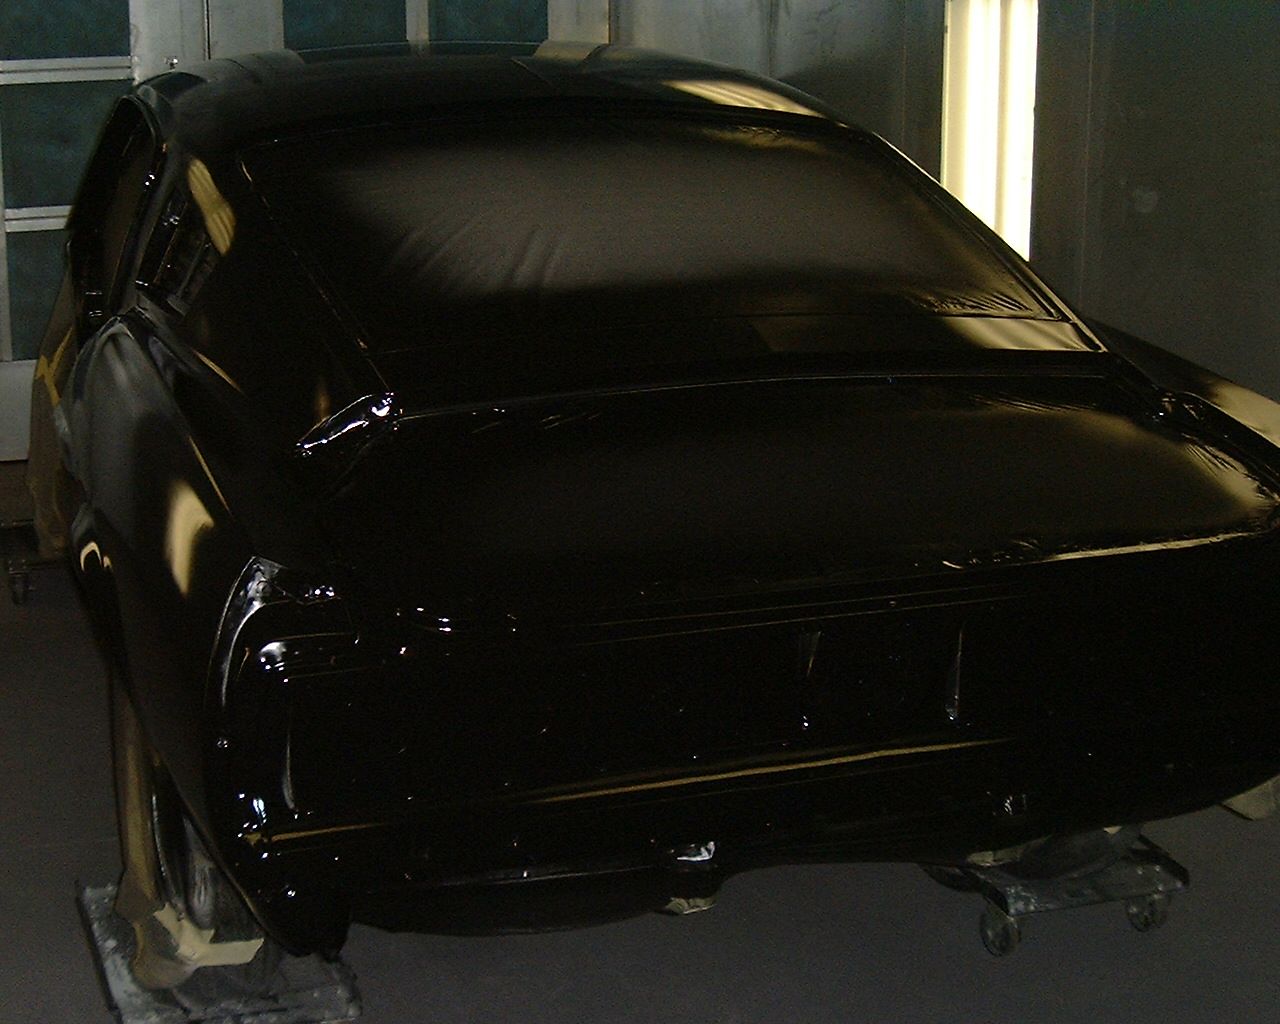
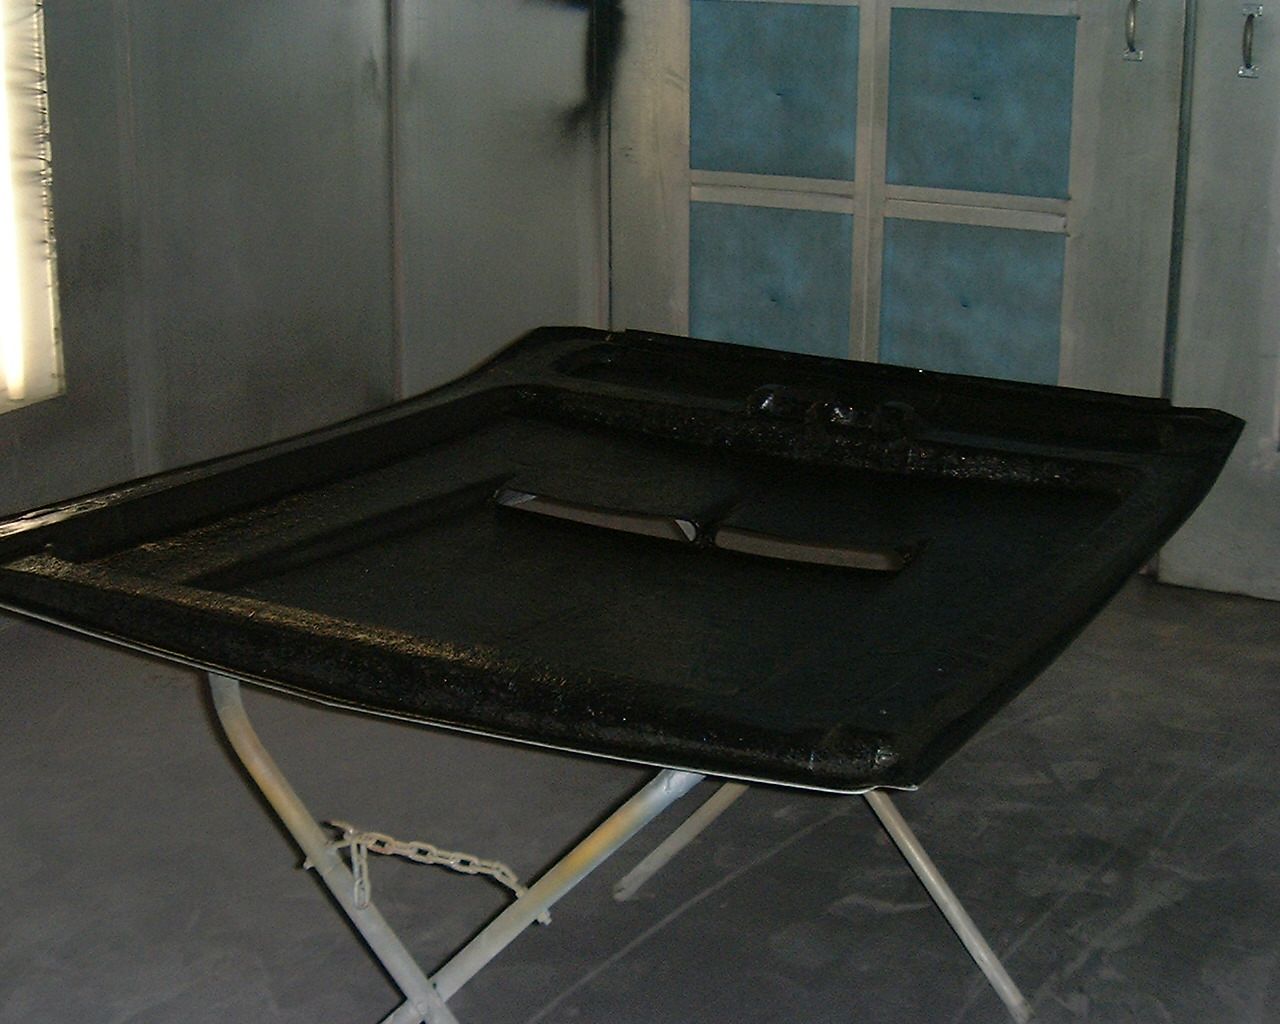
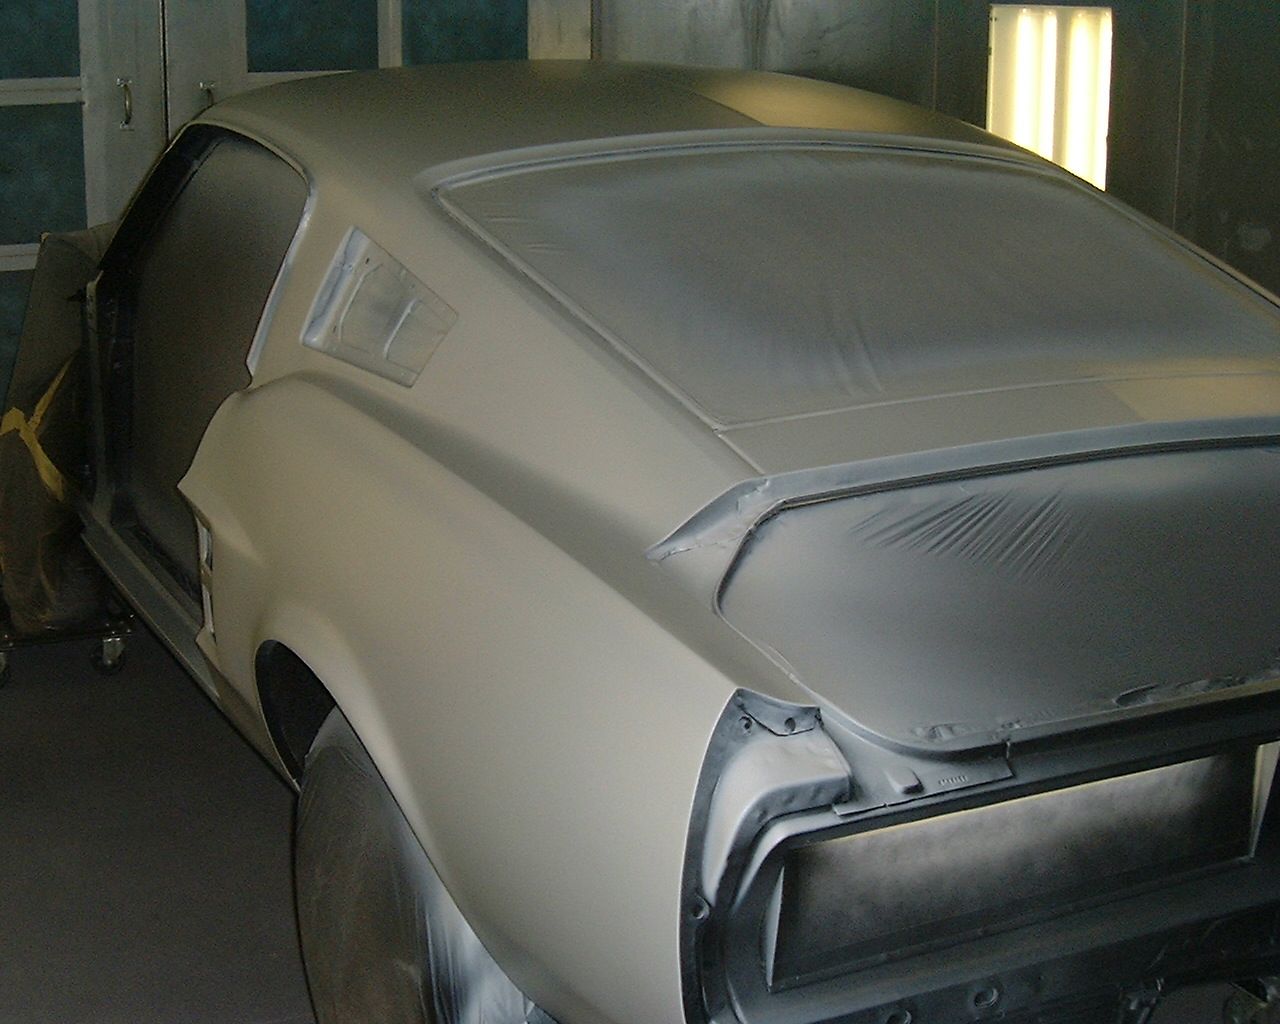
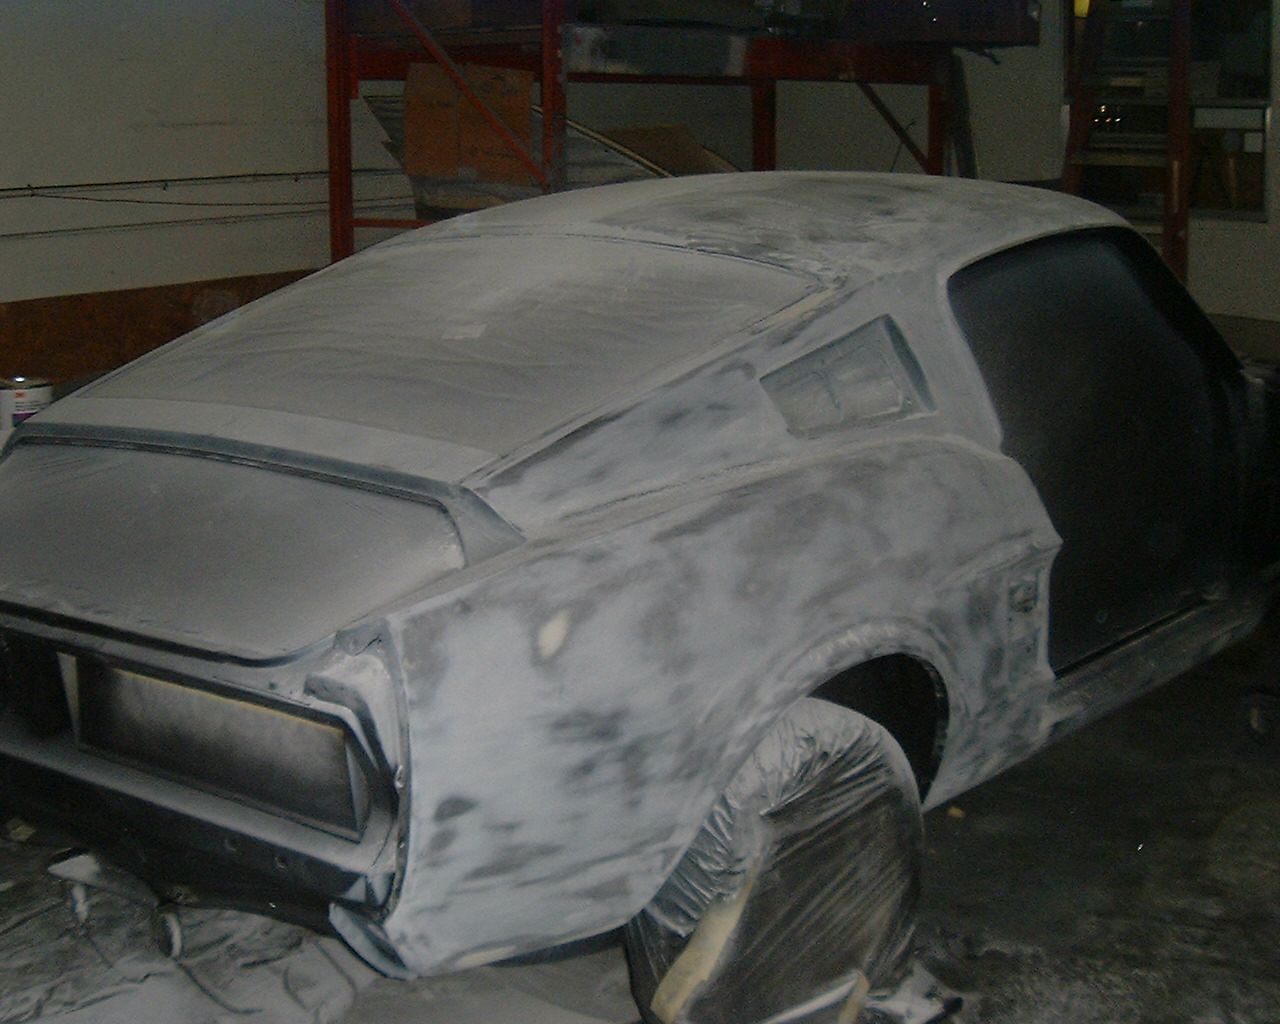
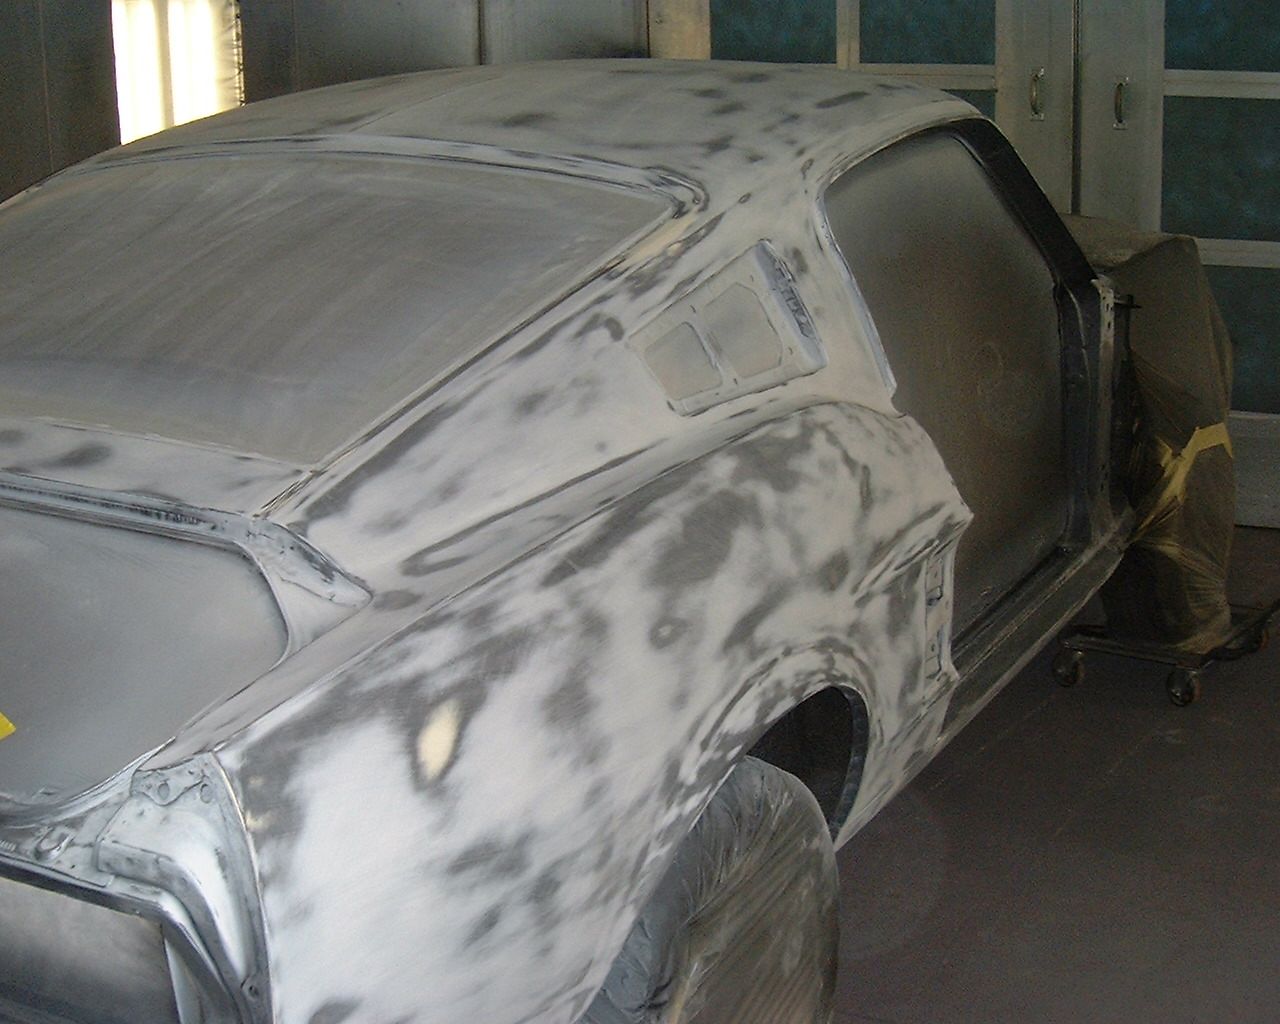
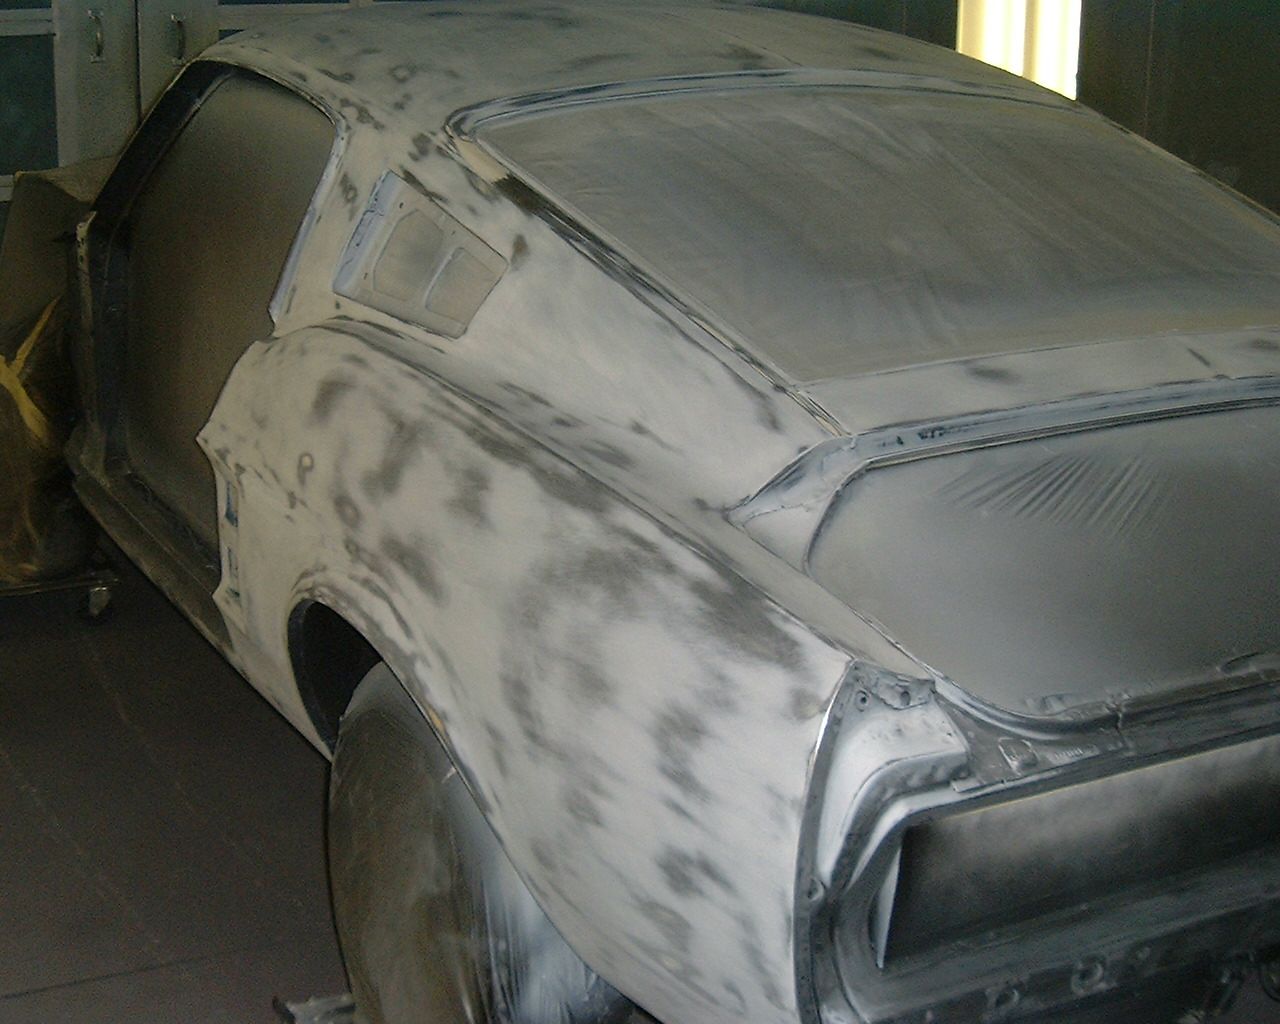
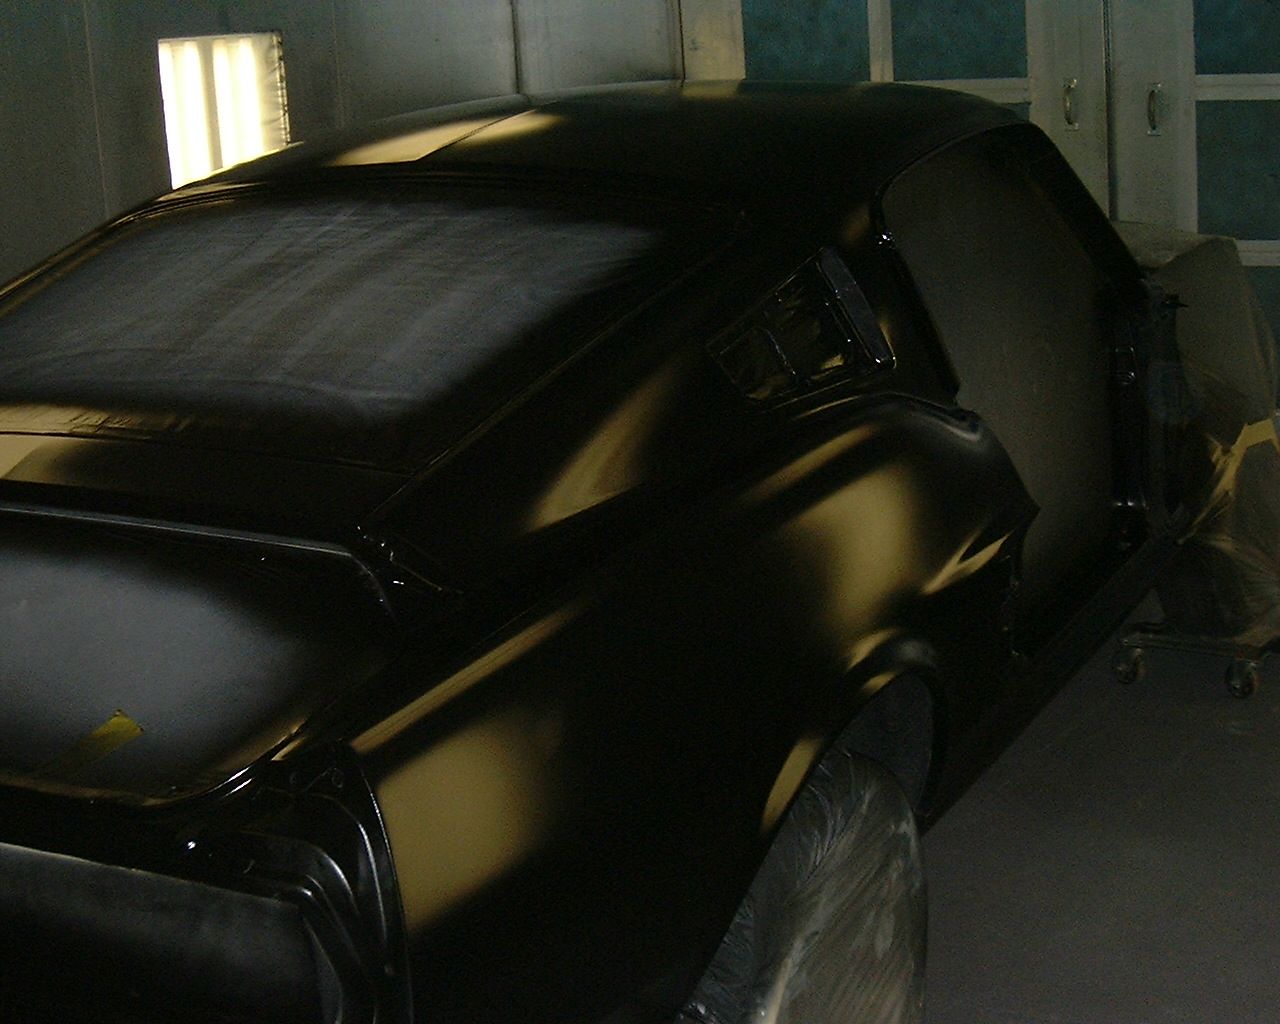
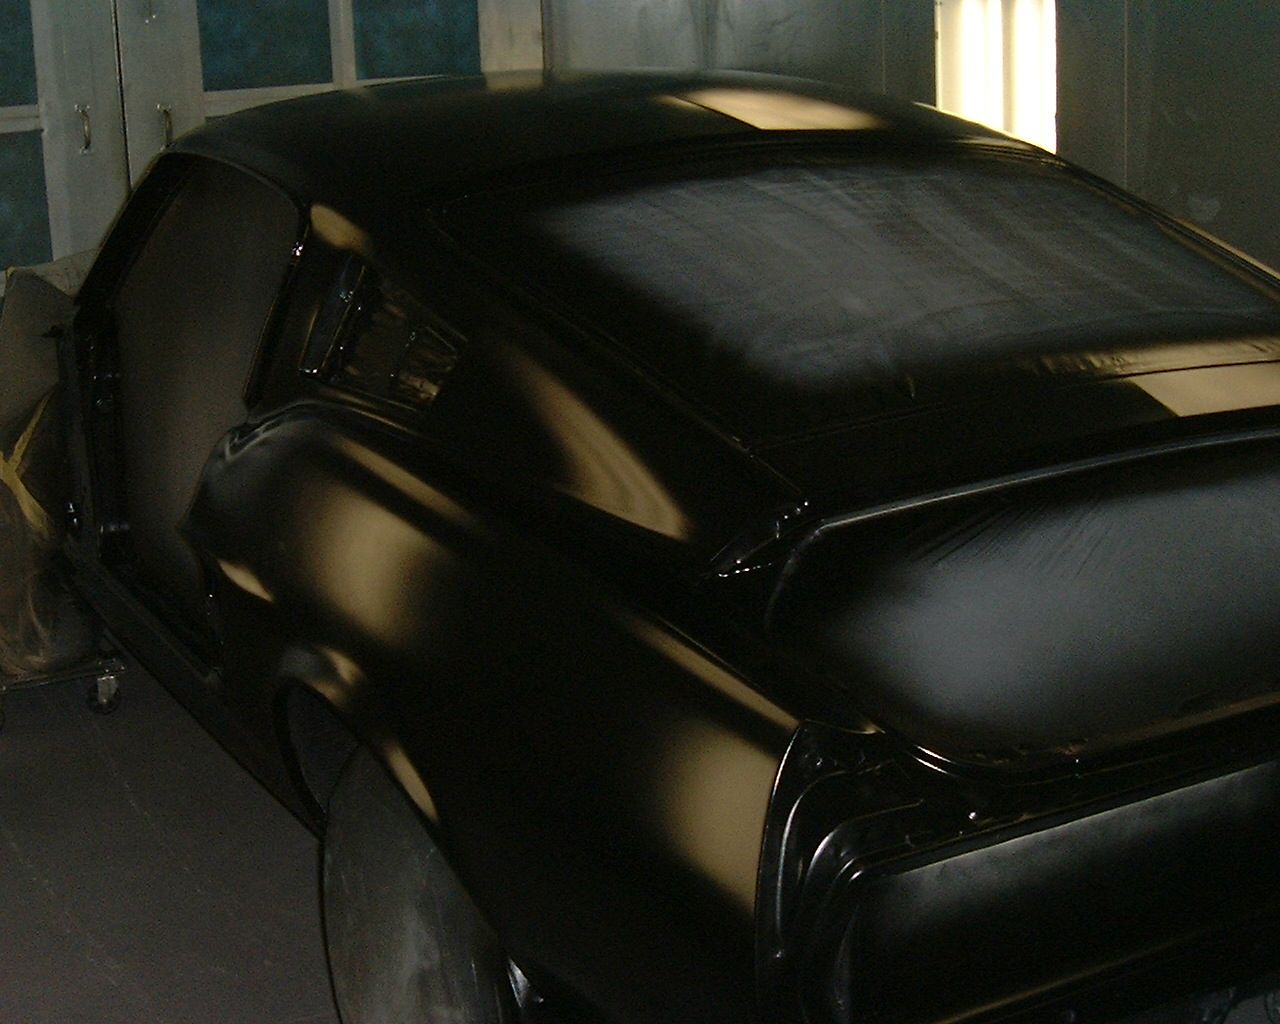
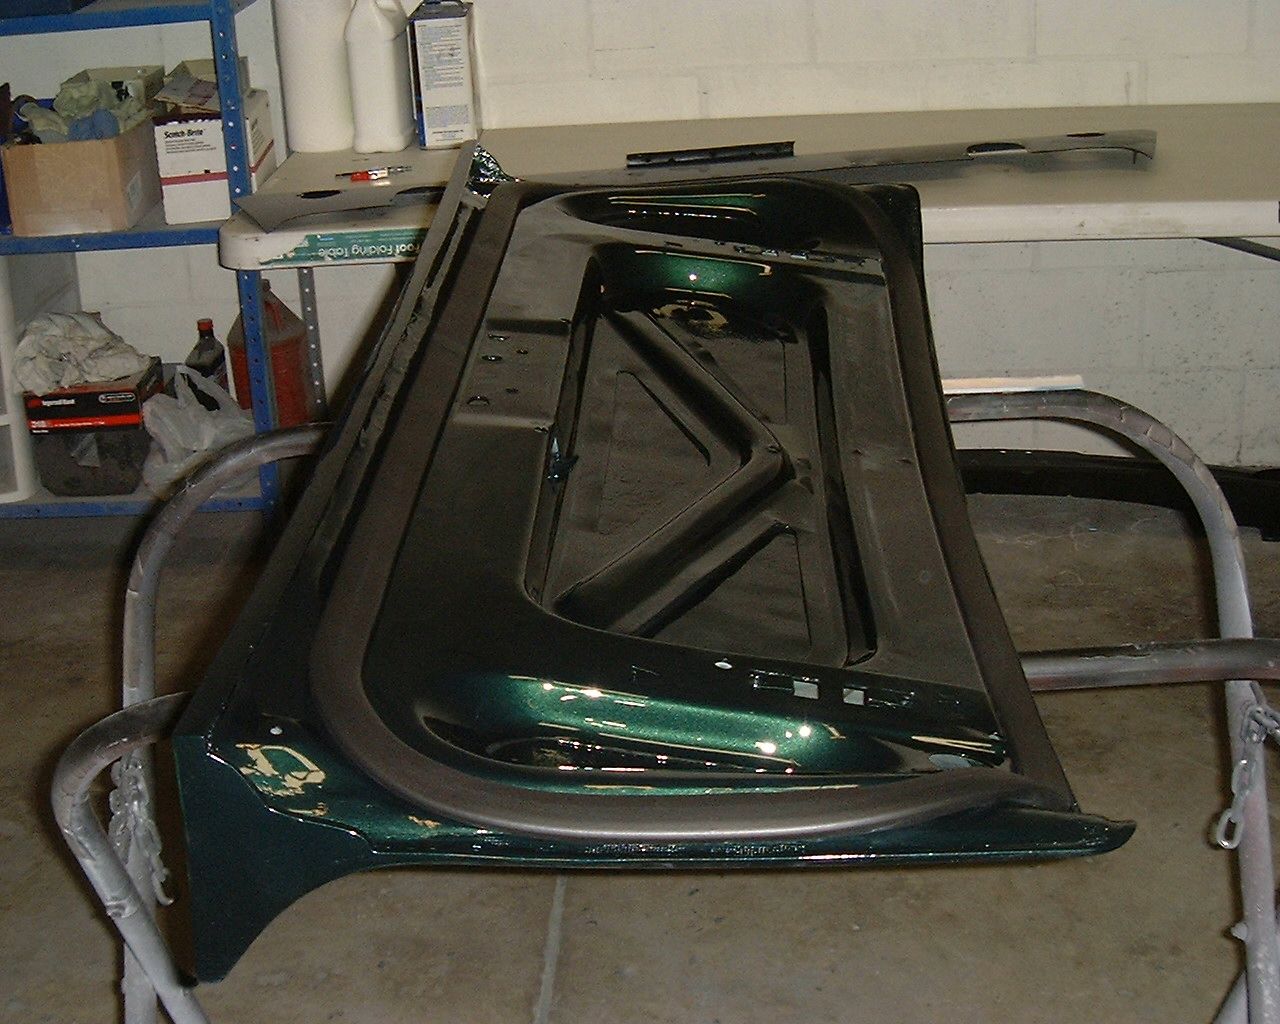
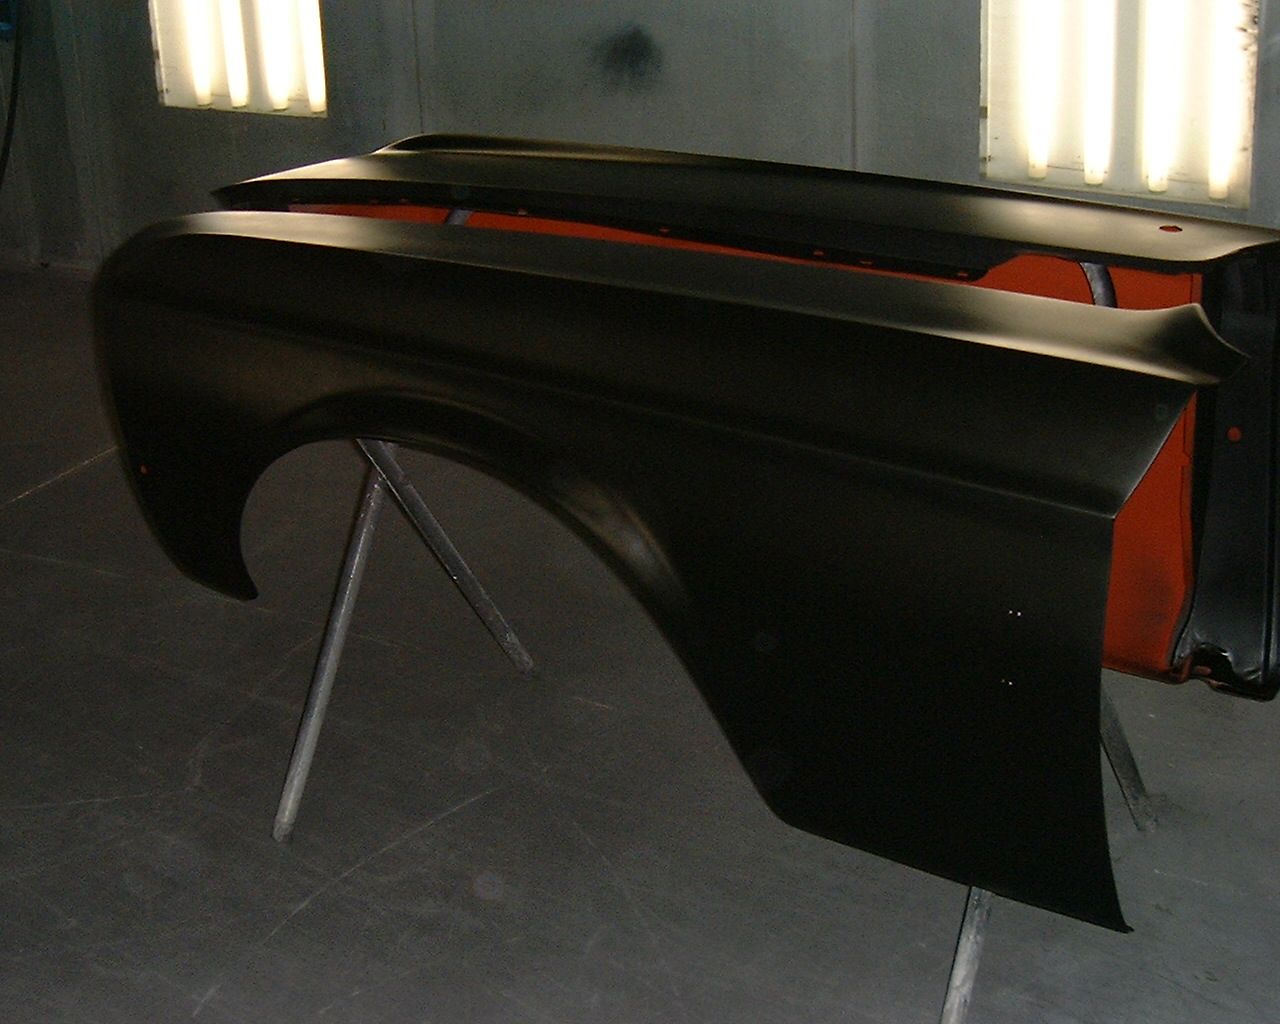
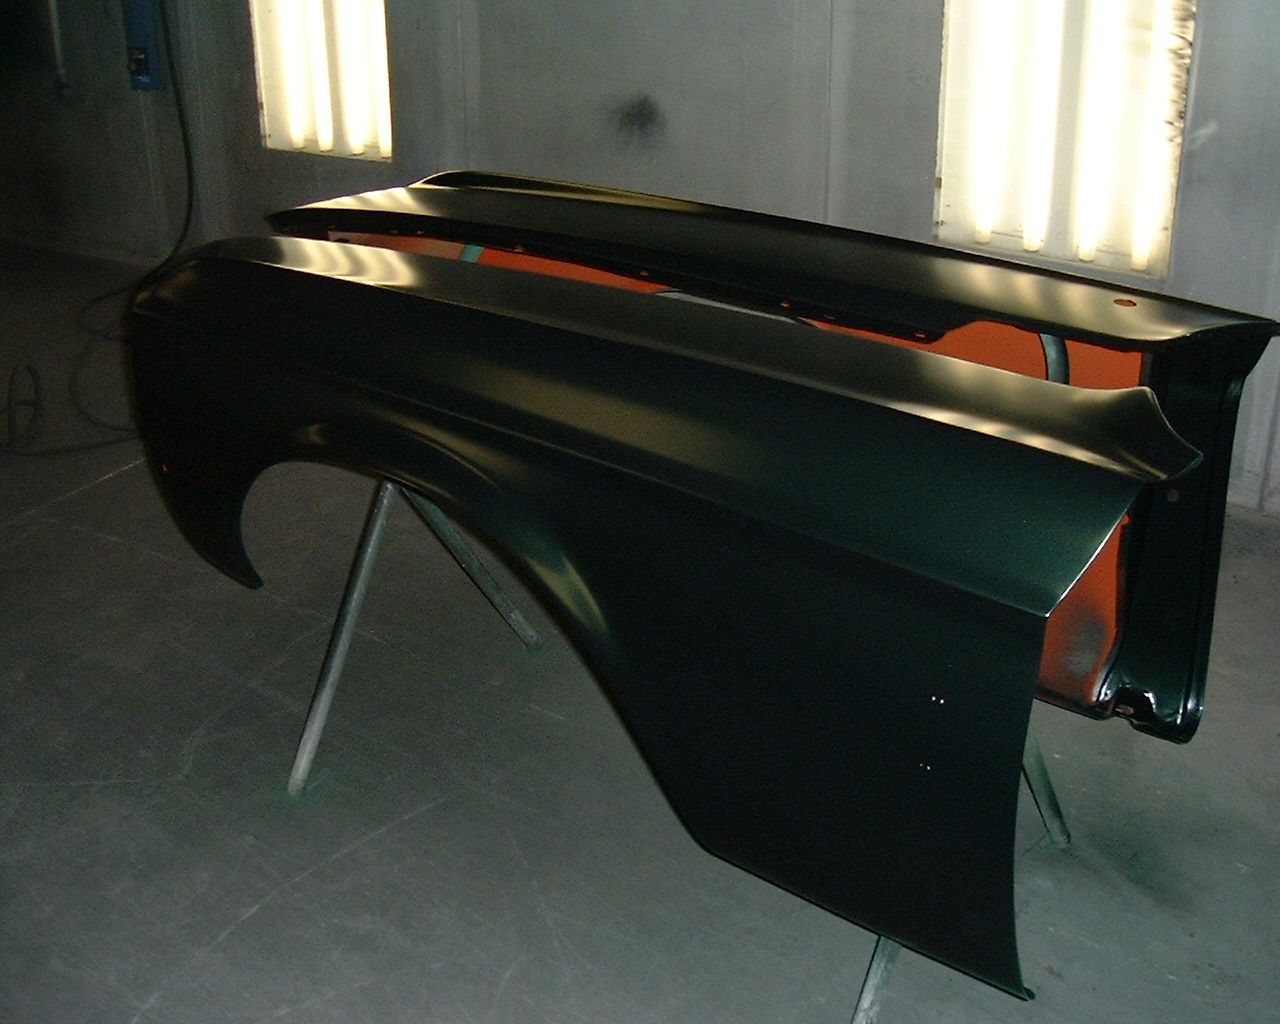
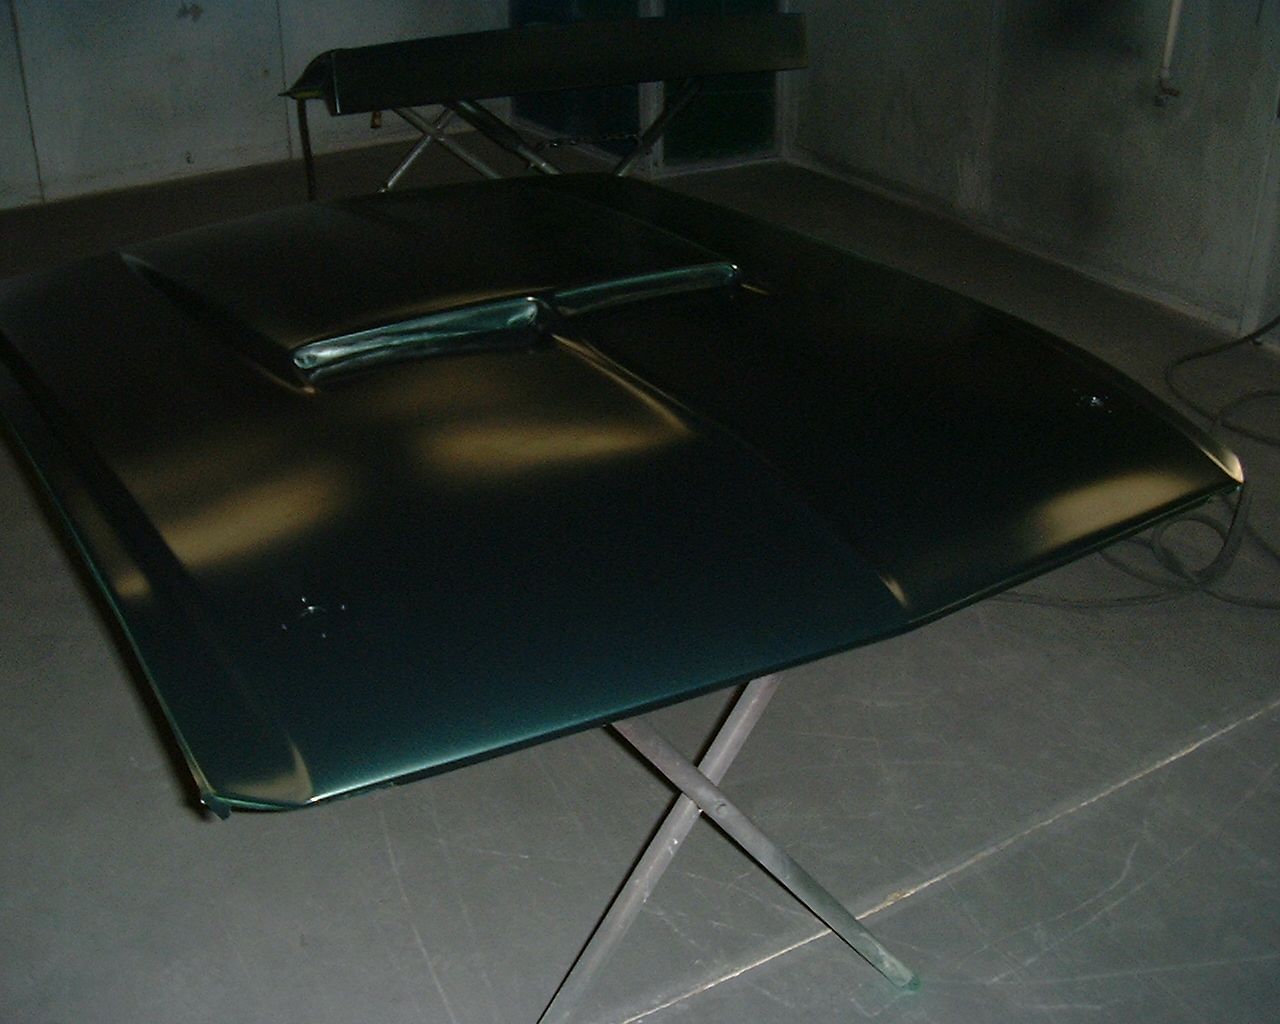
A good friend of mine owns this rust free 1967 Shelby GT500 that came from California. He finally decided he wanted us to paint it after he had owned it awhile.

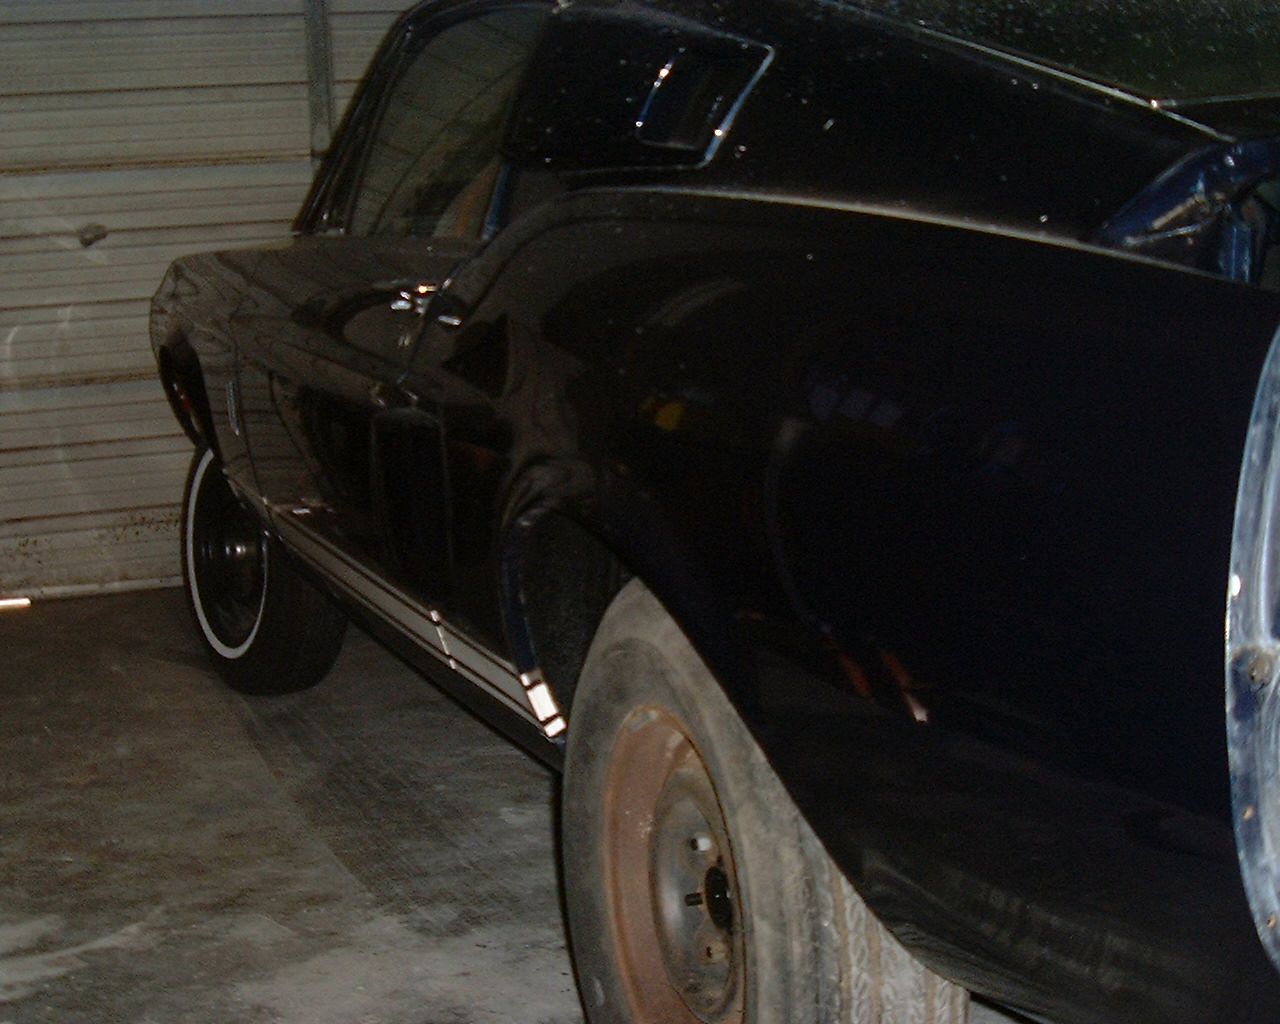
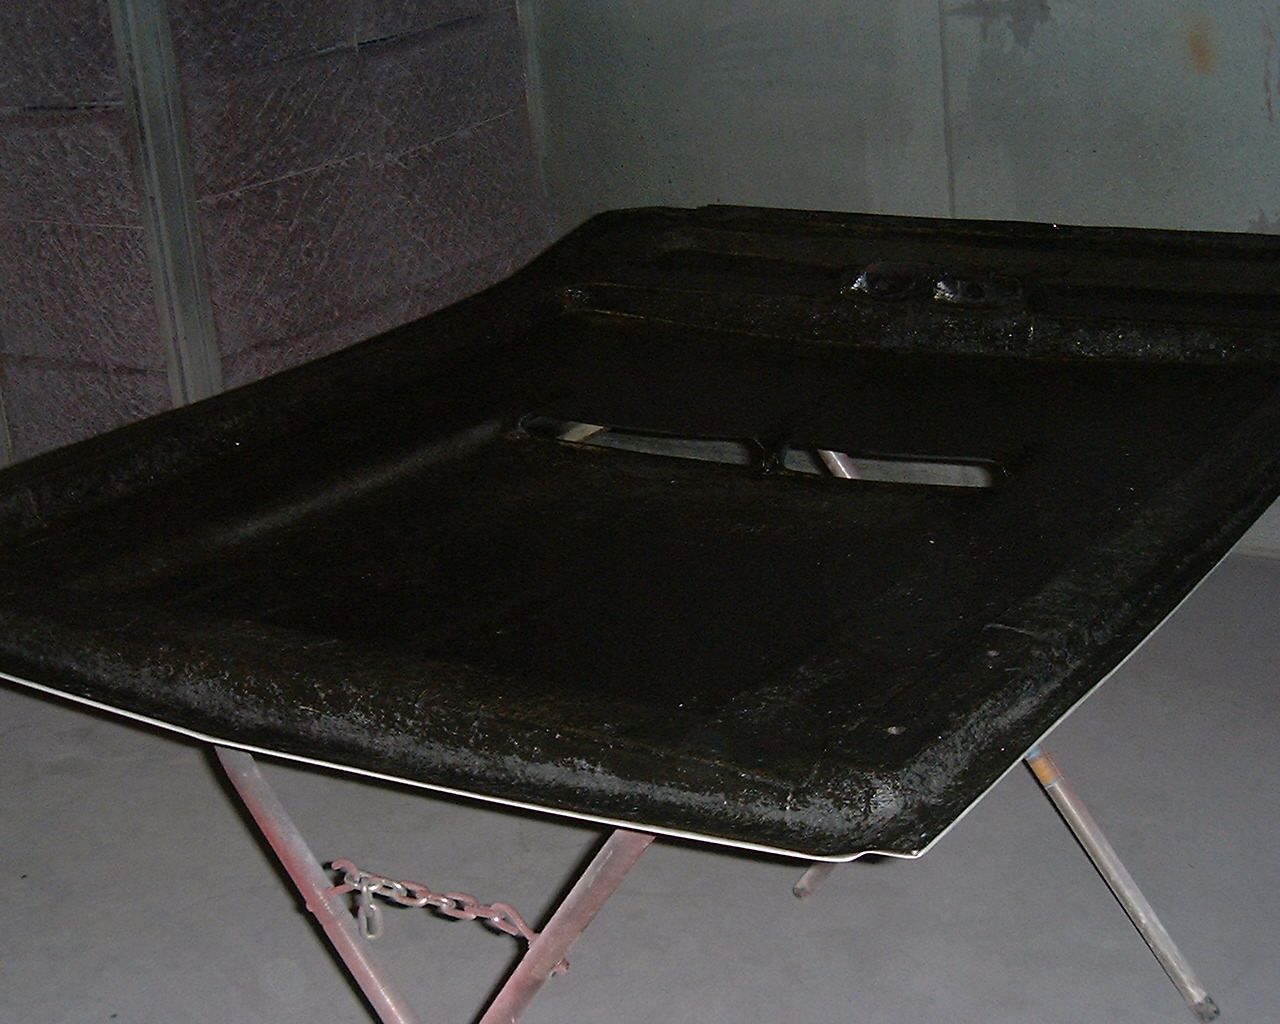
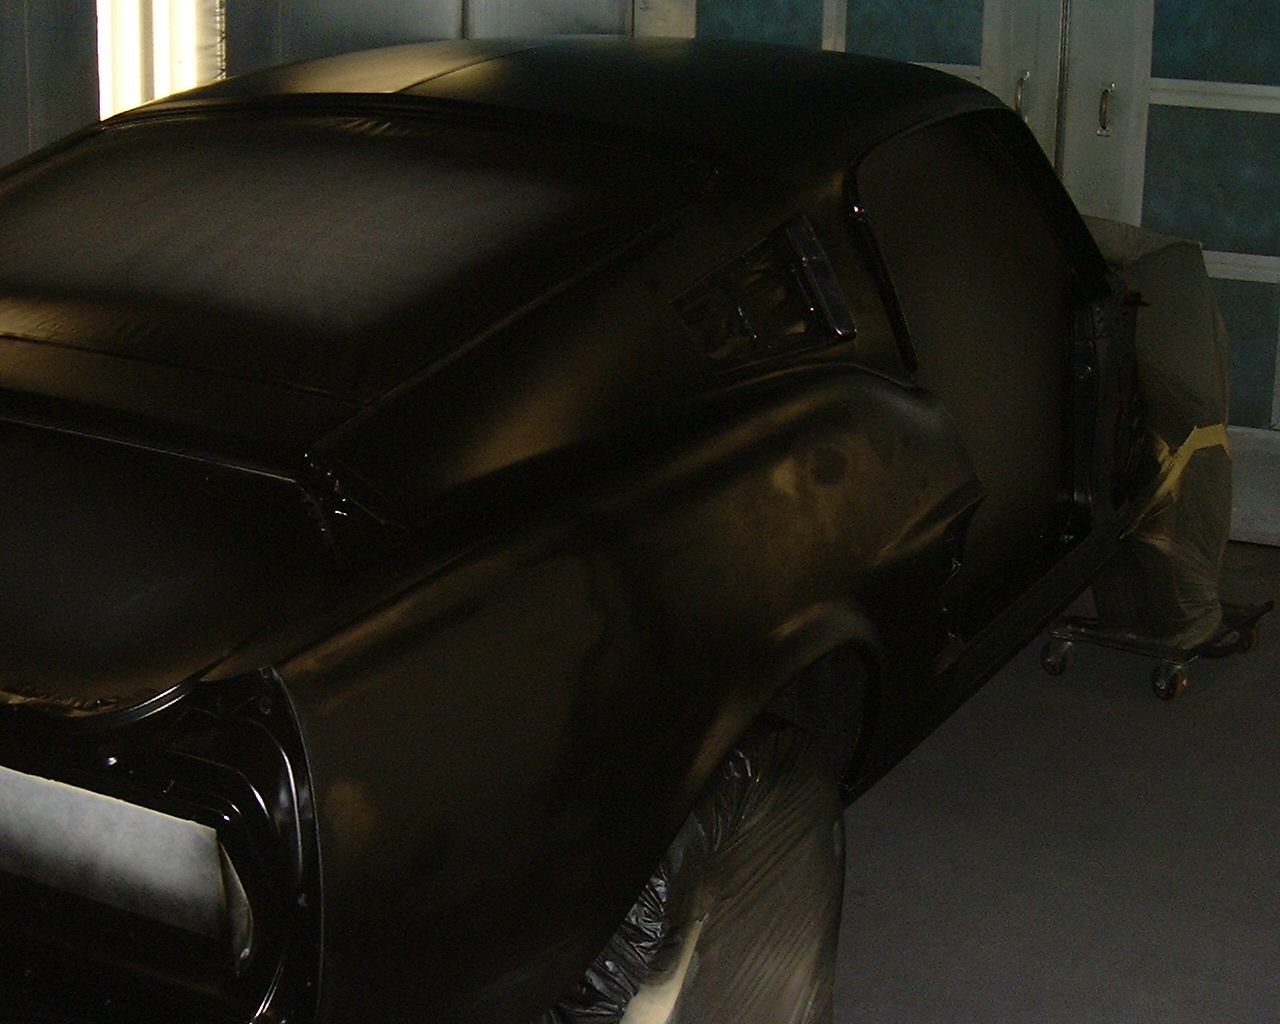
This is what we started with.

28.jpg


27.jpg


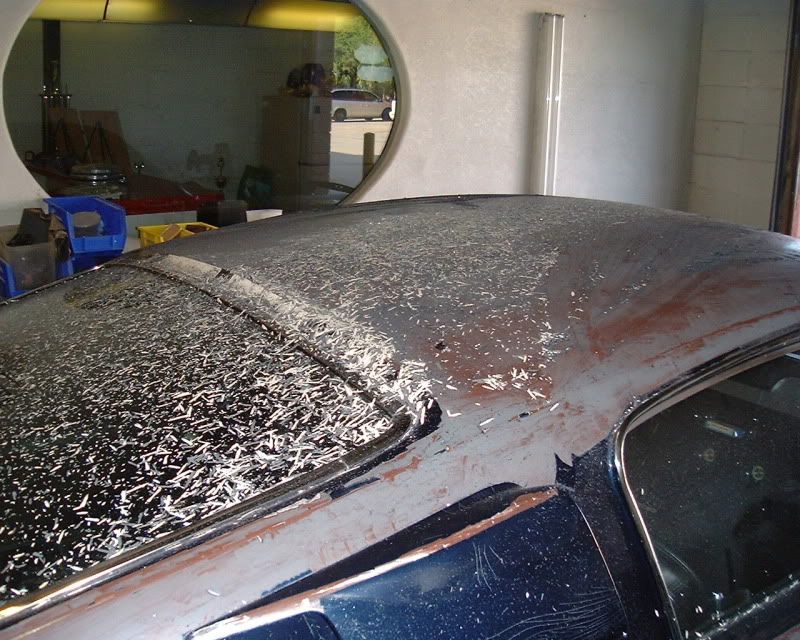
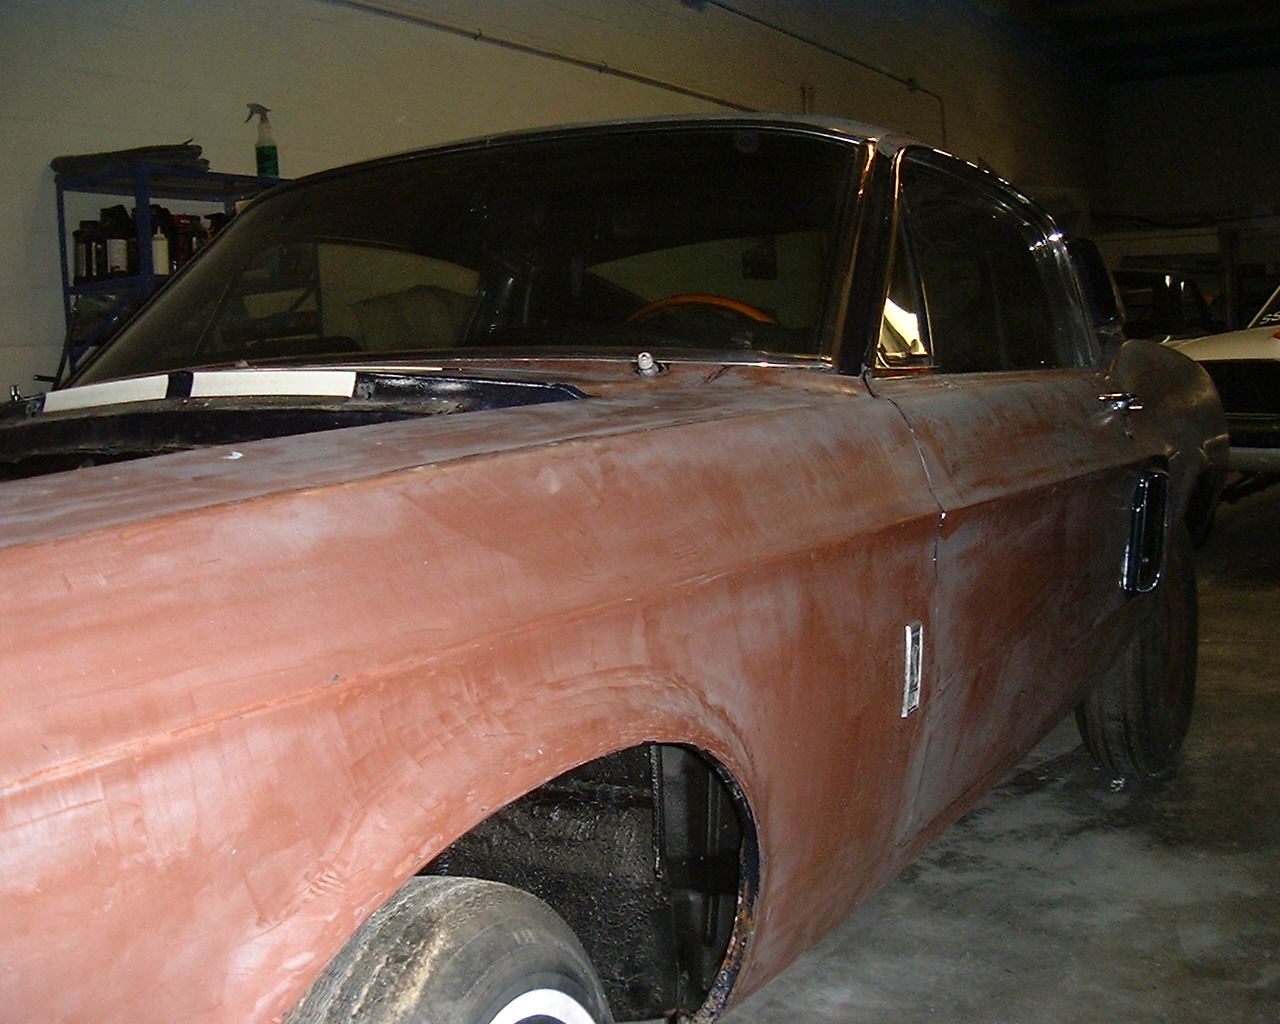
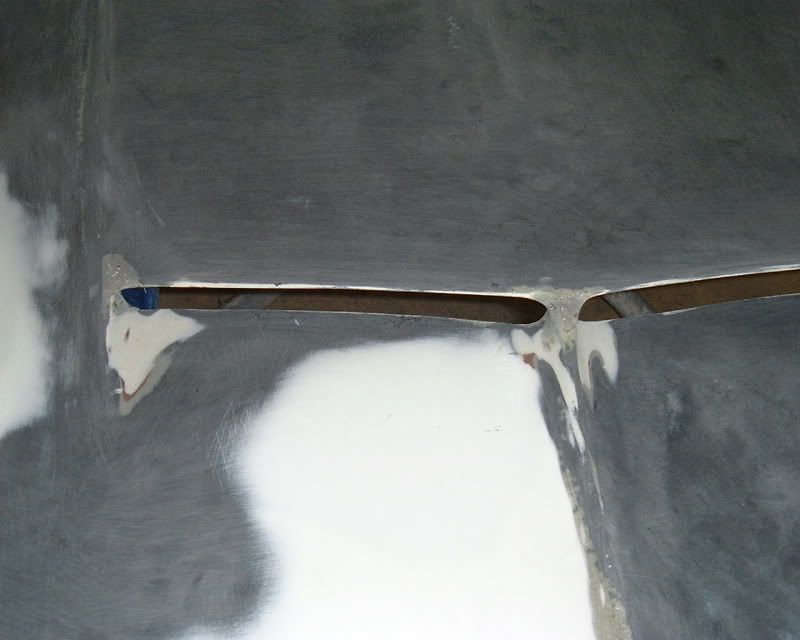
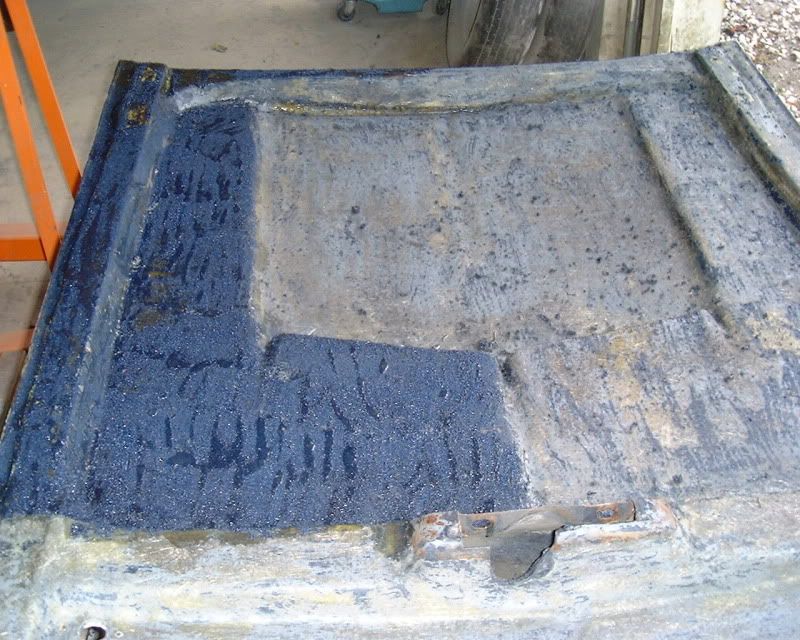
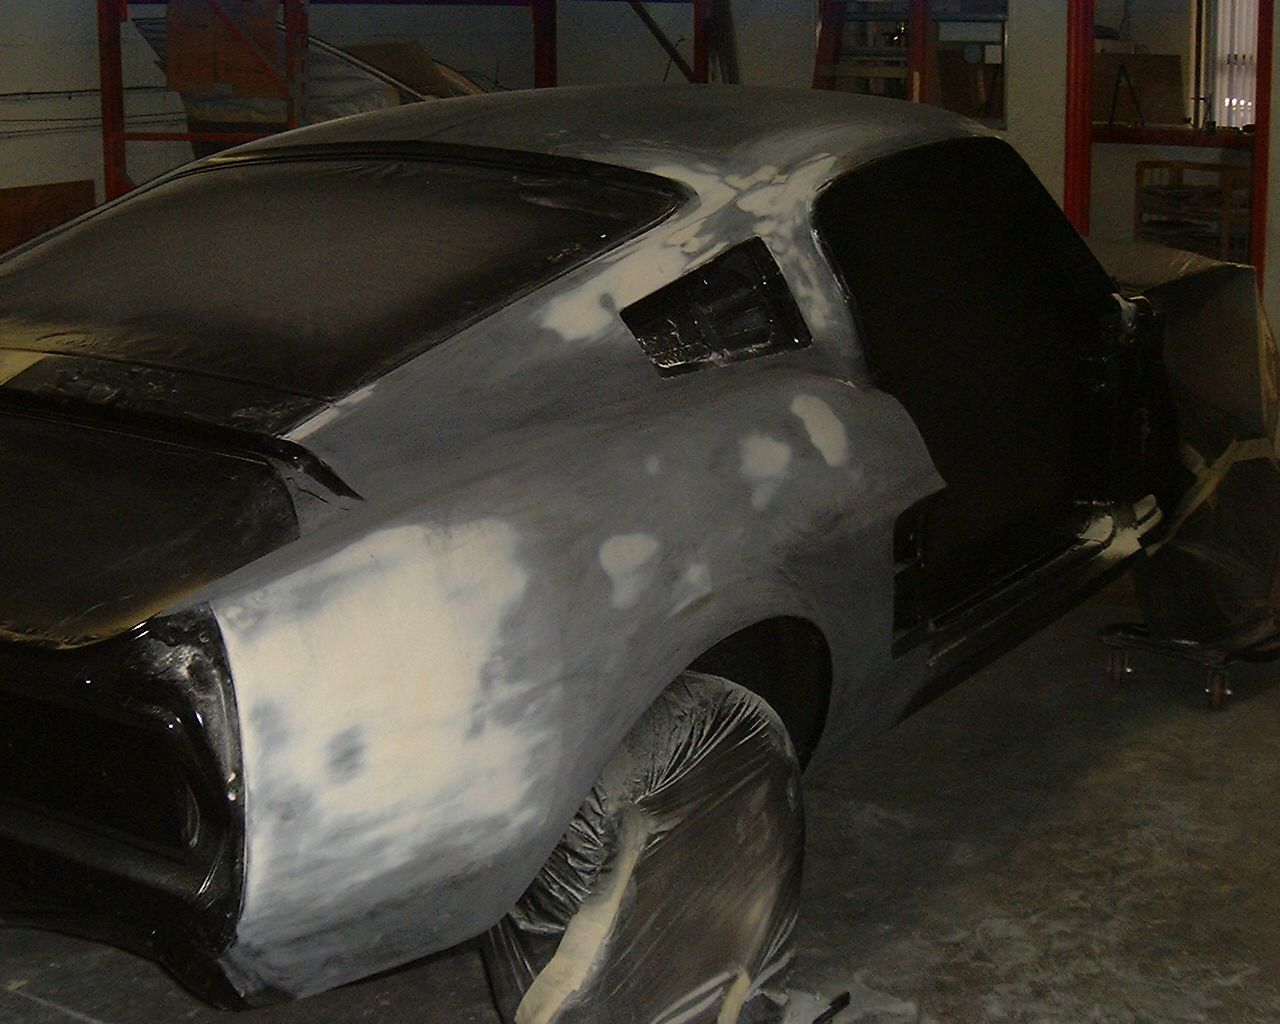
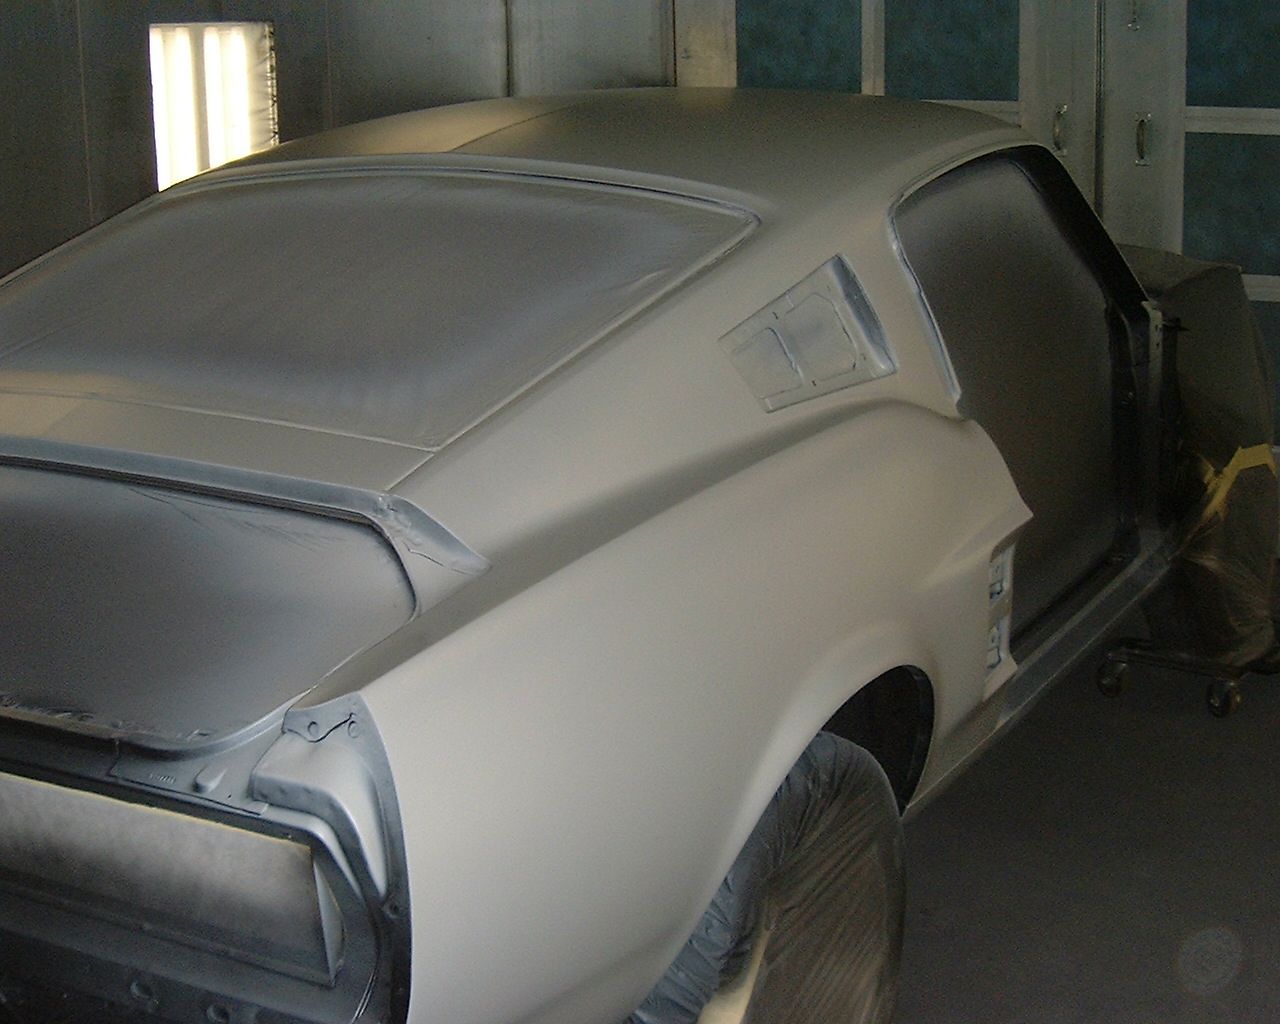
I used a razor blade to strip off the blue paint which is not the original color.

32.jpg


33.jpg
 
Last edited by a moderator:
I stripped the hood and found a few imperfections and cracks around the scoop. I used panel adhesive on the cracks.

21.jpg


44.jpg


50.jpg


I epoxy primed with SPI epoxy

53.jpg
 
Last edited by a moderator:
Rusty,
So you scrapped off the old paint back to the original primer?

No rust on the body?

What colour are you going to repaint it?

Sweet work.....
 
"Johnny M" said:
Rusty,
So you scrapped off the old paint back to the original primer?

No rust on the body?

What colour are you going to repaint it?

Sweet work.....

I scraped the blue off than used a DA with 80 grit sanding to bare metal and there is no rust. That is not the original primer it was green under the primer. It will be painted green.
 
Just curious, but why did you scrape it first to begin with since you ended up DA'ing it anyway? Would you have potentially caused too much heat cutting that blue?
 
"70_Fastback" said:
Just curious, but why did you scrape it first to begin with since you ended up DA'ing it anyway? Would you have potentially caused too much heat cutting that blue?

I'm guessing the blue paint was an acrylic enamel ... maybe something else, but nonetheless once you get a razor blade or even a putty knife under that paint you can practically peel it off in sheets. Two of us stripped a nova in about 2-3 hours doing it just like Rusty showed. It would have taken a lot longer and much dustier to do it with any type of sander. Not sure, but I think acrylic enamel paint jobs were pretty popular back in the late 70's early 80's.
 
"70_Fastback" said:
Just curious, but why did you scrape it first to begin with since you ended up DA'ing it anyway? Would you have potentially caused too much heat cutting that blue?

It's faster and like you said less heat and razor blades are a lot cheaper than a roll of 6" stick it DA paper. If you can get it down to the primer it is a lot easier to sand. I always try a razor blade first but it doesn't always work but it did in this case.
 
I sanded it down to bare metal than Brian taped off the undercarriage since it was already restored by the owner.

Sprayed 2 coats of SPI epoxy primer next step is the bodywork.

108.jpg


106.jpg
 
Last edited by a moderator:
The back side of this Shelby hood is supposed to be black and has a rough finish. When it was painted years ago they painted it blue. I used stripper for fiberglass stripping small areas at a time with a small wire brush.

24.jpg


26.jpg


After I was finished I washed it a few times and let it sit in the sun. After a few days I epoxy primed.

89.jpg


The surface was very rough after the wire brush so I used a red scuff pad to smooth it out and applied 2 more coats of SPI black epoxy.

96.jpg
 
Last edited by a moderator:
Bodywork is almost finished on the body

109.jpg
 
Last edited by a moderator:
I finished the bodywork than sprayed a coat of SPI black epoxy.

111.jpg


I waited a couple of hours than sprayed 2 coats of Evercoat Slick Sand

113.jpg


114.jpg
 
Last edited by a moderator:
I started block sanding with 80 than 180 almost ready for more primer

115.jpg
 
Last edited by a moderator:
I painted the back side of the deck lid yesterday. It is hard to get a good picture showing the true color.

119.jpg


120.jpg
 
Last edited by a moderator:
Block sanding finished all cleaned and ready for epoxy

121.jpg


122.jpg


Two more coats of epoxy

123.jpg


124.jpg
 
Last edited by a moderator:
We attached the seal to the deck lid before I painted the other side

150.jpg


I sprayed a coat of reduced epoxy as a sealer now sand out any dirt with 800 and they are ready for paint

152.jpg


153.jpg


154.jpg
 
Last edited by a moderator:
I sprayed green today and tomorrow will clear.

155-2.jpg


156-1.jpg


157-1.jpg
 
Last edited by a moderator:
Back
Top