chaser012001
66 408w, TKO600 coupe...in progress
I know i'm a couple months late to the derailing party but hey...why not. I went through the same transmission evaluation that you guys did. I was initially going to go with the Astro T5 as I'd driven a car (early 90's Mazda Rx7 with a 351w...it was AMAZING!) with one and it felt pretty natural to me. That is until I had a chance to see a T5 case next to a TKO case. The selling point to the TKO for me was how much thicker the TKO case was. I'm not sure if my 408w is going to have enough oomph to destroy a case but, having experienced a catastrophic case failure before, I dont want to chance it.
Btw...the TKO, for me at least, is going to require some time learning it. It shifts...different...than a T5.
I'm going to follow your wiring closely. I plan to run mine in the fenders as well. I'm anxious to see how you do it. Are you planning on putting them in conduit or something to protect them? You putting your battery in the trunk?
 20170725_194826
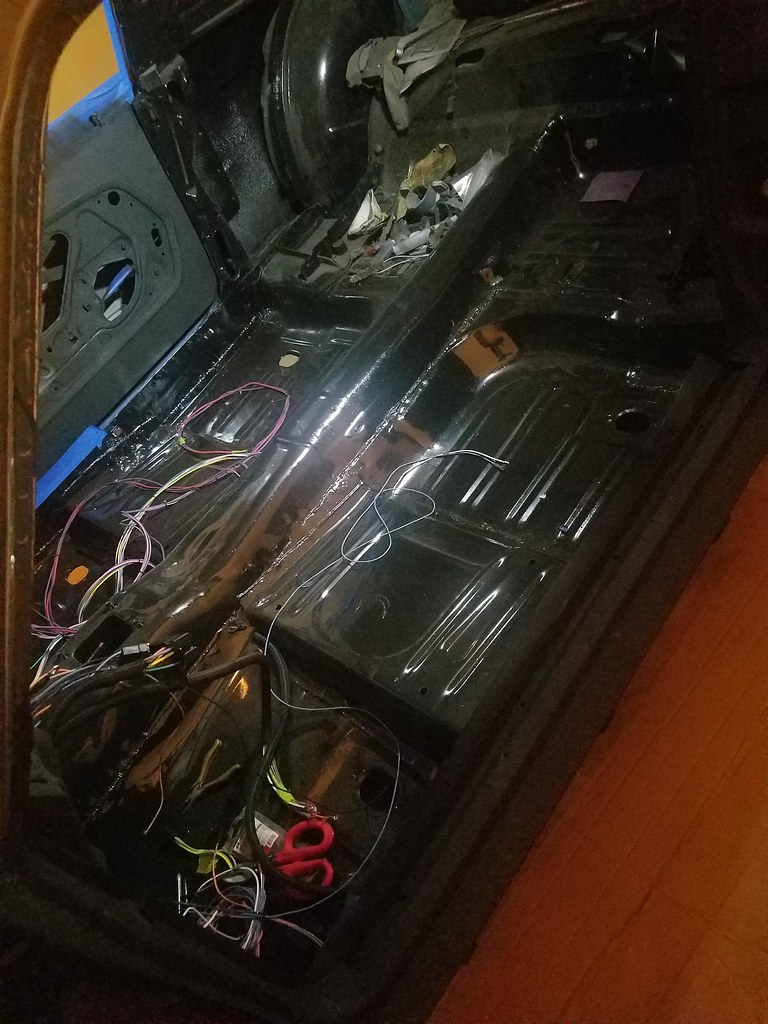 20170802_183549
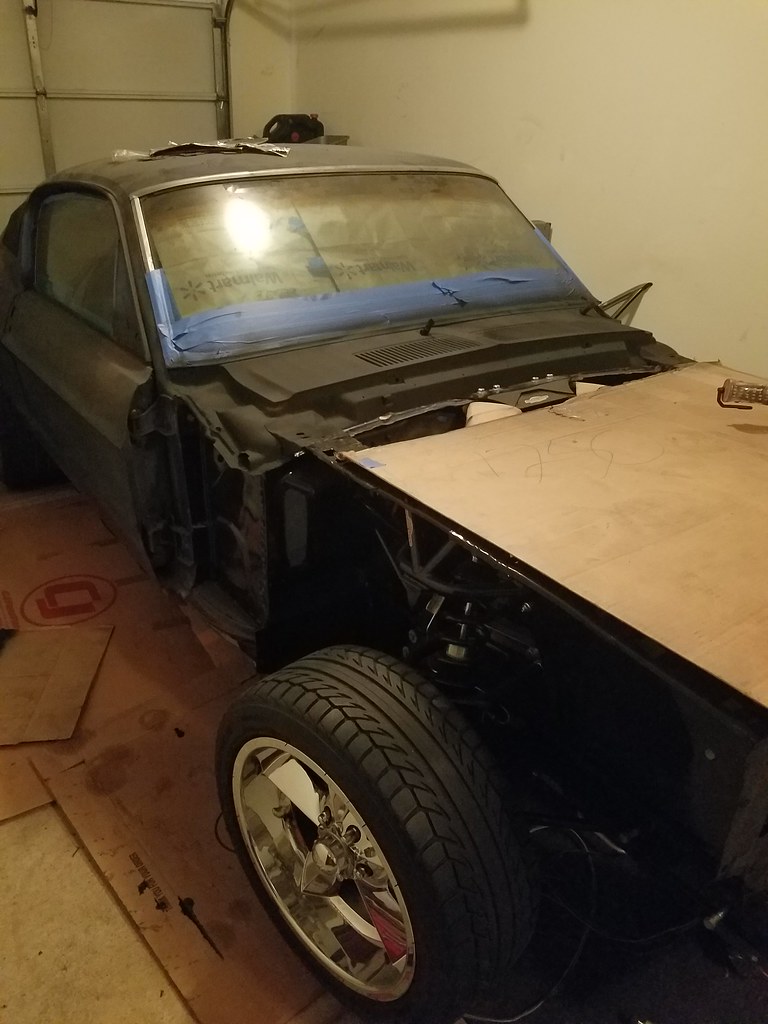 20170802_183504
 20170805_120403

