Dne'
Well-Known Member
Wow! that looks really good :10!!!! Much easier install than all the stuff I delt with!
Follow along with the video below to see how to install our site as a web app on your home screen.

Note: This feature currently requires accessing the site using the built-in Safari browser.
Hello there guest and Welcome to The #1 Classic Mustang forum!
To gain full access you must Register. Registration is free and it takes only a few moments to complete.
Already a member? Login here then!
 op Well? done anything yet?
"AzPete" said:If all goes as planned....it will be installed on Labor Day weekend....and finished with a Wattles toast.
"AzPete" said:If all goes as planned....it will be installed on Labor Day weekend....and finished with a Wattles toast.
"6t6red" said:Ahhh, you are not waiting for an air conditioned shop. You are waiting for the Wattles to hit the States again so you can do the toast. :lol
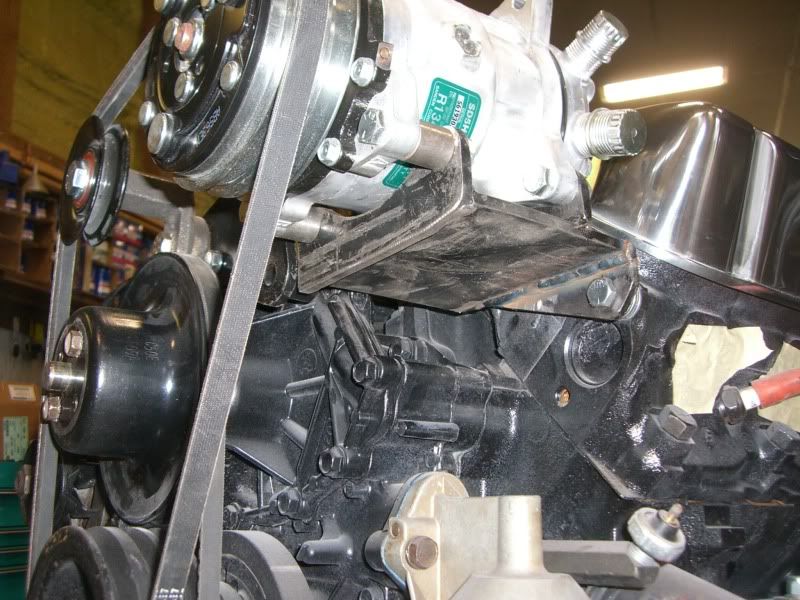
"RyanG85" said:Mine uses 2 head bolts. I really like that new design and the elimination of the idler pulley. I just couldn't deal with the location being so high on the engine


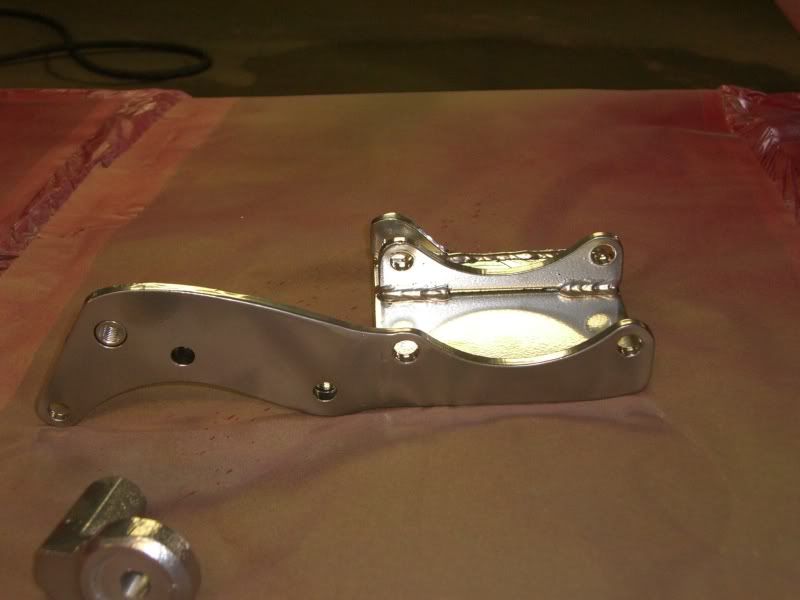
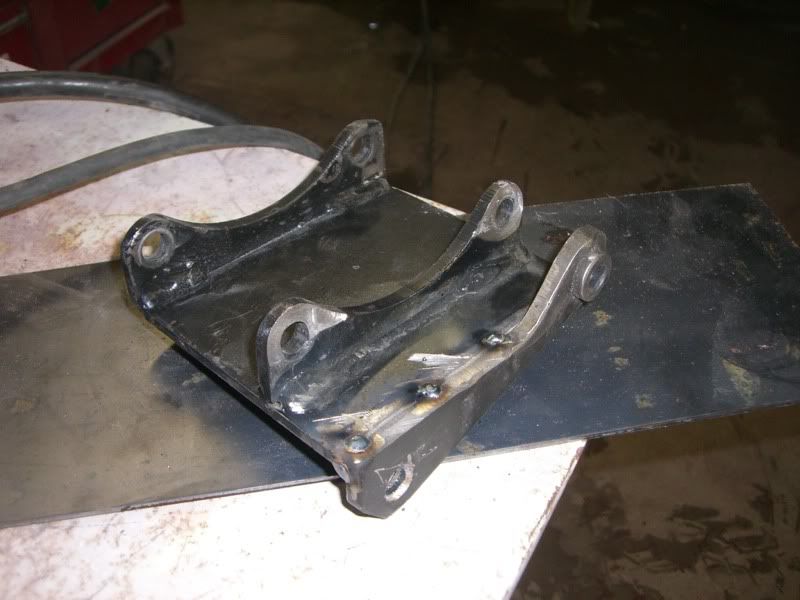
Now that mine is welded, there are two bolts to the head and 3 to the water pump. Only missing one bolt from the original design. That bracket is heavy duty. There will be no flex issues."Dne'" said:I like the idea of this setup(refer back to Ryans photos), however just looks like it needs a little more support from underneath? I'm no physics/engineer expert, but the compressors acting like a lever on two little bolts(unless I'm missing something here)?, the belt is pulling downward on an already heavy object with signficant force, then when the compressor kicks in, it's much more force.
After looking at my setup, I'm ok with it. I don't see how I could have lowered the compressor much more without impacting the already made hoses, plus may just be getting a little too close to the headers heat. For me, I'll leave well enough alone. I'd hate to take mine back apart for modifications.
"miketyler" said:Man, that coil terminal looks like it's been tweeked and is aboutto break off. I'd get her fixed pronto.
Mid will be all over that :craz


