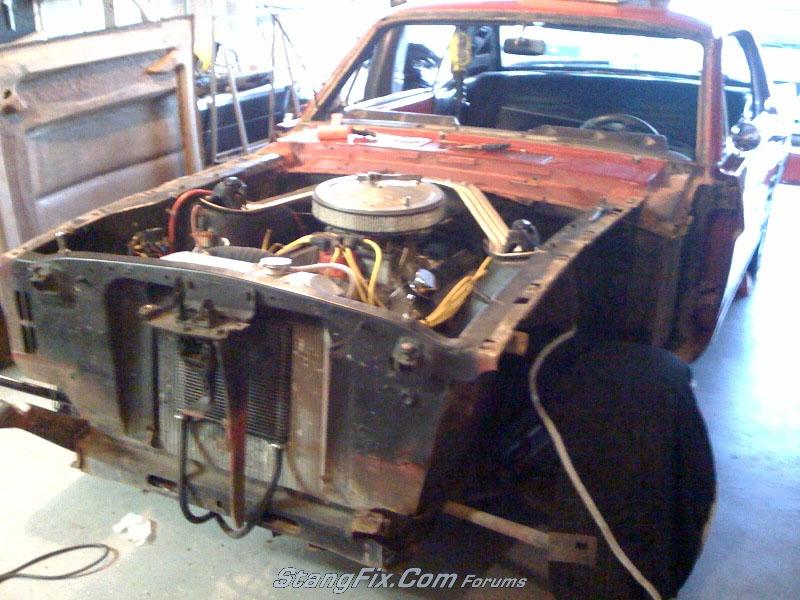
Aren't you done with this project yet? It should be painted by now and interior going back in...
*G*
*G*
Follow along with the video below to see how to install our site as a web app on your home screen.

Note: This feature currently requires accessing the site using the built-in Safari browser.
Hello there guest and Welcome to The #1 Classic Mustang forum!
To gain full access you must Register. Registration is free and it takes only a few moments to complete.
Already a member? Login here then!
"Kats66Pny" said:It says Hood Hinge.. not things. lol and it has (4) Bolts & Washers L + R on it and a note on the back saying the bolts connect the hinge to the hood.
Bite me Midlife. :nut
Do I get to choose where I can nibble?"Kats66Pny" said:It says Hood Hinge.. not things. lol and it has (4) Bolts & Washers L + R on it and a note on the back saying the bolts connect the hinge to the hood.
Bite me Midlife. :nut
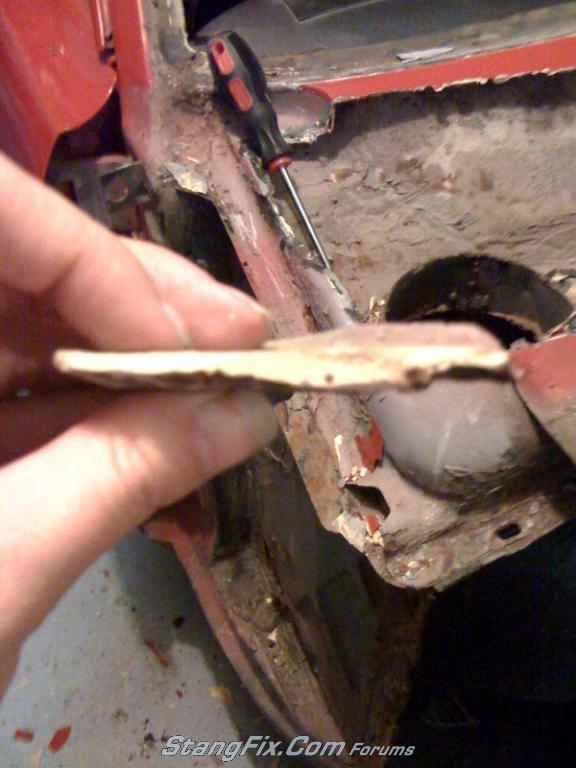
When you're planning to remove the cowl , do mark the position of the cowl very accurately because later on , it determens how he front fenders/hood/ doors aligns.Trust me !!
Just drill two little holes ( left and right ) in the lower windshield opening lip .Later on you can put a dowel into these holes to align the cowl when putting it back together.
When you want to put a new cowl on it , mark the outer visible edge of the old cowl before removing and take thispoint to install you new one.
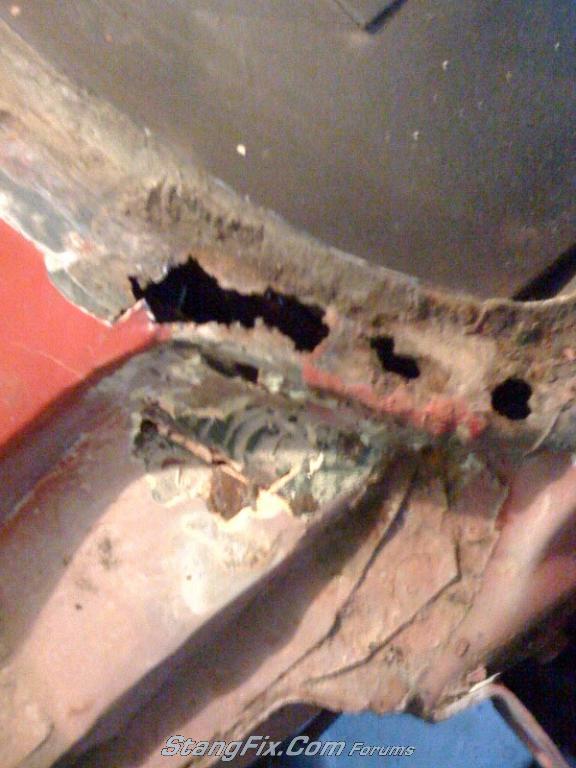
I know they make the one piece cowl for the 67-68 but I will check and see if they do for the 65-66. If they do that is the best way to do the repair, it will cut your welding time in half. I would bet the bottom half is rusted. Rich.


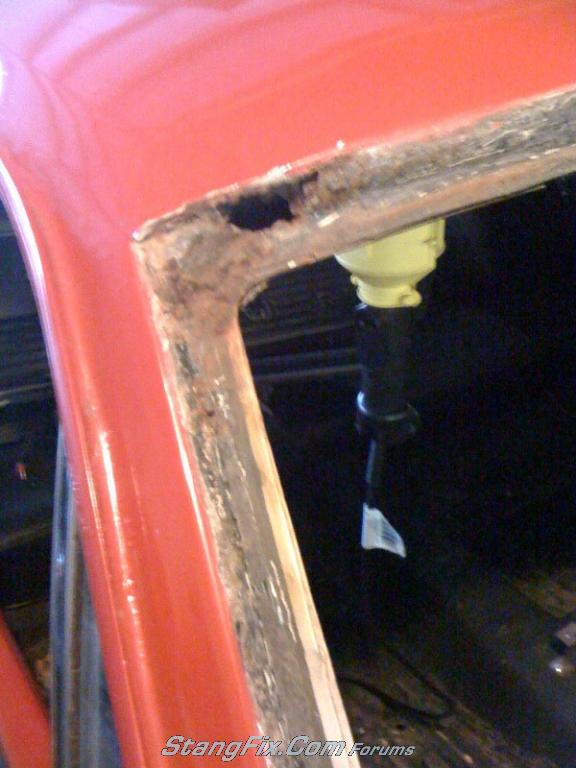
I would use self tapping sheet metal screws... take up less room during "test" assemblies and the holes can be welded closedBefore you weld the complete cowl. secure it with some clamps and put on the fenders and hood.