AzPete
Well-Known Member
Leave it to a StangFix member to develop a tool that can suck and blow at the same time..... :craz
Follow along with the video below to see how to install our site as a web app on your home screen.

Note: This feature currently requires accessing the site using the built-in Safari browser.
Hello there guest and Welcome to The #1 Classic Mustang forum!
To gain full access you must Register. Registration is free and it takes only a few moments to complete.
Already a member? Login here then!
"cmayna" said:No matter how air tight such a system seems, I'd still wear a mask when using it. No reason to breath in any hidden media particles floating around.
"Kats66Pny" said:That's a cool gadget! Dang, I really need an air compressor. You're giving me idea's how to sandblast area's on Gertrude in my little garage now. :vic


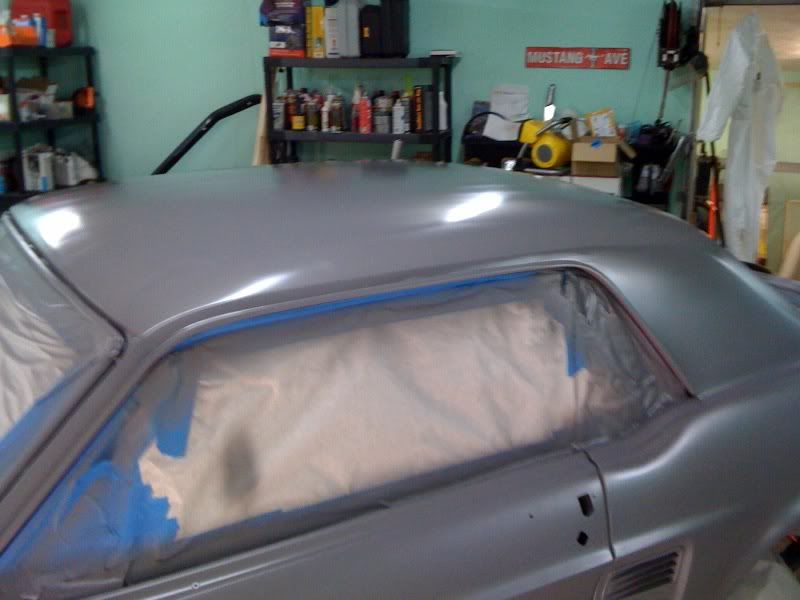
"70_Fastback" said:Looks good from what I can see! Is that JUST high build primer - or did you skim coat it, with filler, to fill any larger pits?