"Kats66Pny" said:That sounds so
:ga
:lol
"Fast68back" said:Glad I'm not the only one that thought that....
:lol :lol :lol :lol :lol :lol :lol :lol :lol :lol :lol I have no words to explain
Follow along with the video below to see how to install our site as a web app on your home screen.

Note: This feature currently requires accessing the site using the built-in Safari browser.
Hello there guest and Welcome to The #1 Classic Mustang forum!
To gain full access you must Register. Registration is free and it takes only a few moments to complete.
Already a member? Login here then!
"Kats66Pny" said:That sounds so
:ga
:lol
"Fast68back" said:Glad I'm not the only one that thought that....
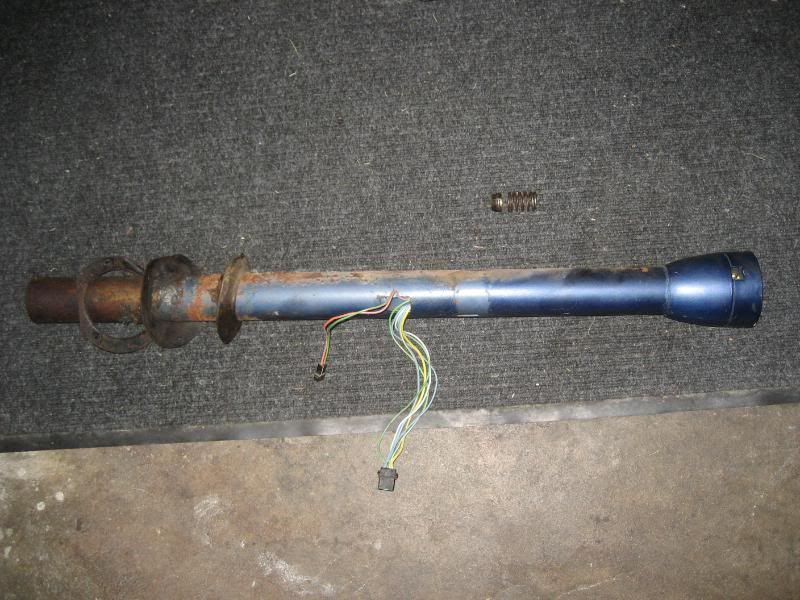
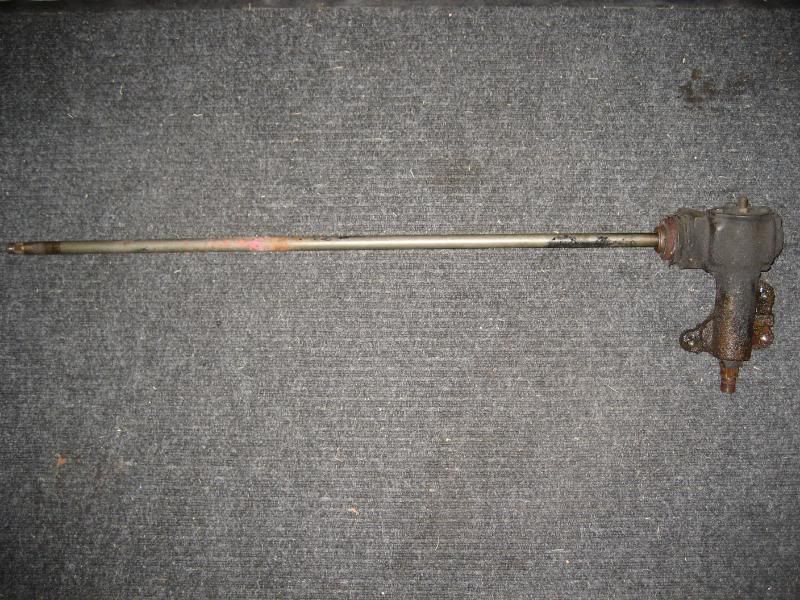
"daveSanborn" said:Abe, You can pickup a "loan a tool" steering wheel puller from most of the DIY auto parts stores.... and yes, the generic bolts that come with these kits never seem to be the correct size for these cars.
Personally, I wouldn't be hitting with a hammer a nice condition steering wheel that I planned on re-using.
"monkeystash" said:When I took my wheel off, it was a royal PITA too. I used a steering wheel/balancer puller, but it took a lot of pressure to break it loose. I had to use a 1/2" drive ratchet with a pipe on it. When it did break loose, it sounded like a gun shot...scared the shart out of me.
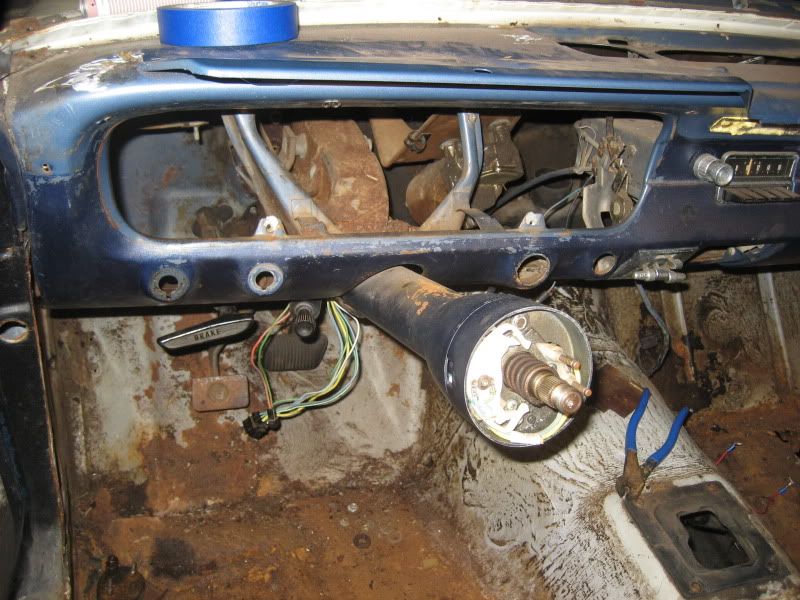
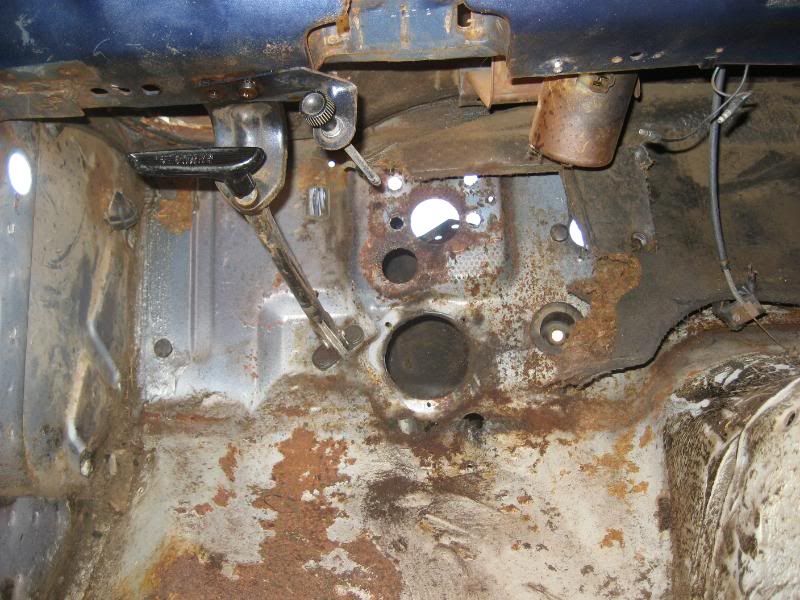
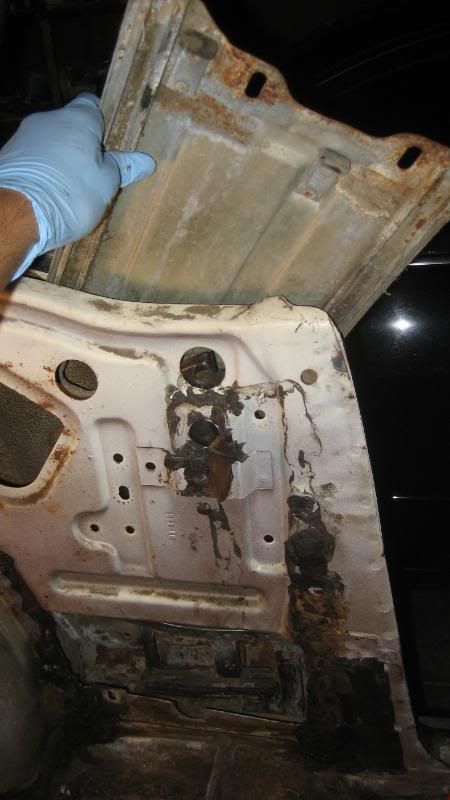
"fordrule" said:the interior dosent look that bad. a whole lot of alcohol and towels will clean alot of it up if you dont want to hit it with a pressure washer

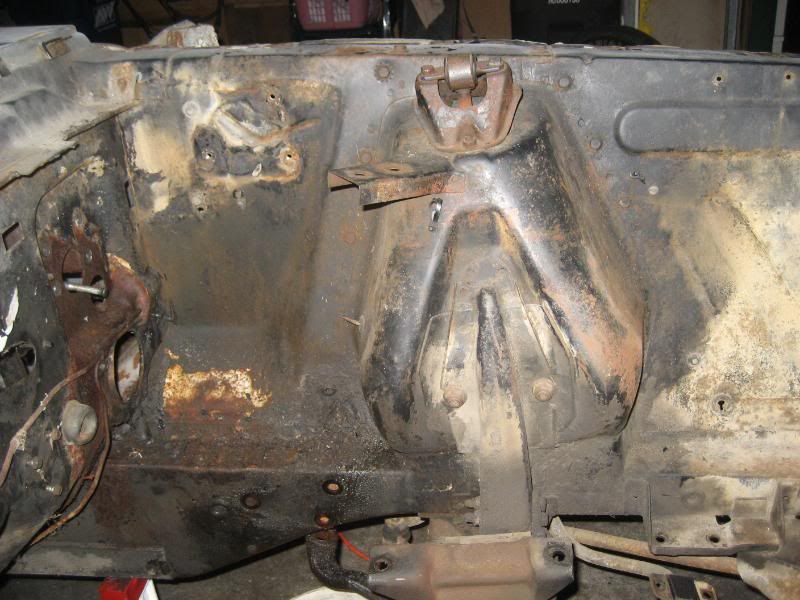
"fordrule" said:is it rust or crud.. isopropyl alcohol (rubbing alcohol) and green pads..wire wheel will take any paint or protection thats on the floor. but if that happens get some treatment and primer on it.


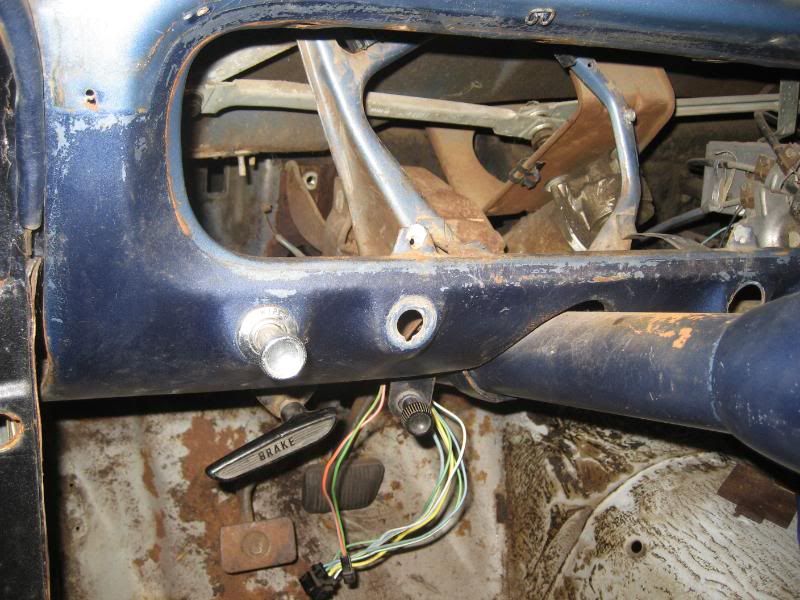
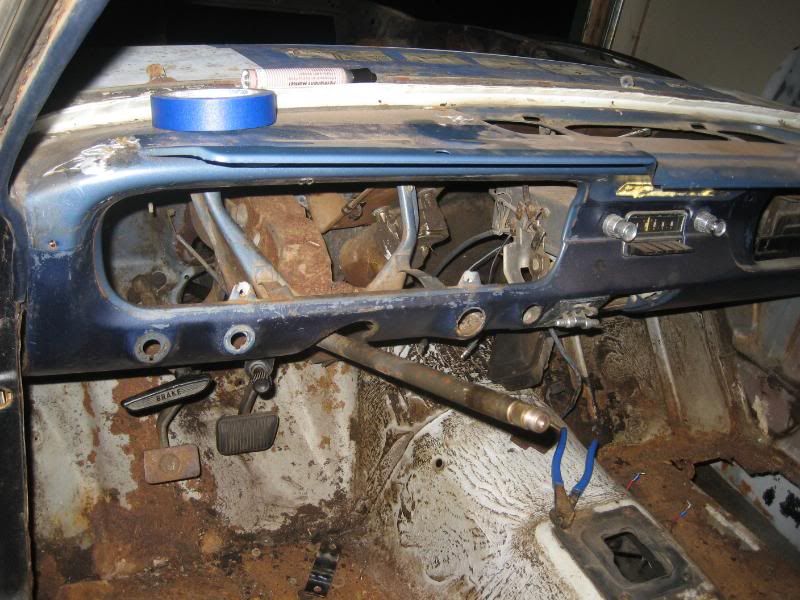
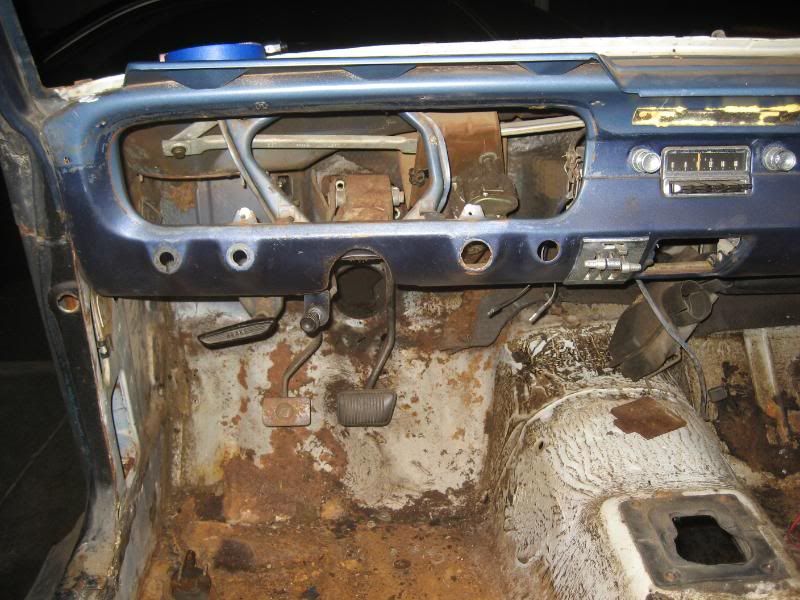
"abrahamfh" said:I would really like to wrap up removal of the temp control unit and the AM radio by tomorrow night. Any tips or suggestions would be great, thanks everyone.
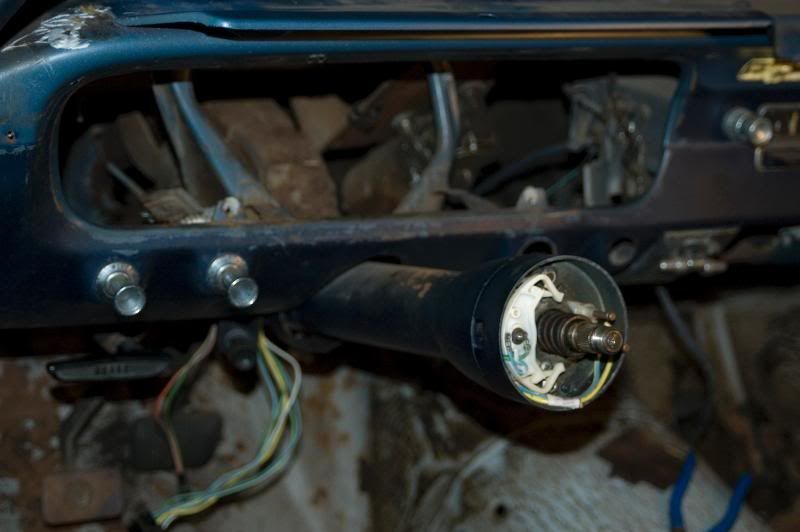
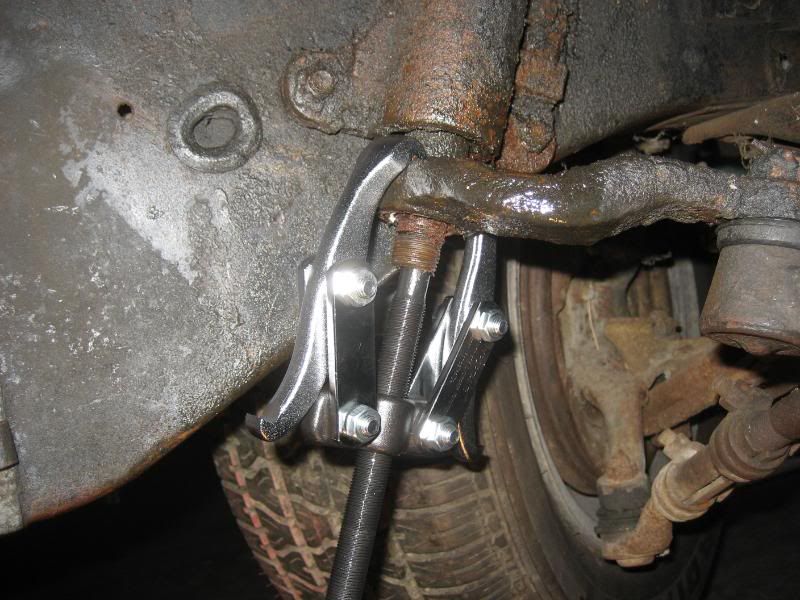
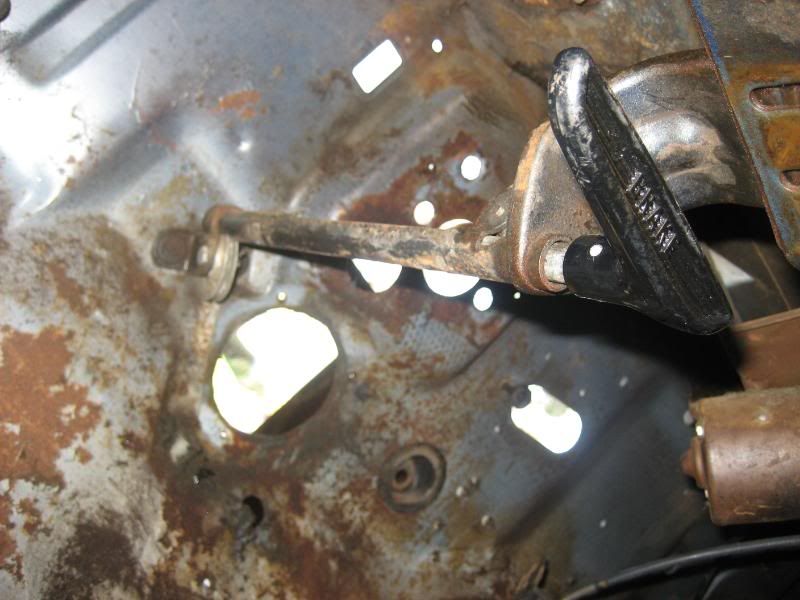
"abrahamfh" said:It all went really smoothly other than the shotgun sound that freaked me out when the Pitman Arm finally decided to break its 40 year bond.
"AzPete" said:Yep...one tip.....just remove them....30 min. job. lol
The temp. control has 2 bolts in the corners. They can be difficult to get the right angle of the wrench. Go slow. The radio might have a strap on the side towards the fire wall. Just a rear support and it should attach in the area of the front speaker mounting.
"stangg" said:When parts like that are so stubborn, instead of continuing to crank the heck out of the tool til it pops, crank the puller to the point where it's pretty darn tight, and then whack the side of whatever your trying to seperate with a hammer, sometimes a single tap will do... sometimes it takes a few hits from different angles. The vibration / shock along with the load applied by the puller is usually enough to seperate just about anything without too much fanfare.
btw, great post... like all the detail your putting into it...
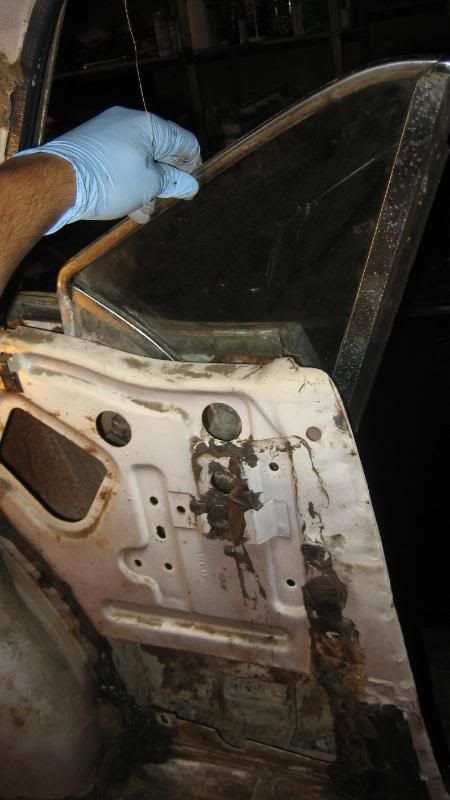
") nk Sorry Sorry) that it took them 2 hours to remove the window and regulator out. Not sure why? It took me about half hour, including the time to try and take some good pics as I went for a write up. I only removed the DS but tonight I will handle the PS, now that I have a better understanding of the removal process I think I will use the pics from tonight for the write up.
nk Sorry Sorry) that it took them 2 hours to remove the window and regulator out. Not sure why? It took me about half hour, including the time to try and take some good pics as I went for a write up. I only removed the DS but tonight I will handle the PS, now that I have a better understanding of the removal process I think I will use the pics from tonight for the write up.
"lethal289" said:Wow, if it takes 9 months for teardown, how long is reassembly going to take? :craz
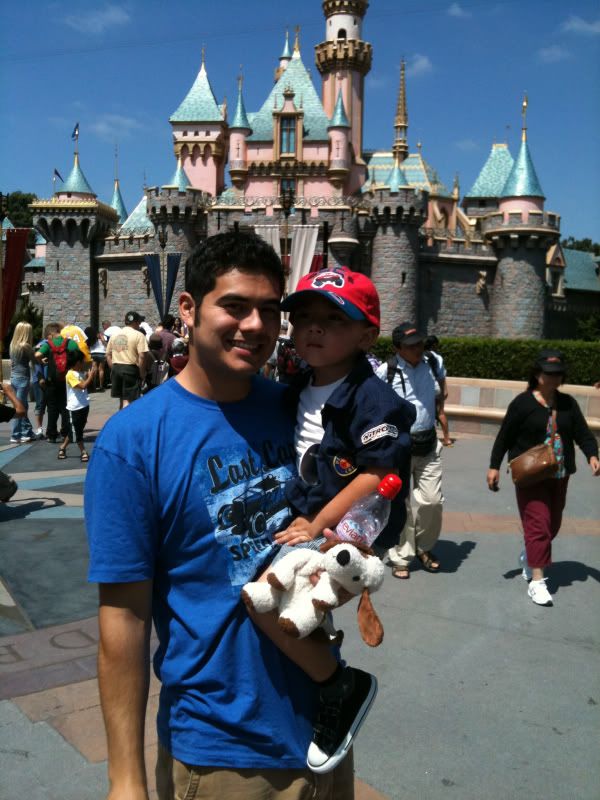


He was soo mad that he wasnt tall enough to get on the train rollercoaster, took him a hour and the pirates of the carribean to cool off.