daveSanborn
Active Member
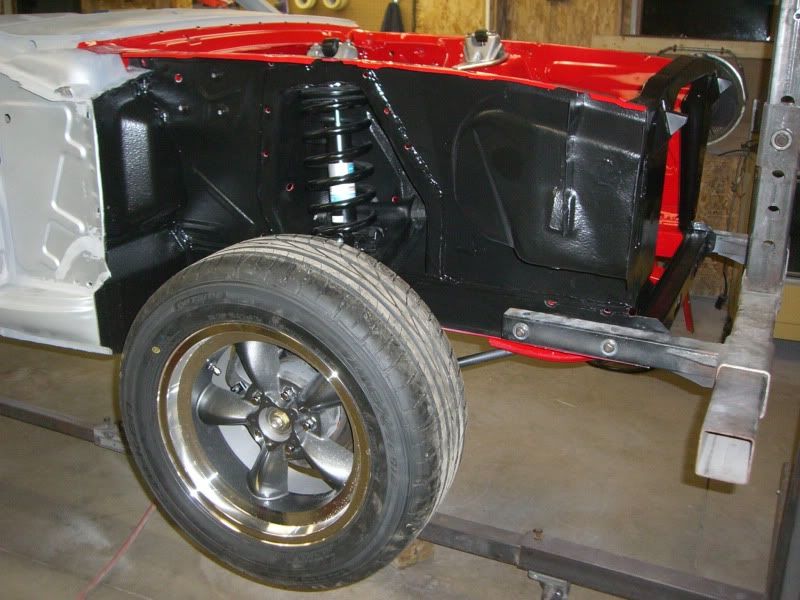
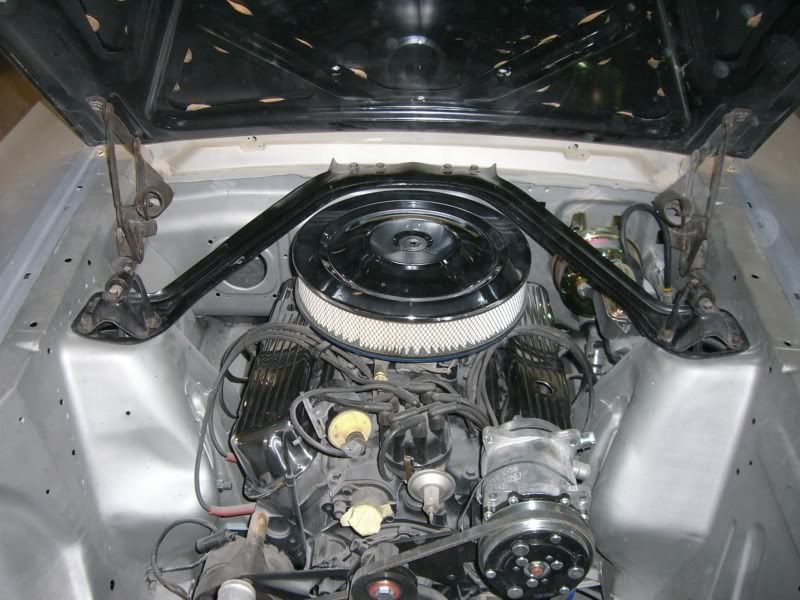
I see some pins or bolts (or something) on the rear legs of the roll bar. What are they?
Follow along with the video below to see how to install our site as a web app on your home screen.

Note: This feature currently requires accessing the site using the built-in Safari browser.
Hello there guest and Welcome to The #1 Classic Mustang forum!
To gain full access you must Register. Registration is free and it takes only a few moments to complete.
Already a member? Login here then!
Weekend fun car, not a family commuter.
From what I understand the Fox booster is basically same same booster body as the 69 PB booster."Lemondrop" said:Wow,
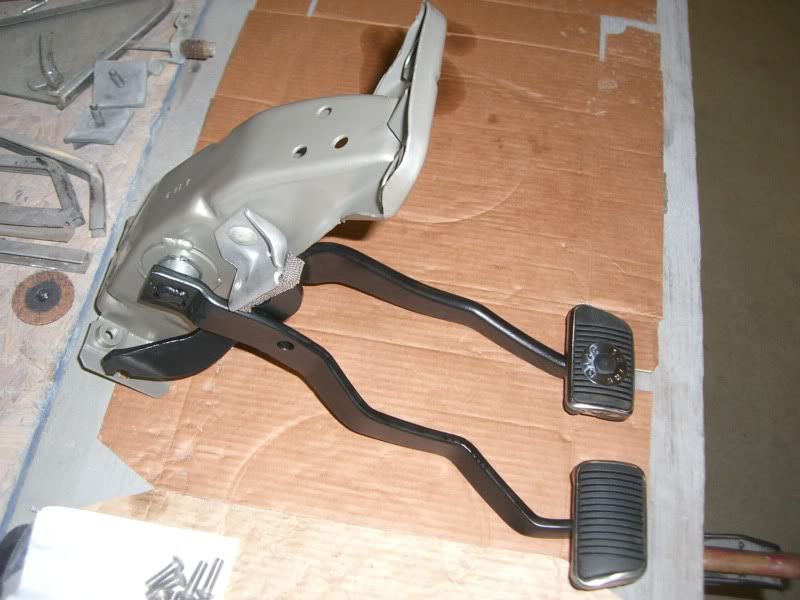
guess I've been out of the loop for a while with parts/mods. Will that clutch cylinder kit clear a fox body brake booster (mustang steve's mod)?