Fst Blk
Well-Known Member
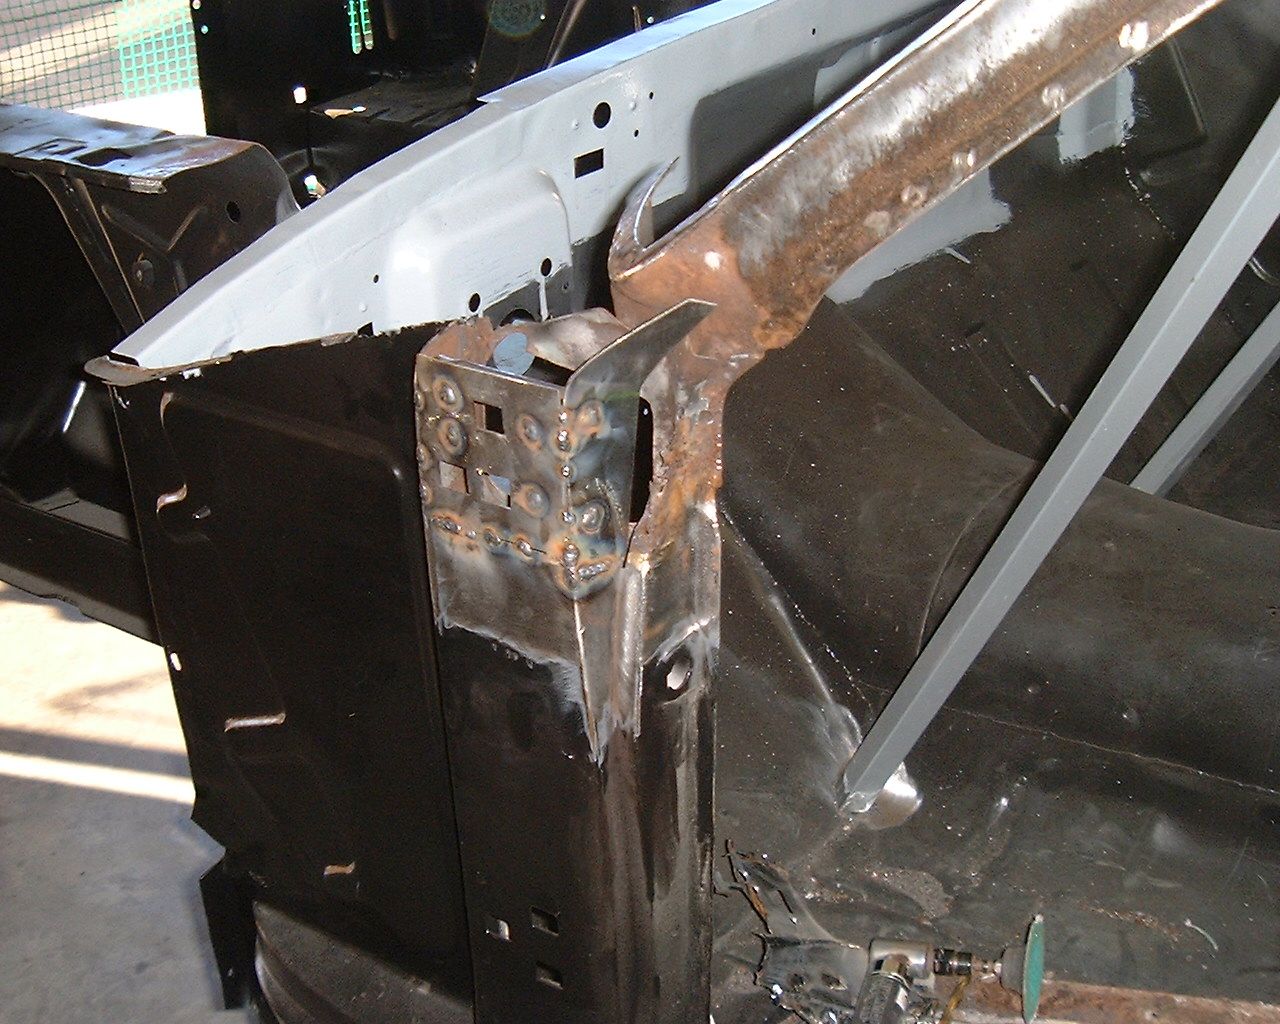
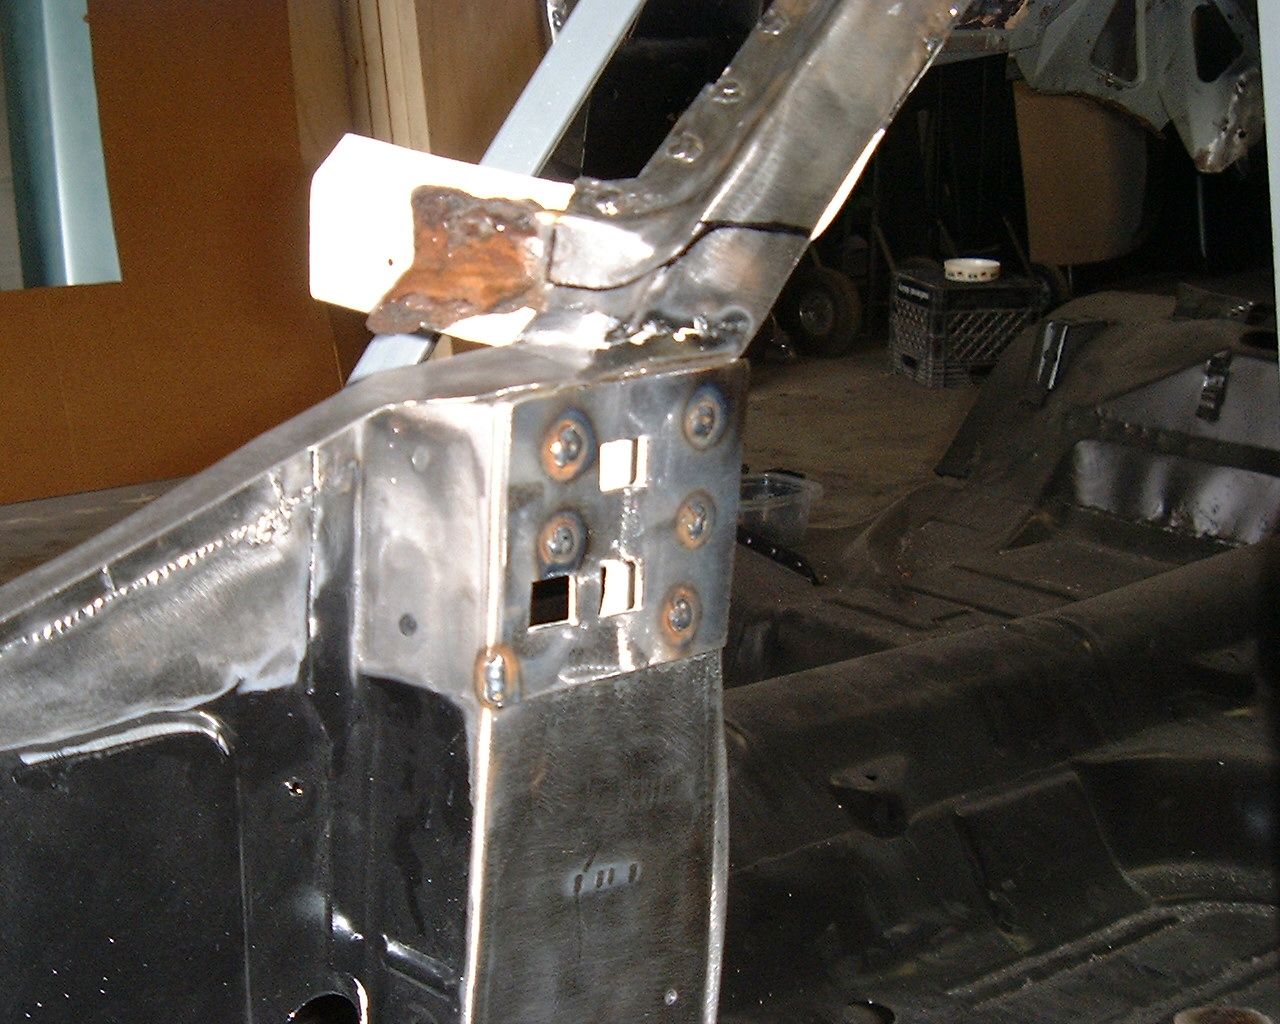
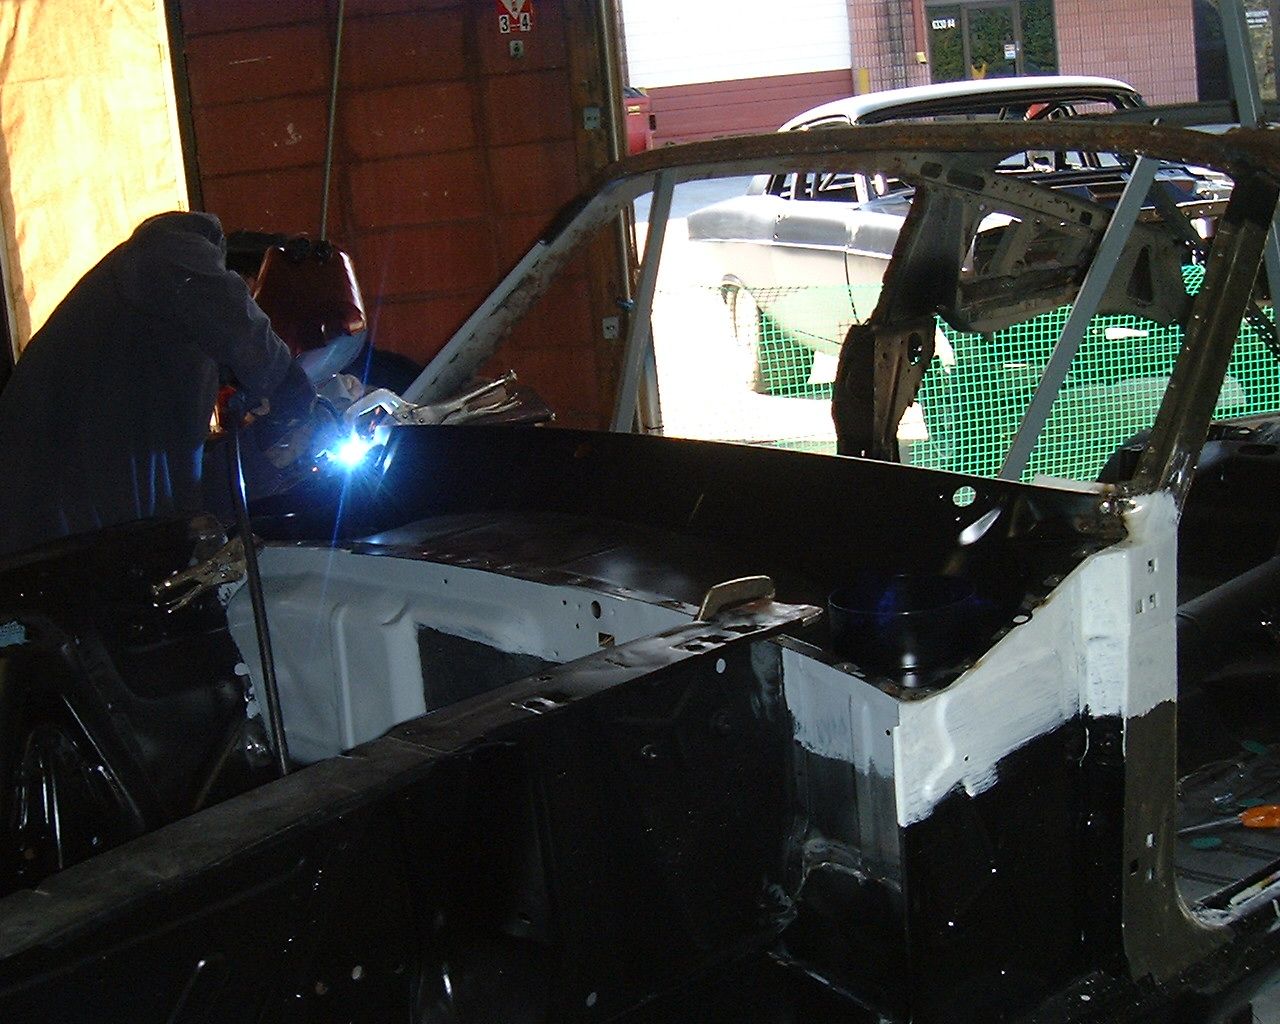
"GPR" said:We use a argon co2 mix is that what you wanted to know since I'm not a welder.
Yeah that's what I was wondering thanks.
Bill
Follow along with the video below to see how to install our site as a web app on your home screen.
Note: This feature may not be available in some browsers.
Hello there guest and Welcome to The #1 Classic Mustang forum!
To gain full access you must Register. Registration is free and it takes only a few moments to complete.
Already a member? Login here then!
"GPR" said:We use a argon co2 mix is that what you wanted to know since I'm not a welder.
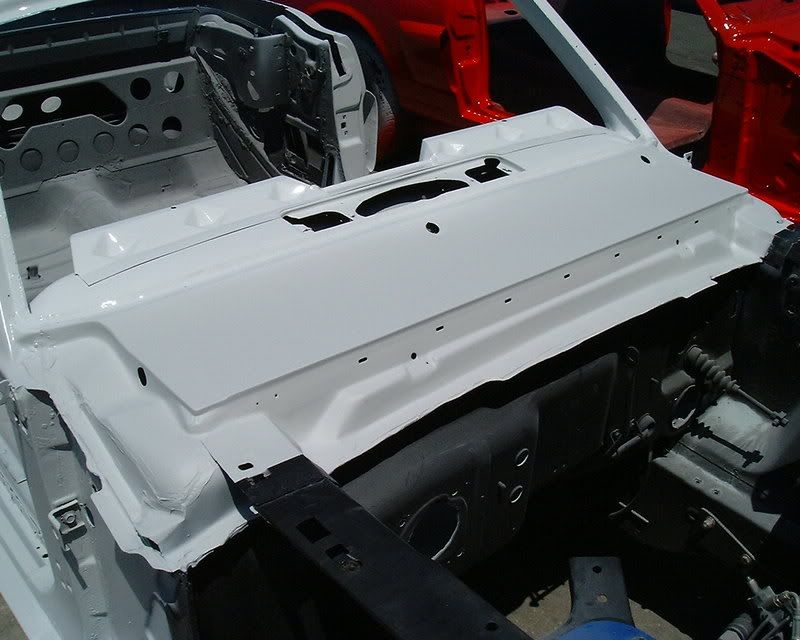

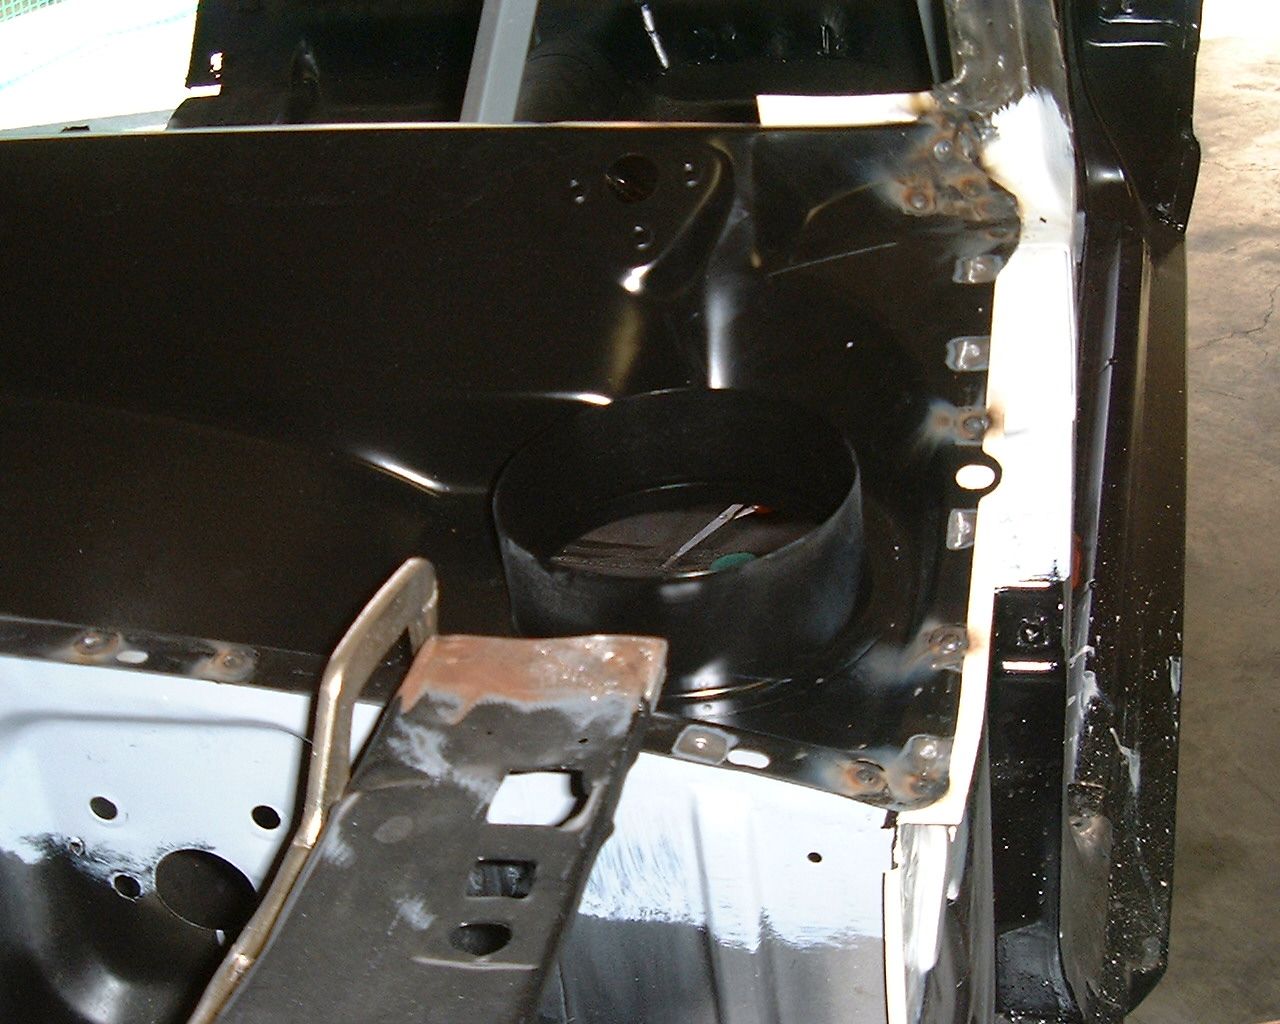
"65-408" said:I like the smoothed firewall, but what is the plan for defrost?


"jtfx6552" said:Are you guys going to reuse the original roof? Otr are you going to put on a repop?
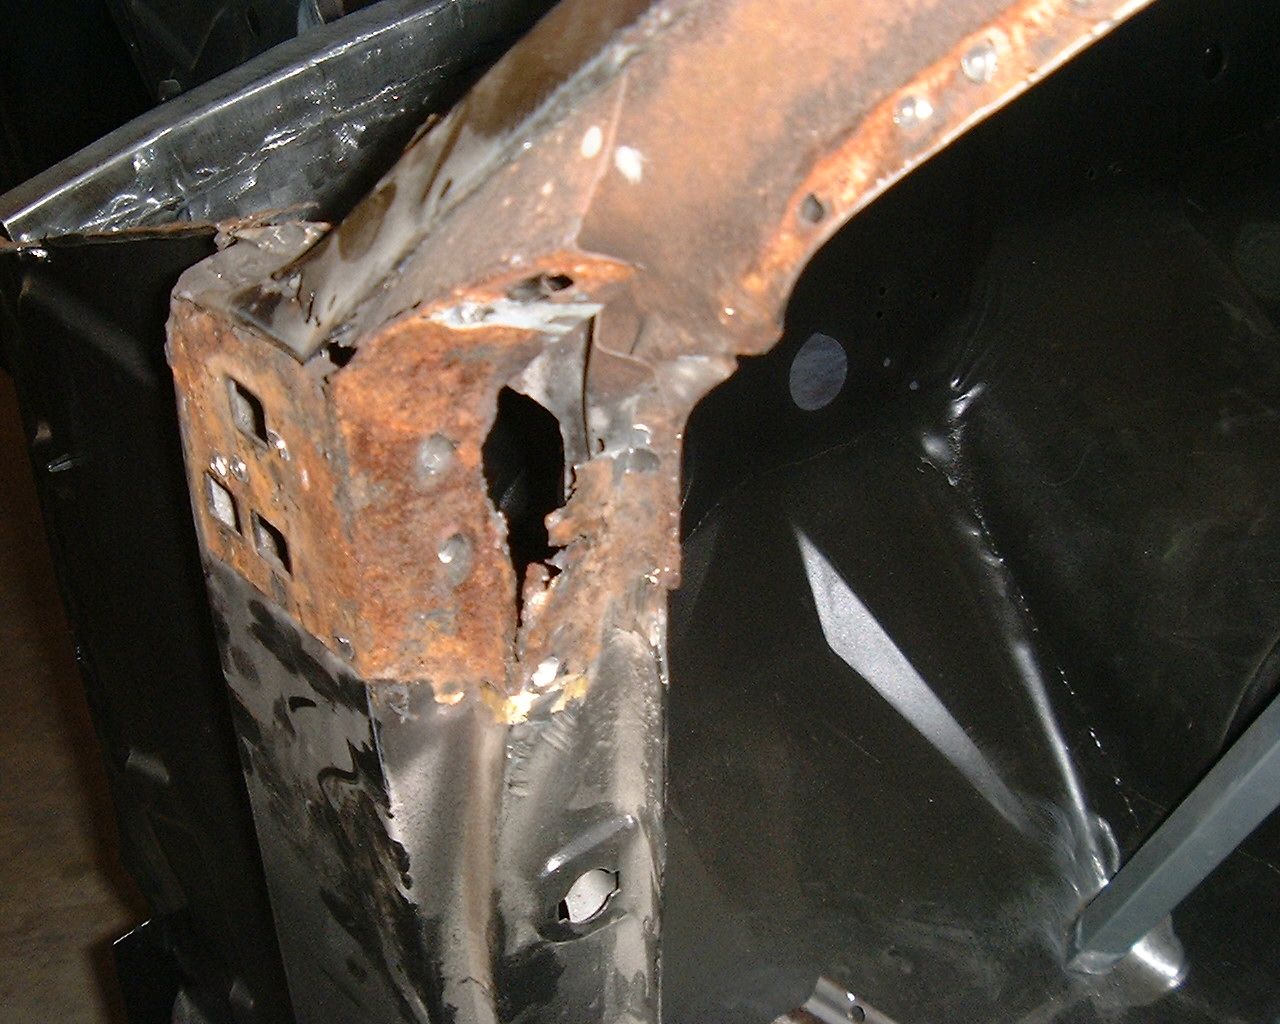
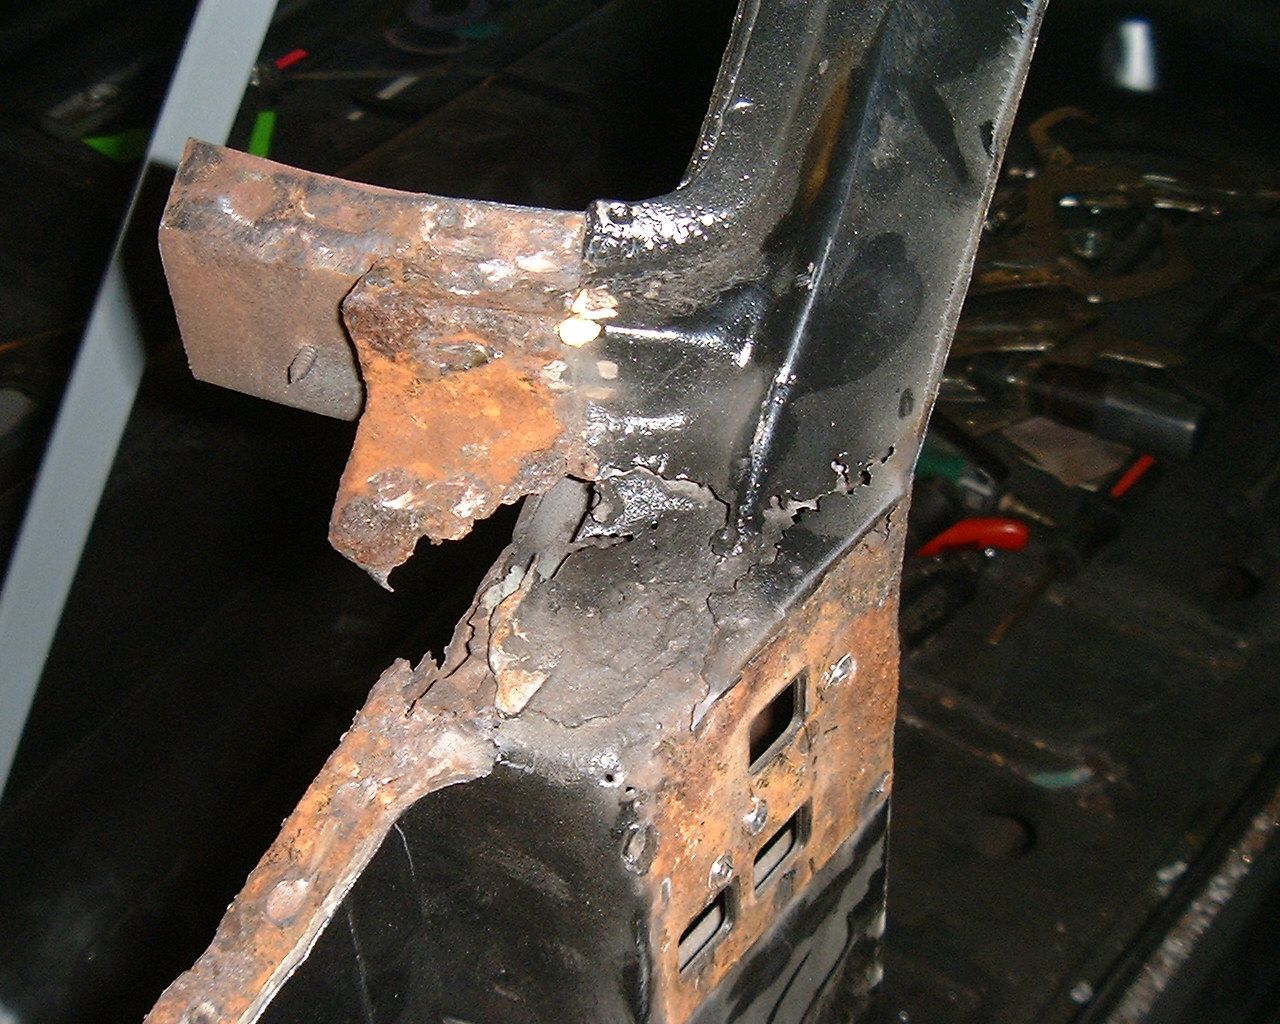
I have some rust holes along the back edge of my roof and from what i can see in through the holes, a lot of rust on the support that runs underneath.
I'm trying to figure out If I should take off the whole roof to clean that all out, or just cut off the back edge and patch it.
I don't seem as good as you guys at drilling spot welds dead nuts on center, so I'm sure if I take off the whole original roof, the side edges will be too messed up to put it back on.
Further, dressing off plug welds in the recessed area between the drip rail and the roof doesn't seem like it would be fun either.

"jtfx6552" said:I've been anxiously awaiting updates...In some earlier pictures it seems the car has some rust around the trap door opening/roof support? I was curious how you were going to handle that.
I just noticed that this became available:
I have one to install in mine since I had a lot of rust back there.
It's a shame, Dynacorn made it with one less piece on each side. I'm changing the one I got to match the original version.
I still haven't commited to taking the roof off though...yet
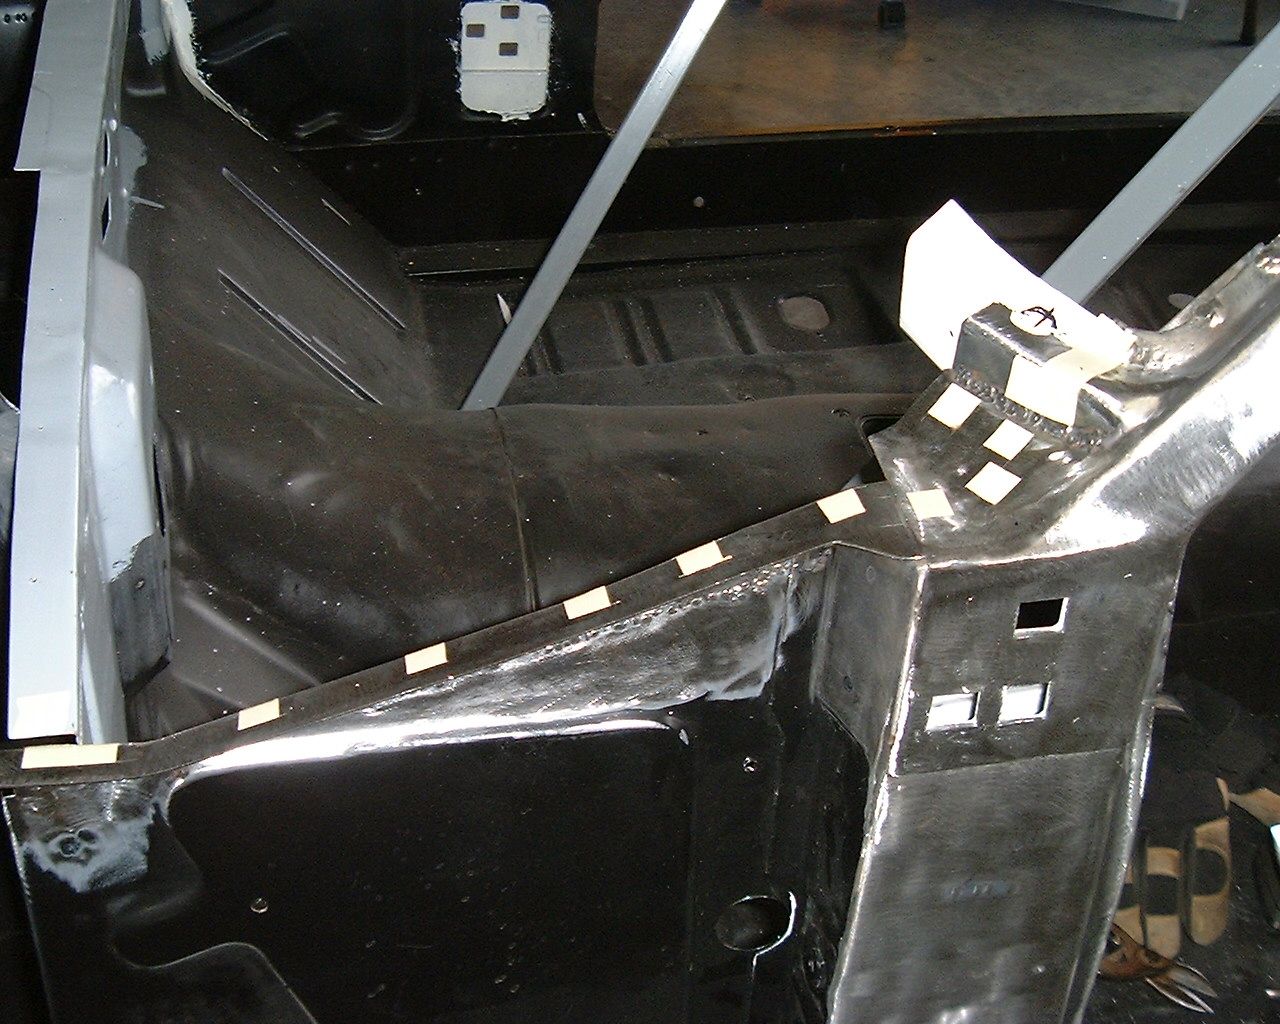
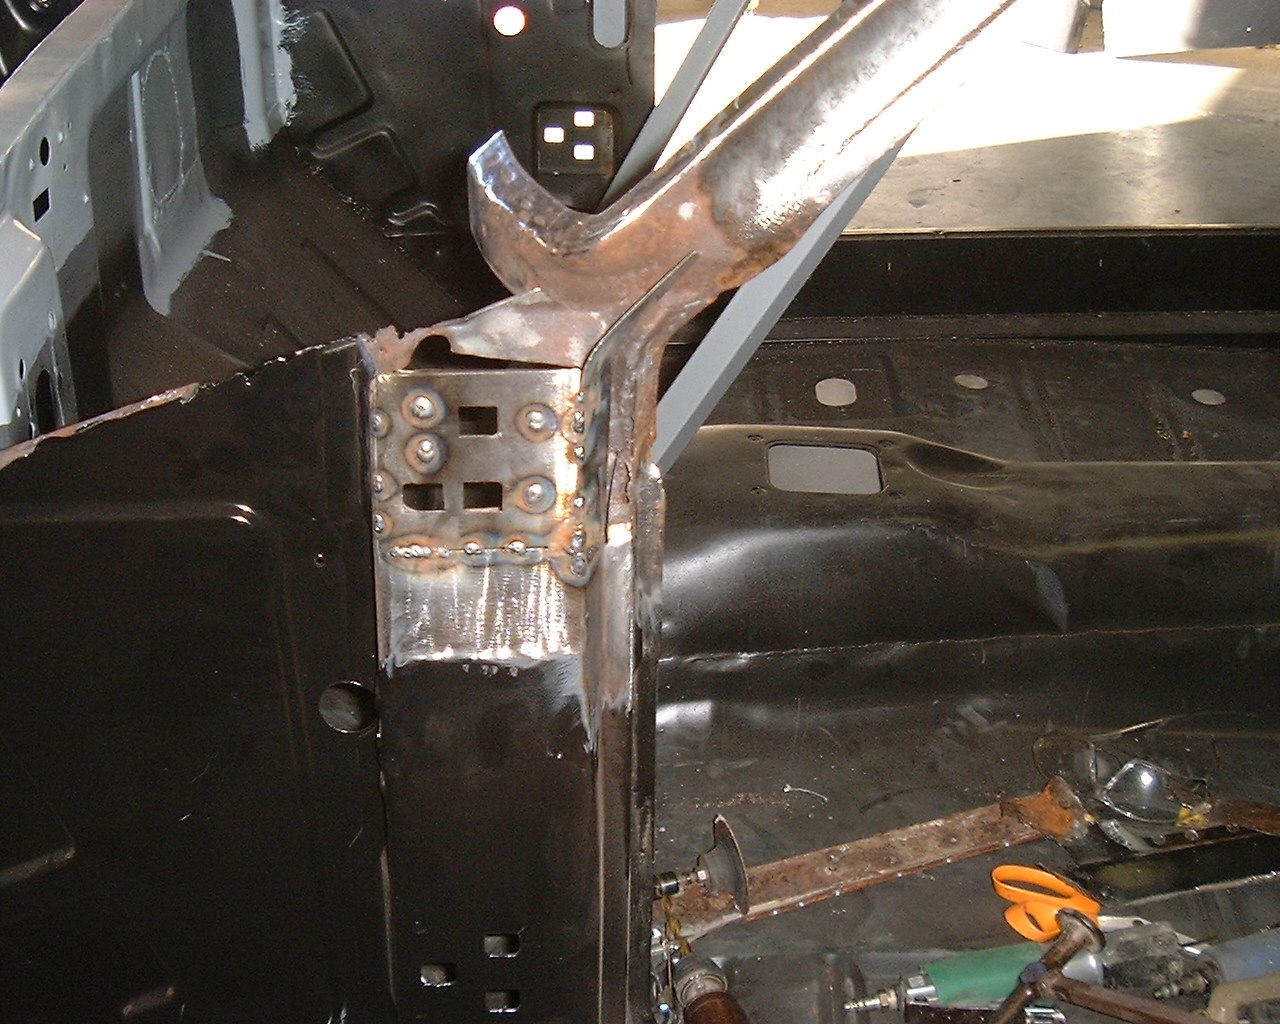
I am soo going to be borrowing this idea, thank you.
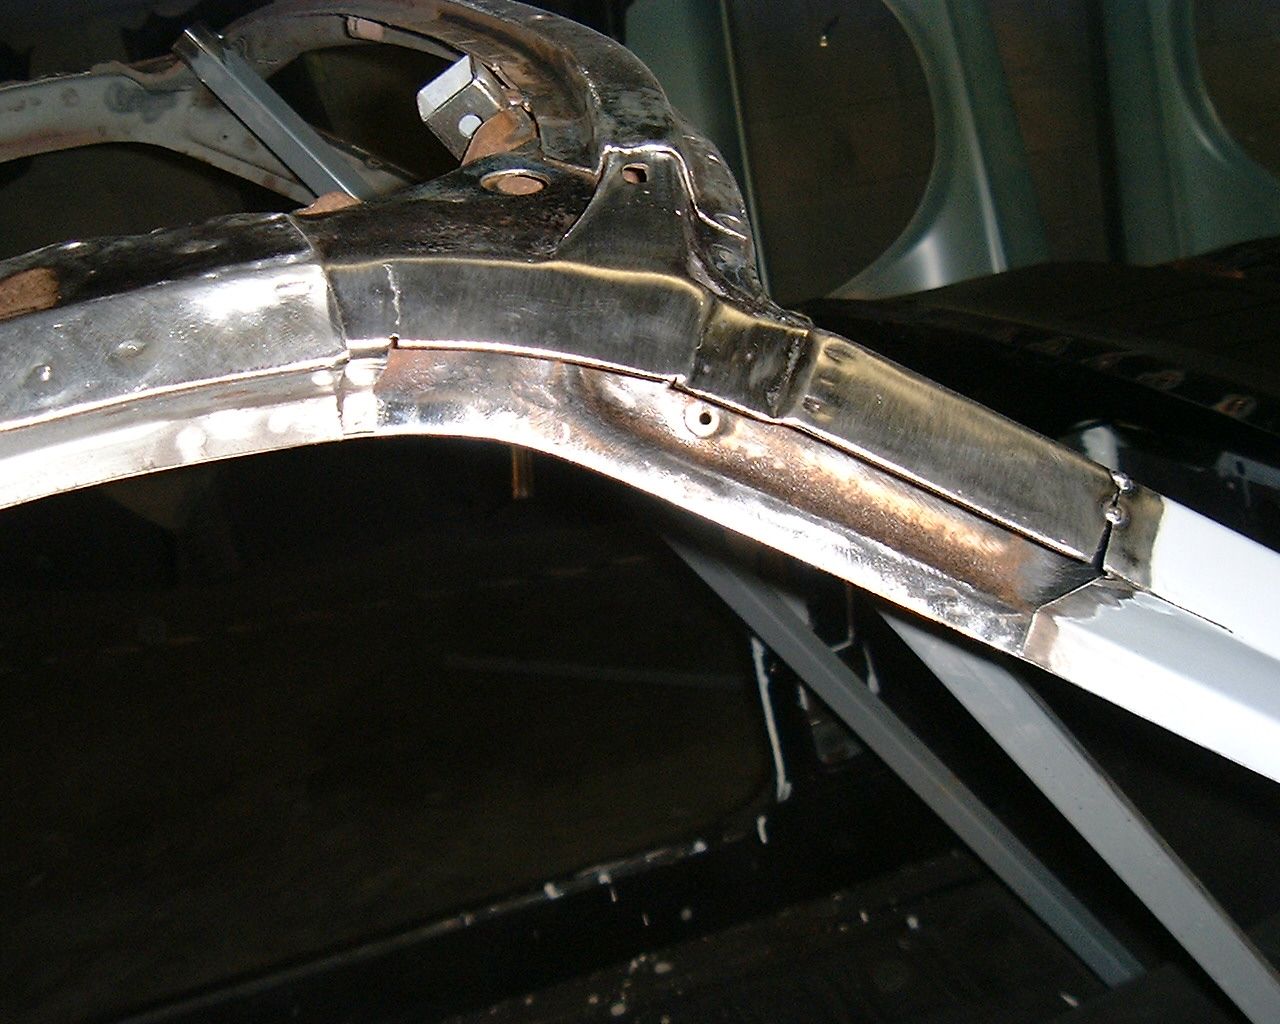
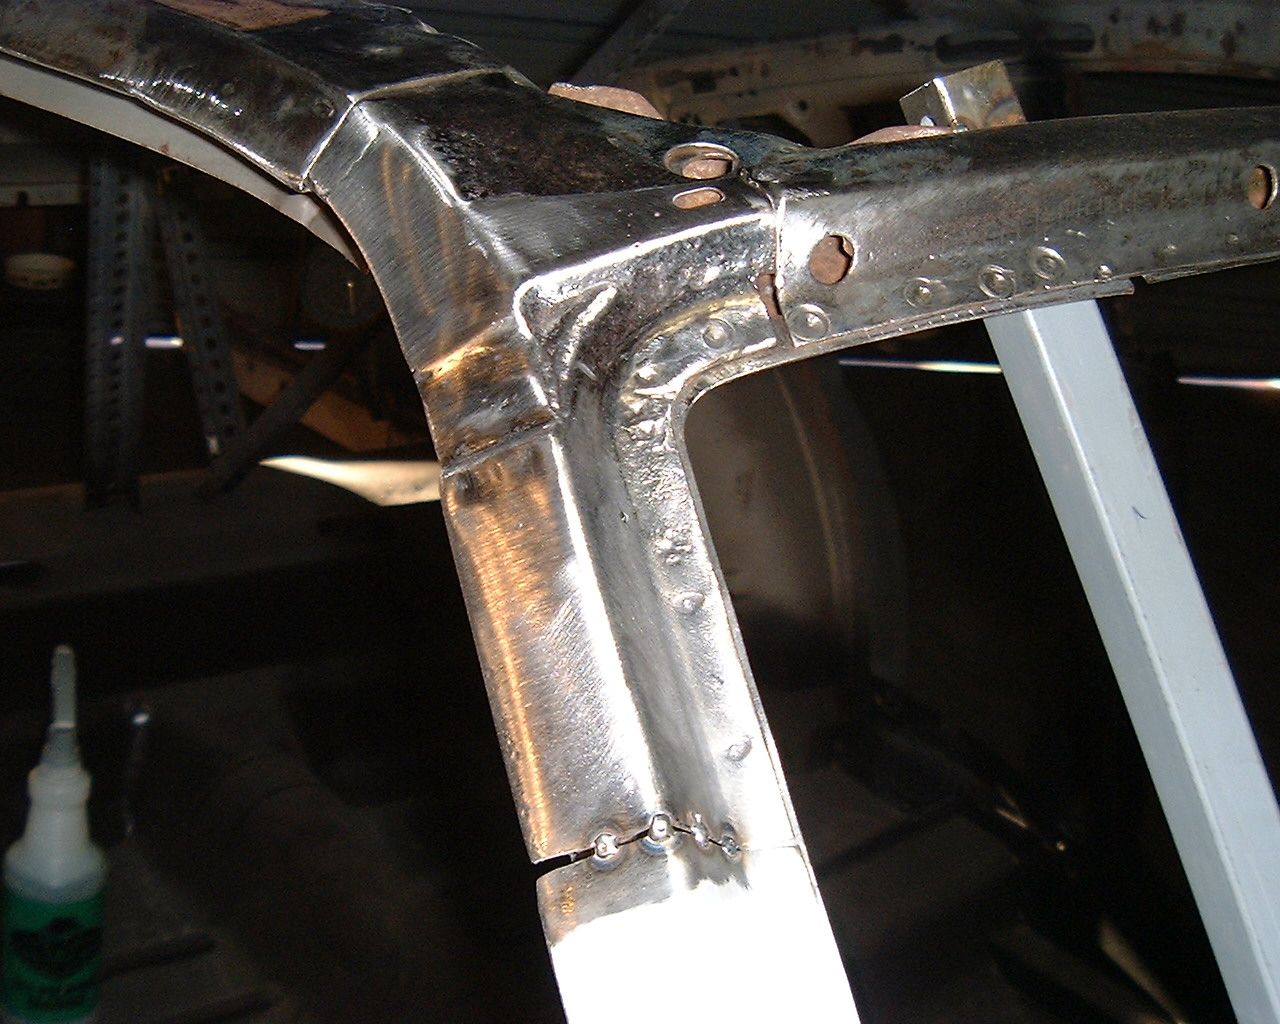

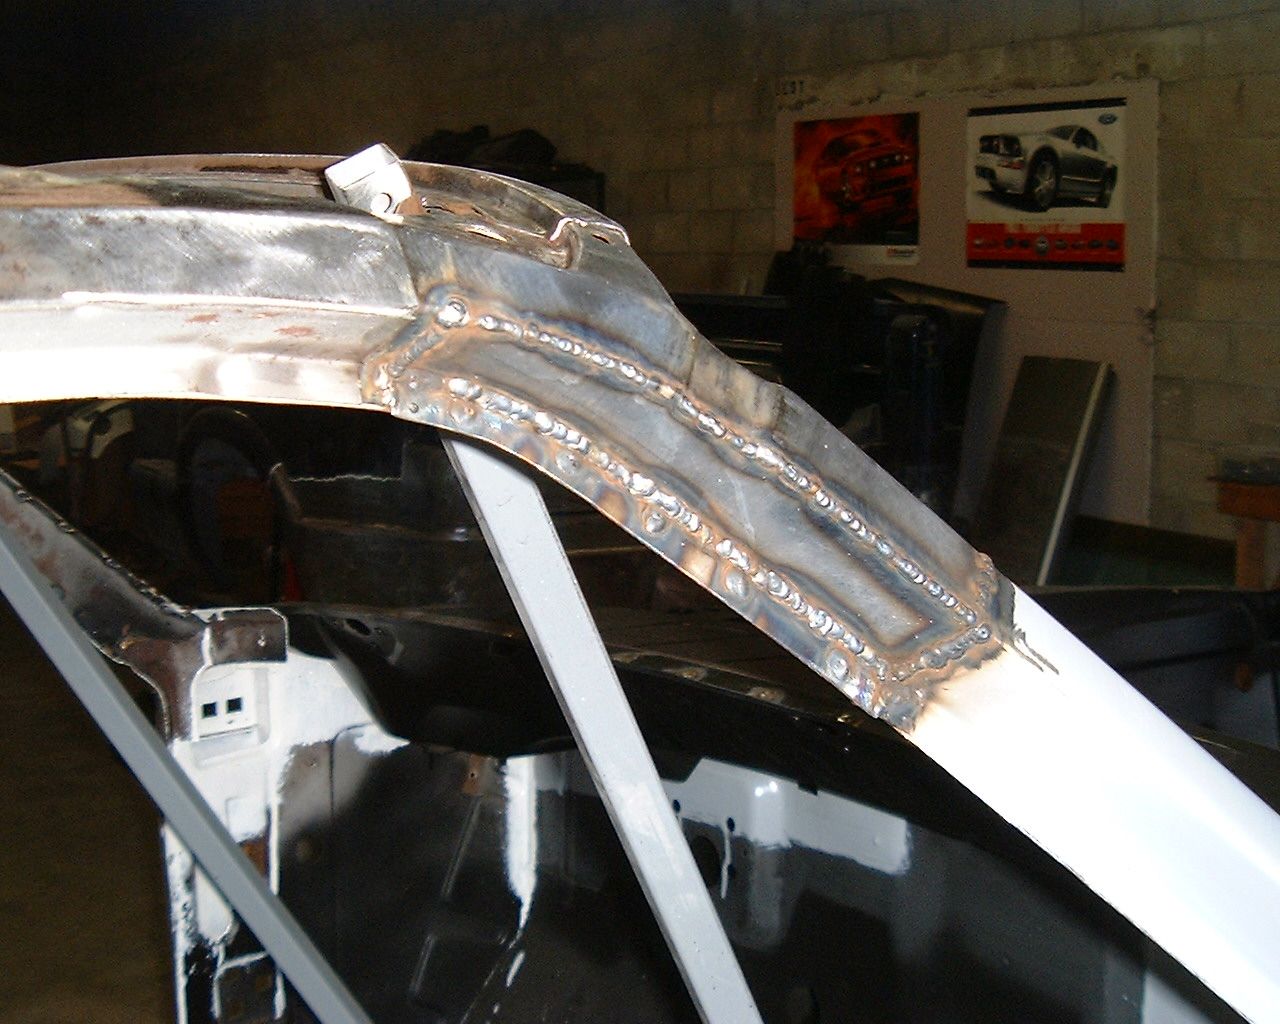
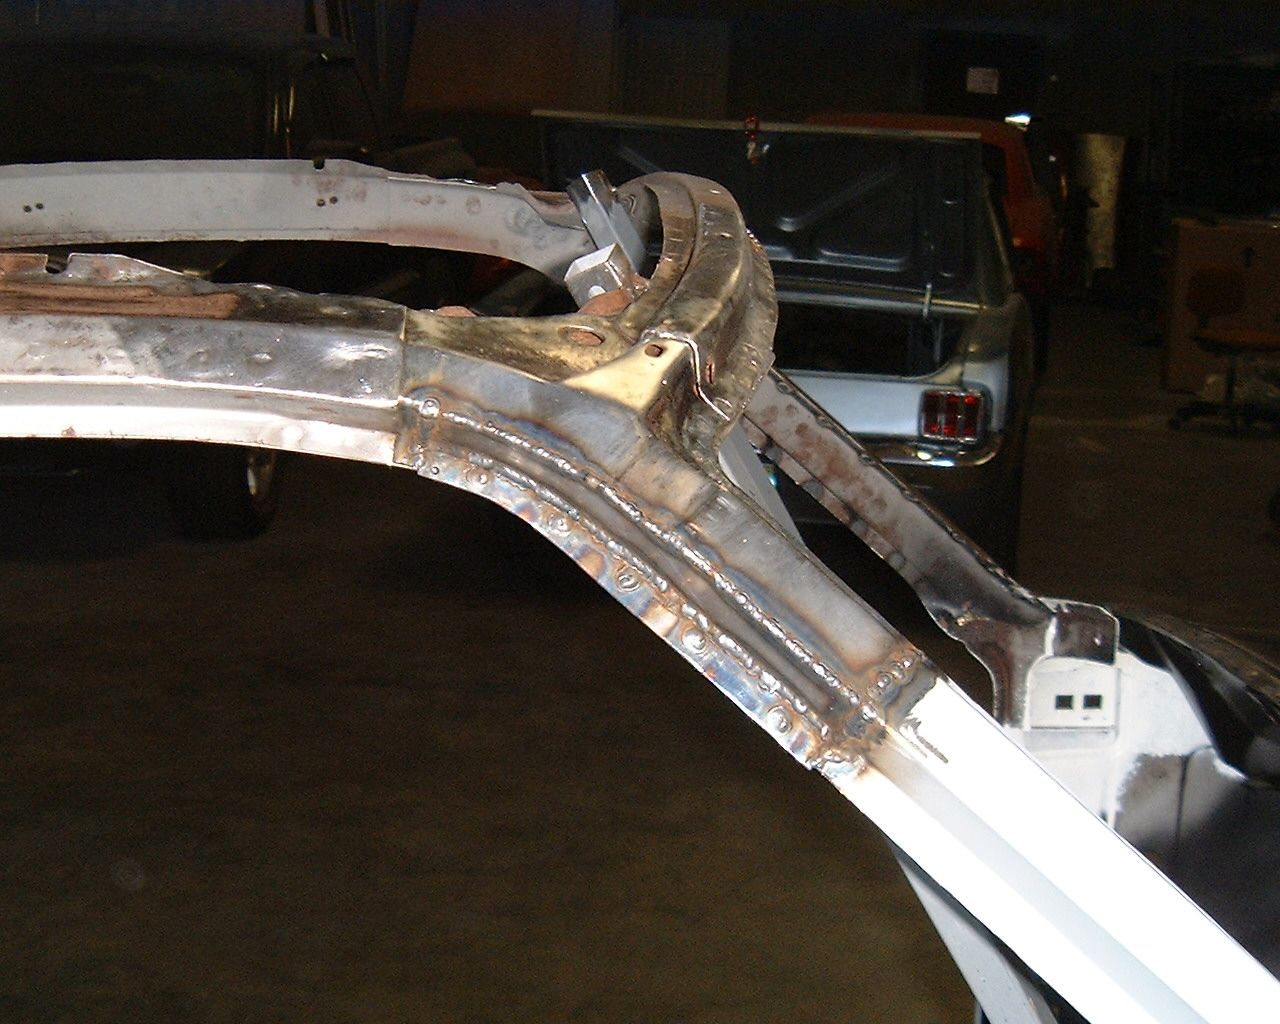
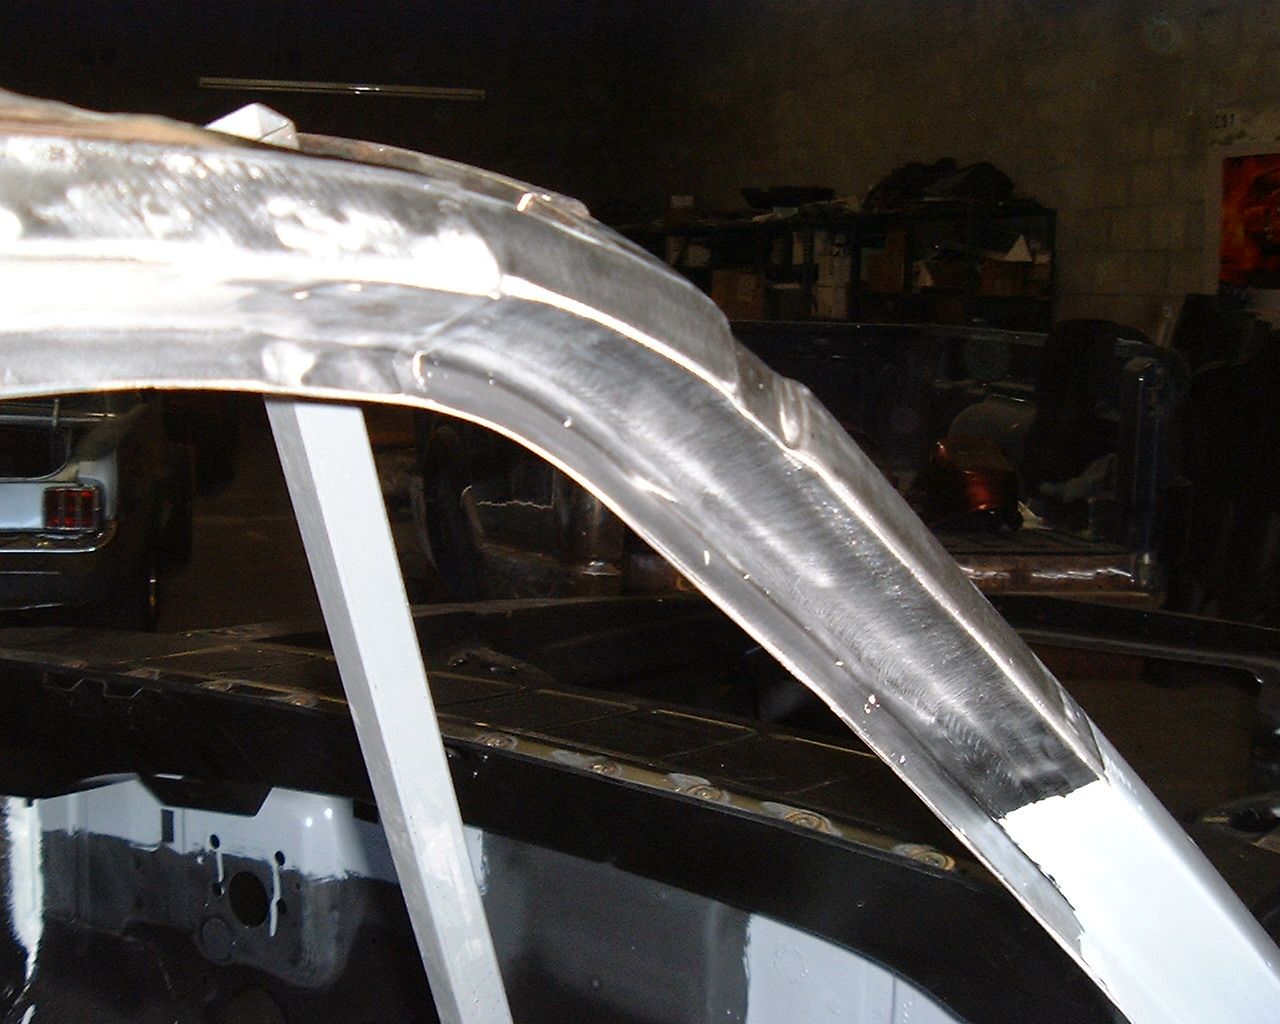
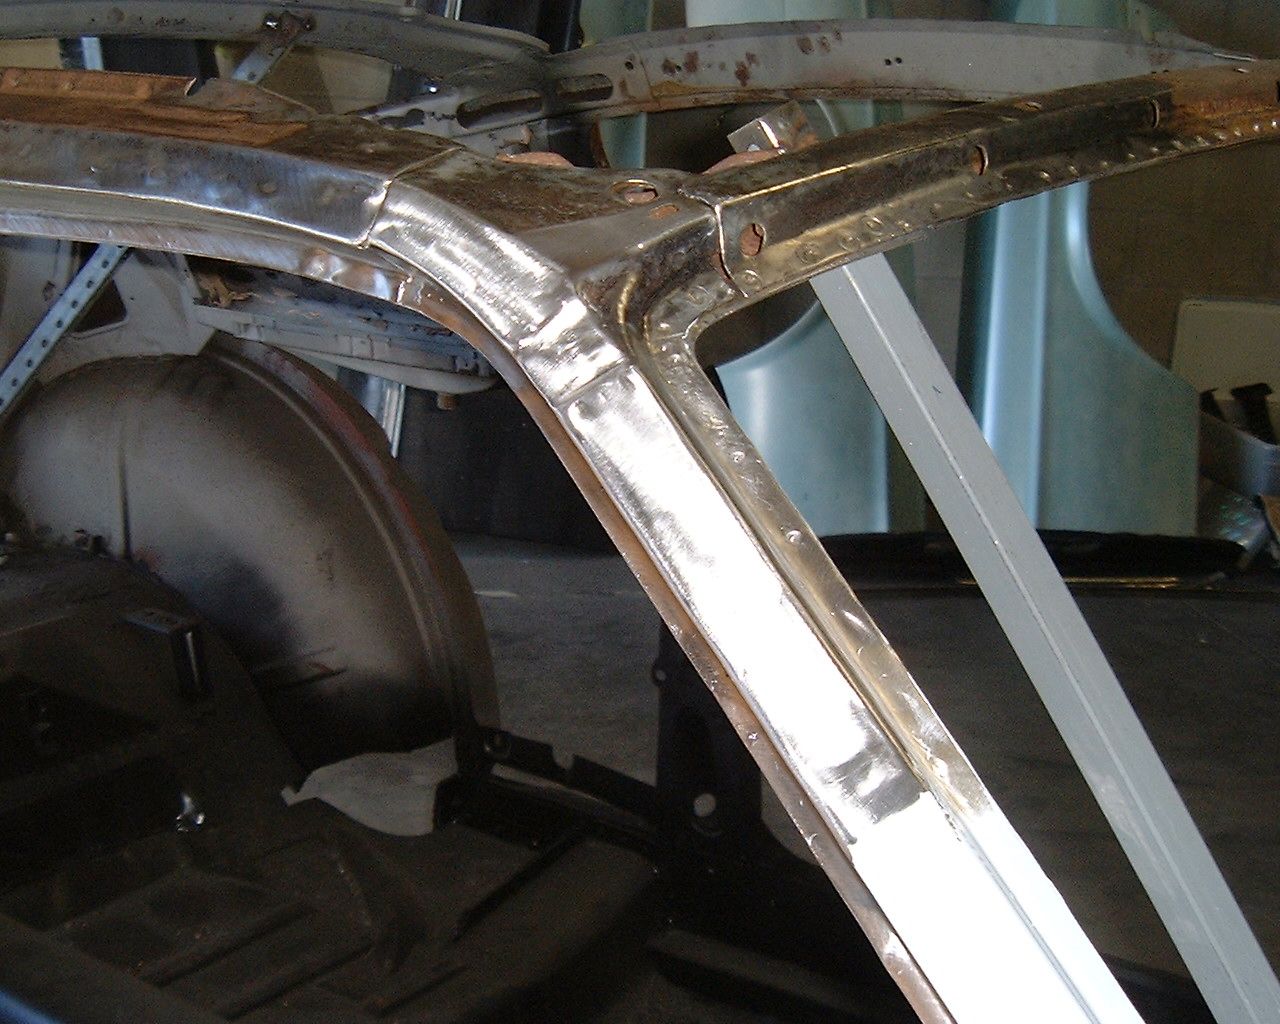
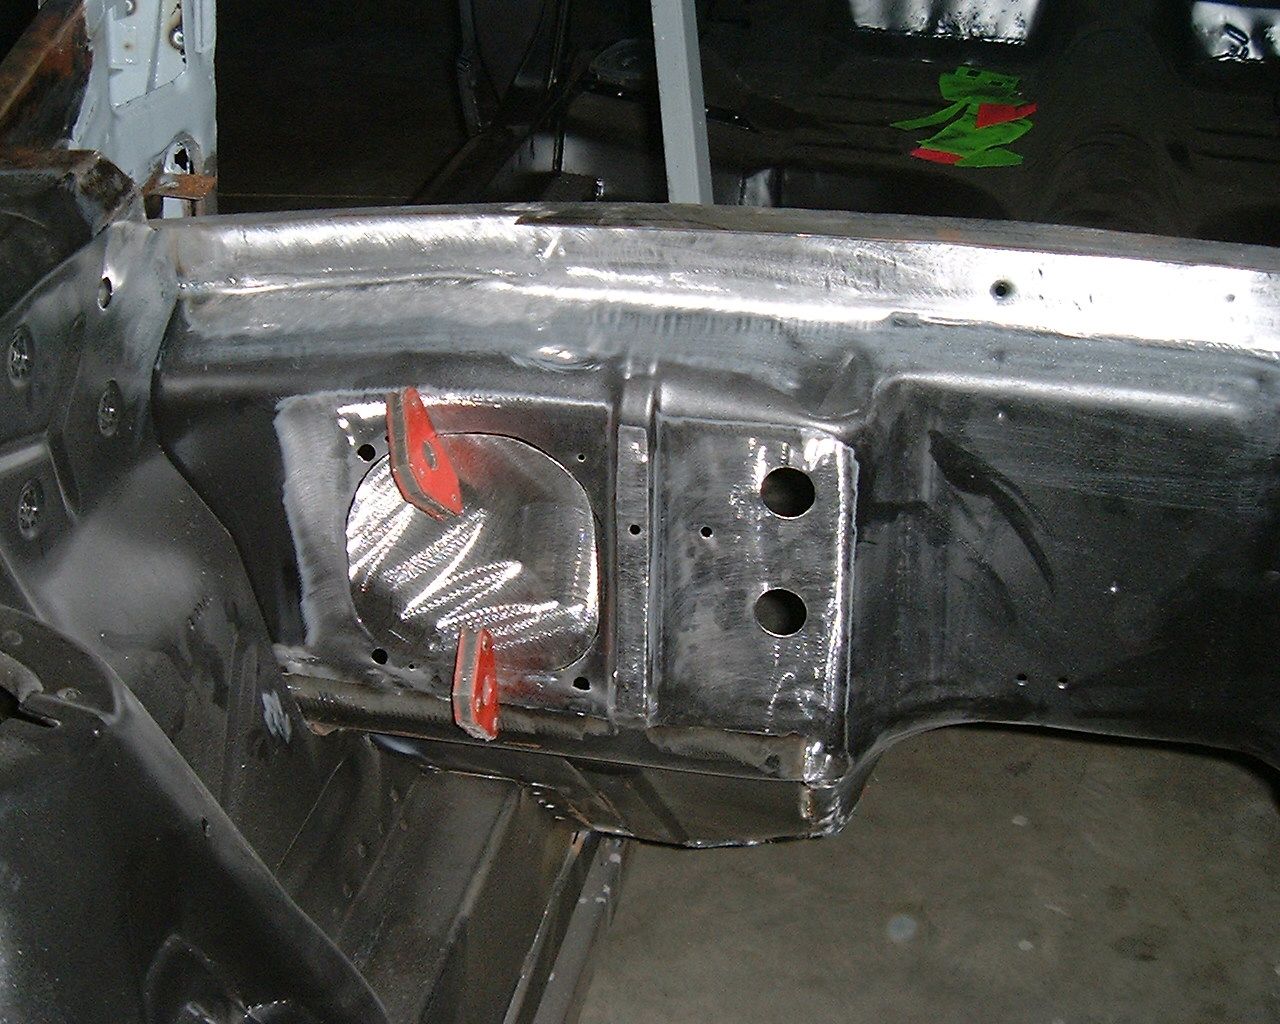
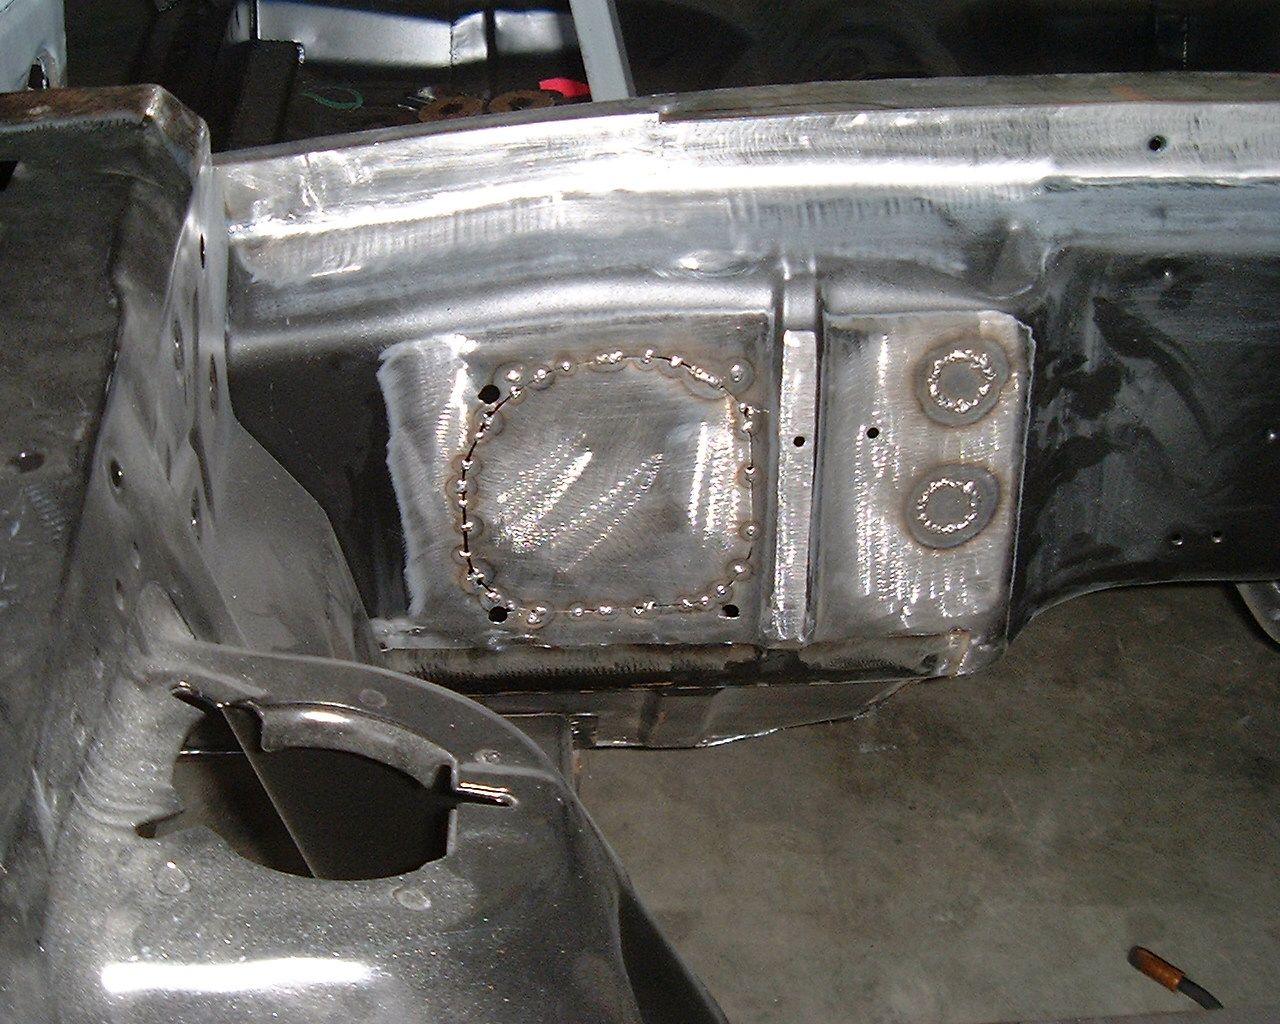
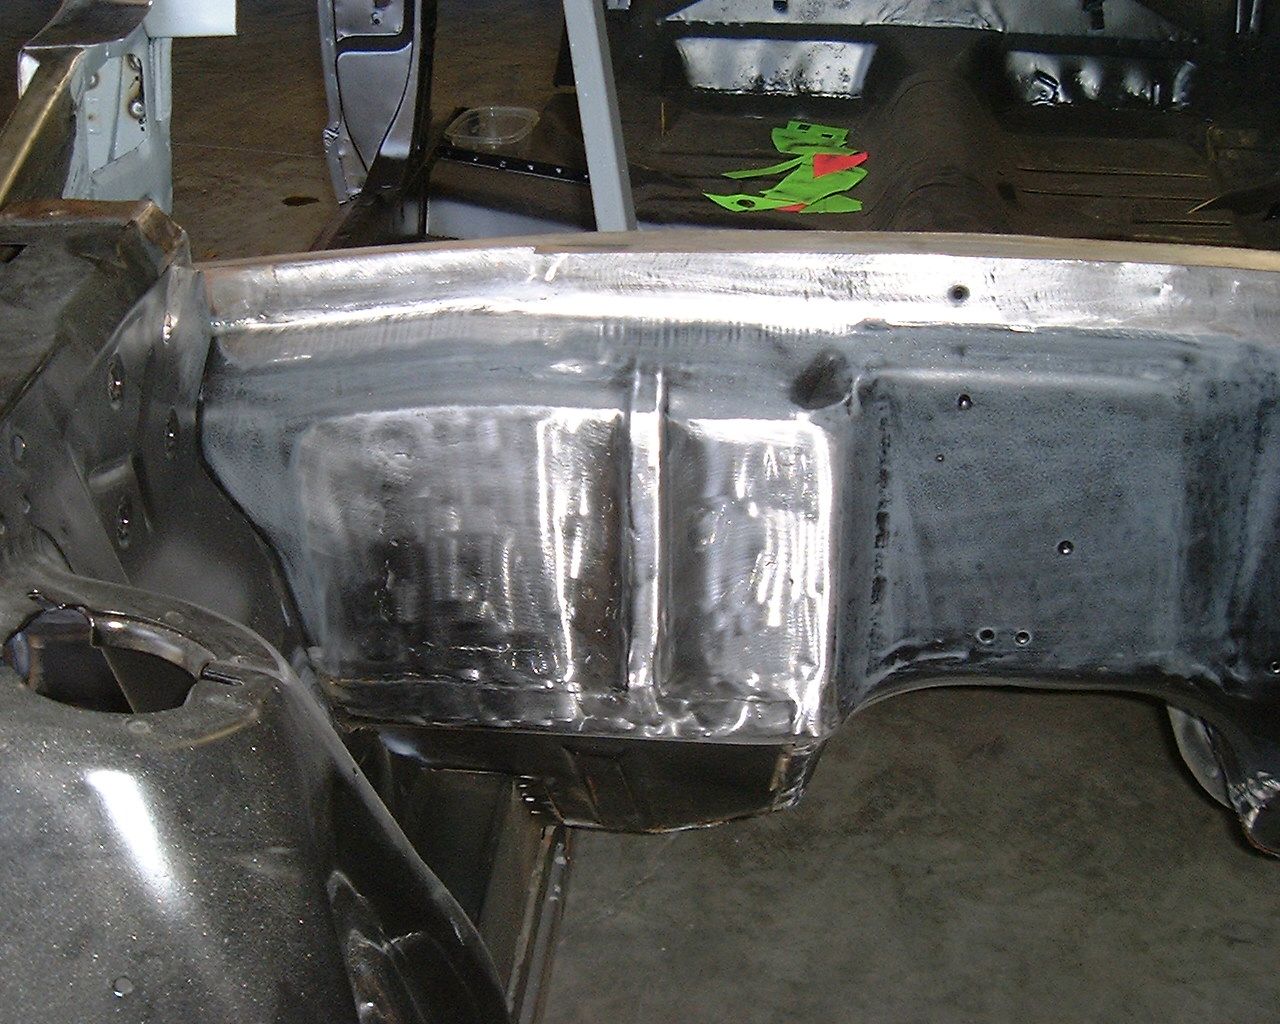
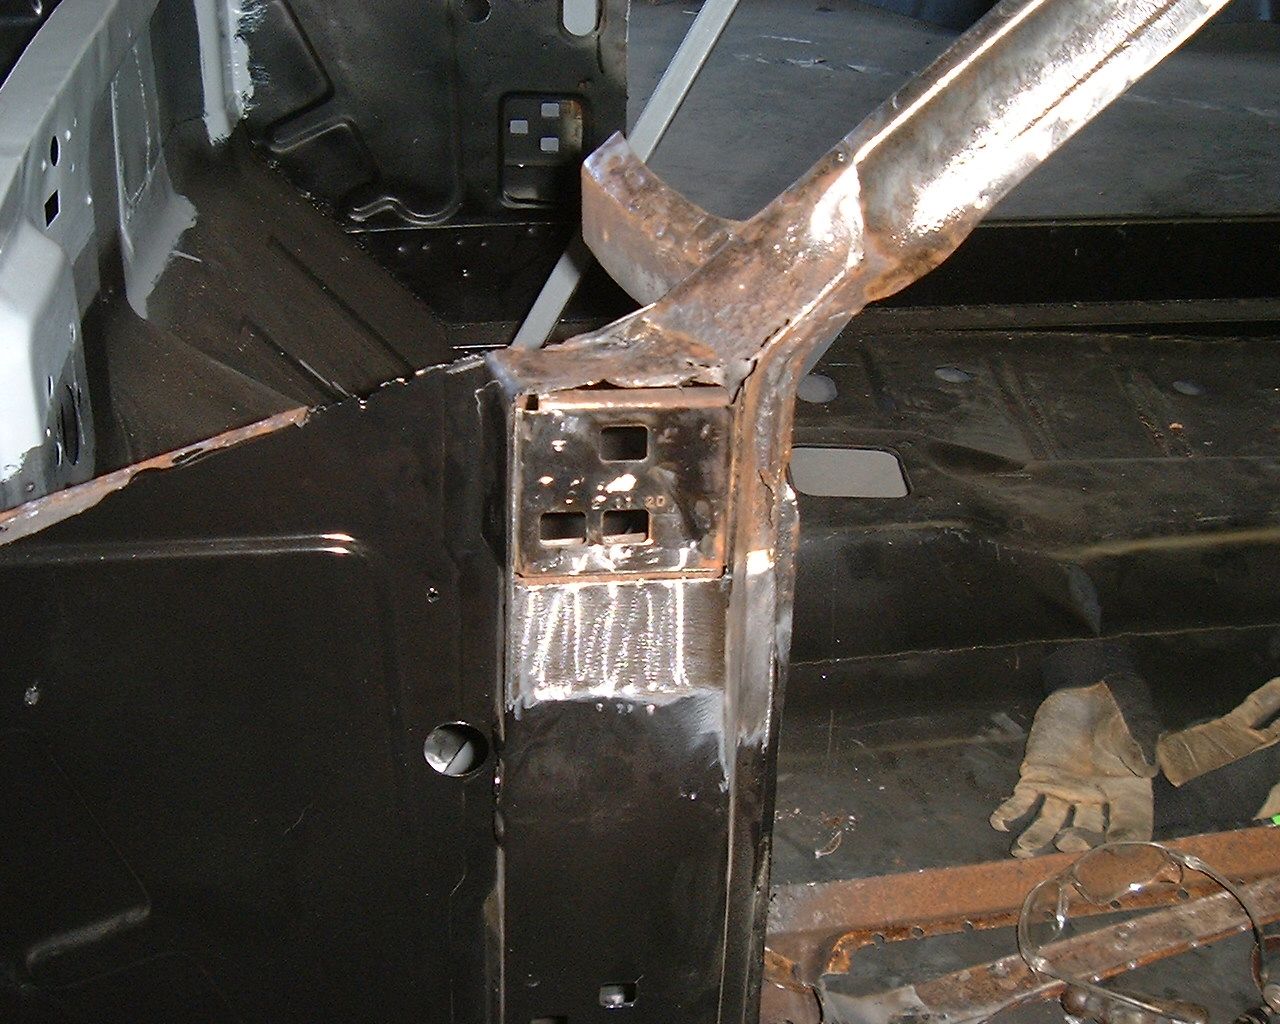
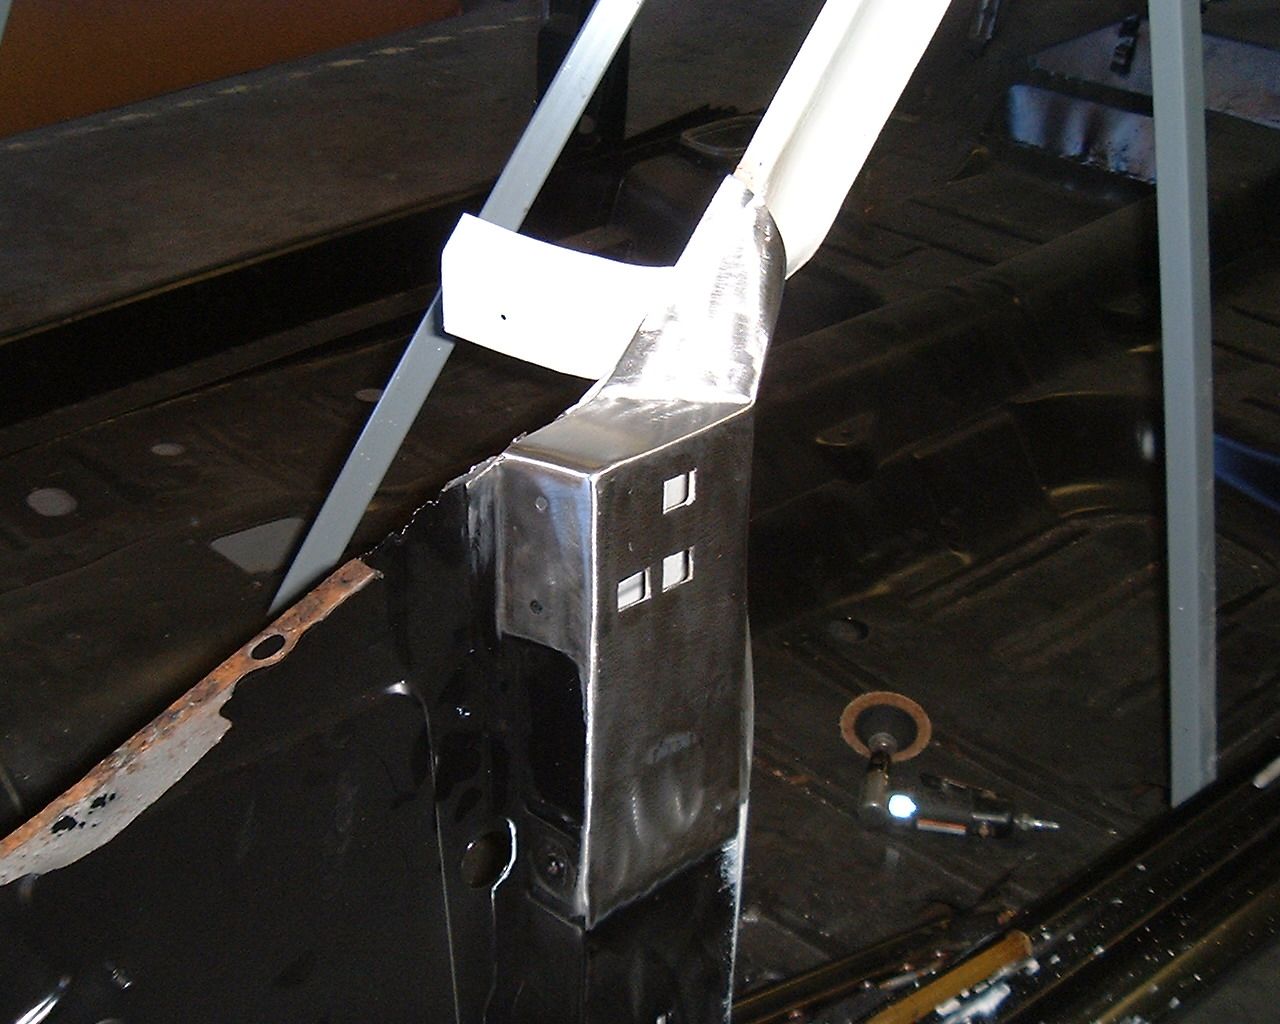
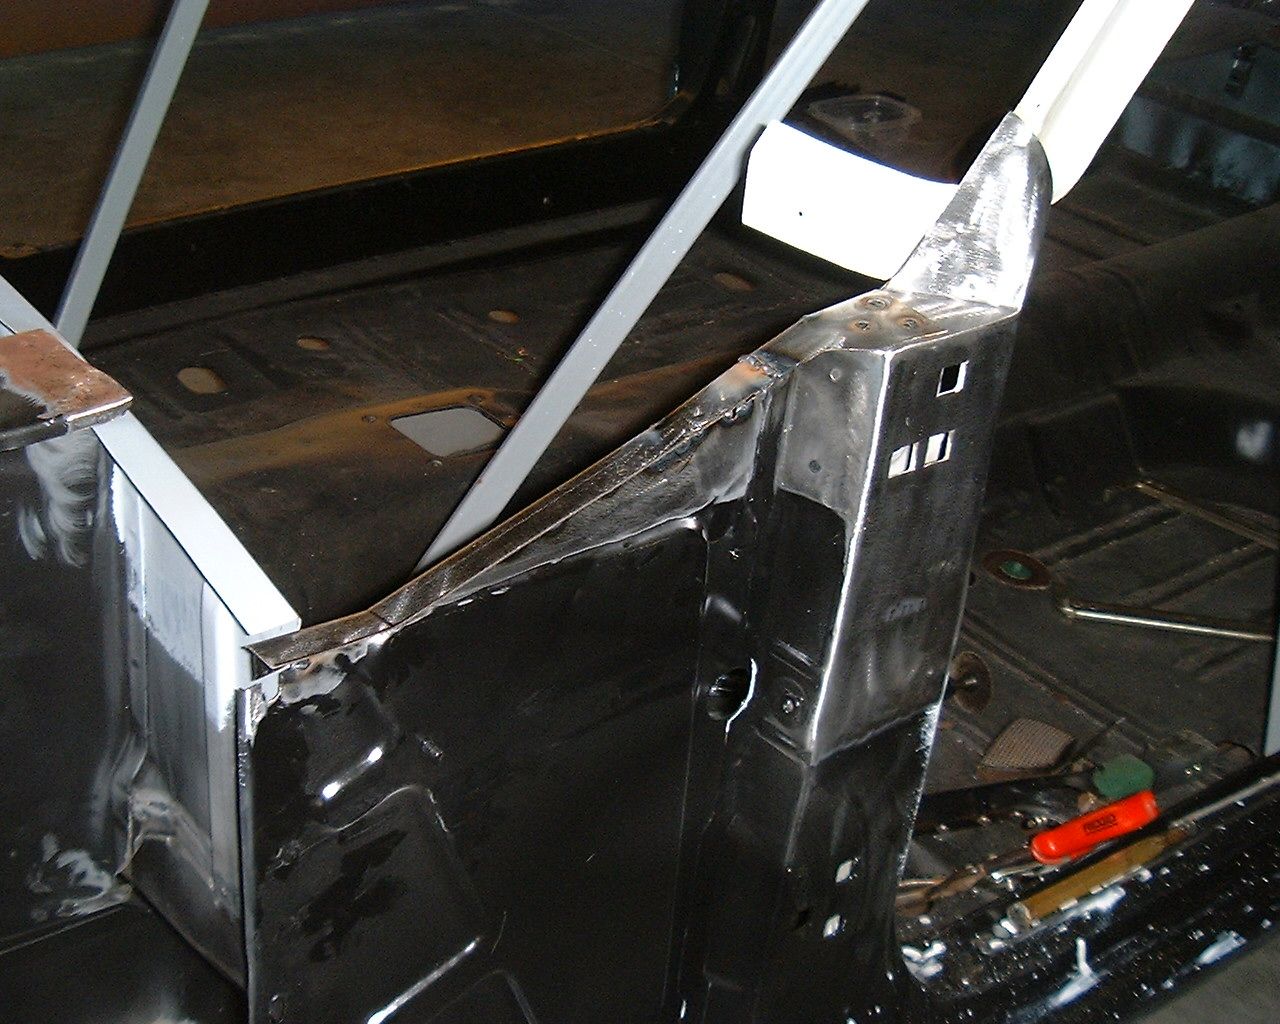
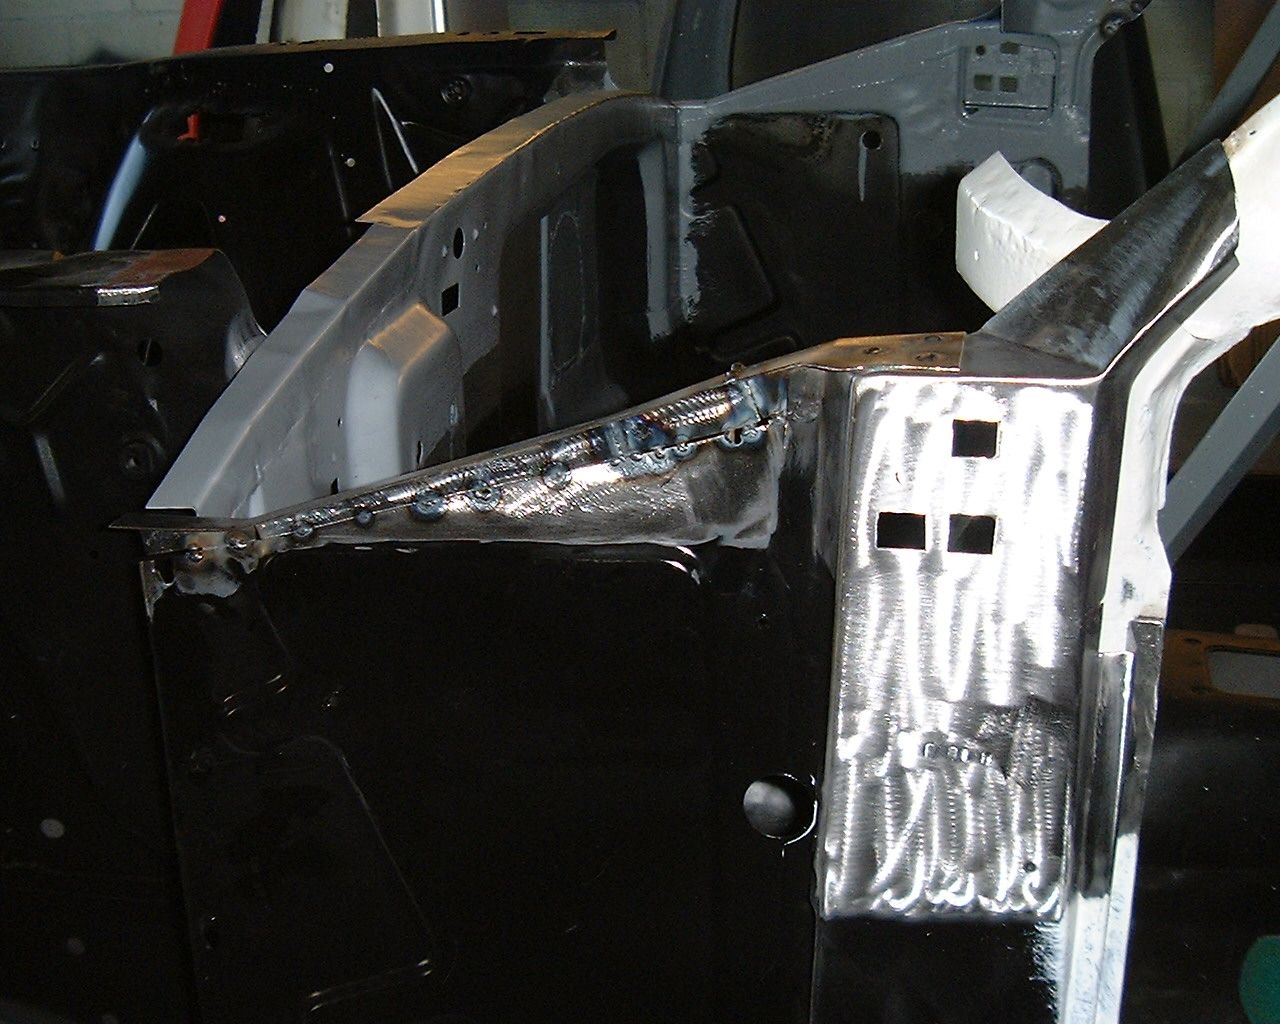
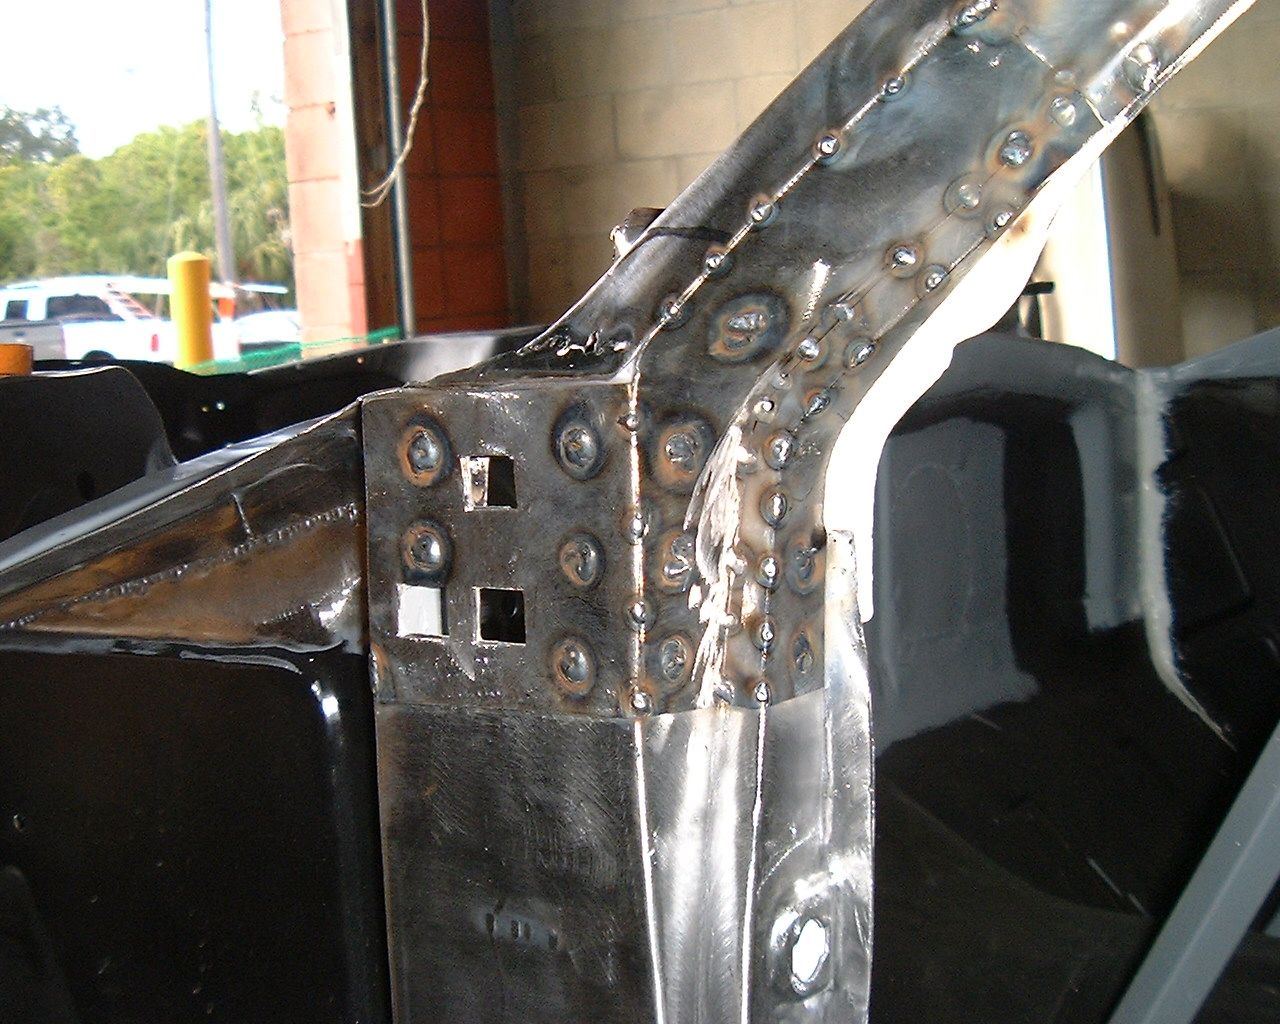
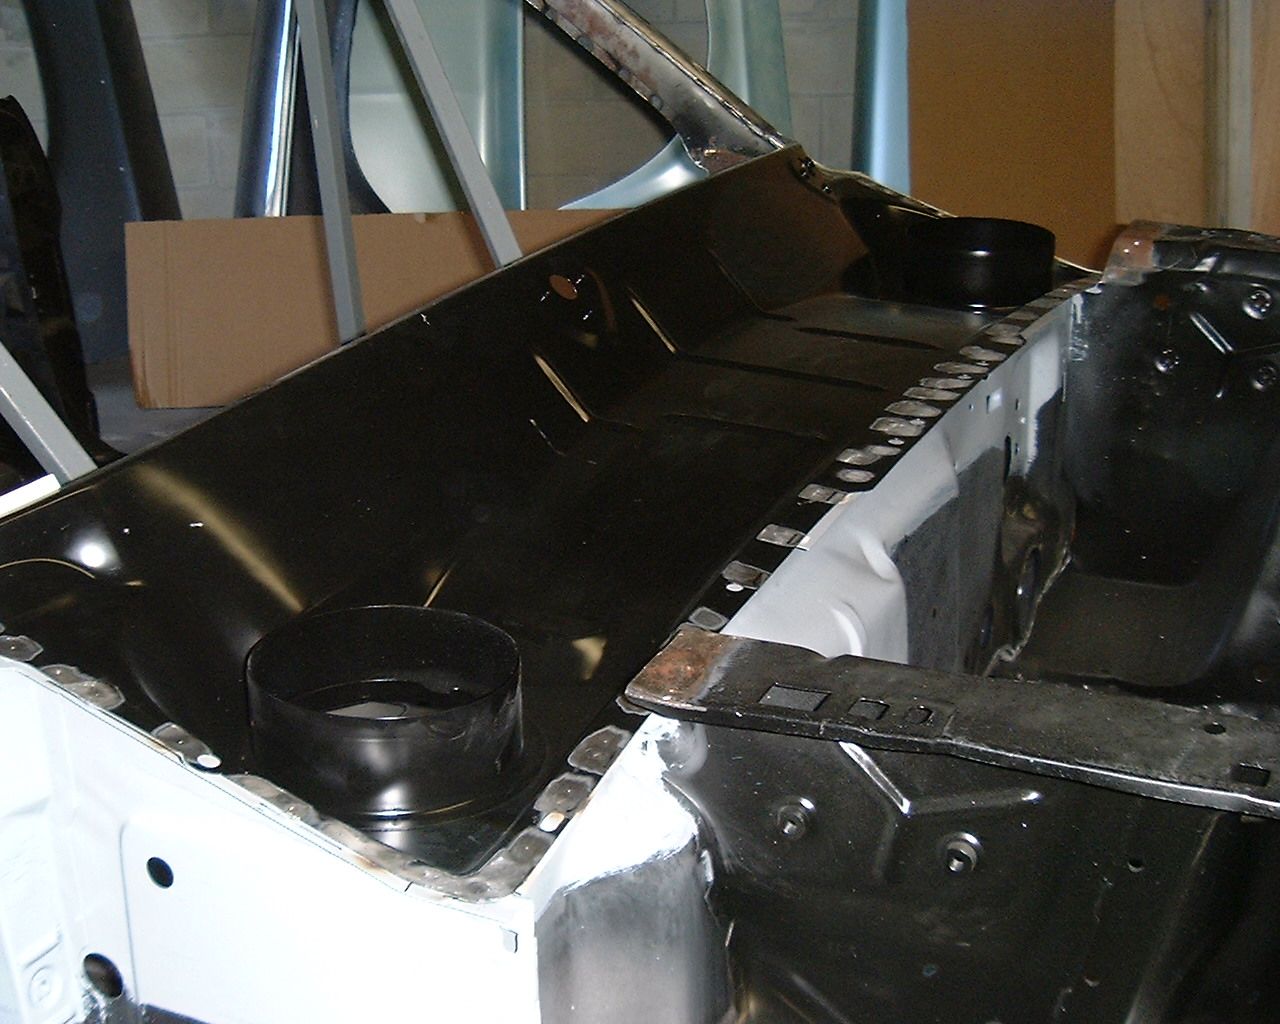
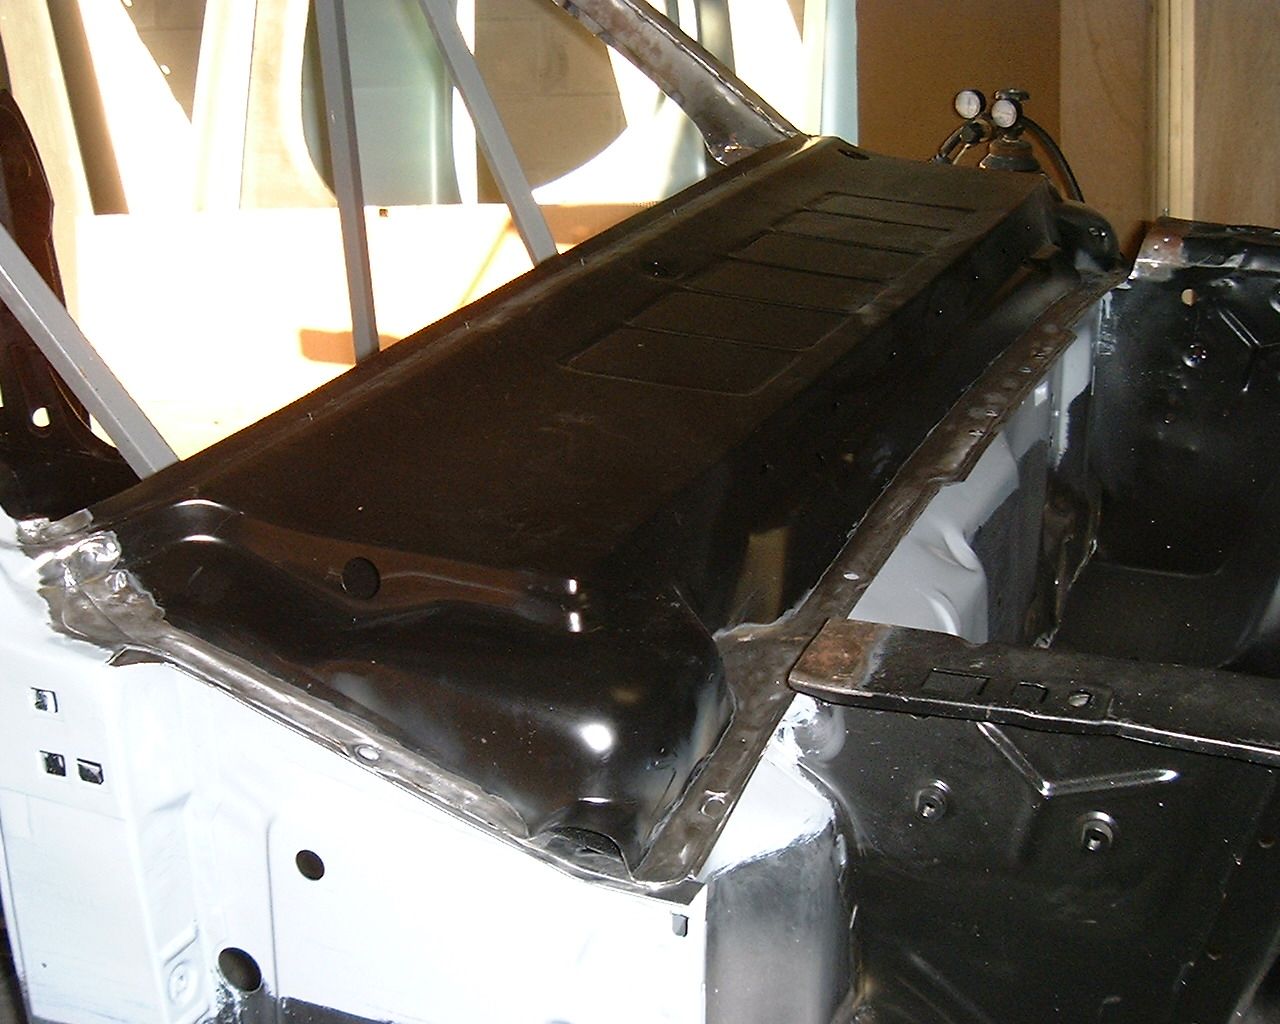
"jtfx6552" said:How are you dressing the welds to get such a nice finish?