GPR
Active Member
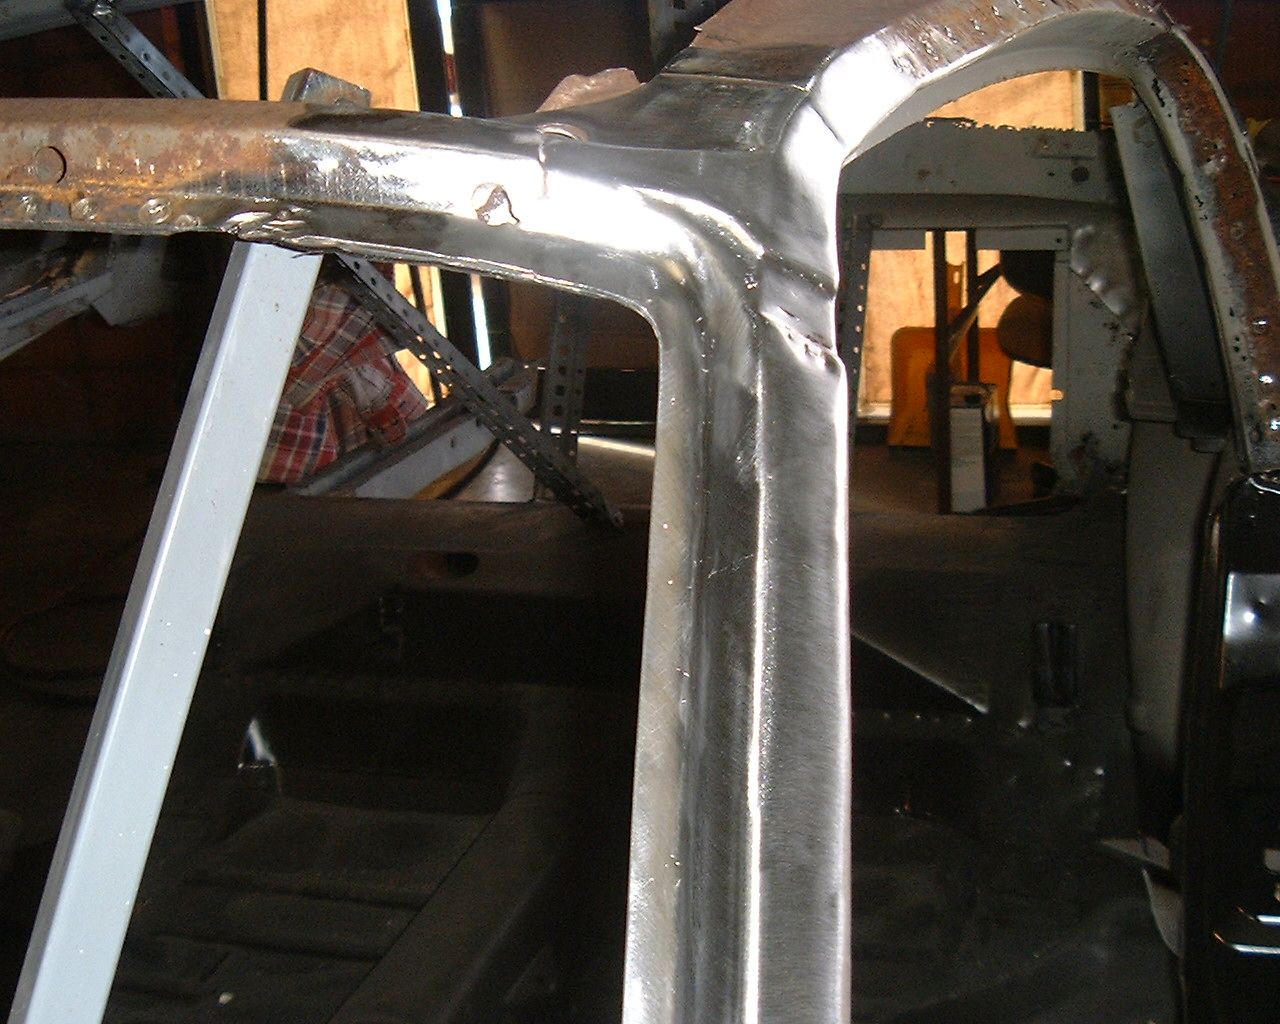
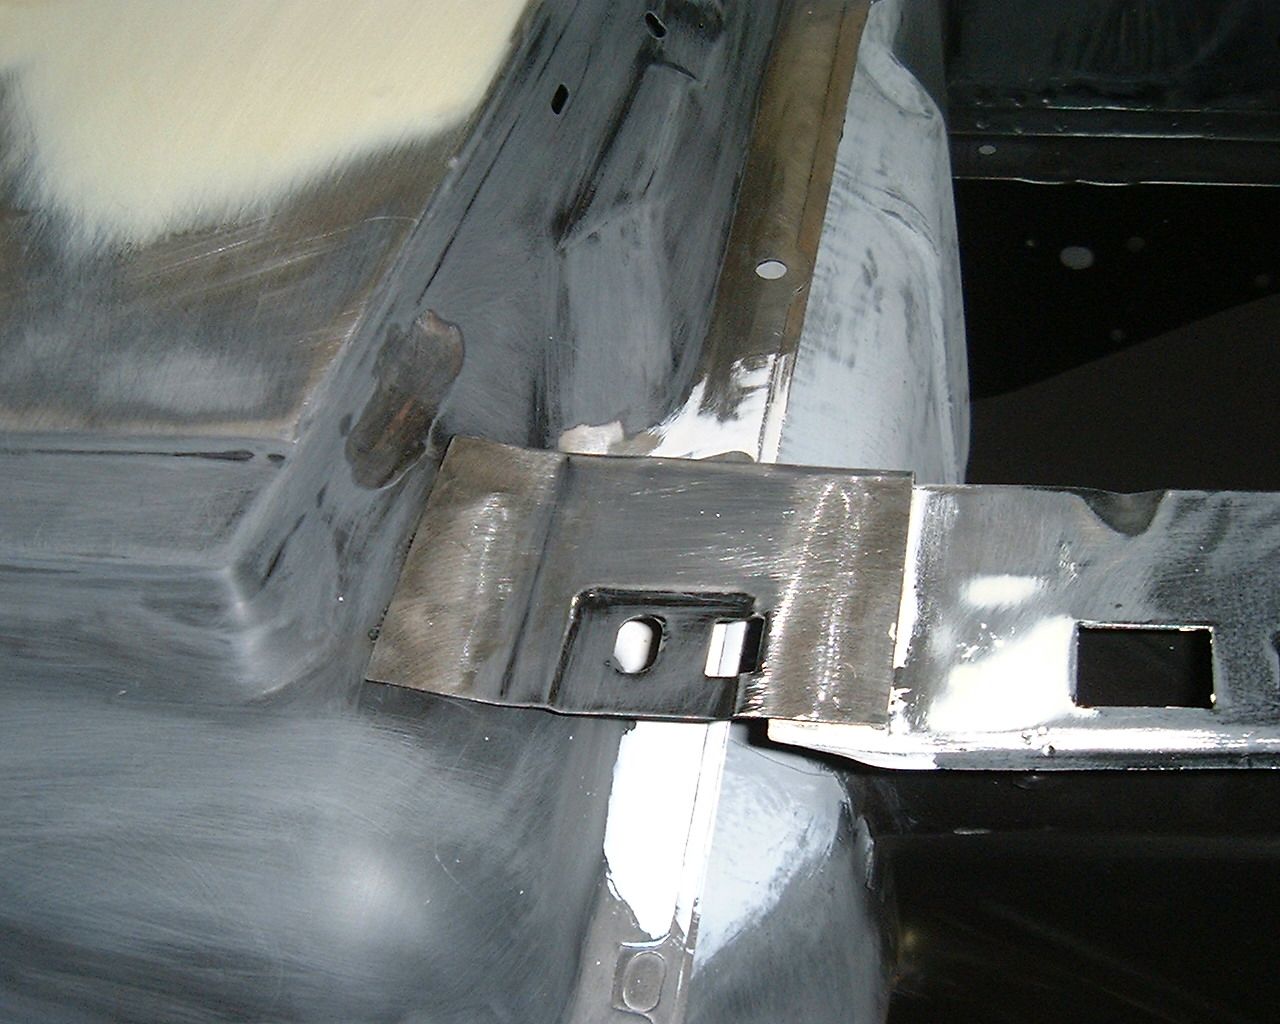
"jtfx6552" said:Thanks! A flap disk or a roloc disc?
Roloc
Follow along with the video below to see how to install our site as a web app on your home screen.
Note: This feature may not be available in some browsers.
Hello there guest and Welcome to The #1 Classic Mustang forum!
To gain full access you must Register. Registration is free and it takes only a few moments to complete.
Already a member? Login here then!
"jtfx6552" said:Thanks! A flap disk or a roloc disc?

"fordrule" said:the build on pro-touring is the same fastback or a different one? some of the pictures look familiar. just curious?
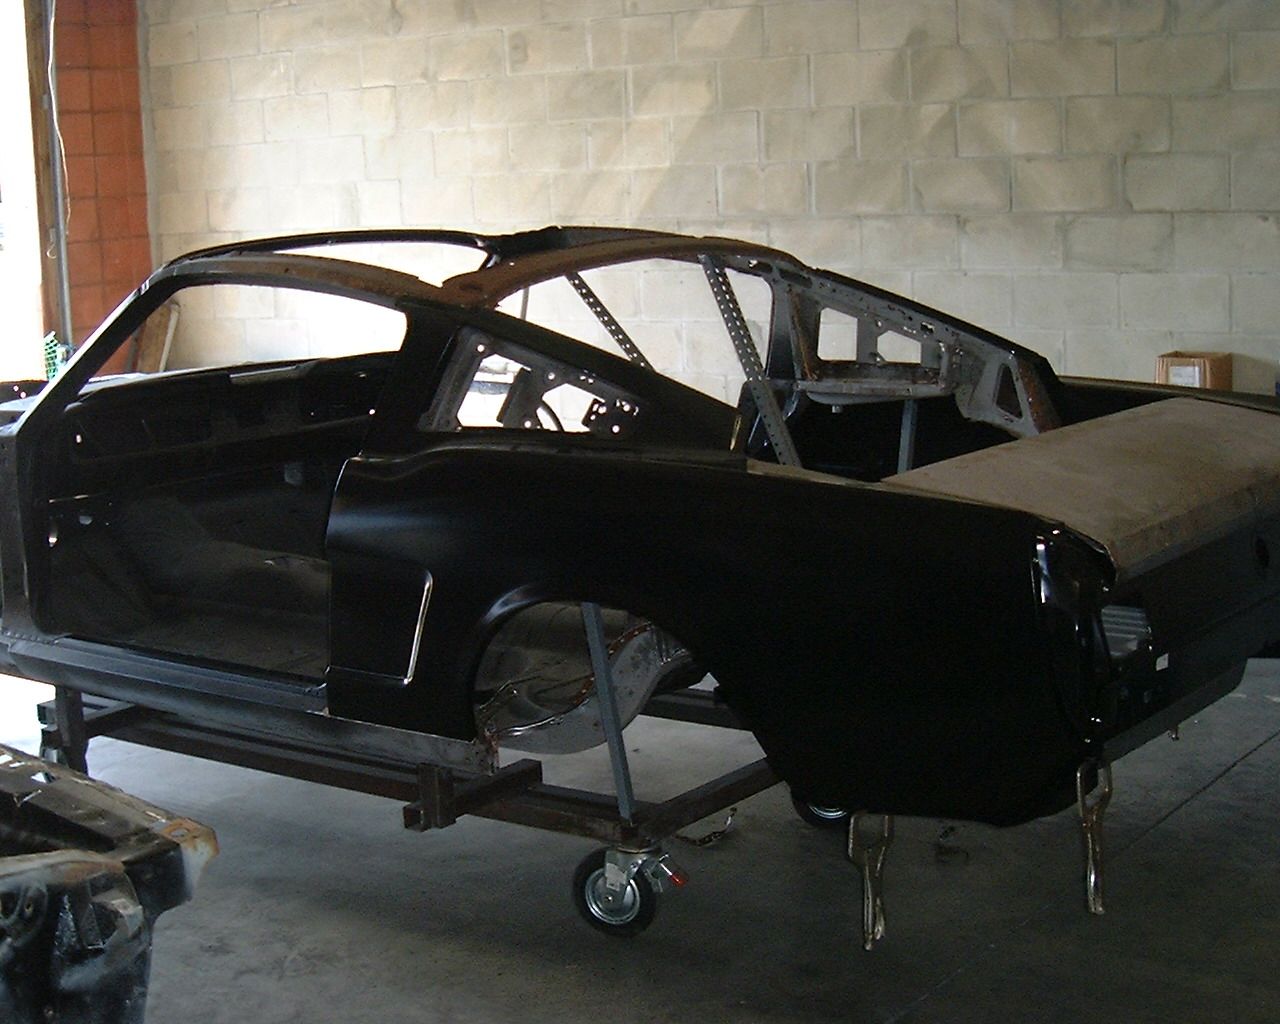
"GPR" said:It is the same car. I just found out about this forum recently and thought I would share the build here and I'm not up to date yet.
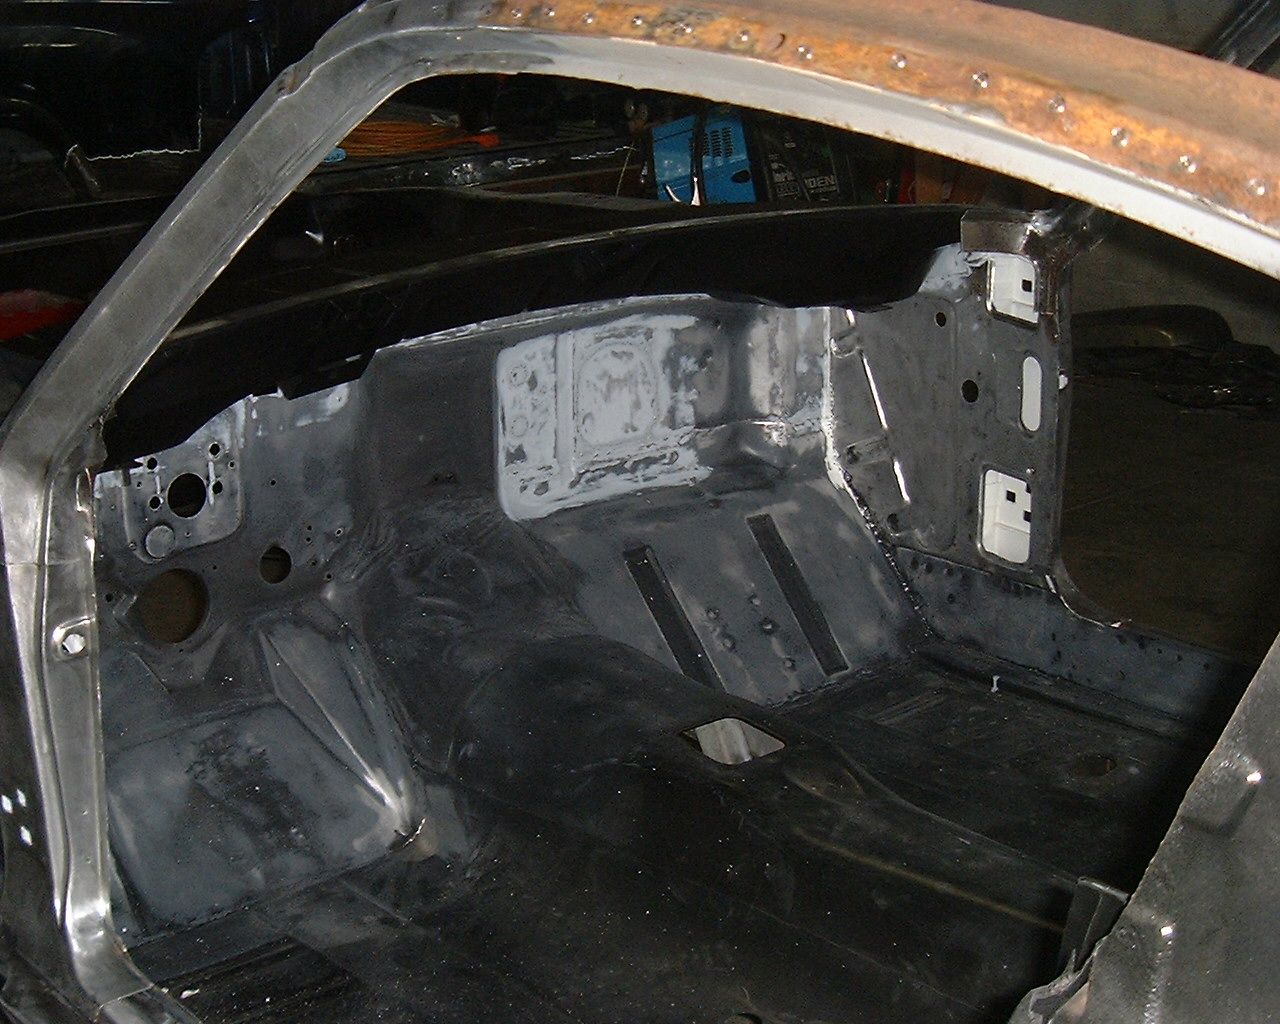
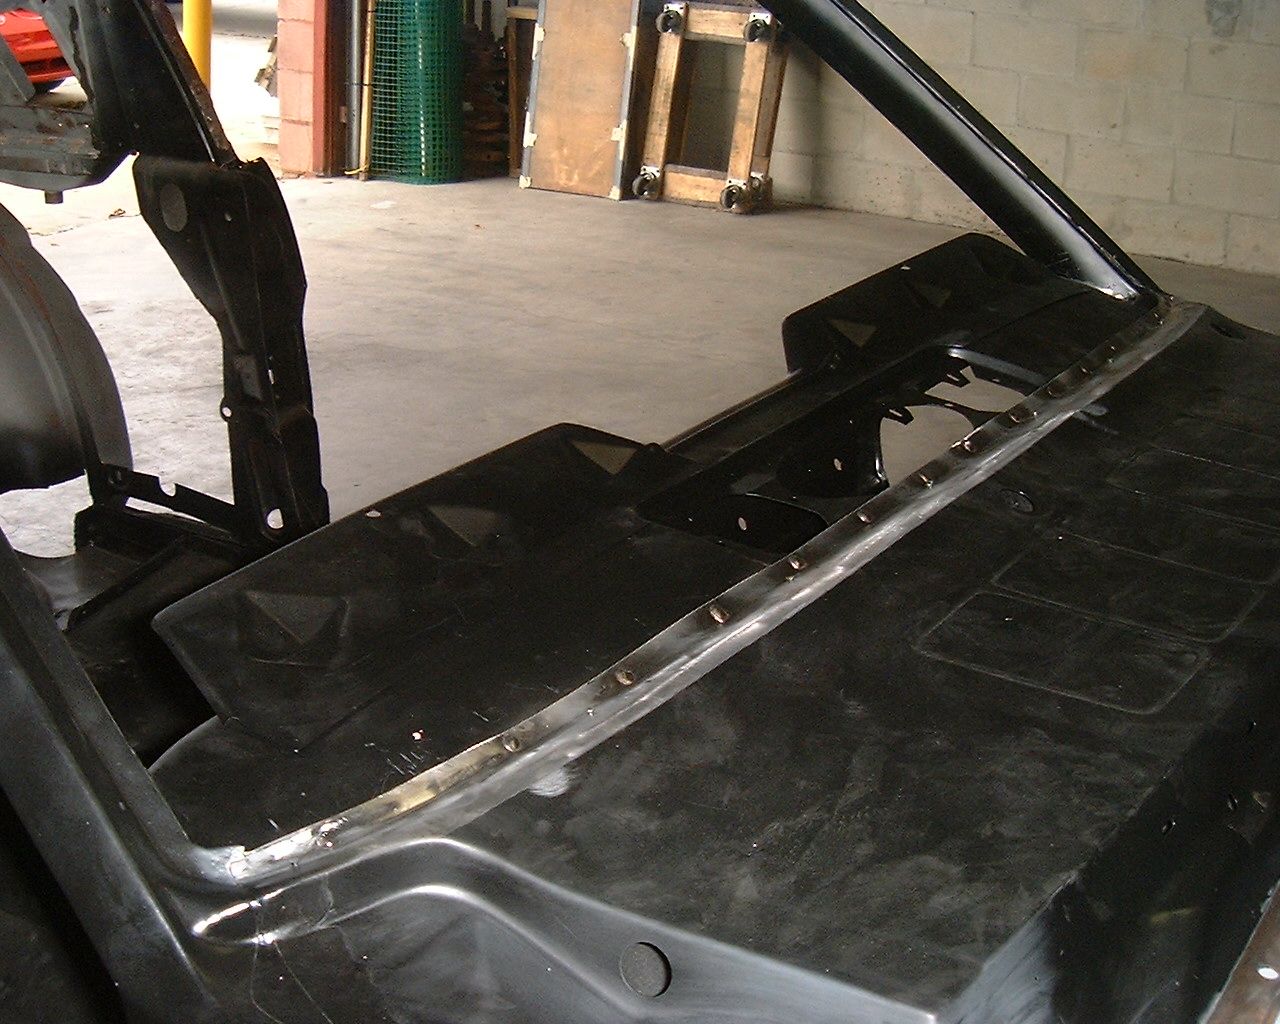

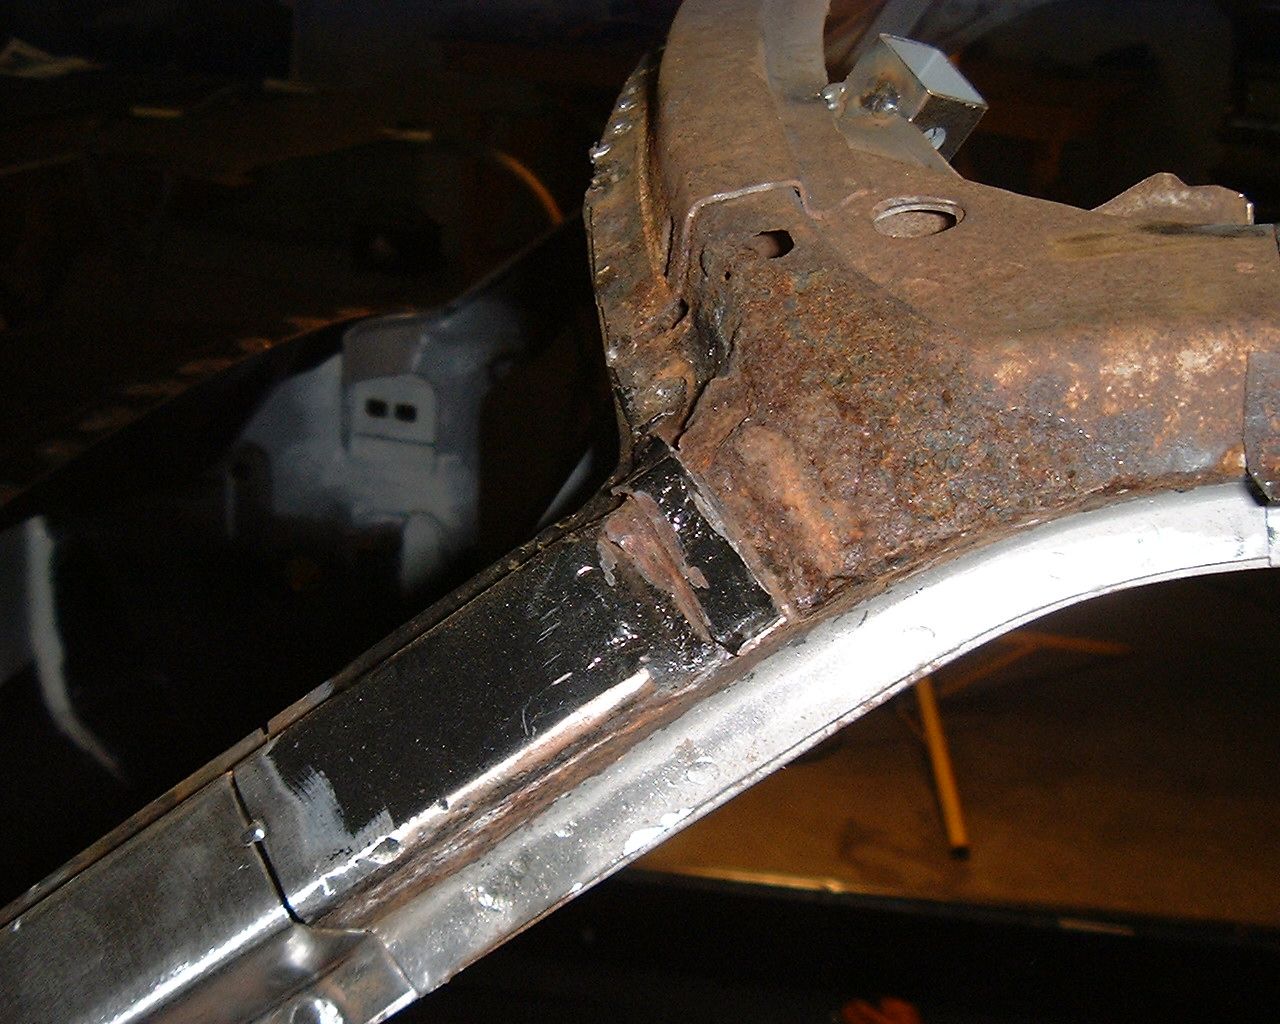
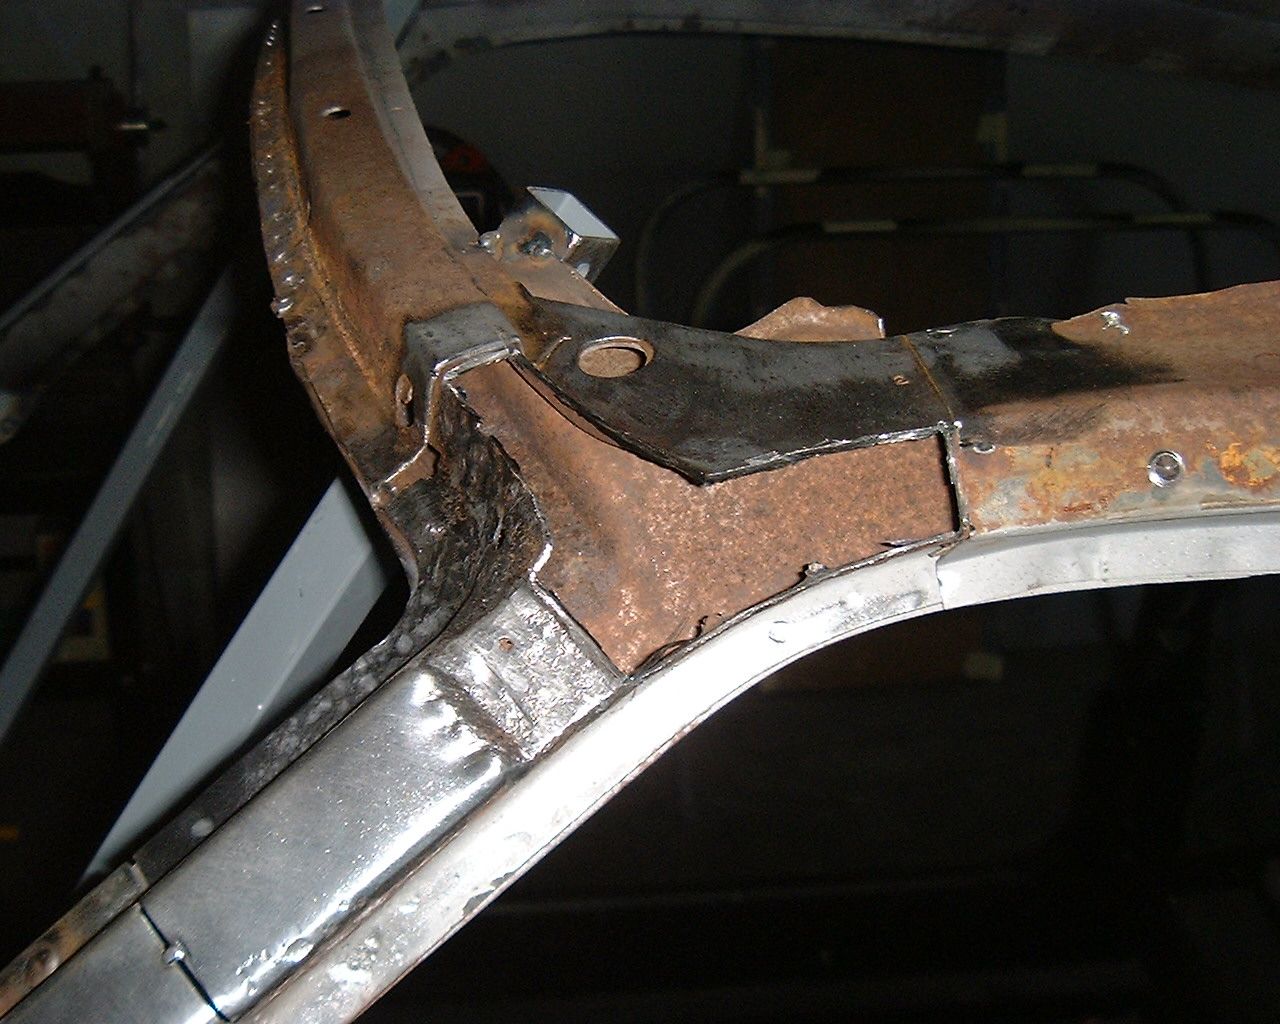
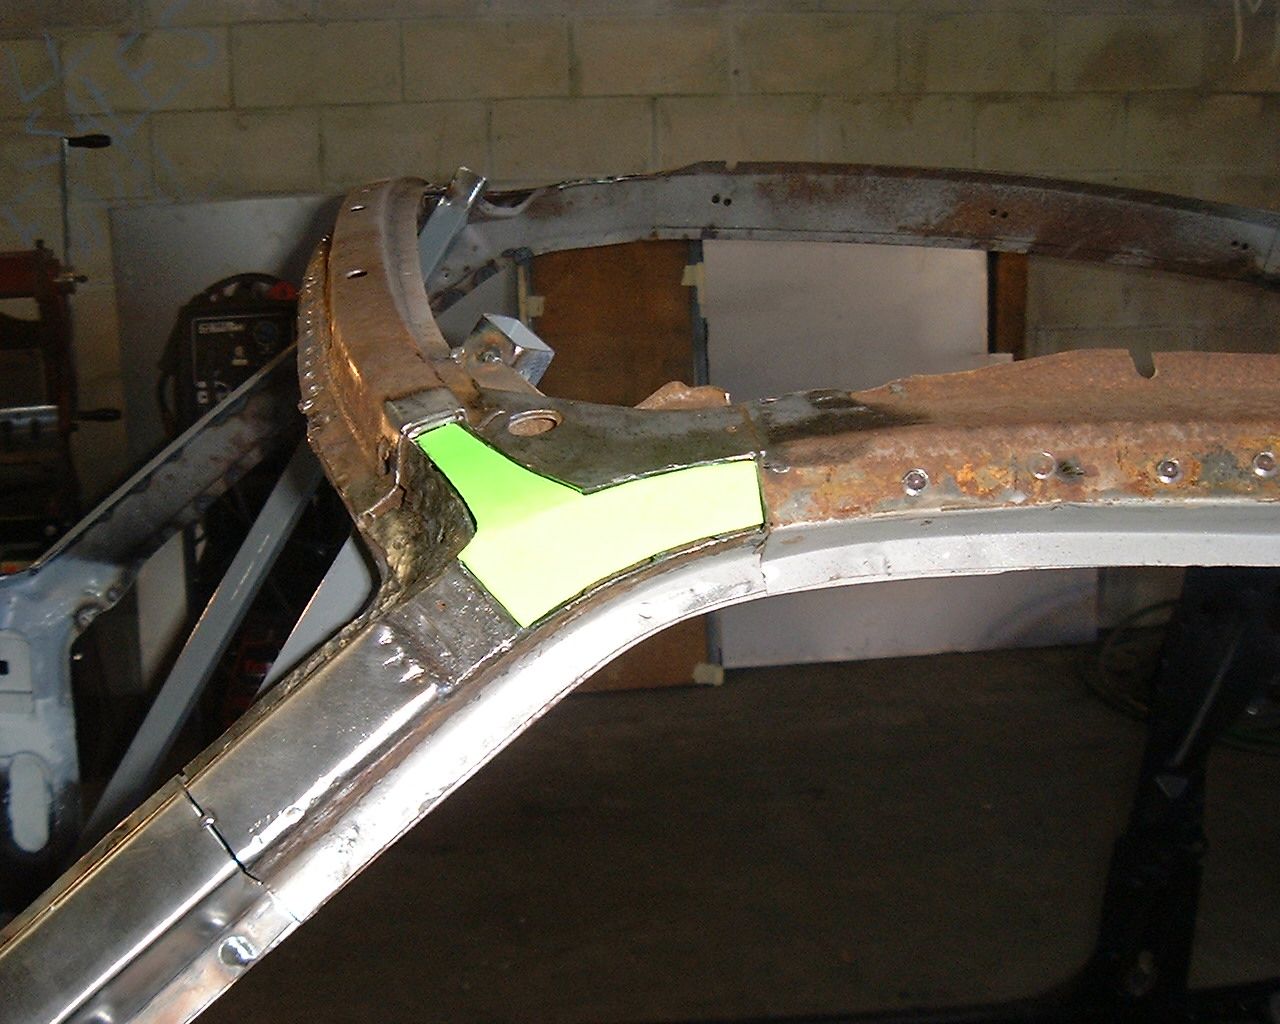
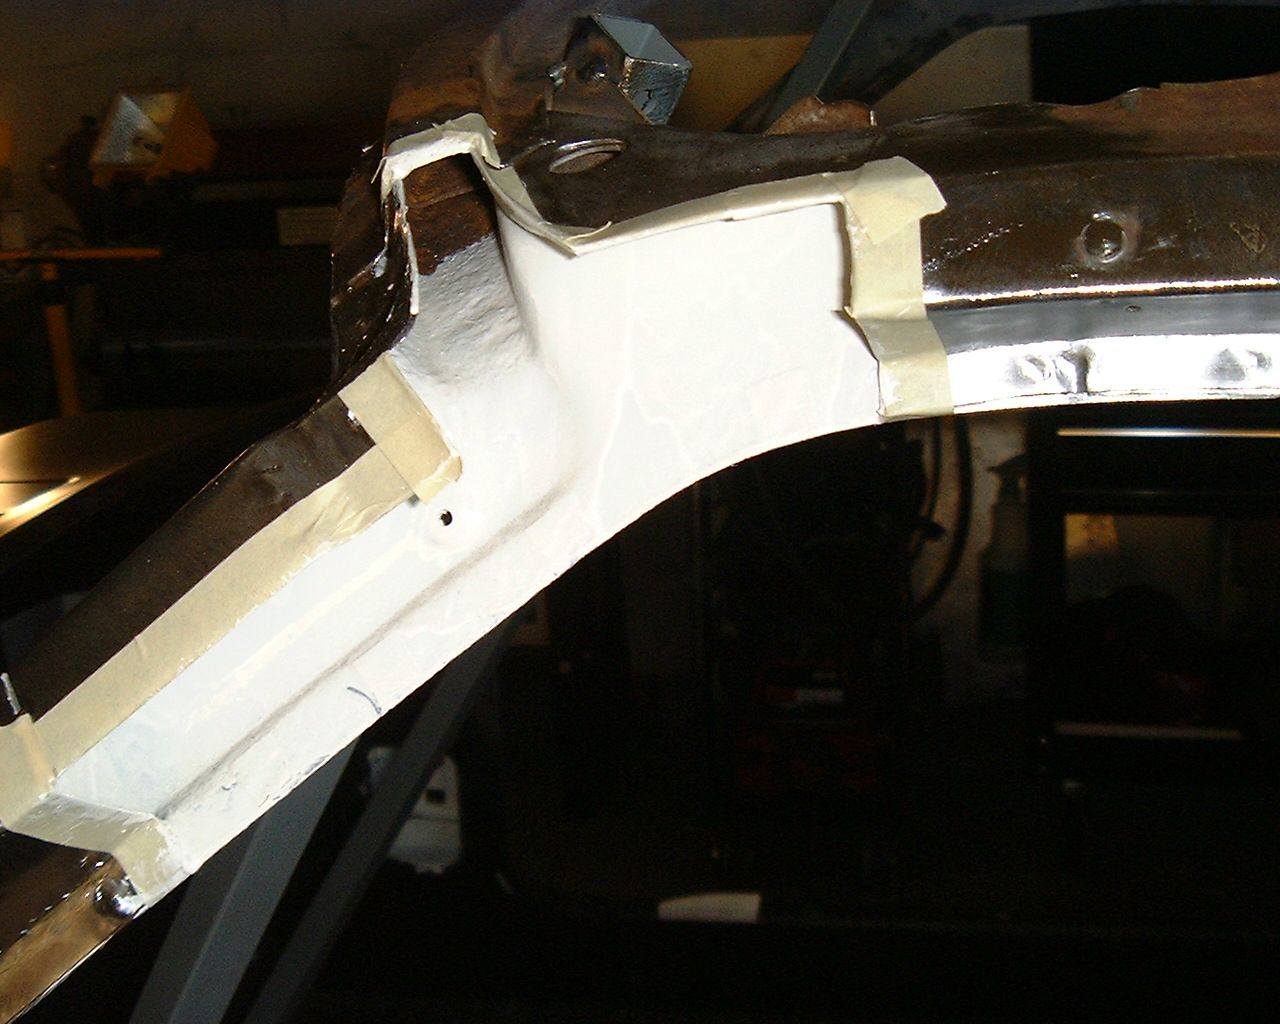
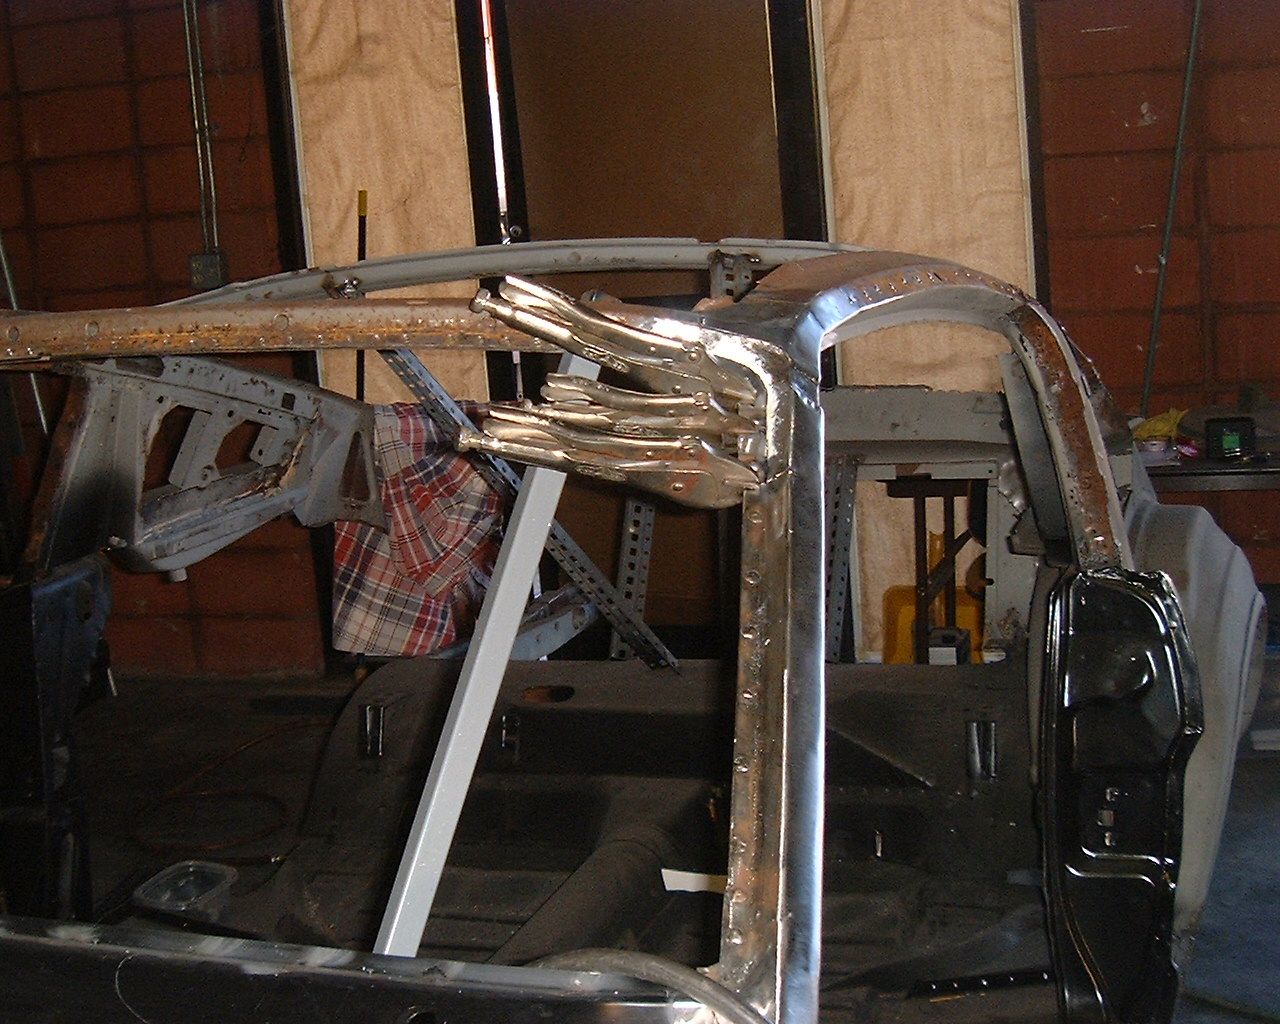
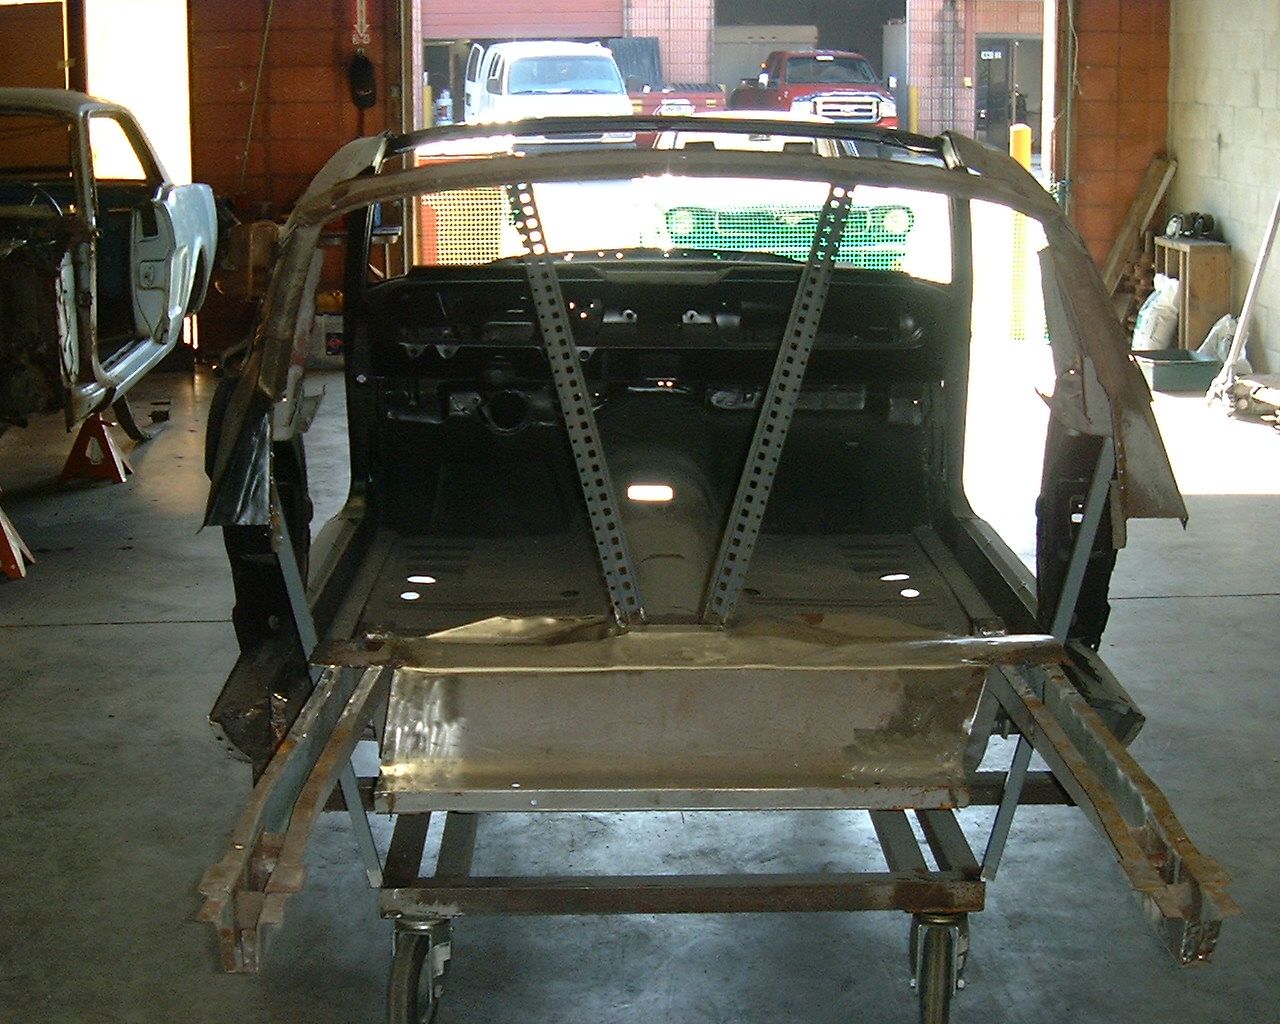
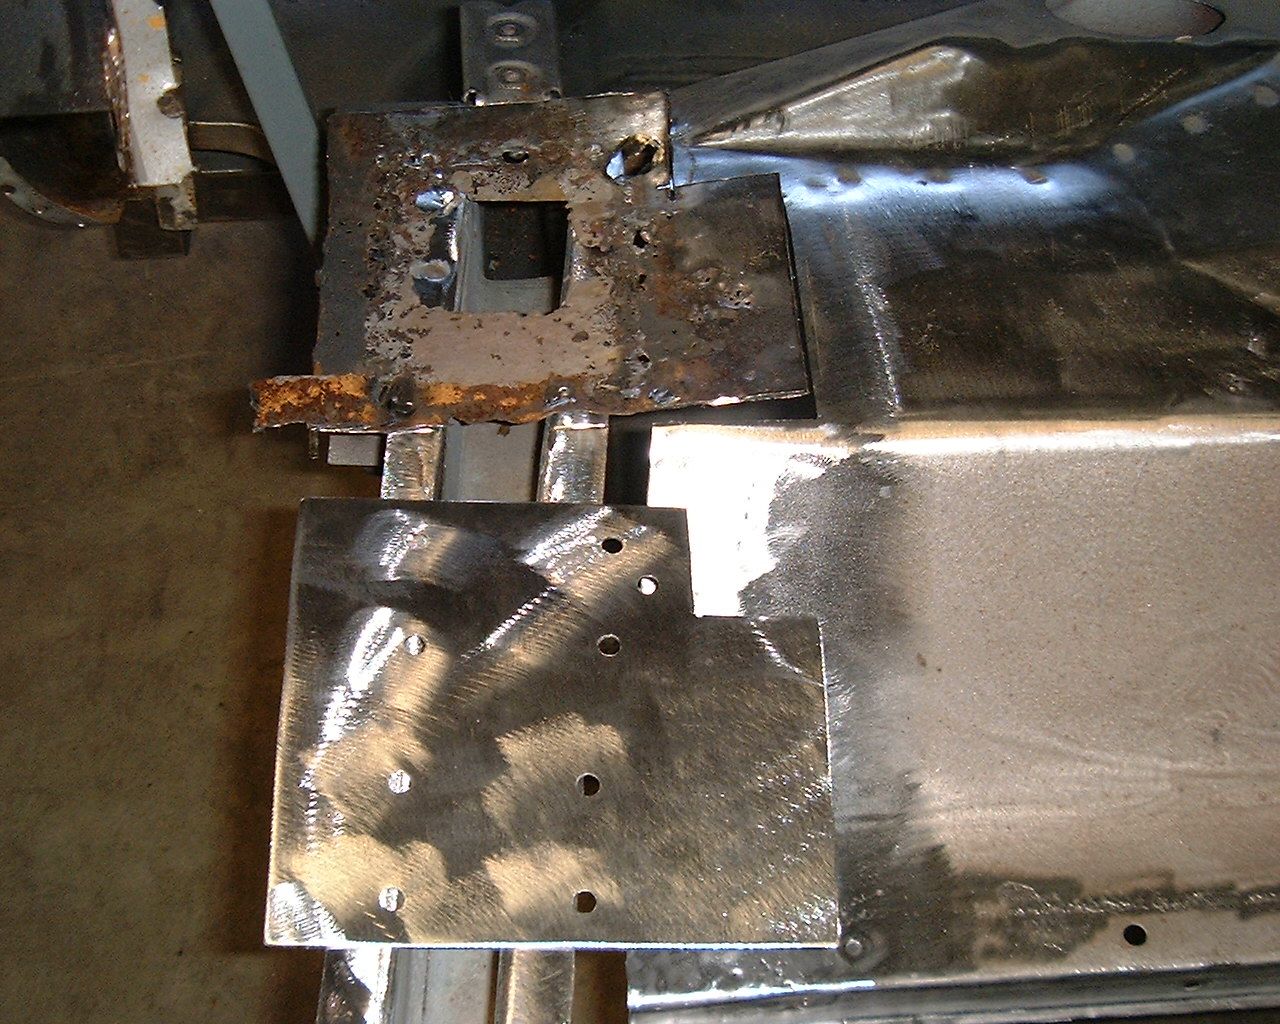
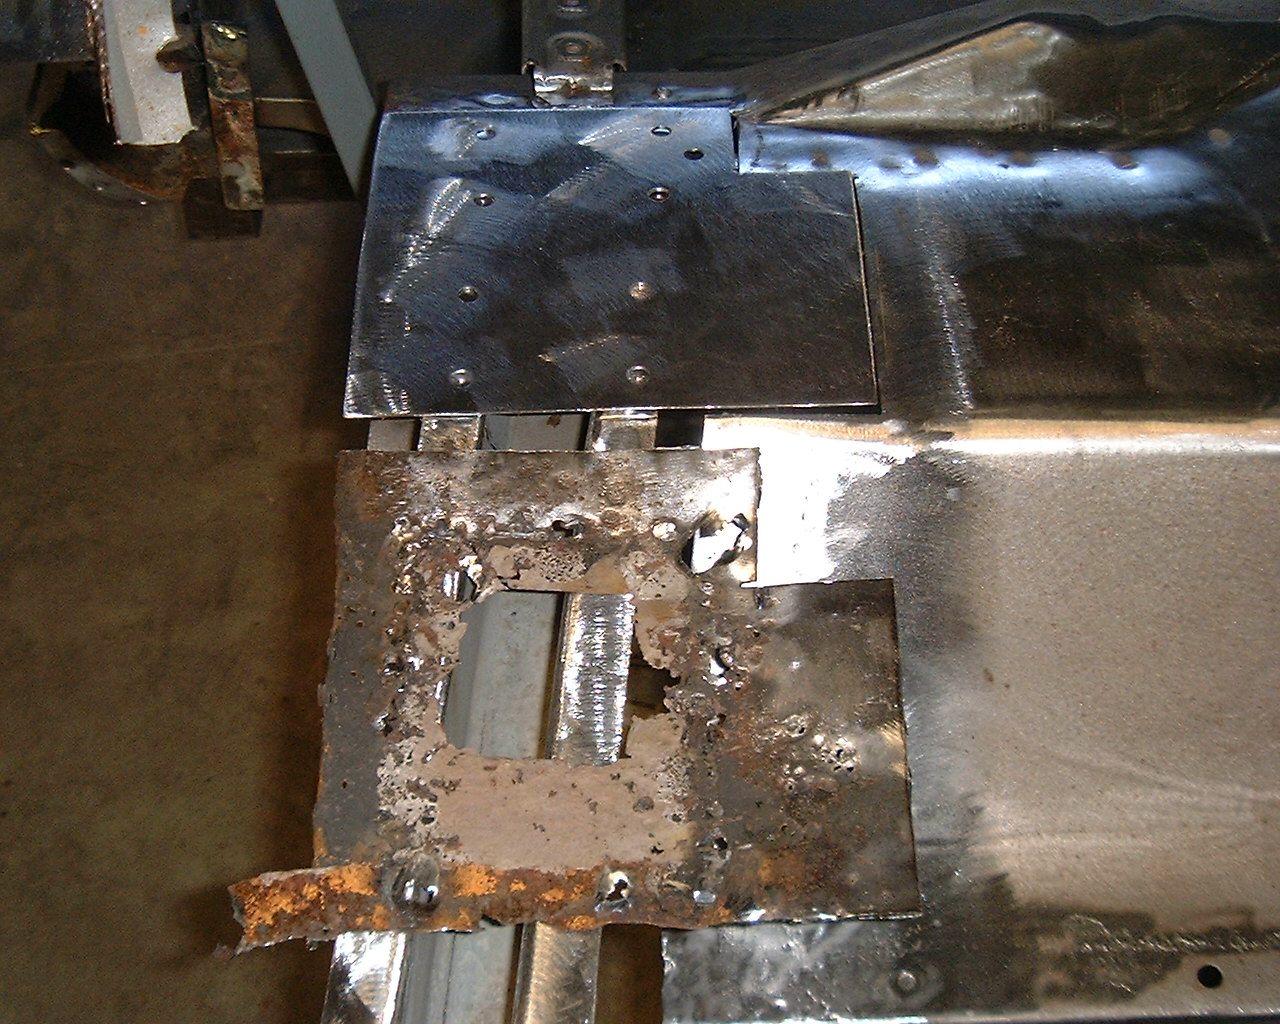
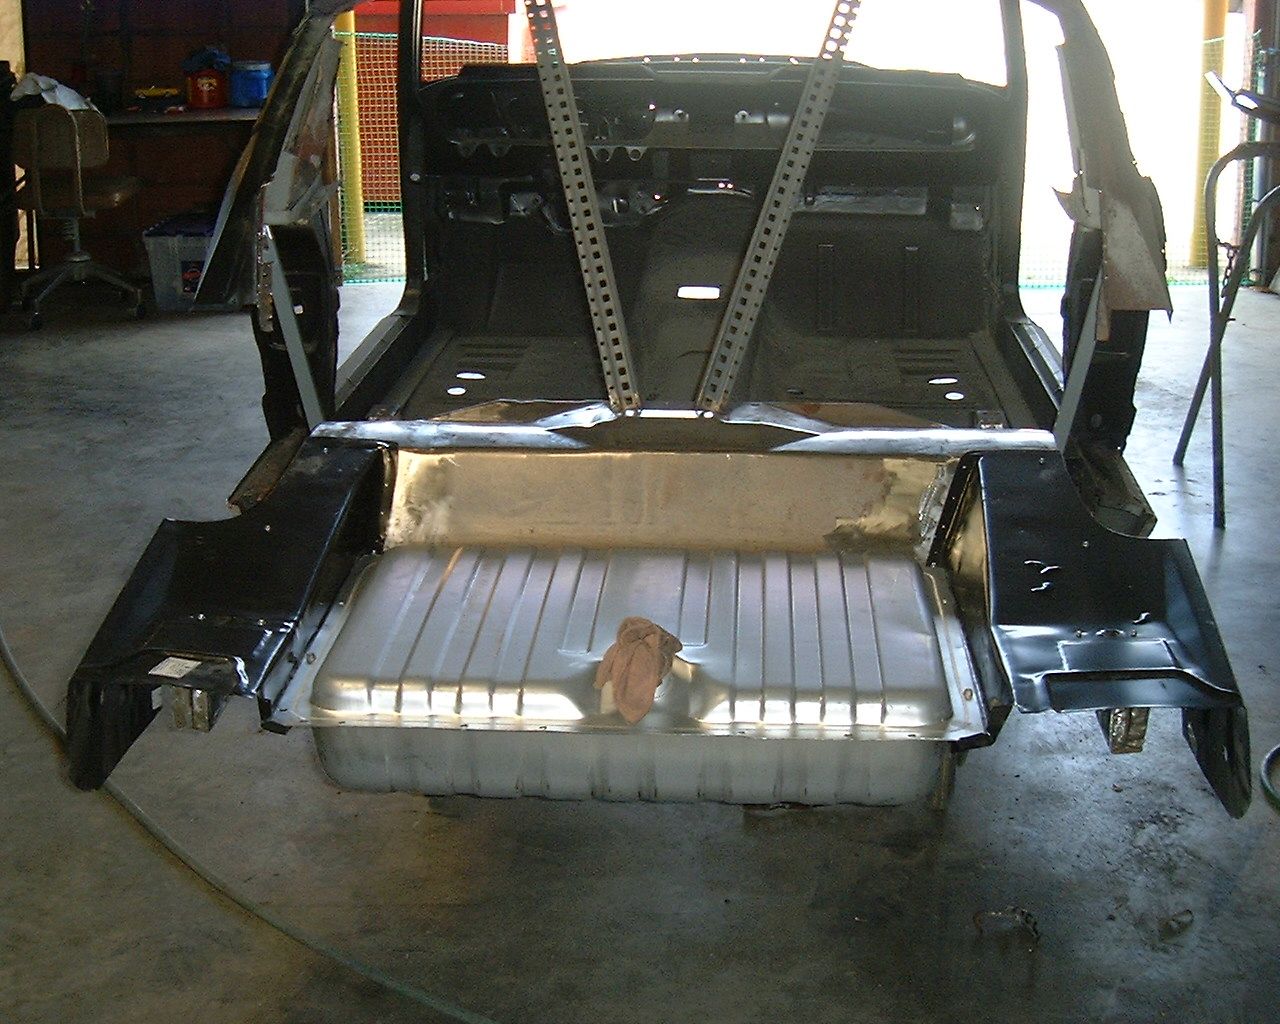
"jtfx6552" said:I've been anxiously awaiting updates...In some earlier pictures it seems the car has some rust around the trap door opening/roof support? I was curious how you were going to handle that.
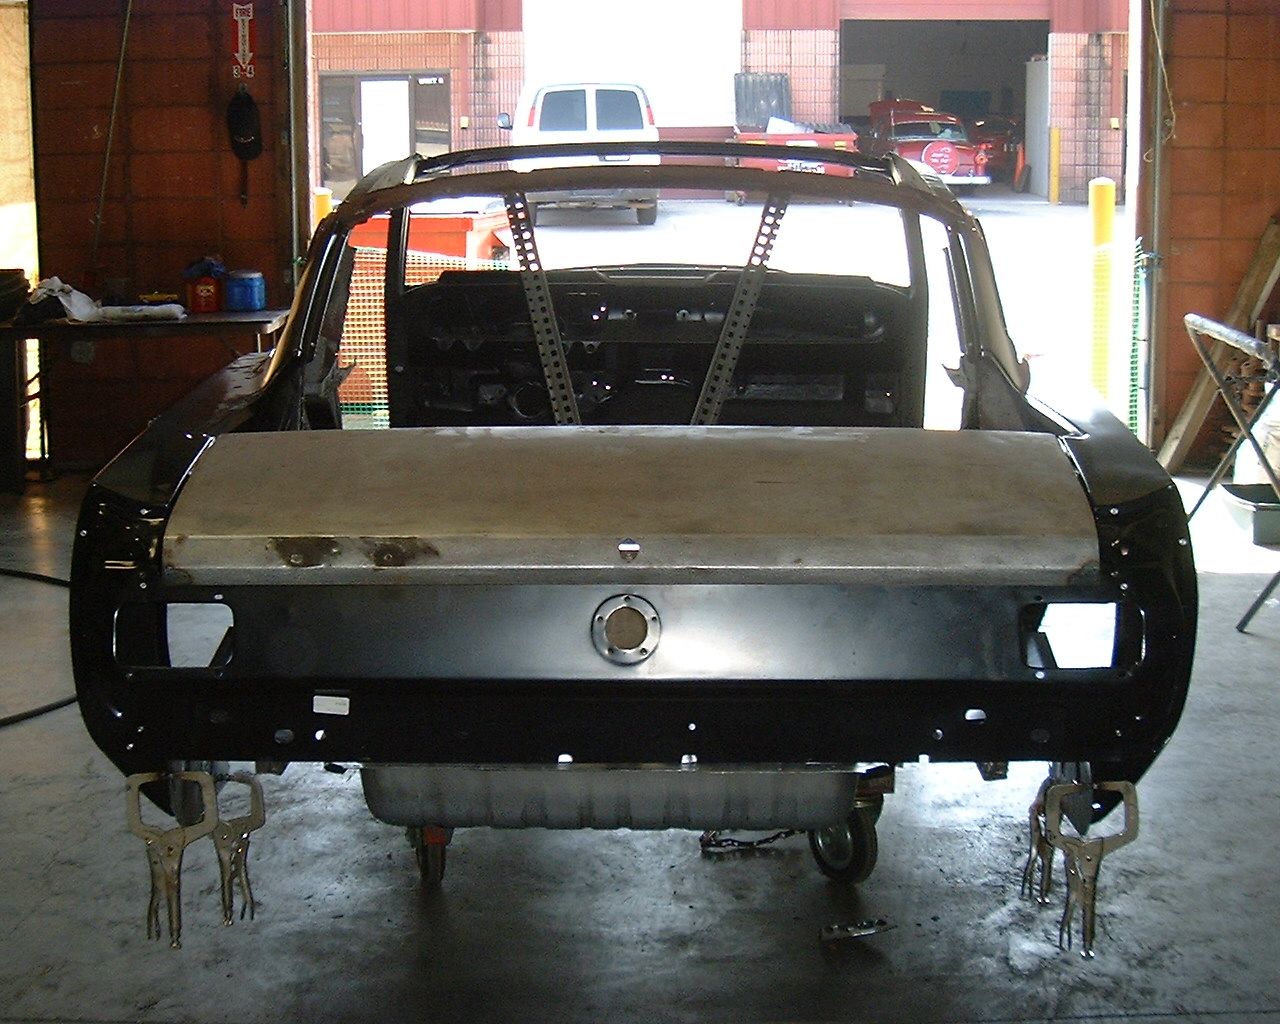
I just noticed that this became available:

I have one to install in mine since I had a lot of rust back there.
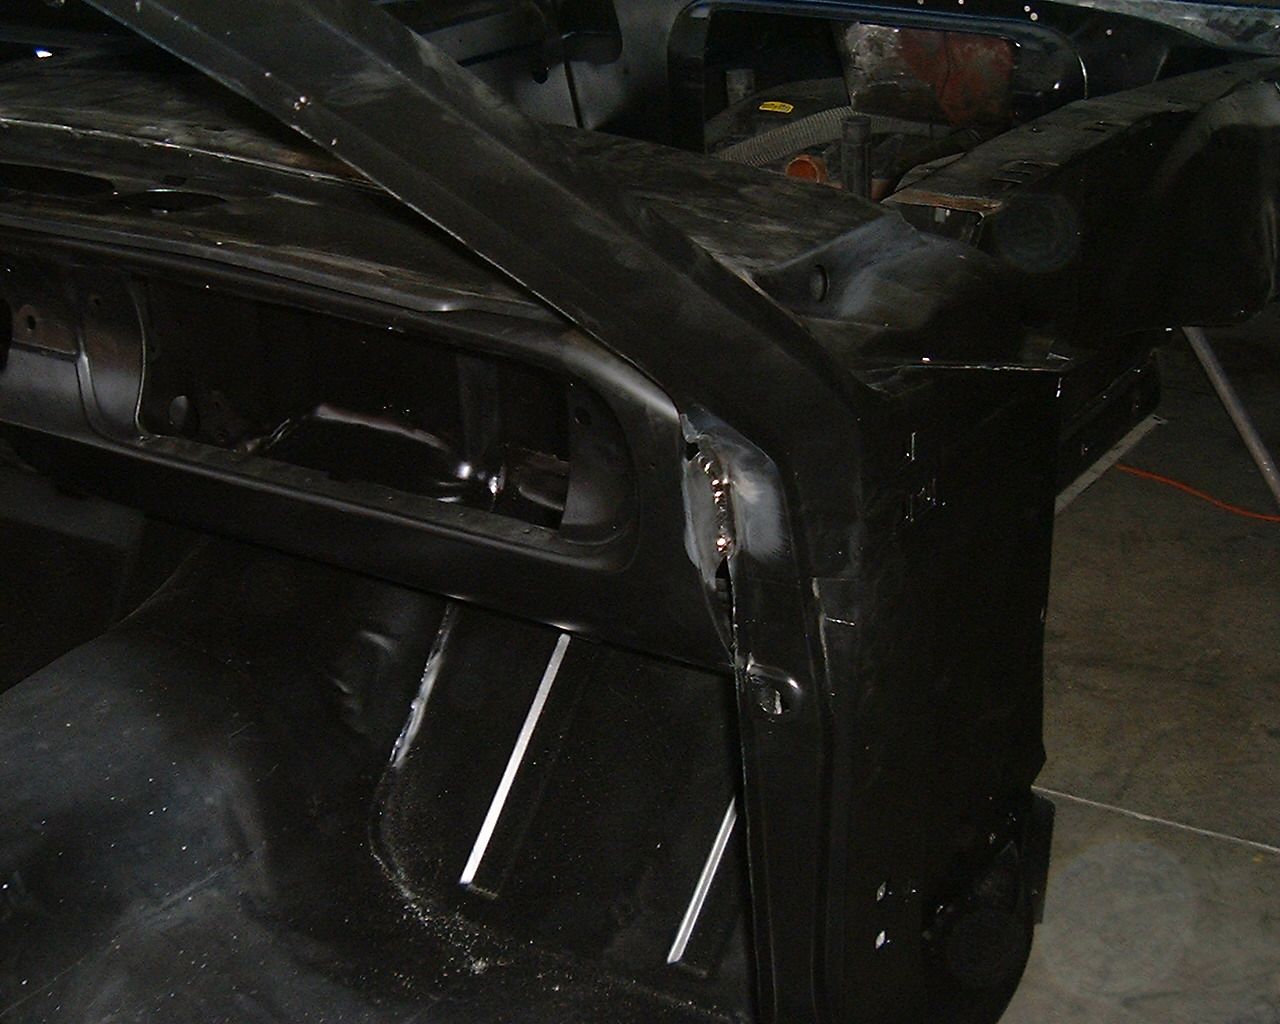
It's a shame, Dynacorn made it with one less piece on each side. I'm changing the one I got to match the original version.
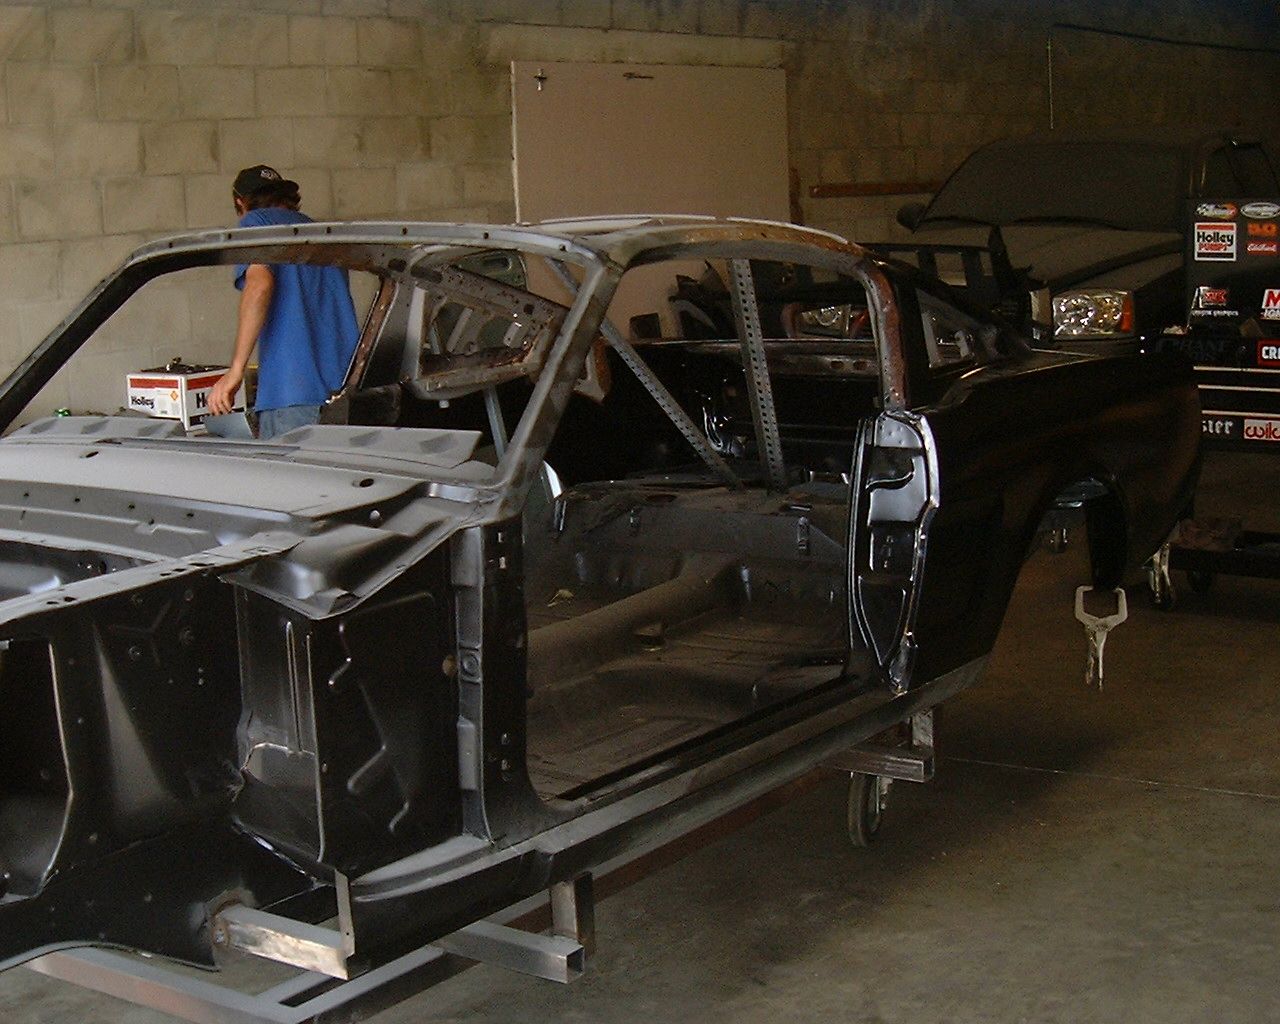
I still haven't commited to taking the roof off though...yet
"jtfx6552" said:I've learned a lot form this thread, it is nice to be of some help.
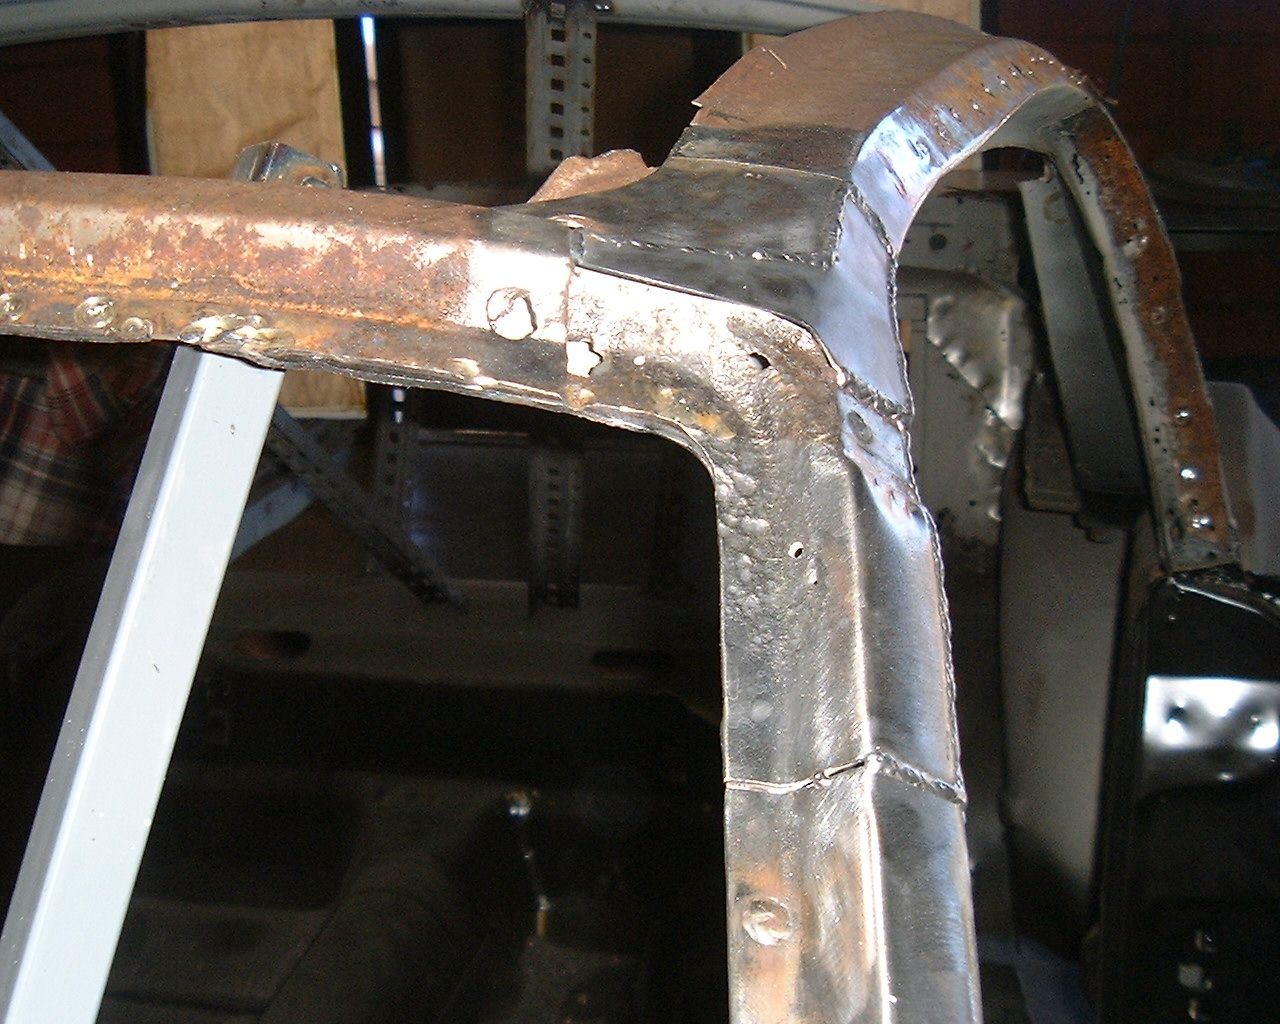
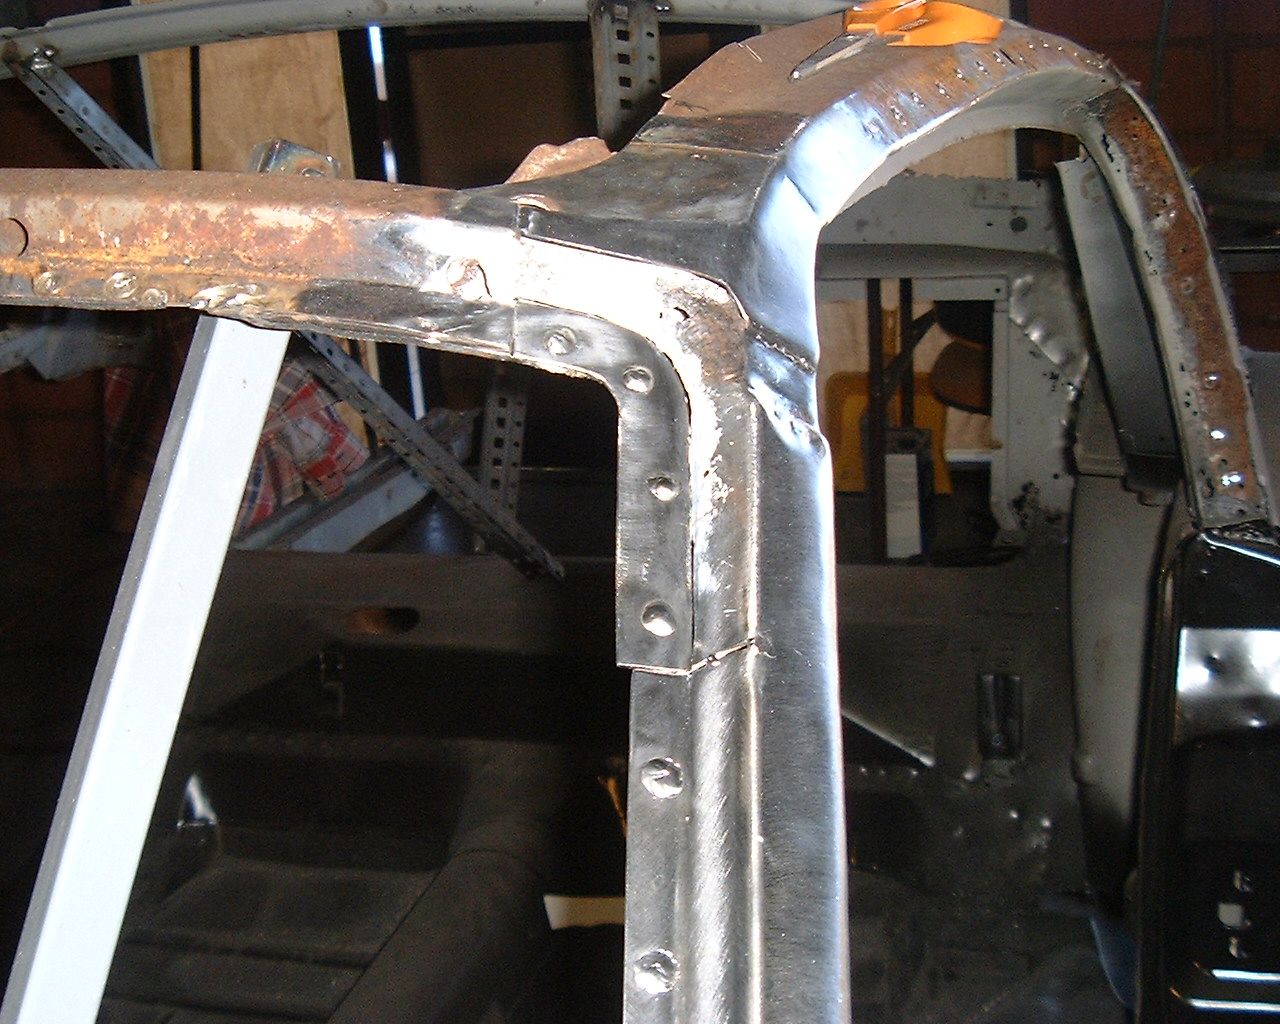
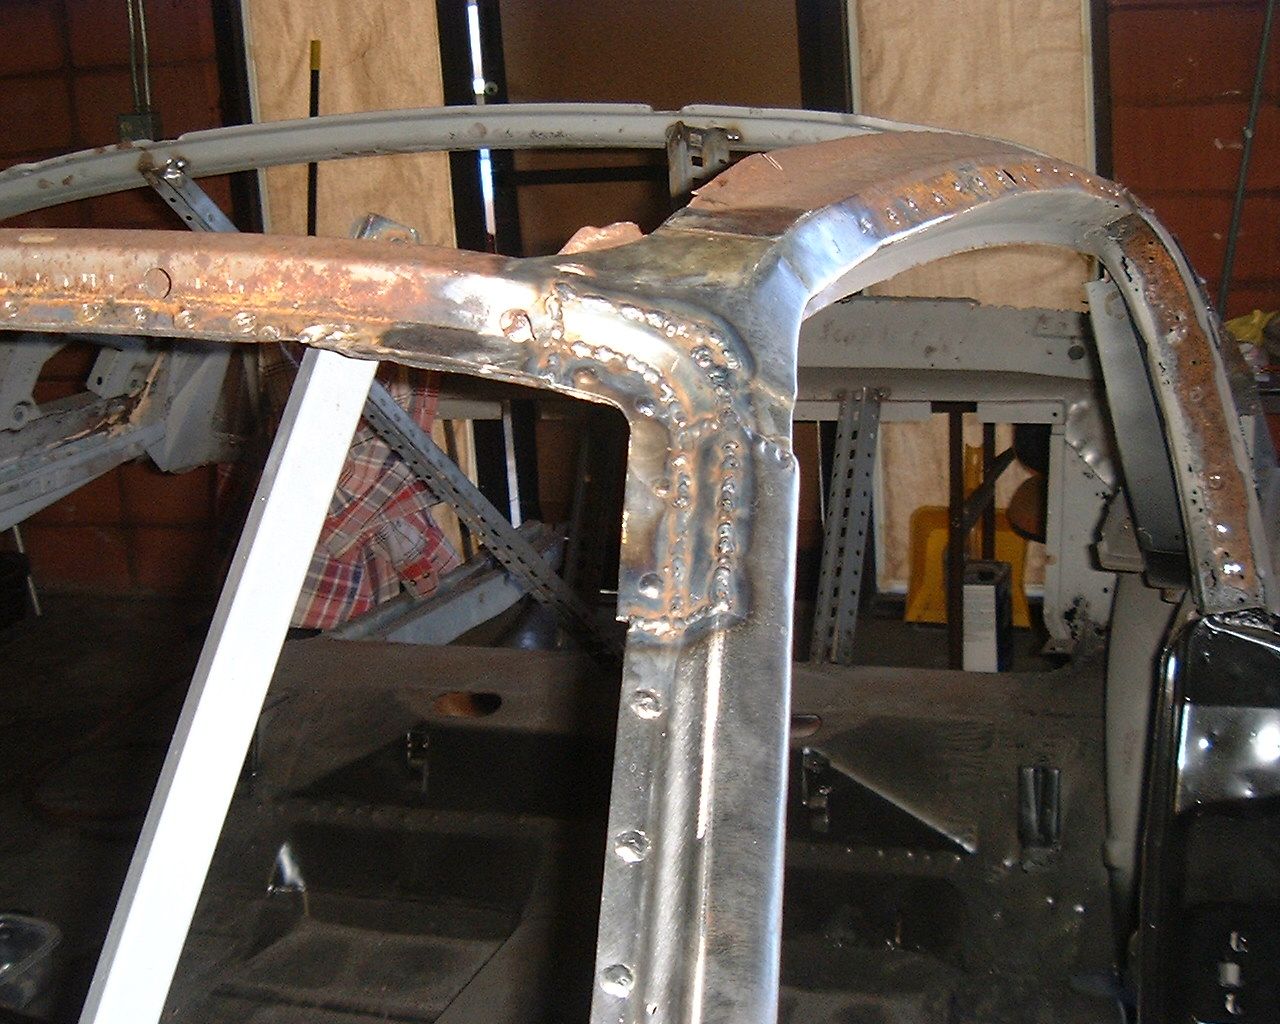
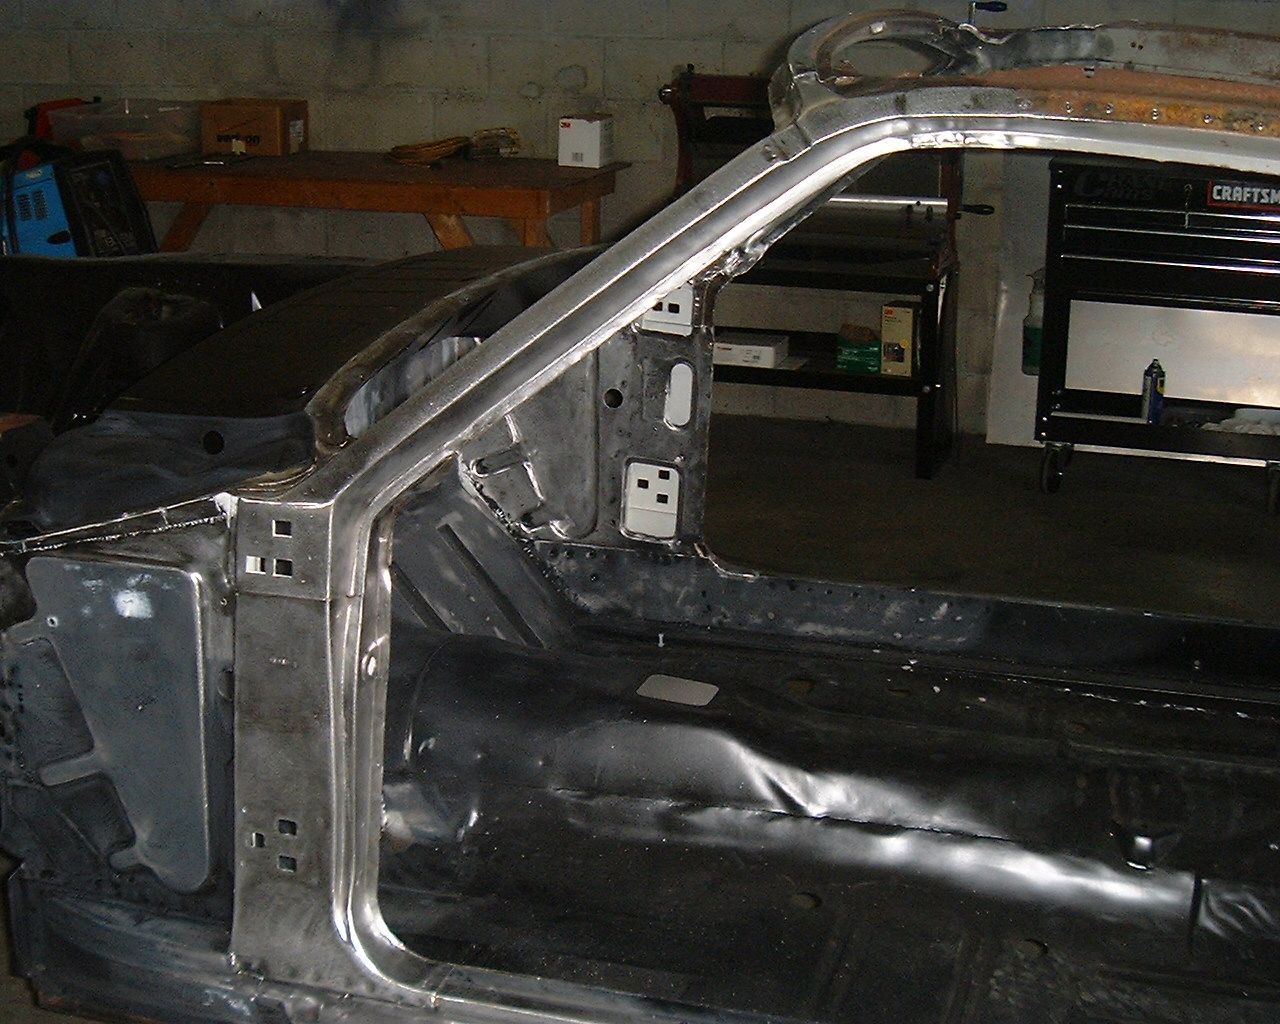
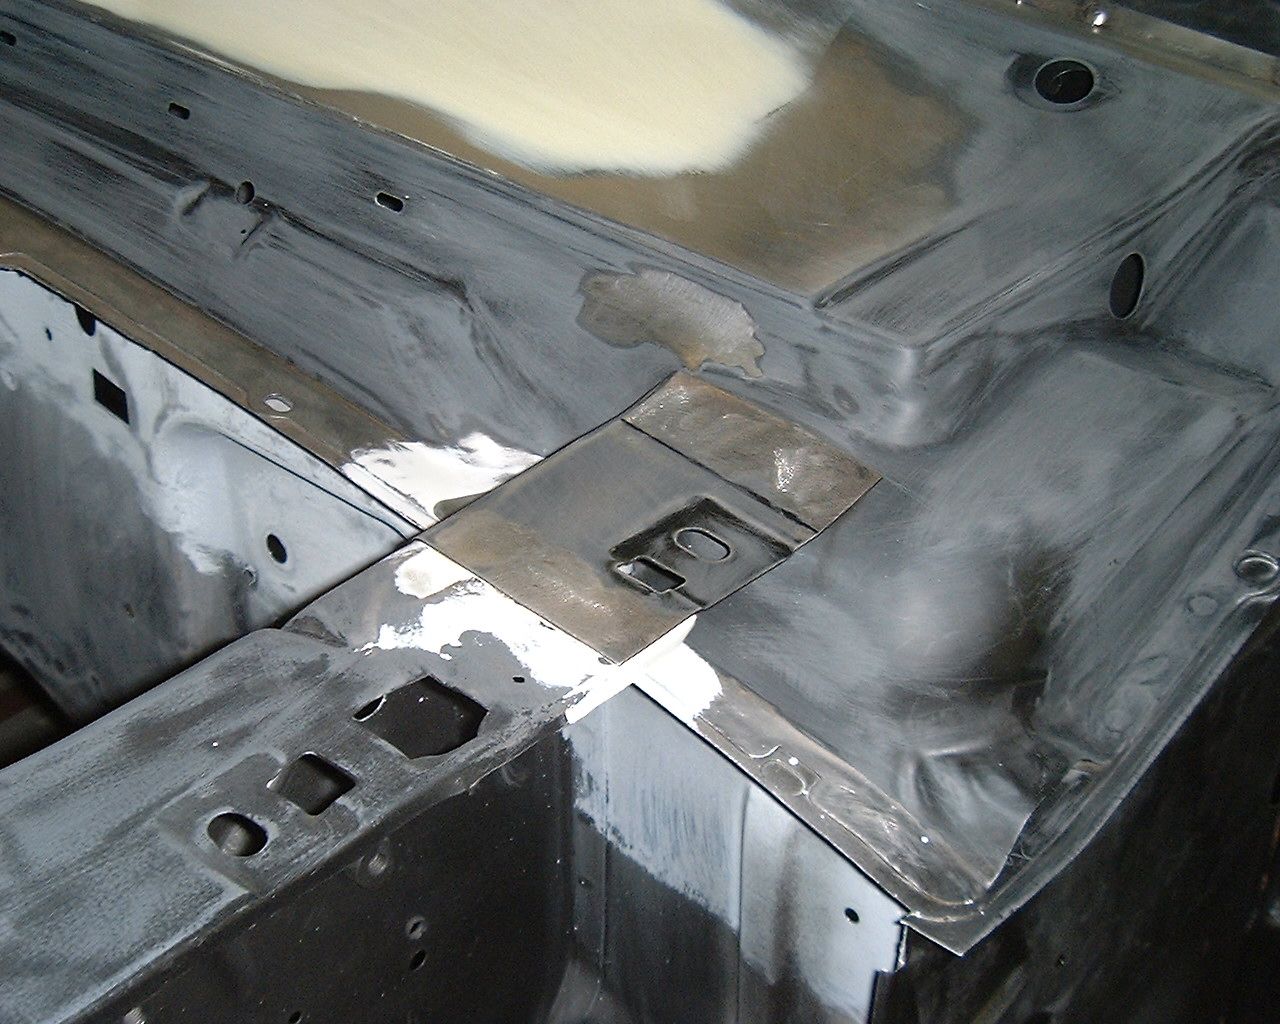
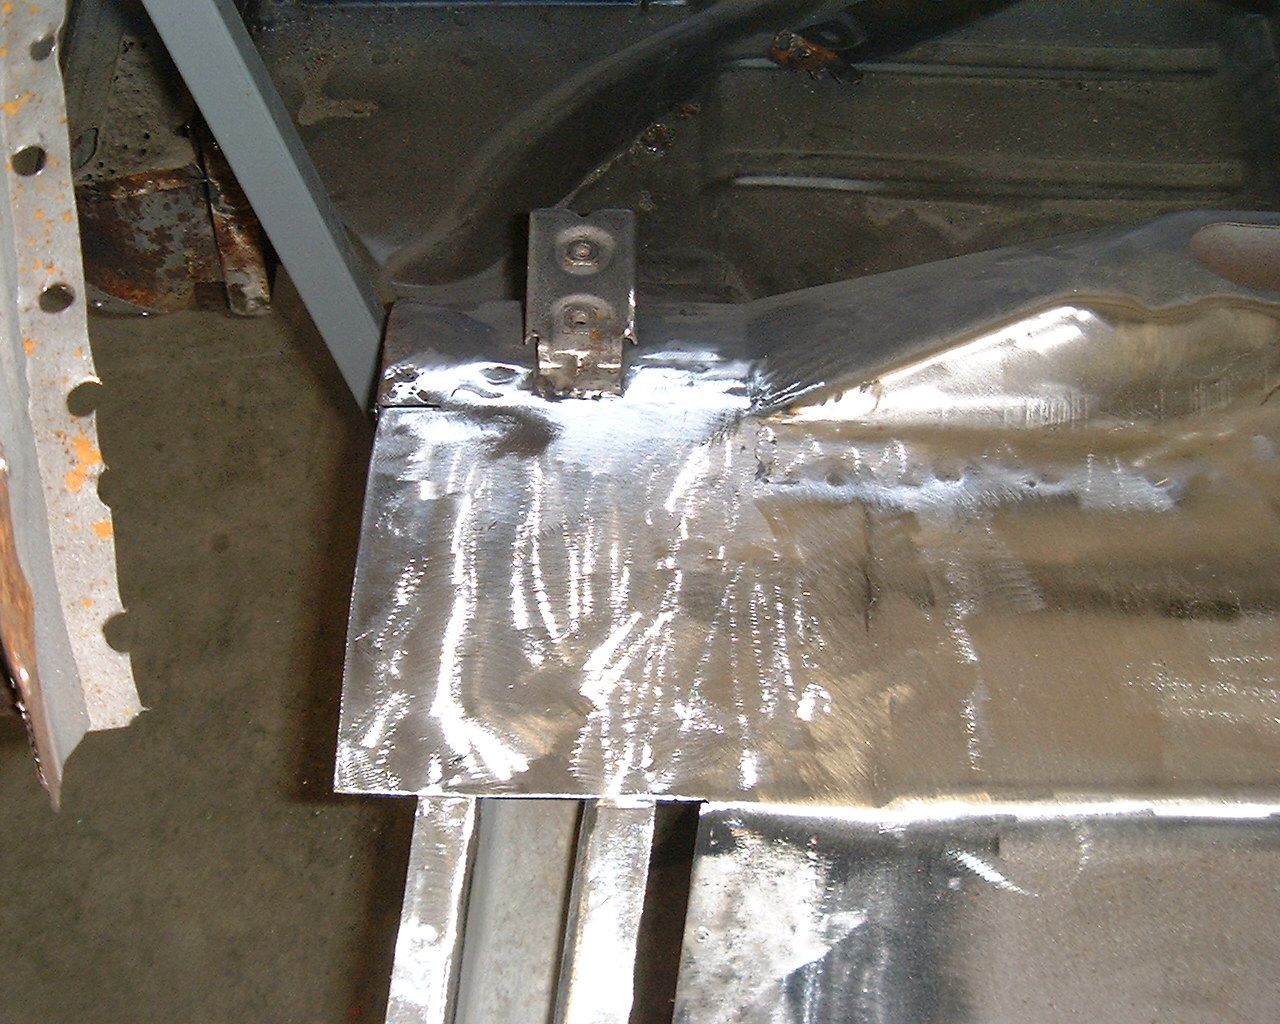
Any hints on how Brian grinds those inside welded corners so nice?
Hey, I offered you the opportunity to work on my car and you balked because of a little airplane ride. Make up your mind man!"70_Fastback" said:Brian has the greatest job in the world. Hands down.
I am jealous as hell!
"Horseplay" said:Hey, I offered you the opportunity to work on my car and you balked because of a little airplane ride. Make up your mind man!