• Hello there guest and Welcome to The #1 Classic Mustang forum!
    To gain full access you must Register. Registration is free and it takes only a few moments to complete.
    Already a member? Login here then!

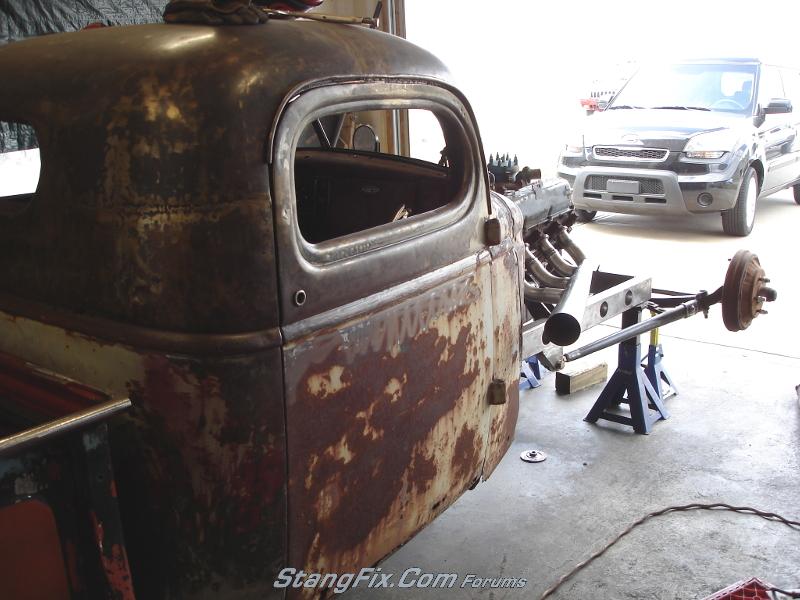
70_Fastback: RAT ROD - 193x Ford / 1942 GMC Truck

By NOT seeing colors, I'm confident (and proven by the eye doc) that I am really good at seeing black and white. Hell, just ask Jack!
 
Ok on a serious note, I'm used to seeing the red rims typical of that era. I have seen some with the pale yellow and it looked fine. Below is a pic of the yellow that you probably have in mind and a few pics of red and black. Honestly it depends on what look you are after. If you want the rims to pop, go for the yellow or red. If you want it to blend in with the rest of the car, I'd go with a black. I definitely am partial to the steelies with the chrome hub, regardless of the color you pick.

dodge-hot-rod-0002.jpg


ratrod2.jpg


image004.jpg


bfg_ratPU_1.jpg


193xx%20ford%20pickup-ratrod-rvr.JPG
 
Last edited by a moderator:
"70_Fastback" said:
Google any pictures of rats on the web. There is a common reaccuring theme of high contrasting, painted wheels on most of the vehicles. I thought about a more drab color, but didn't like how it looked in photoshop. Then I tried the "traditional" red, bright green, black, etc. To ME, the cream really popped to my eye.

Ummm, that settles it... Paint 'em GO. :bowdown

[Darth Vader]It is your destiny[/Darth Vader] :thu

image004.jpg
 
Last edited by a moderator:
I kinda like the photoshopped version minus the spokes. Try Photochop with the surf green color.
 
I say paint them what you like! Not yours, but many rat rods look like someone just got lazy when they were building a car and didn't really want to finish the job.

Many have some real craftsmanship, but most of the ones I see for sale around here are just people getting lazy and trying to get more money for a piece of crap car!

Mel
 
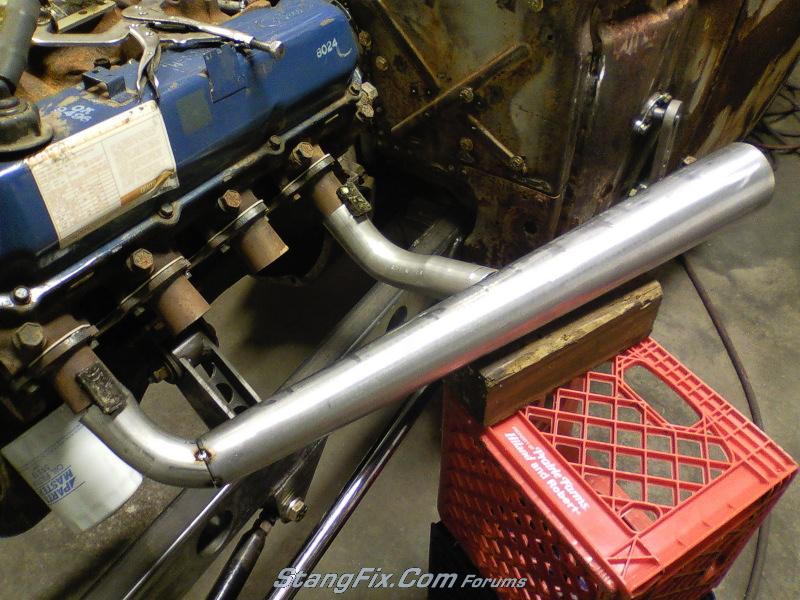
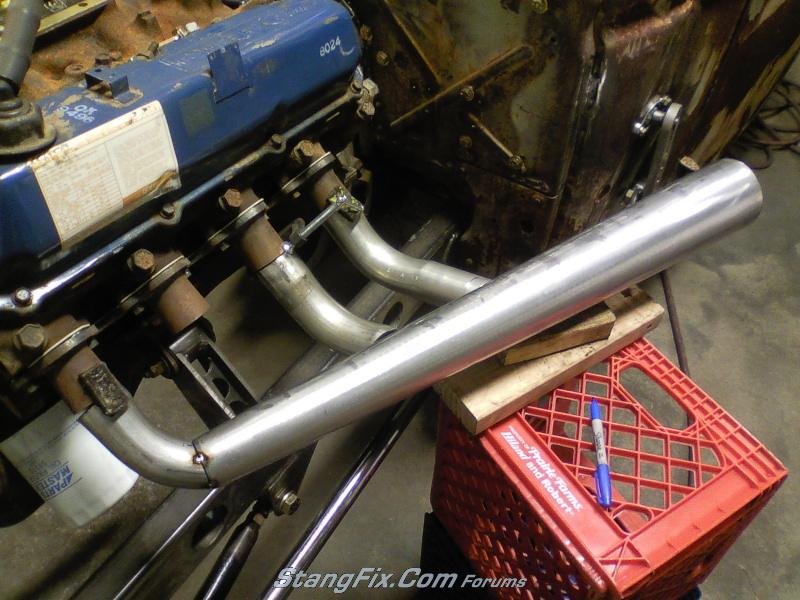
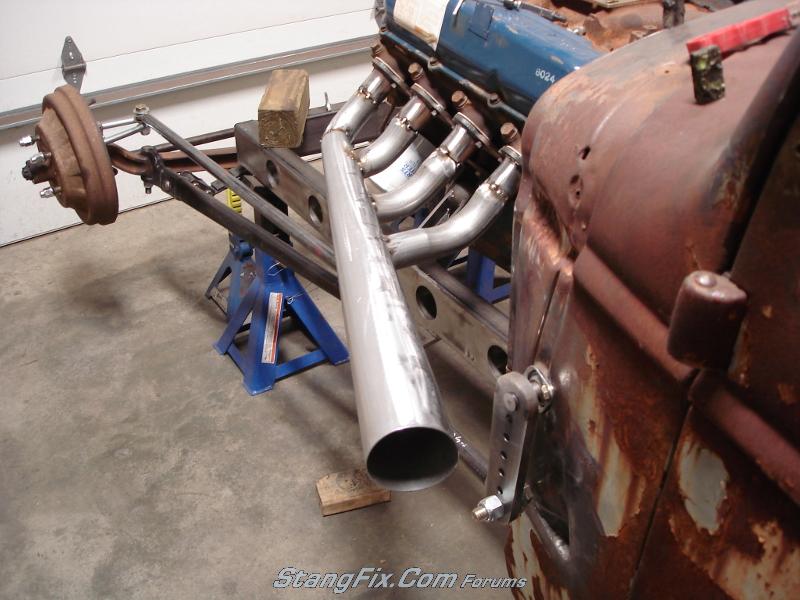
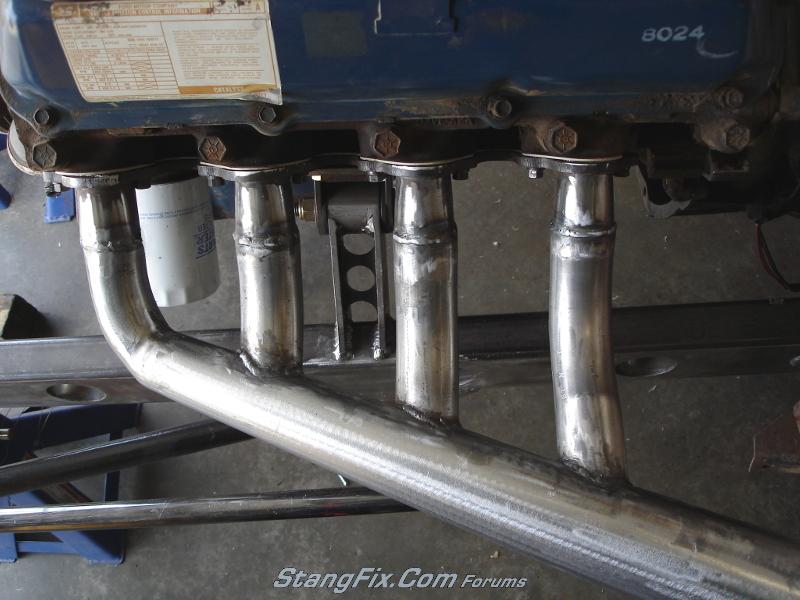
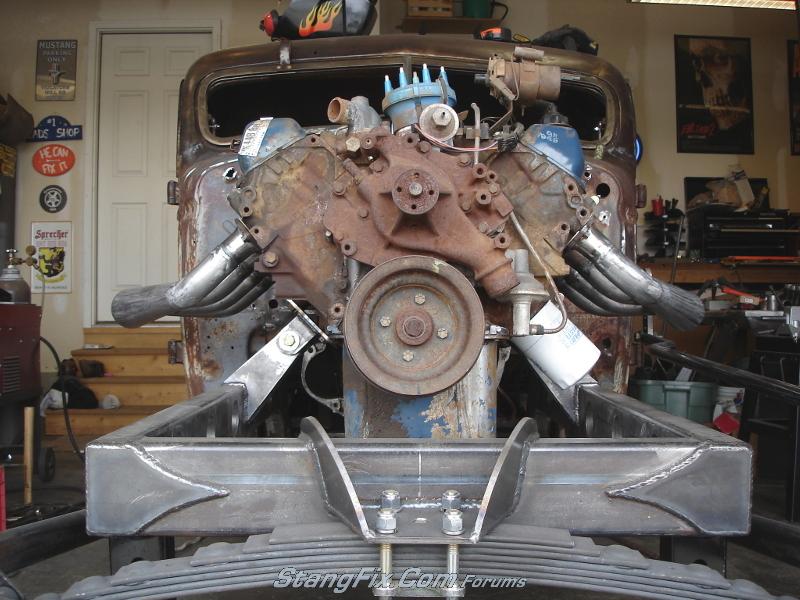
Hand made Lakester style Headers this weekend. And it took most of the weekend to make these. What a PITA :rant.

But the final product... I am VERY pleased with.

I actually remembered to stop & take pictures of the progress this time too :yah.

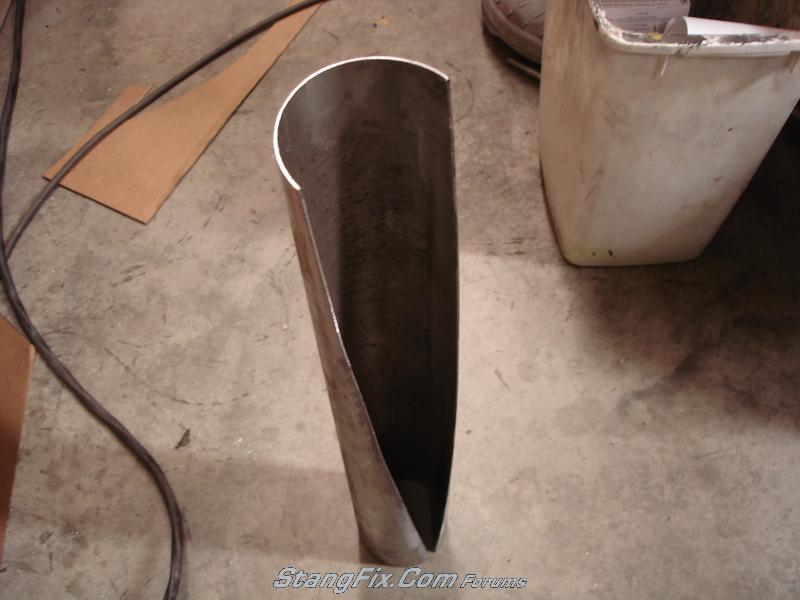
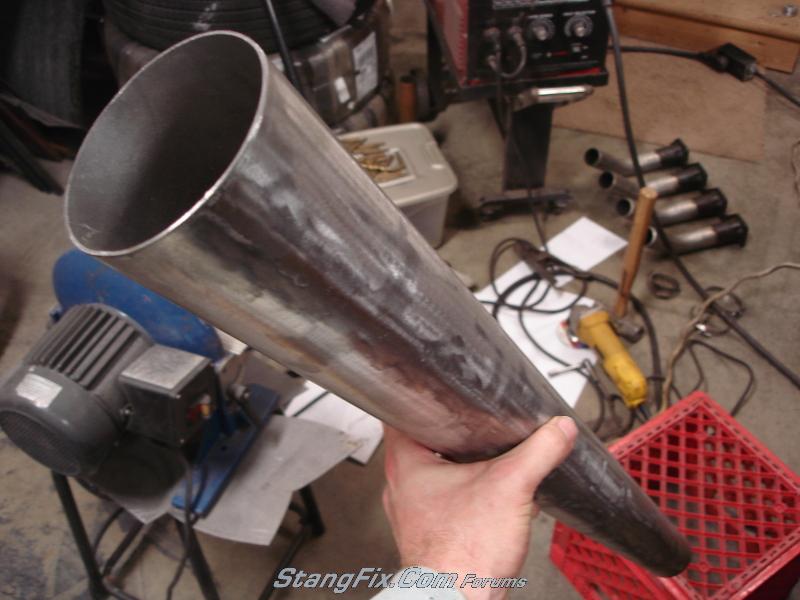
First part of the task was making the cones for the collector. I went with 30" long cones - 4" down to a 2" taper.
Started with a 5' stick of thinwall 4" aluminized diesel exhaust pipe.
Figured of my circumfrance(s) - laid those out on paper and connected the dots to form my taper.
Wrap paper around cone, mark & finally cut.

26-210311084757-76801751.jpeg


The 2nd cone had to be 3" shorter due to the offset of the exhaust ports on each side - so adjust measurments and mark this one:
26-210311084807-76942162.jpeg


Cut cone. Good representation of the how much it has to be rolled in.
26-210311085809-76951245.jpeg


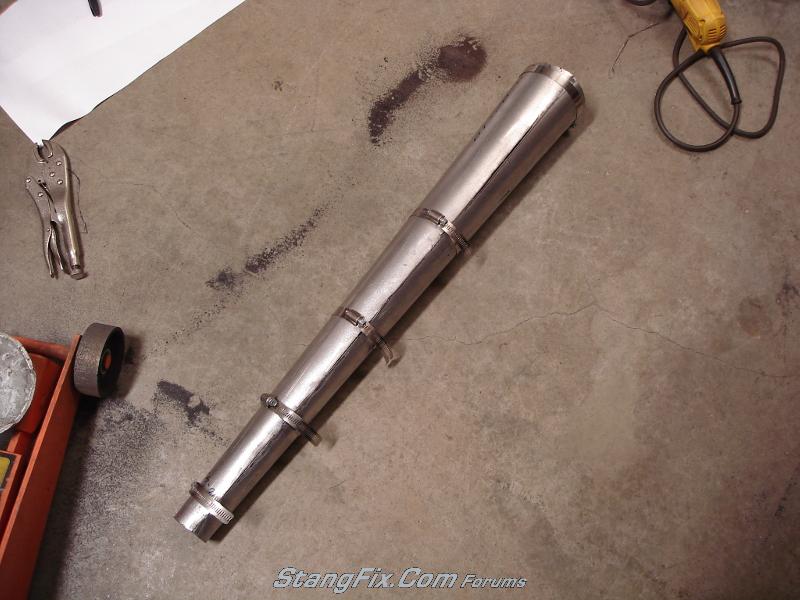
i used hose clamps and a soft hammer to roll and massage the cones into shape:
26-210311085819-76961764.jpeg


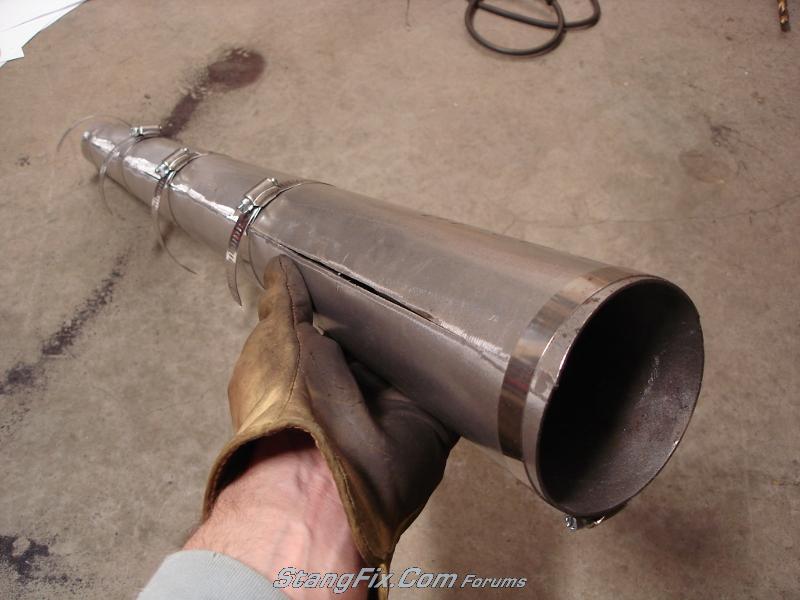
Ready for seam welding:
26-210311085826-76971545.jpeg


Fully seam welded & ground clean - edge ground flat as well:
26-210311085844-76982421.jpeg


The next stage is where it got more tricky, lots of measuring, cutting long, checking, rechecking, cutting little bits off, trimming, etc. Blah..

First I determined the angle I wanted and used sophisticated jigs to set the height and angles.
26-210311085850-76991928.jpeg


During fitment of the next tubes, I determined and I would have to fabricate a new jig... because my current jig was needed for the other side... :sarc

26-210311085856-7700861.jpeg


26-210311085900-77012167.jpeg


26-210311085907-77021885.jpeg


I had to drill the 2-1/16" angled holes through the cones next and stub each tube slightly into the exhaust cone. Mark hole locations, check about 30 times.... take cone to drill press. Go back, check hole alignment again... go back to drill press. Set up angle jig to drill holes at angle...

Head back to the stubs... and it fit perfectly.

Next was to radius each individual tube to fit the contour of the cone and then tack weld into place:
26-210311085930-77031318.jpeg


Other side fab'd and tack welded. Nice matched, equal length headers:
26-210311085959-77062191.jpeg


And the final welded and cleaned up product (I may dress the welds up a bit more on the tubes.. not sure yet):
26-210311090010-77071981.jpeg


26-210311090017-7708195.jpeg


Very even & matched:
26-210311090027-77092072.jpeg


26-210311085938-7704836.jpeg


26-210311085944-77052277.jpeg
 
That's nothing short of awesome work.

The obvious question. How the hell can you drive that thing anywhere without getting pulled over for noise? Are you planning some kind of baffle fixture you could add/remove off the end of the pipe?
 
They will be internally baffled inside of the cone. Speedway sells an internal baffle kit for 4" cones. I am just going to copy their design & build my own.

And thanks!
 
I am honored to watch a genius at work.

Jeremy is the Leonardo da Vinci of automotive creations.
 
The full size pics are waaaaay better than the little phone pics! You may think that your mad welding skilzs are so-so, but to the rest of us...I must agree with Mid!

Nice work brutha (and that's a huge understatement).
 
Back
Top