Havok1
Member
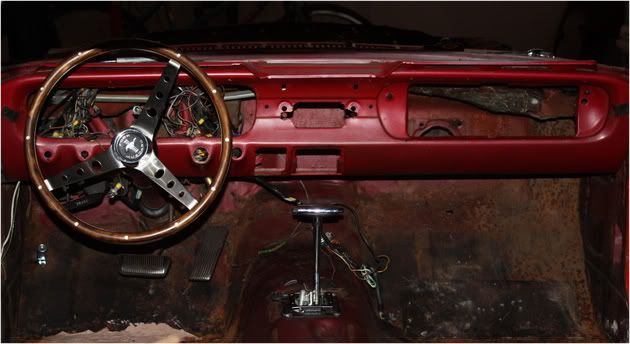
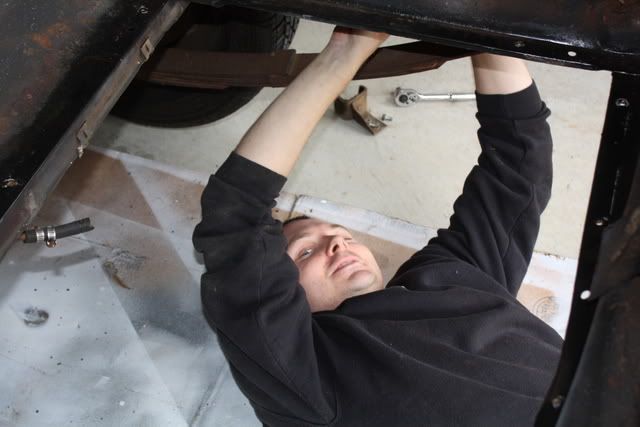
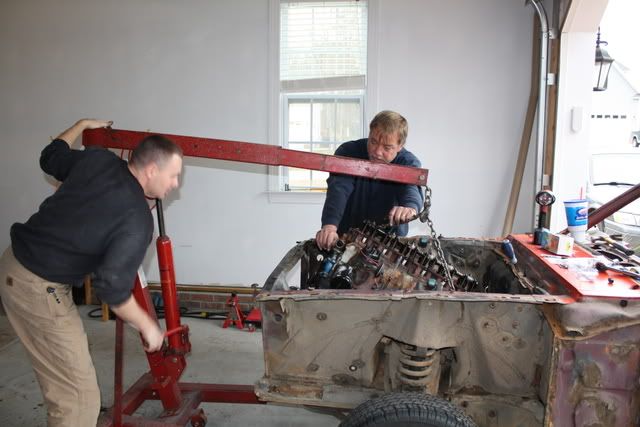
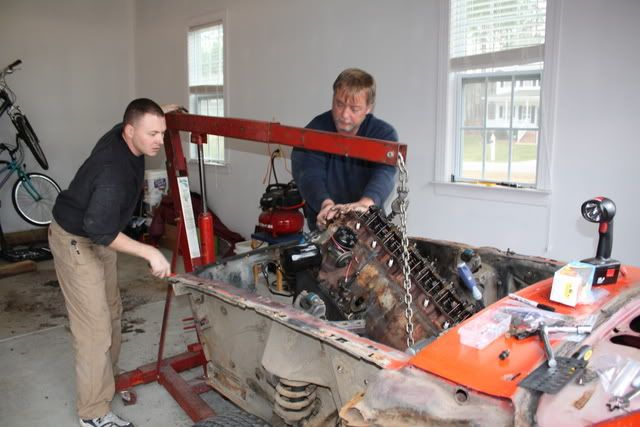
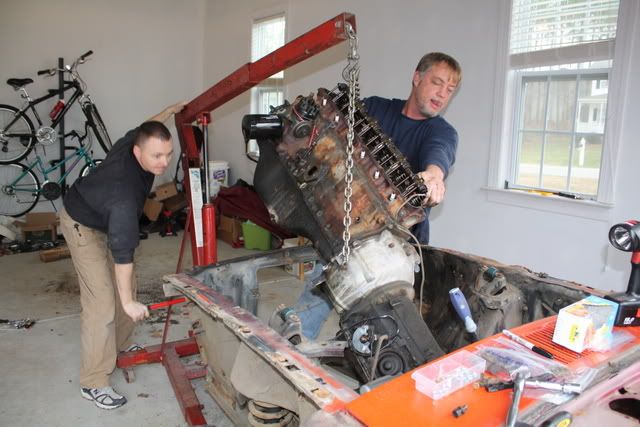
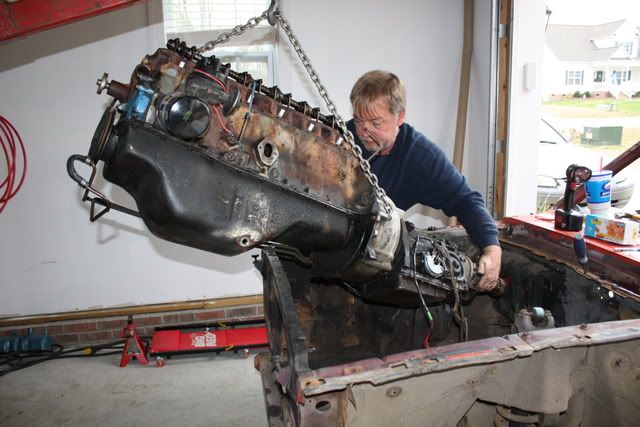
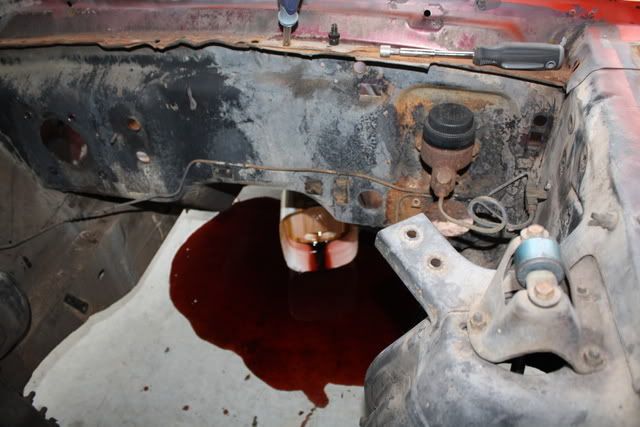
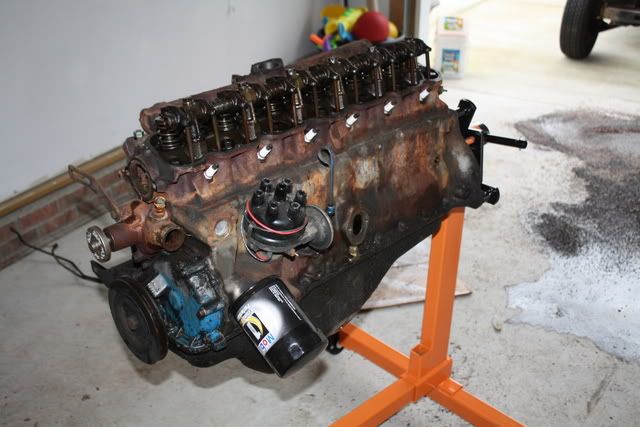
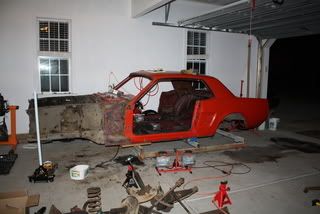
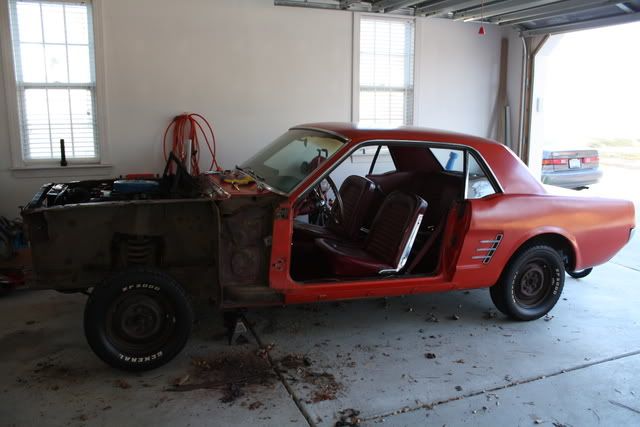
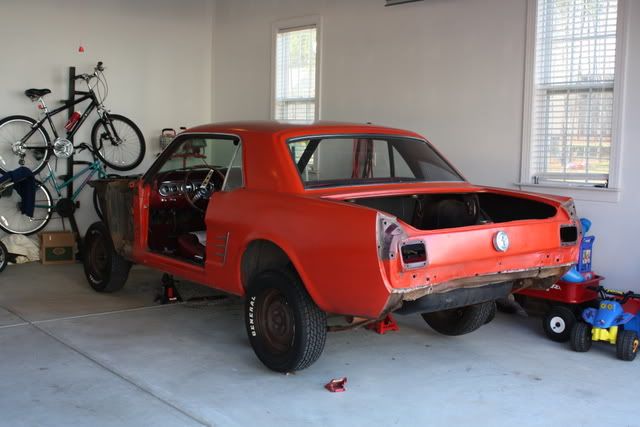
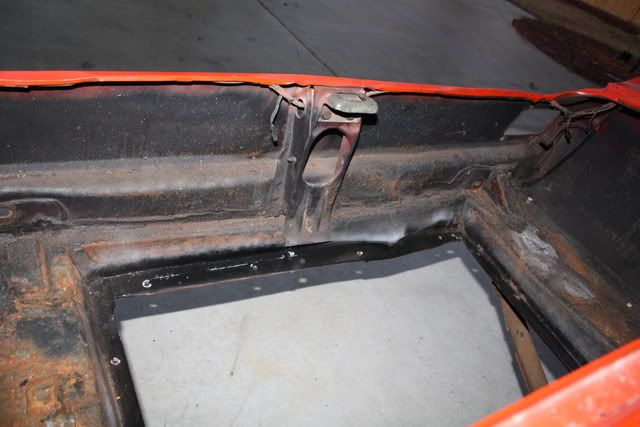
Just wanted to drop a line and let you guys and gals in on the progress of my resto. I've gotten a lot done the last couple of days with the help of a neighbor and a phone call here and there for advice ( ~hd). The car is coming apart piece by piece. I'm starting to see the bigger picture of what will need to be done and replaced. And constantly in search of somewhere to stash parts. So with that, here's a question. How do you decide when to trash a part and what do you do with a part when you've decided it isn't going to be used again? See if someone else wants it first? Some things I know are beyond their life like the windshield. Its pitted, fogging, and has several chips. But my front fenders, they have some rust through spots and have been bondo-ed before, but when do I just replace the whole thing instead of a patch job? Other pieces like the voltage regulator that was on the car, I replaced it about a year ago with an electronic one, but I still have the one that came off (it still worked). Oh well, here are some pics of the progress so far and some trouble spots I'll have to contend with.
Before Starting

Body coming apart
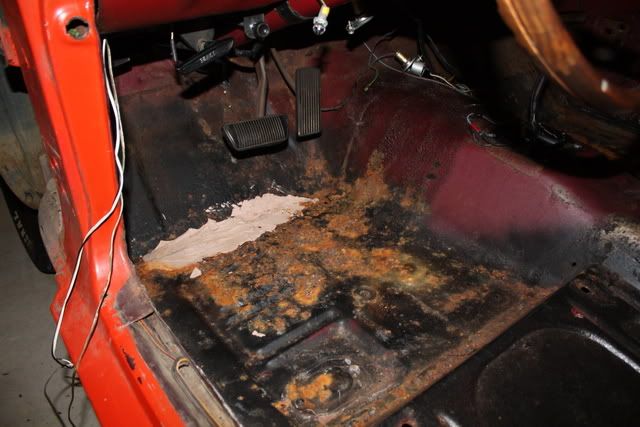
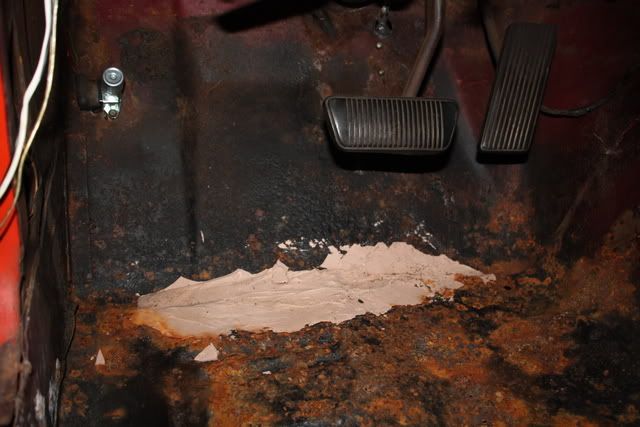
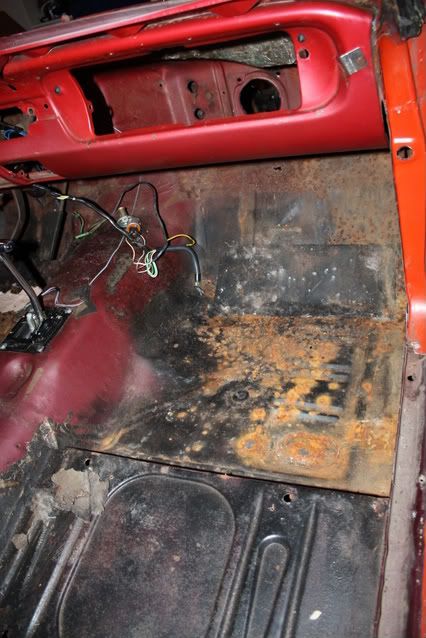
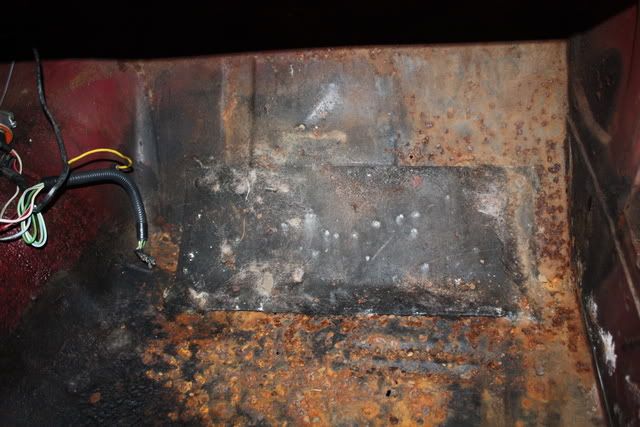
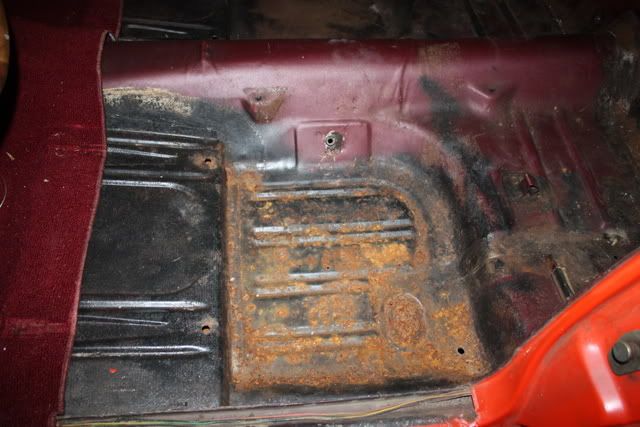
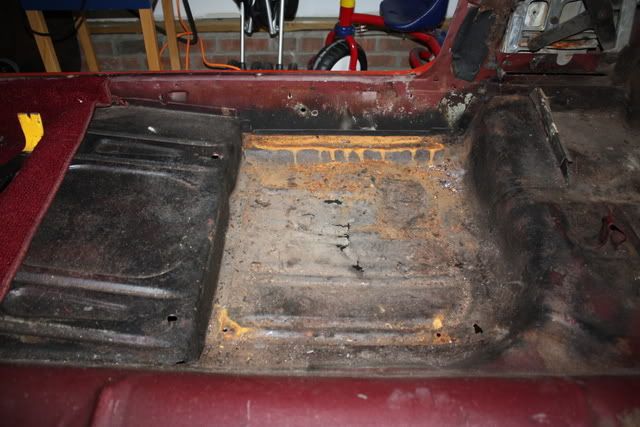
Floor Pan
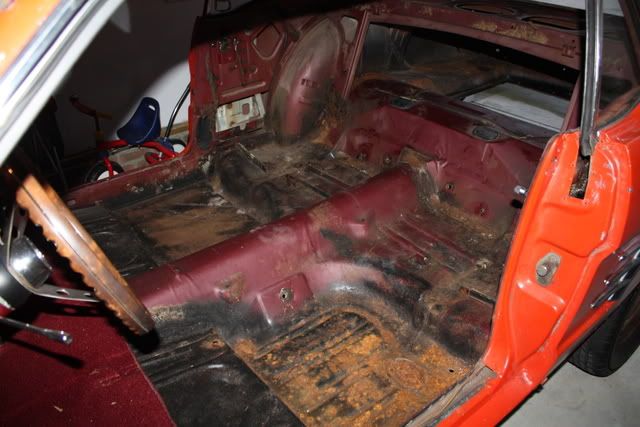
Seat pans show the worst rust in the floor pan so far.
Roof

Bad dent in rear panel from crash sometime earlier in life.
More pics as I get them.
Before Starting
Body coming apart
Floor Pan
Seat pans show the worst rust in the floor pan so far.
Roof
Bad dent in rear panel from crash sometime earlier in life.
More pics as I get them.