SELLERSRODSHOP
Well-Known Member
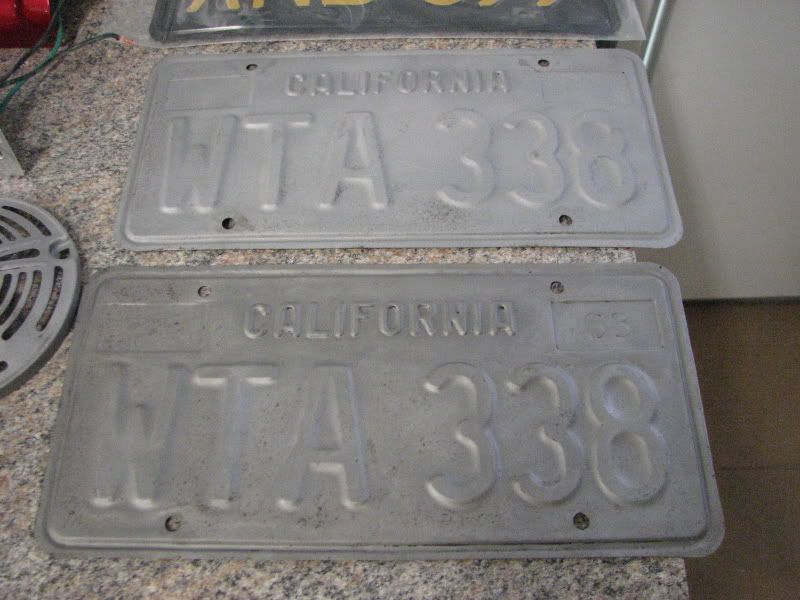
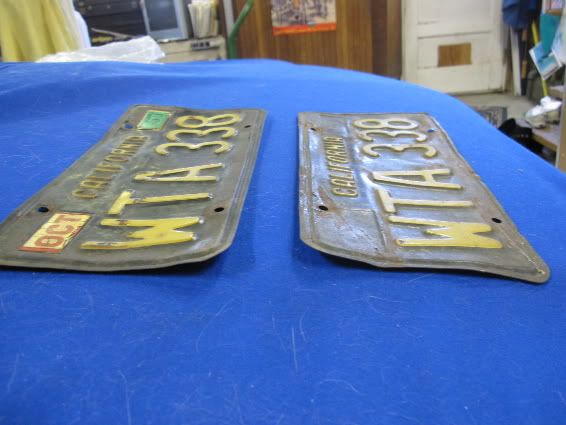
as some of you may have seen in another thread, craig was trusting enough to send me the original issue tags for shag this week to see if i could freshen them up. i had two candy jobs going towards the end of the week when they arrived, so got a bit of work done during the idle time between tint coats of candy. here is the "before" pics craig posted in the other thread:
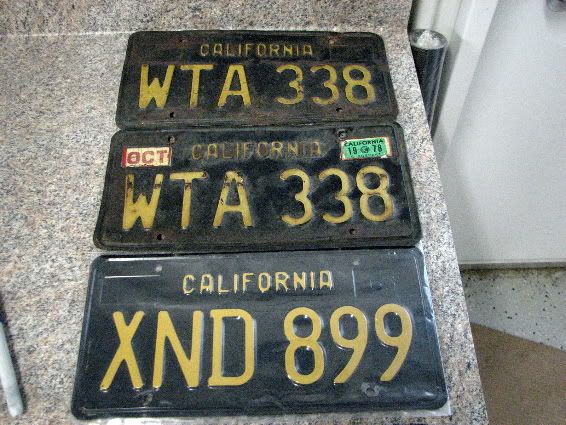
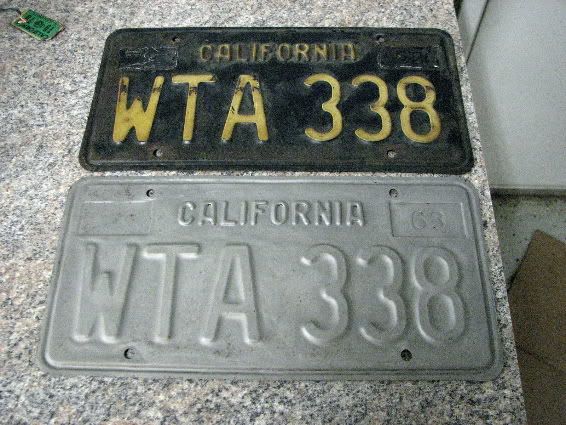
here are the tags along with a pristine original supplied by crustycurmudgeon to use as a guide to match paint colors ( thanks frank!!):
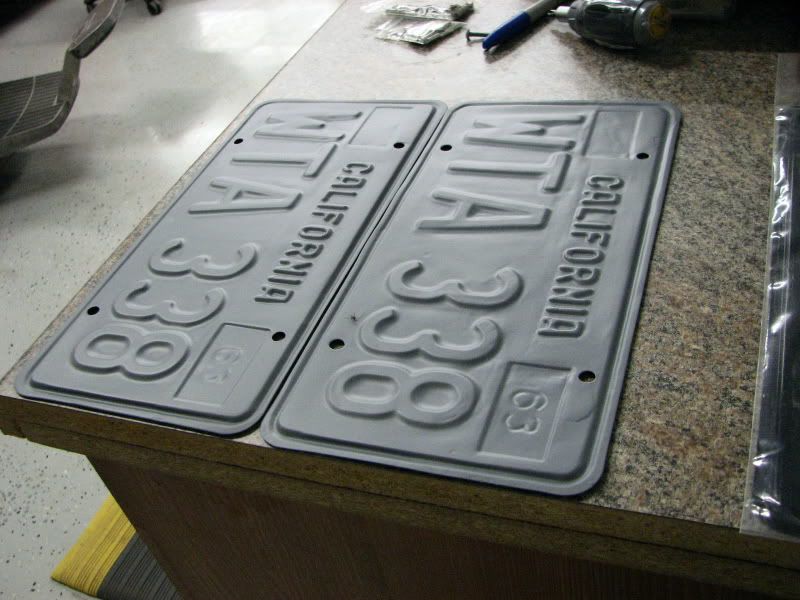
i started with the worst of the two, which had a large crease all the way across the front between the "california" script & the numbers. i started straightening the crease & working the dents & bends out until i finally had it flat using a couple body hammers, pliers, & my steel welding table & bench vise as the "dolly'. here's the first one after being reworked next to the second:
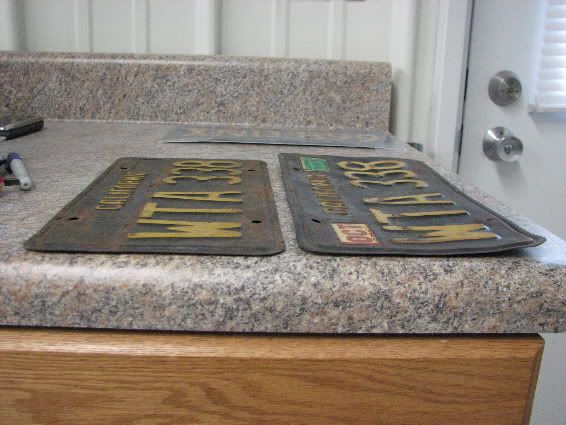
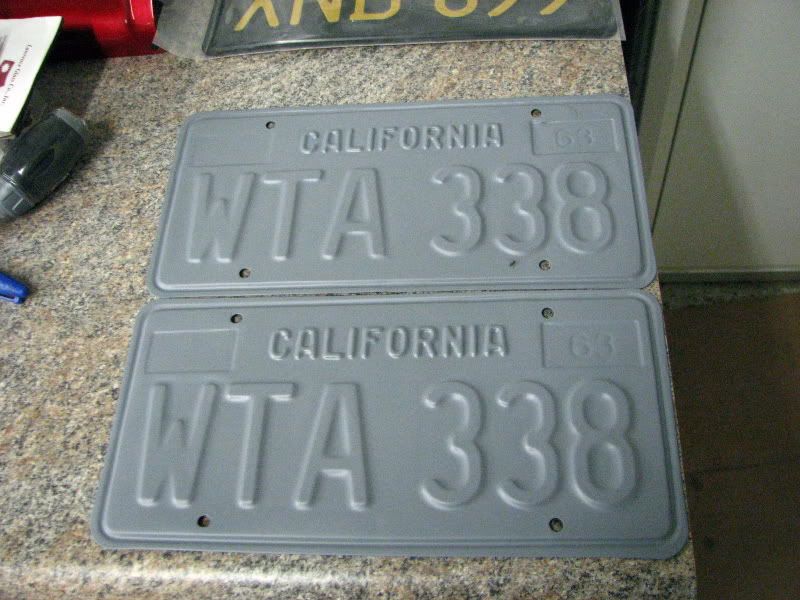
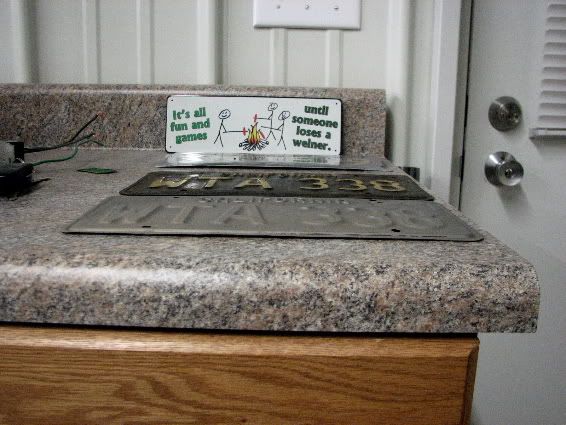
i stripped the first one in the blast cabinet, then reworked the second one. both are good & flat now. these cali tags are a little different than most as the rib stamped around the border is recessed rather than raised like the letters/numbers, so there is actually three levels to work instead of two. most tags with two levels can be worked on a flat surface, but these require using the edge of the table for the inverted border to hang over.
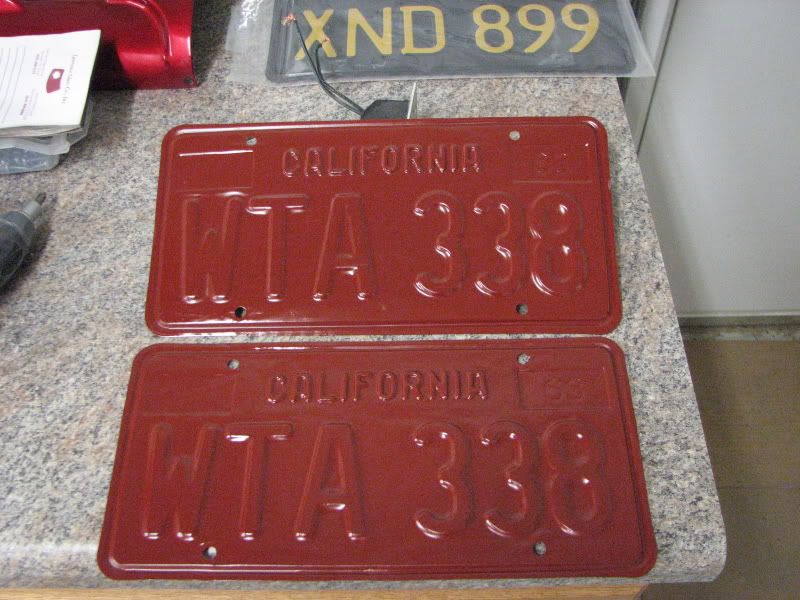
i'll post updates as the progress continues. hope to have both stripped & in epoxy primer over the weekend while finishing up these candy jobs on the old harleys.
here are the tags along with a pristine original supplied by crustycurmudgeon to use as a guide to match paint colors ( thanks frank!!):
i started with the worst of the two, which had a large crease all the way across the front between the "california" script & the numbers. i started straightening the crease & working the dents & bends out until i finally had it flat using a couple body hammers, pliers, & my steel welding table & bench vise as the "dolly'. here's the first one after being reworked next to the second:
i stripped the first one in the blast cabinet, then reworked the second one. both are good & flat now. these cali tags are a little different than most as the rib stamped around the border is recessed rather than raised like the letters/numbers, so there is actually three levels to work instead of two. most tags with two levels can be worked on a flat surface, but these require using the edge of the table for the inverted border to hang over.
i'll post updates as the progress continues. hope to have both stripped & in epoxy primer over the weekend while finishing up these candy jobs on the old harleys.