• Hello there guest and Welcome to The #1 Classic Mustang forum!
    To gain full access you must Register. Registration is free and it takes only a few moments to complete.
    Already a member? Login here then!

The ***"Official"*** StangFix Drag car

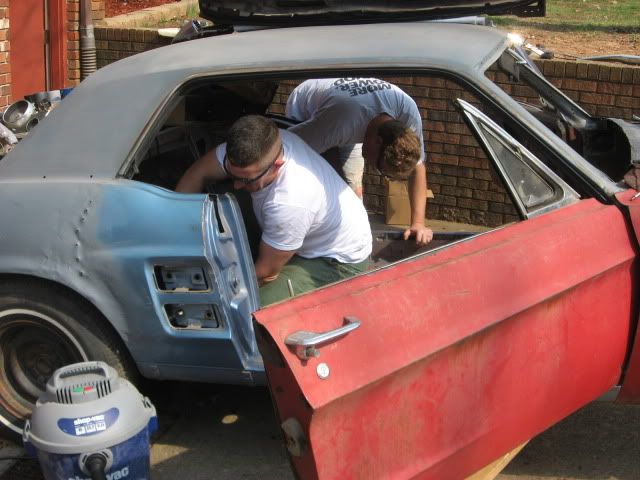
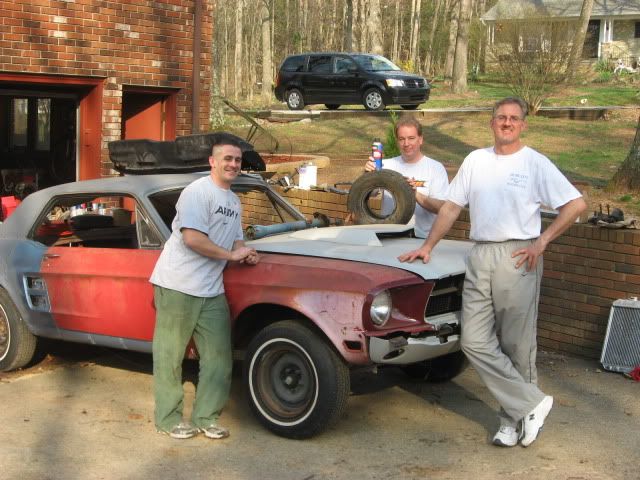
The car is completely stripped right now. No wiring, wipers, heater, etc. In fact no dash. I cut the old one out because it was cut up. Before I weld the replacement back in I want to paint but the whole interior isn't ready. It is very time consuming stripping all the gunk and paint. I'm just thinking if Jason wants the car to be a roller and doesn't want to wait forever to get it then I should spray the firewall, mask off the rest and paint it later. Mel is right, the best way is spray all at once but at my pace that could be a while!
index.php
 

Attachments

  • Picture 024.jpg
    65.5 KB · Views: 160
Well Craig,

Looking at your picture you should weld up the holes you are not using on the firewall now, then you should think about stripping the entire interior. The reason is that if you have the outside done and then finish the interior you risk over spray on Jason's nice new paint job.

I for one would hate to have that happen and am sure Jason would too. Maybe Jason should be consulted?

Mel
 
That looks pretty clean to me, I didn't see much gunk under my dash area? I don't think I'd worry with stripping all the paint from under the dash either, couldn't you spray over it with a self etching primer then primer gray? I'm not a paint guy but again it will just be under the dash and not even see direct sunlight. If you're talking about the rest of the interior, that's a different story but to just get a gray coat on under the dash/firewall it would get it out of the way quicker. You could still get to the kickpanels, floorboard, etc. later.
Jon
 
Yes Jon, that's what I was thinking. Just prime and paint the underdash area. The rest of the interior has sealer, surface rust, crud, etc. that I need to clean strip.
 
"tarafied1" said:
Yes Jon, that's what I was thinking. Just prime and paint the underdash area. The rest of the interior has sealer, surface rust, crud, etc. that I need to clean strip.

You can go that route, but remember if you send it for exterior paint before you do the rest of the interior, you risk over spray on the nice new exterior paint. My point is that before you send it off to Jason, you should make sure the entire interior is done.

I used LineX inside my 67 before exterior paint went on and it really only delayed things a couple days. I had to replace the floor pans and such as well.

Mel
 
I hear ya Mel and I agree. The problem I guess is I would like to have the grey all through the inside. Since it will be a race car and not have carpet and stuff it needs to look half way decent. That means properly stripping and sanding and such or it will look nasty. To do that will take time as I am often not home during the week and then have a lot of family and other obligations. I just don't want to keep Jason wondering when to squeeze it in since he has a business to run. I sure don't want to ruin a paint job either. I guess I could go with a less perfectionist approach and just knock the loose stuff off and paint over the rest...
 
Simple fix......tell Jason not to plan on it until you let him know more on the progress......... Even a race car needs to be done right cuz you will be representing StanFix.
 
Jon (JonK67) and Joey (fordrule) came over today to work on the car. We scrapped a lot of old sealer out the interior and wire brushed it in prep for paint. I need to fix a couple rust holes, clean, prime and paint. Then I can put the dash back in and haul it to Jason. It was a fun day. Thanks for the help!
 

Attachments

  • Jon and Joey working on drag car.jpg
    83.6 KB · Views: 479
  • floor.jpg
    72.8 KB · Views: 88
thanks again Joey, I'm having withdrawal from my other 67 while it is paint jail so getting back to work on this one was good! Thanks for the Iraq stuff for my son too!!! He doesn't say much but he really liked it.
 

Attachments

  • Lucas Joey and me.jpg
    112.7 KB · Views: 22
  • Joey and Jon.jpg
    79.4 KB · Views: 27
  • Joey.jpg
    75.9 KB · Views: 19
  • JonK.jpg
    80.1 KB · Views: 15
  • JonK 2.jpg
    87.1 KB · Views: 15
  • Joey and Jon.jpg
    79.4 KB · Views: 18
"AzPete" said:
Looks good....but what a crew.....

If that ain't the pot callin' the kettle black...

We should have gotten Tara to get a pic of all 3 of us trying to work in the car at the same time, talk about the 3 stooges with wire brushes flying. I was expecting any moment to hear a slap, an eye poke and 'Spread Out!'
My pics look similar:
IMG_1363.jpg


And Craig showed us what Kentuckians do for fun which included a tractor tire and a can of starting fluid....
IMG_1364.jpg


We stayed until Craig was out of beer, I mean until the inside was stripped. Now Craig said he can fill it with :gs

Really enjoyed working on the car and hanging out with your family, a good 'Mustang' day.
Jon
 
it was a little bit too cold to work on her outside so we didnt roll her out..
189874_1850866586612_1089154121_2177410_5805309_n.jpg


first we used the rust inhibitor after I finished grinding and trying to get her all uniform smooth..started to apply the etching primer but only had the one can , so I covered all I could with it....got a lot done ..next is to finish with the self etching primer, then epoxy primer it all . Then finally shoot the grey.. but this is all going to happen after the 2 patches in the floor are patched up..
199744_1850866706615_1089154121_2177411_1080189_n.jpg

189154_1850867146626_1089154121_2177413_5191202_n.jpg

196756_1850867346631_1089154121_2177414_7640591_n.jpg

200064_1850867506635_1089154121_2177415_5557509_n.jpg

190222_1850867666639_1089154121_2177416_7430834_n.jpg

197296_1850867866644_1089154121_2177417_4901319_n.jpg


craig was doing the finishing touches on the 67 ranchero 302..stock 2V..looks damn good
197528_1850868066649_1089154121_2177418_1581573_n.jpg

199116_1850868706665_1089154121_2177420_4422599_n.jpg
 
Last edited by a moderator:
THANKS Joey! He did get a lot done. I have two small holes to fix. The passenger side is in a area with ribbed panel. I have a old scrap piece from my red car's original floor I can use to make the patch.
index.php

index.php
 

Attachments

  • hole in PS floor.jpg
    47.3 KB · Views: 691
  • Patch for PS floor.jpg
    68.8 KB · Views: 300
Back
Top