• Hello there guest and Welcome to The #1 Classic Mustang forum!
    To gain full access you must Register. Registration is free and it takes only a few moments to complete.
    Already a member? Login here then!

70_Fastback: RAT ROD - 193x Ford / 1942 GMC Truck

"70_Fastback" said:
Yes, I rolled those beads into the sheet metal. I have a Woodward Fab beadroller now. Those were rolled with a 1/4" die set.

I wouldn't mind a picture or two of that beast. I've attempted beads by hand, and they don't come out nearly as nice!
 
It's a manual roller:

1455060_lg.jpg


18" throat depth. Vice mounted.

Link:
http://www.woodwardfab.com/woodward_fab ... ollers.htm
 
But for optimal beads, it's best to make it a 2 man operation. 1 to crank, and 1 to guide the sheet metal.

I had Kyle -- 'Rusty_70' -- come over and crank the handle and I rolled out the bead lines. Made it a lot easier and a much better finished product. You CAN do it by yourself, but the beads get a little shake only using one hand to guide with.
 
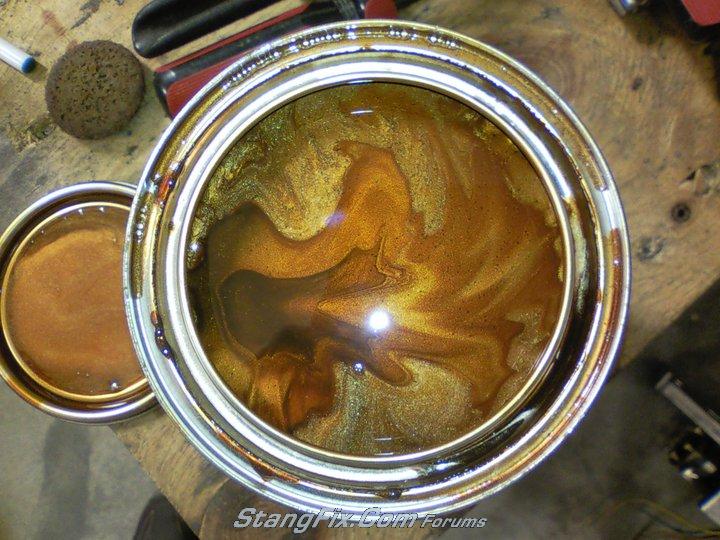
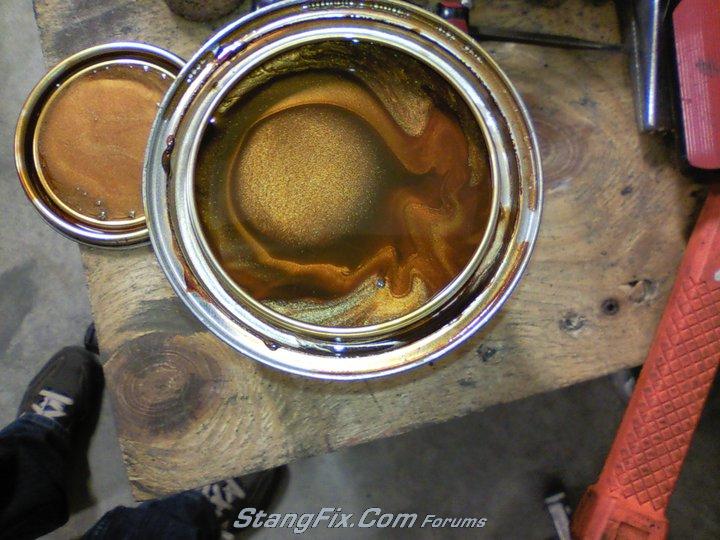
I hope to squirting some of this, this weekend!
26-220611073025.jpeg


26-220611073046.jpeg


26-220611073100.jpeg


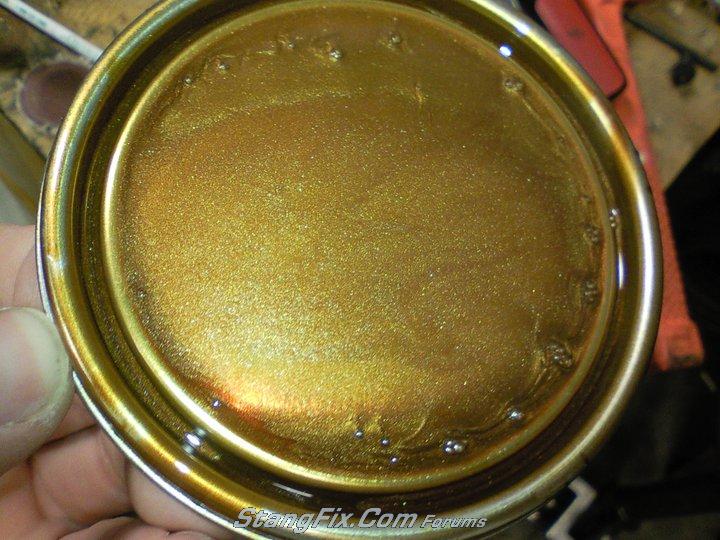
It's a cinnamon color - VERY heave metallic. It's going on the suspension & drivetrain parts.

The frame is getting a satin, chassis black, spray as well.
 
It's a hybrid. Body will stay patina.... it's too rough to paint. I have found a clear product that can be applied over rust, etc.
 
Been tinkering with this in the evenings...

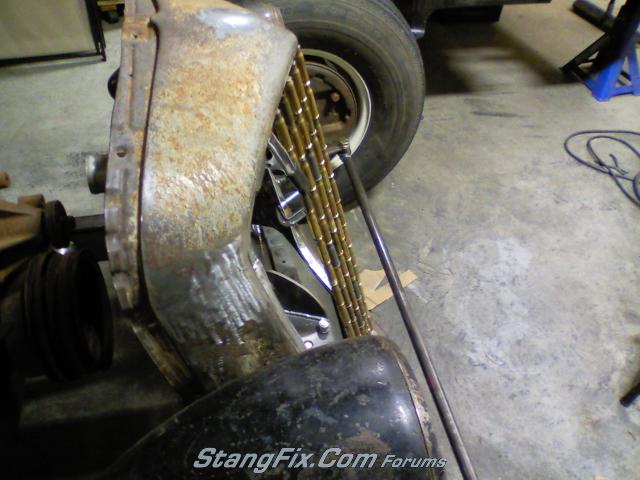
I fab'd the grill shell insert out of 16 guage steel - you can kind of see the new steel frame in the pic here:
26-220611074521.jpeg


Right now, they are basically spaced on 1" centers. I may squeeze them a little closer - but won't know for sure until I get one entire side done.

Currently there are (60) .308 Winchester shells shown here (courtesy of :Mark) - I have about another 60 left. I have to drill out the base of EVERY shell to 5/16" diameter and string them onto a 5/16" steel rod - which will get cherry welded to the steel insert that I made from the outer bottom & outer top side.

26-220611074547.jpeg


I still have to tweek the shells and rearrange some for a better visual feel. And cut some to fill the smaller gaps at the bottom.

I have to go to Bass Pro tonight and buy anothe 100+ empty casings to drill out. Fun times on this project. :sarc
 
Shot some color this weekend.

Primed the frame with a 2K etching primer - which ended up being MAUVE! :wtf It was a nice light purple frame for a while.

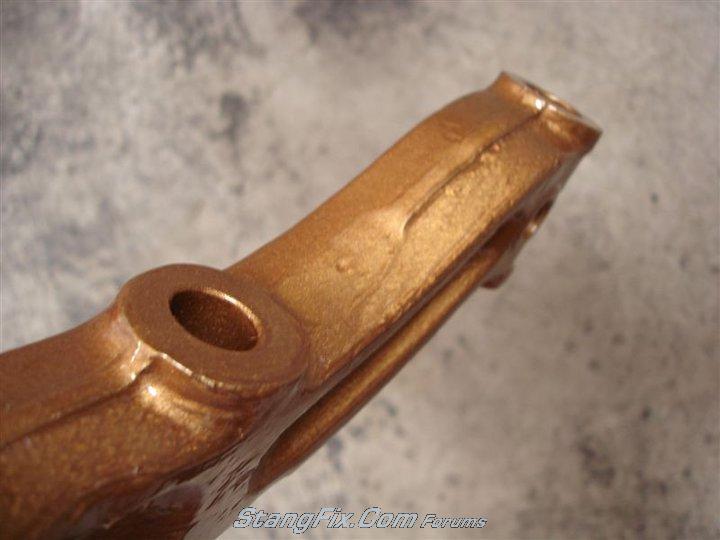
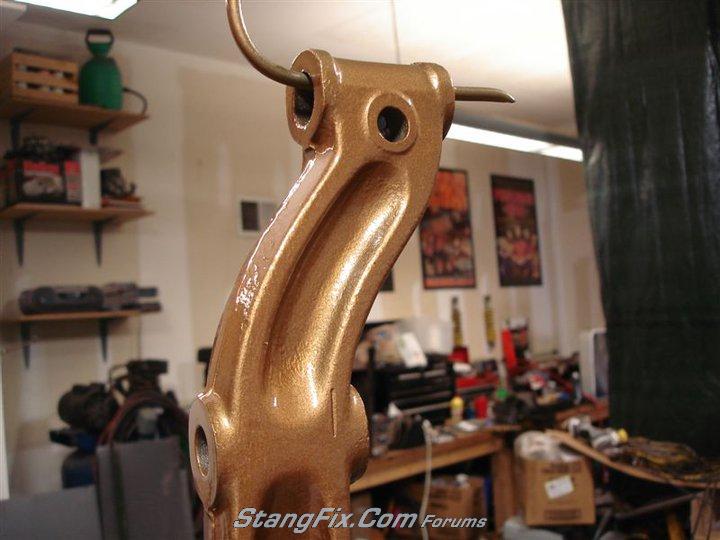
After that was coated, I moved on to shoot color onto the previously primed suspension & drivetrain parts - it's a cinnamon gold metallic:
This color is amazing in the sunlight!

26-270611085342.jpeg


26-270611085355.jpeg


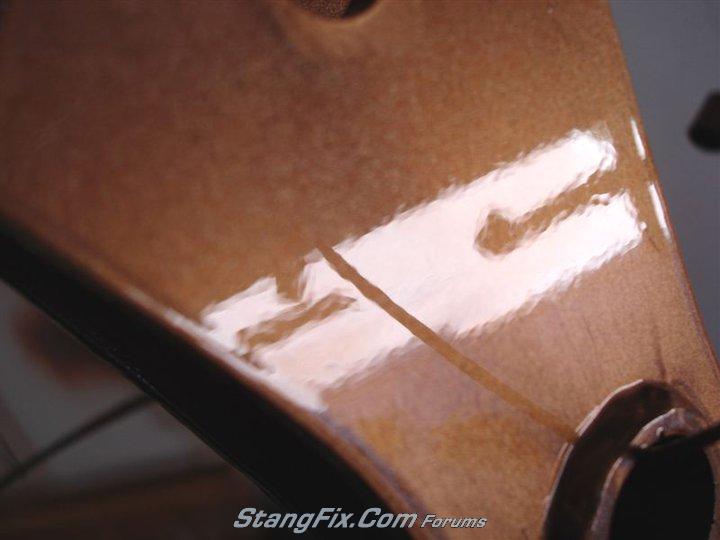
Extreme close up showing the depth... LoL
26-270611085410.jpeg


By the time I finished shooting that color the primed frame was ready for top coating.

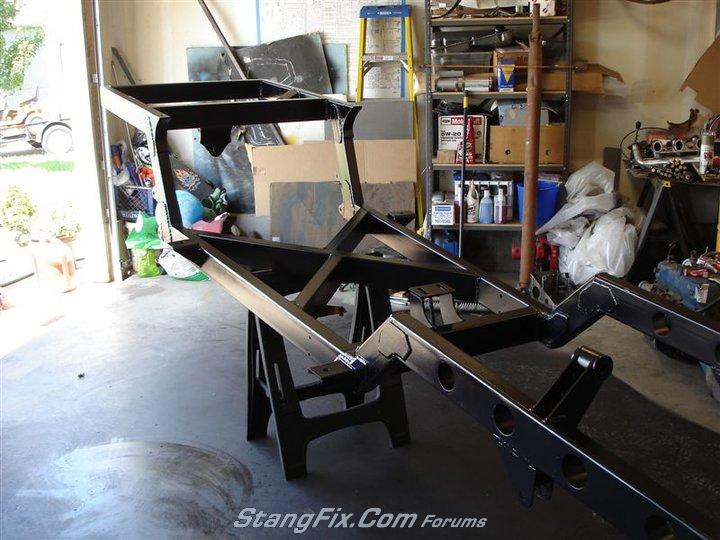
I used a chassis black but added an additional med. temp hardener. The paint turned out great as well with a nice, though subtle, texture to it. Exactly what I was wanting.
26-270611085423.jpeg


Example of the texture:
26-270611085443.jpeg


I have to finish cleaning the 9" rear - then prime & paint it the cinnamon color and also paint the inside of the lighting holes the cinnamon color as well - which is going to be a pain. I have a small HVLP detail gun that I hope will make that task a little easier.

It looks nice... perhaps too nice for a "rat" rod... It's going to a nice contrast of "new" vs. "old"... that's for sure.
 
I think my prototype is looking good, thanks. Keep up the good work and make sure you take enough notes for the second one.
I saw a "rat" rod with a gloss red frame and ratty cab and it looked pretty sweet.
 
"70_Fastback" said:
Plus that gold/cinnamon goes with the rusty patina color as well.
Paint choice based on color of existing rust. Yep. First time I heard that one.
 
Back
Top