• Hello there guest and Welcome to The #1 Classic Mustang forum!
    To gain full access you must Register. Registration is free and it takes only a few moments to complete.
    Already a member? Login here then!

Selene/Fred is a San Jose built 1965 Mustang

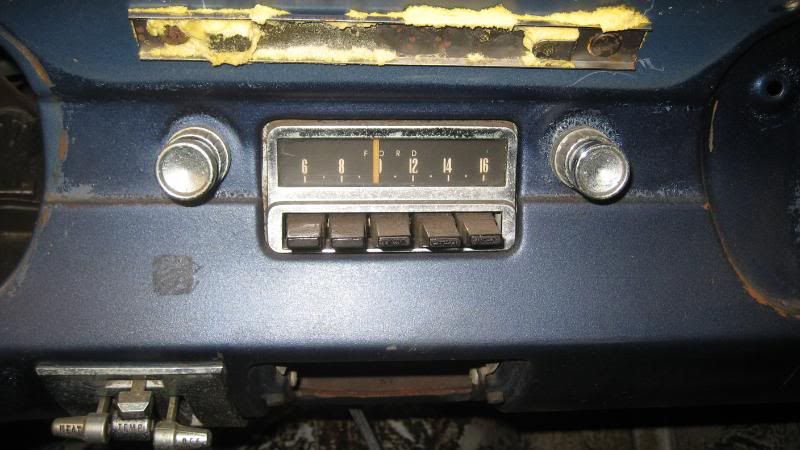
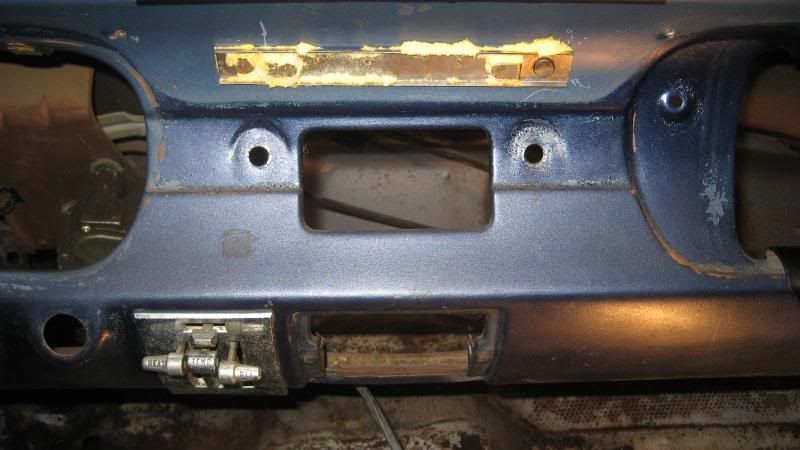
Got some work done on Fred while chatting with Craig and Randy here in the SF chat area. I was able to remove the stereo, wuwhooo!

IMG_7941.jpg


IMG_7971.jpg


Didn't notice that the ashtray had a housing that was removable, so removed that as well. A total of four screws, one on the DS, one on the PS, and two on the upper portion that screw into the dash towards the radio.

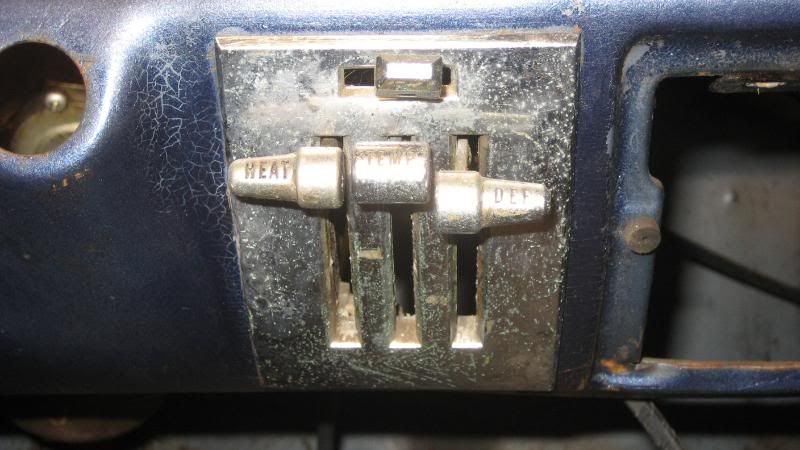
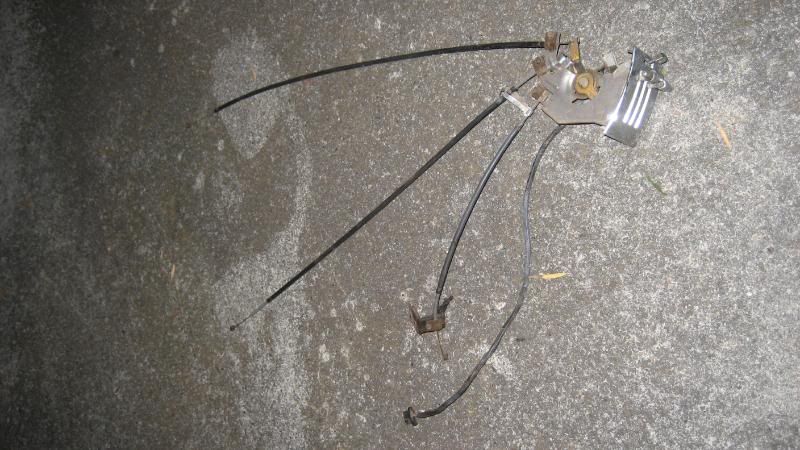
I was also able to remove the climate control unit.

IMG_7976.jpg


IMG_7992.jpg


You were soo right Pete, half hour is all it took. I was very hesitant to just pull on the radio knobs but that's what I finally forced myself to do and it was easy street after that.
 
So now pull the two nuts from the inside of the dash that are holding that dash pad bracket above the radio opening....
 
"AzPete" said:
So now pull the two nuts from the inside of the dash that are holding that dash pad bracket above the radio opening....

Thank you for mentioning that Pete, I had totally forgotten all about it. :beat
 
Also, some of the areas may have nut plates, J-nuts or other attaching hardware stuck over the holes the screws went thru. I believe the ash tray and inst. cluster areas come to mind. Rubber bumpers too.
 
Wasn't able to get too much done last night but I was able to remove the wiper motor and that dash pad bracket.

Next task will be those pesky brackets all over the backside of the dash. Pictures to follow.
 
A quick little photo update.

The dash pad bracket removed. LoL

IMG_8000.jpg


Wiper motor, arm and pivot assembly removal.

IMG_8016.jpg


<img src="http://www.stangfix.com/testforum/gallery/6/243_14_09_10_1_16_33.JPG" />
 
Nice progress Abe.


What's going to be really funny is 1 to 15 years from now, Abe is going to be asking the usual "where's this bolt go?" questions and we'll be able to refer him back to his own disassembly photos.
 
&quot;daveSanborn&quot; said:
What's going to be really funny is 1 to 15 years from now, Abe is going to be asking the usual "where's this bolt go?" questions and we'll be able to refer him back to his own disassembly photos.
Not if he is being smart and labeling and bagging each part/assembly as he goes along. It's also a good idea to put nuts back on part studs and such as well when you are bagging things. If you're really anal...you could also do things like take and name digital pictures with specific names or numbers and write them on tags that you put in the various parts bags that show the location/disassembly of all the parts you remove. This makes identification and "memory jogging" a whole lot easier years down the road. Not that I would know or anything.
 
&quot;daveSanborn&quot; said:
Nice progress Abe.


What's going to be really funny is 1 to 15 years from now, Abe is going to be asking the usual "where's this bolt go?" questions and we'll be able to refer him back to his own disassembly photos.

LMAO, the crazy part was that as soon as I read your post I actually visualised it really happening. LoL! Since day three (LOL, when I was [two days late] told not to throw anything away) I have been using Glad sangwich bags and labeling them for nuts, bolts and smaller items, but there are still more unidentified randoms than I would like to admit having. I do have thousands of pictures of everything I do but I am very very sure I will still be bugging everyone from time to time.


&quot;Horseplay&quot; said:
Not if he is being smart and labeling and bagging each part/assembly as he goes along. It's also a good idea to put nuts back on part studs and such as well when you are bagging things. If you're really anal...you could also do things like take and name digital pictures with specific names or numbers and write them on tags that you put in the various parts bags that show the location/disassembly of all the parts you remove. This makes identification and "memory jogging" a whole lot easier years down the road. Not that I would know or anything.

You make a good point, I really do need to start organizing the photographs. It seems as though they are only organized by the numerical name given to them by the digital camera, but also accidentally in chronological order as well.
 
Ya know.....these things do not go together in the exact reverse order they came apart in..........label, label, and label some more. Might even take pics pf you labeling the labels.
 
I use various size Ziplock bags. Snack, sandwich, quart, etc. Whenever an assembly can be fit into a large bag (or box) I label it as such. Drivers door, for example. I then bag/box each smaller sub-assembly and label it. Within each sub-assembly, I bag each and every smaller assembly. I do this rather than have a box or bag marked "door". It saves a lot of confusion and trial and error when it comes time to figure out just which bolt or spring went to what part.

I also try to at least clean up each part and judge it's future usefulness before it is bagged and stored. This way I can make a list of what can be re-used and what needs replaced as I go along. I also always keep the small parts I know I will not re-use with their assemblies. It makes it easier to know what new part fits where and how when they eventually arrive. No matter how many times you may disassemble or reassemble something every once and a while it still stumps you. The extra time spent more than makes up for the time lost trying to figure stuff out or finding I need to buy something I thought I had.
 
&quot;AzPete&quot; said:
Ya know.....these things do not go together in the exact reverse order they came apart in..........label, label, and label some more. Might even take pics pf you labeling the labels.

:lol :lol :lol :lol :lol :lol :lol :lol :10
 
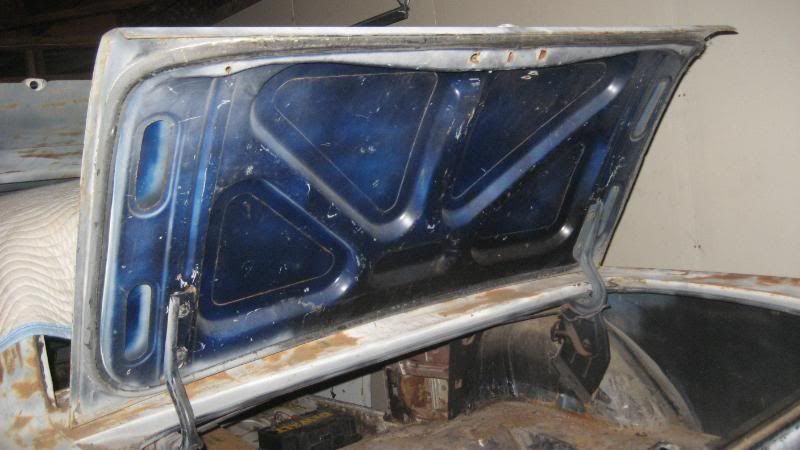
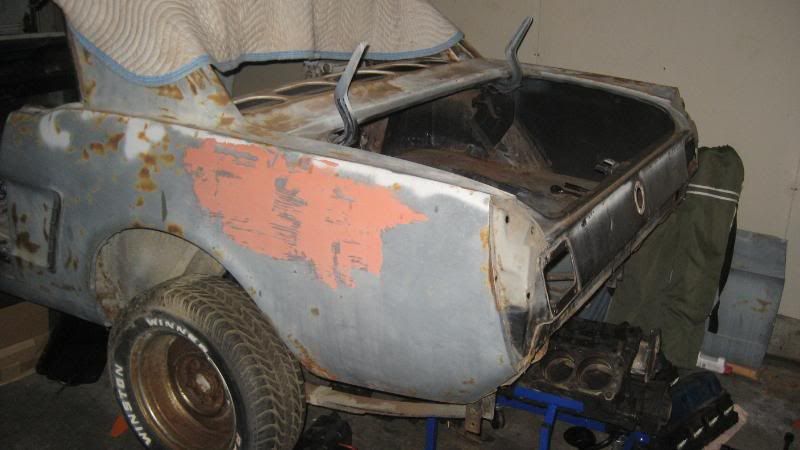
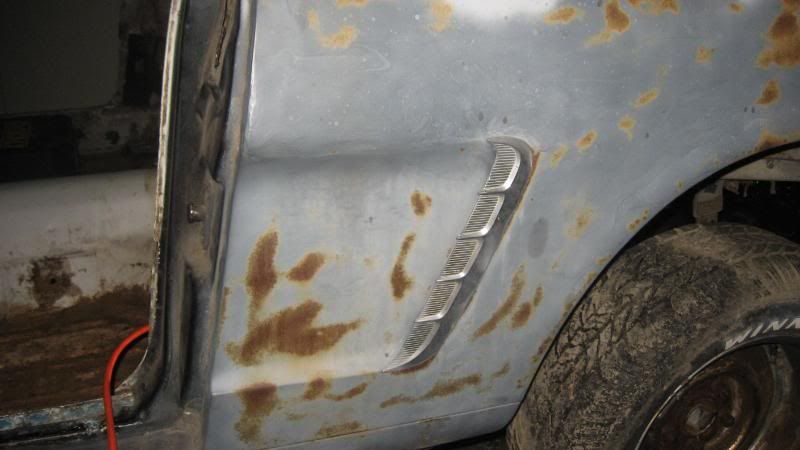
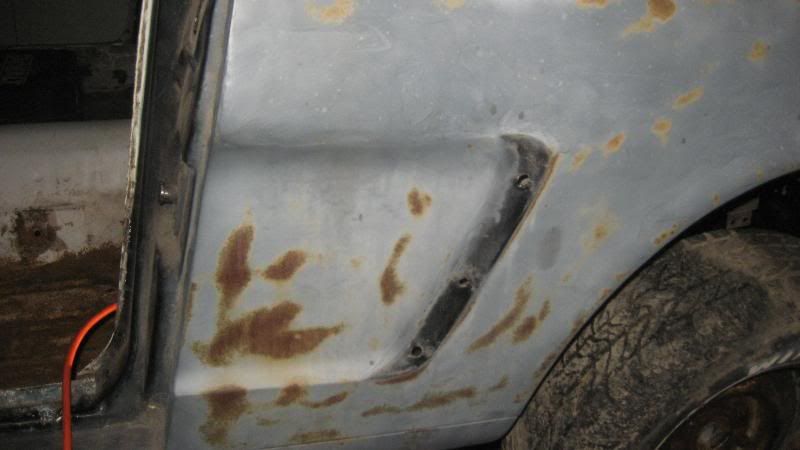
Last night I removed the trunk lid and one of my favorite childhood memories of the 65 Mustangs growing up, the quarter panel molding. :cry

IMG_8035.jpg


IMG_8038.jpg


IMG_8054.jpg


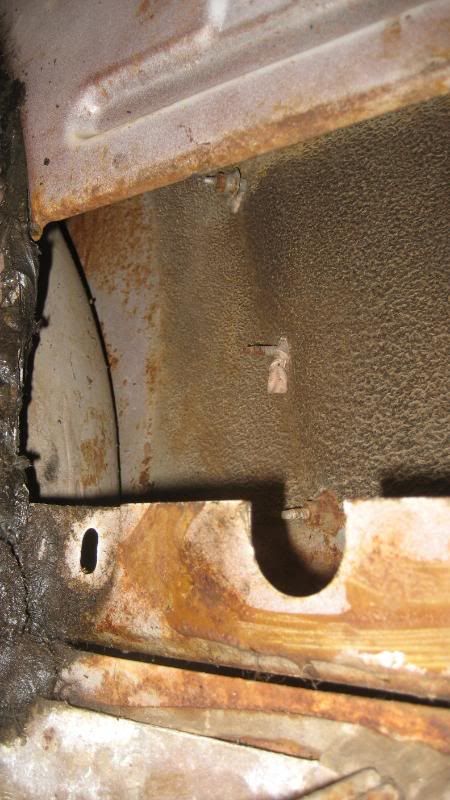
All it took was removing the nuts from the ornament bolts going through the panel right where the quarter window track would be.

IMG_8053.jpg


IMG_8055.jpg
 
Last edited by a moderator:
your doing awesome, progress wise...make it a family affair and you might be able to swing more stang time on the teardown and working on it
 
I just read this thread from start to finish, this is awesome man something of which i will be attempting once my car arrives. It gives me great confidence that there are many others out there attempting first time restorations themselves and really doing a great job. I cant even imagine the joy once its somewhat finished keep it up man ill be reading for sure :coo
 
&quot;fordrule&quot; said:
your doing awesome, progress wise...make it a family affair and you might be able to swing more stang time on the teardown and working on it

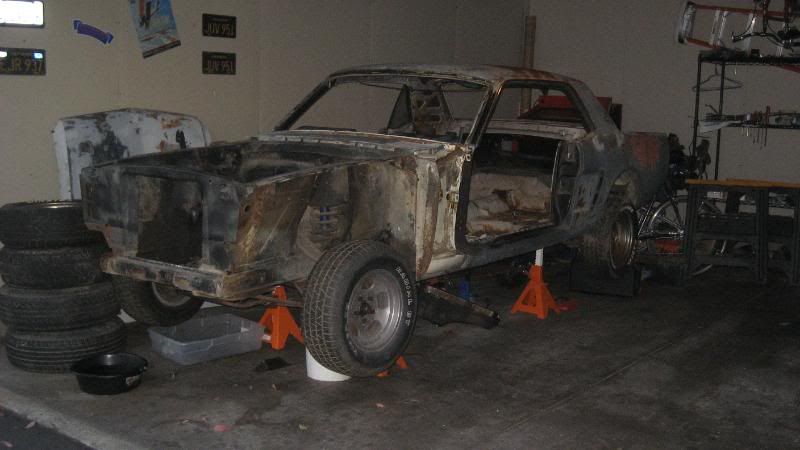
Thanks, the very few ocassions when my son is here we do spend some time together working on Fred. I was starting to feel like I was actually getting somewhere with Fred until I saw the photograph I took last night, still looks the same. LoL

IMG_8063.jpg


&quot;Dynamic&quot; said:
I just read this thread from start to finish, this is awesome man something of which i will be attempting once my car arrives. It gives me great confidence that there are many others out there attempting first time restorations themselves and really doing a great job. I cant even imagine the joy once its somewhat finished keep it up man ill be reading for sure :coo

Thanks a lot Dynamic, and welcome to the FIX. I knew absolutely nothing about Mustangs other than "I like them" when I bought Fred last July. I have everyone here at StangFIX and my local NorCAL members to thank for all their knowledge, help and support. Thanks for reading the adventure and hope to check yours out soon. Best advice I can ever give anyone, don't be afraid to ask.
 
Back
Top