• Hello there guest and Welcome to The #1 Classic Mustang forum!
    To gain full access you must Register. Registration is free and it takes only a few moments to complete.
    Already a member? Login here then!

67 GT 390 Fastback

This is what I got done today.

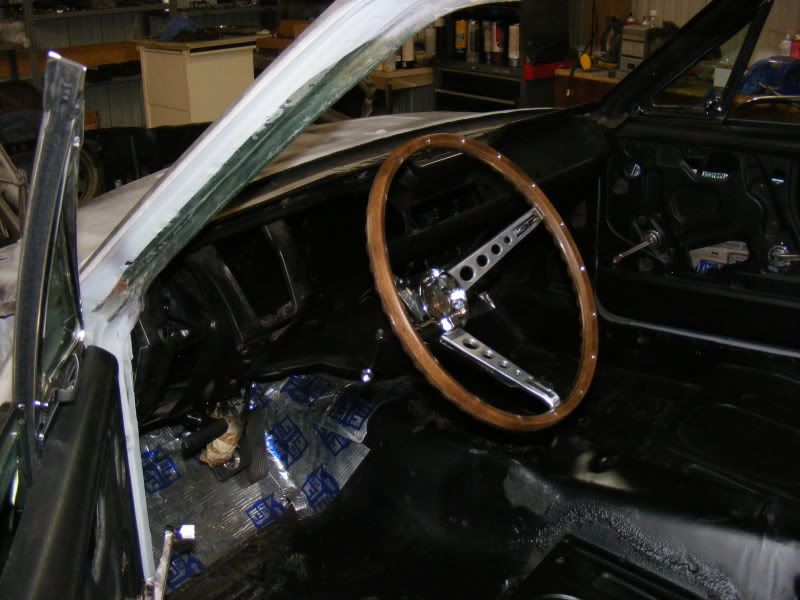
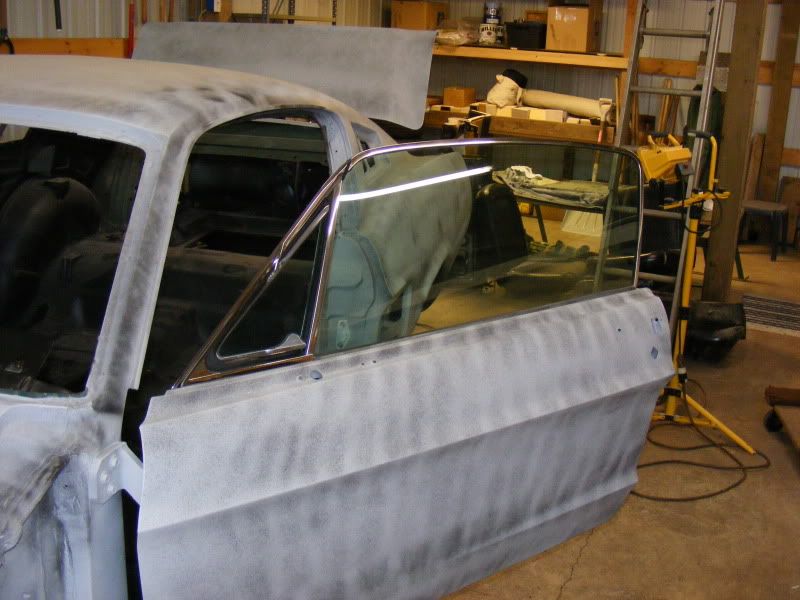
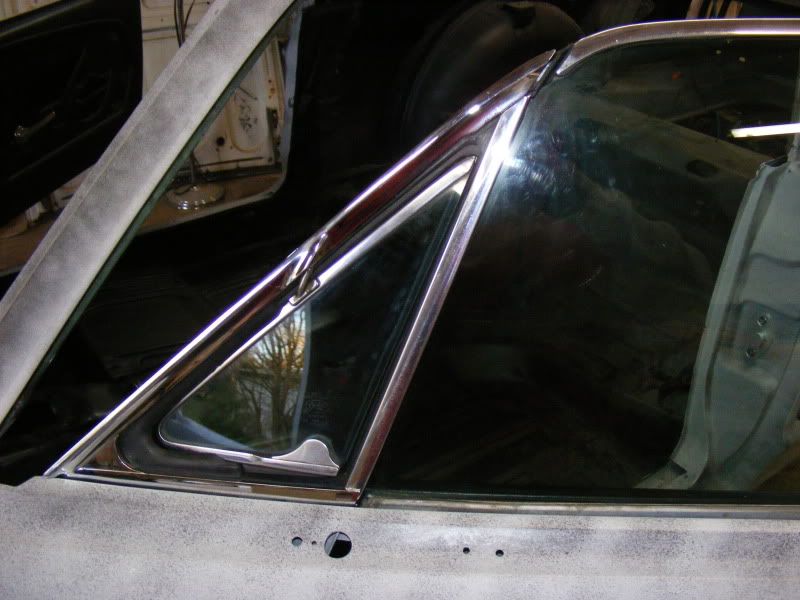
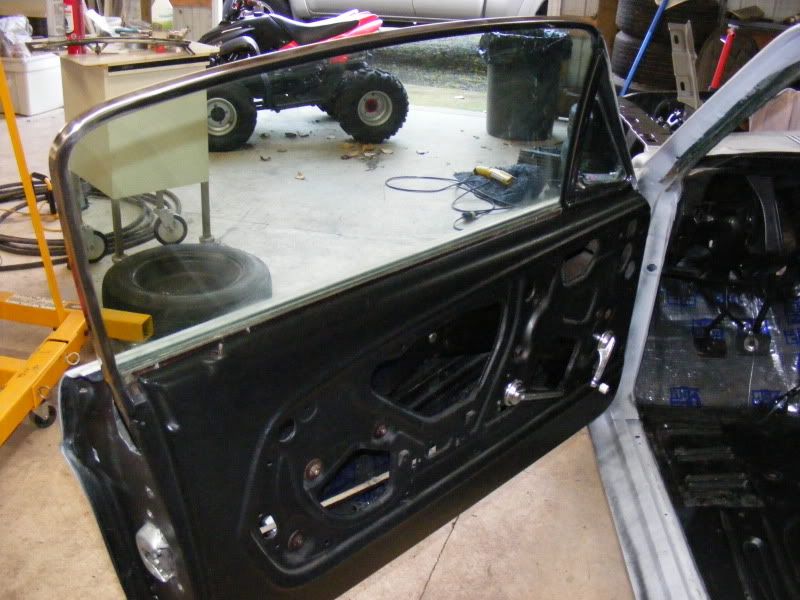
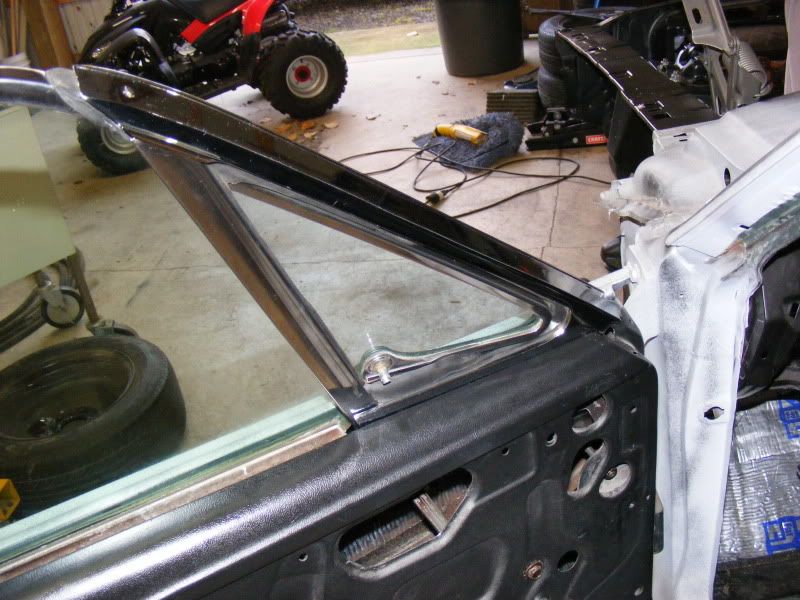
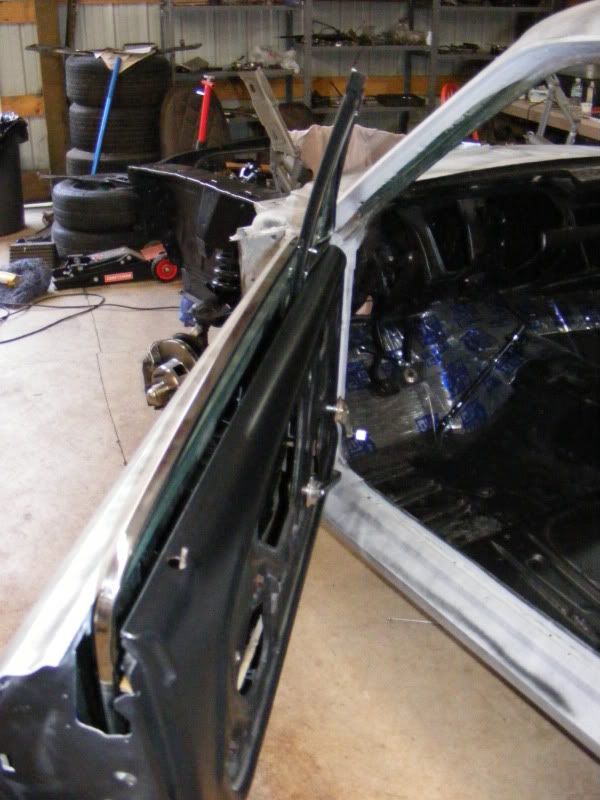
Driver side window is in. I bought a reproduction regulator for the drivers side. I think I am going to reuse the passenger side. It goes up and down real nice now. I got all of the chrome polished too. It looks really nice.

I have a few scratches in the glass. I think I am just going to deal with it for now. It is all the factory tinted that came with the car.

1-23-10003.jpg


1-23-10004.jpg


1-23-10006.jpg


1-23-10007.jpg


1-23-10009.jpg
 
Last edited by a moderator:
Are your brakes on the correct side of the car? I thought the caliper was supposed to be clocked to the rear? Its possible different calipers mount differently.

1-17-10002.jpg


I thought it looked familiar, Mike's (KBMWRS) are mounted the same way. He did have issues with his brakes lines being to short.

252847-T800600.jpg
 
I Installed the flywheel and clutch today on the engine.

My father in law on the engine puller here

2-15-10089.jpg


Here are the exhaust manifolds that I found.

I blasted them then I used the Eastwood manifold spray paint on these.They cleaned up really nice.

2-15-10097.jpg


2-15-10103.jpg
 
Installing the engine/suspension and some interior items before the car is painted is okay, but you'll regret installing the vent window frames and door glass after the car comes back from paint....

The top channeled edges of the door need to be painted and the glass/vent frame is now blocking that area from receiving any paint.
 
"daveSanborn" said:
Installing the engine/suspension and some interior items before the car is painted is okay, but you'll regret installing the vent window frames and door glass after the car comes back from paint....

The top channeled edges of the door need to be painted and the glass/vent frame is now blocking that area from receiving any paint.

Don't you mean he'll regret it installing the vent window frames before the car goes to paint?
 
"Midlife" said:
Don't you mean he'll regret it installing the vent window frames before the car goes to paint?


That's what the painter wanted before it came back. I thought it was a bit odd too but, he has done plenty of these. I'm sure it will end up being fine.

Picked up the steering wheel today.

DSCF8919.jpg
 
"Midlife" said:
Don't you mean he'll regret it installing the vent window frames before the car goes to paint?

That's what I meant to say and thought that I did, but after reading it a dozen times I can see where it could be confusing.

You'll LATER regret having installed the door glass and vent window frames NOW after the car comes back from paint..... would have worked better.


That's what the painter wanted before it came back. I thought it was a bit odd too but, he has done plenty of these. I'm sure it will end up being fine.


Chris, I'm not trying to rain on your parade, but just because "he has done plenty of these", does not mean it will be fine. I paint my project cars and know what works and what doesn't. With the vent window frame installed.... it will be ABSOLUTELY 100% IMPOSSIBLE to paint the top of the door edge/channel, period. Anyone painter who "paints around" the installed vent window frame is doing a half-arse job. With only primer protecting the metal you're setting yourself up for a rust issue.

I'd re-address this issue with the painter.... or start looking for a better one.
 
Yes the calipers are in the front on a 67.

I recommend that you install braided steel front brake lines that are longer than those OEM rubber ones. Notice how tight they look at rest. Turning makes it worse. Contact Shaun at Street or Track and ask for the same that we used on my '67. You will feel more at ease with new longer lines.

Also while you're there, take Sanborn's advice, get the OpenTracker roller perches. There is no real visual difference (trying to keep that stock look) but the ease of movement is a great improvement.

great work.
 
Dropped the engine back in today.

2-20-10017.jpg


2-20-10022.jpg


2-20-10027.jpg


2-20-10034.jpg


Got the new steering wheel in as well.

2-20-10035.jpg
 
Last edited by a moderator:
Have to agree with Dave regarding vent and doorglass.
Make sure every hole in the door and engine bay is mask off because the paint spray gets everywhere !!!.A small hole is enough to get paint on your doorglass or engine .
Take Dave advice seriously whatever your painter says !!
 
I ordered a set of roller spring perches from http://www.opentrackerracingproducts.com/products/

DSCF9063.jpg


DSCF9075.jpg


With the new spring perches in, the engine in, I started working on the tranny.

079.jpg


Apparently this is not the original tranny

077.jpg


073.jpg


Might be original tail housing though...

072.jpg


Last week I had a friend come over and we opened up the tranny and gave it a look. There was some brass shavings in the bottom so I drained all of the old gear oil out. I got a hold of Mark at toploader heaven and picked up a new gasket and seal set.

087.jpg


088.jpg


089.jpg


090.jpg


The Hurst shifter stick that was on it was really rusty. The CSR at Summit told me that apparently this style of shifter I could not just purchase a replacement stick.

So I bought a new shifter.

DSCF9074.jpg


This is as far as I got.

DSCF9071.jpg
 
Last edited by a moderator:
I could not get the linkage for the shifter to adjust. I got tired of messing with it last week so I left it as it was.

With some help from Bill at Rose City Mustang, I got squared away on the linkage.

The plates that the shifter linkage attaches to on the transmission that came with the car were the original Ford plates. Apparently those do not work to well with a Hurst shifter and Hurst linkage. It looks like the PO (I'm catching onto the lingo here) bent the shit out of the reverse rod trying to get it to work as well. It's amazing when you have all the right parts how well things go together.

DSCF9083.jpg


DSCF9082.jpg


DSCF9080.jpg


Tranny installed this week.

DSCF9088.jpg


DSCF9090.jpg


DSCF9091.jpg


DSCF9095.jpg


DSCF9096.jpg


The engine sits up where it's supposed to be now.

DSCF9097.jpg


It's getting close to getting painted. I met with the body shop last week and they are going kinda slow on the cars that they have in the shop at the moment. Looks like we are next in, scheduled for beginning of next month.

It's going to be either Night Mist Blue or the stock color Dark Moss Green.

Still haven't made that final decision yet.....
 
Last edited by a moderator:
I'm a local guy from Camas. Your car looks like it is coming along very nicely. Let me know if you need any help. Have you decided on a color yet?
 
"68EFIvert" said:
I'm a local guy from Camas. Your car looks like it is coming along very nicely. Let me know if you need any help. Have you decided on a color yet?

I think I got a color finally.

You should come out and see the project.

I am kinda figuring it out as I go along.

I'll send you a PM with my number.
 
I went to check out Chris's car yesterday and it is coming along nicely. It will be a great look car when you get it rolling. Great job! I do thing you should keep the brown interior though. :lol
 
Back
Top