daveSanborn
Active Member
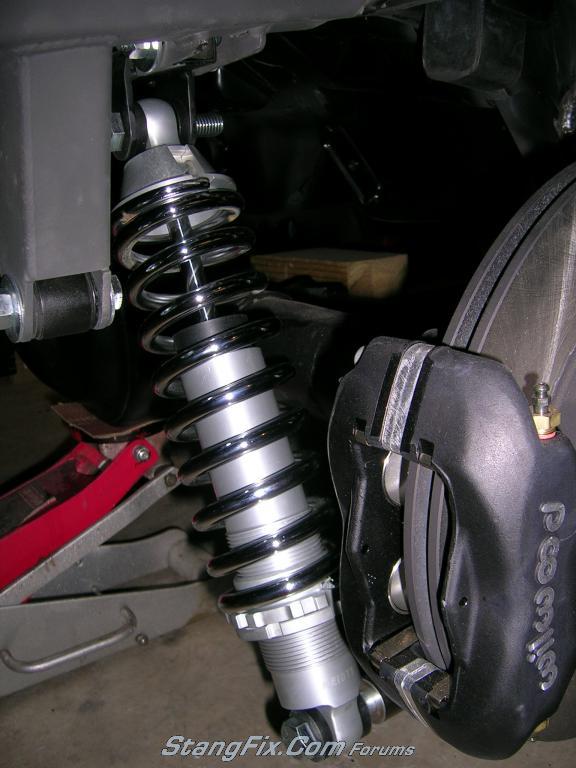
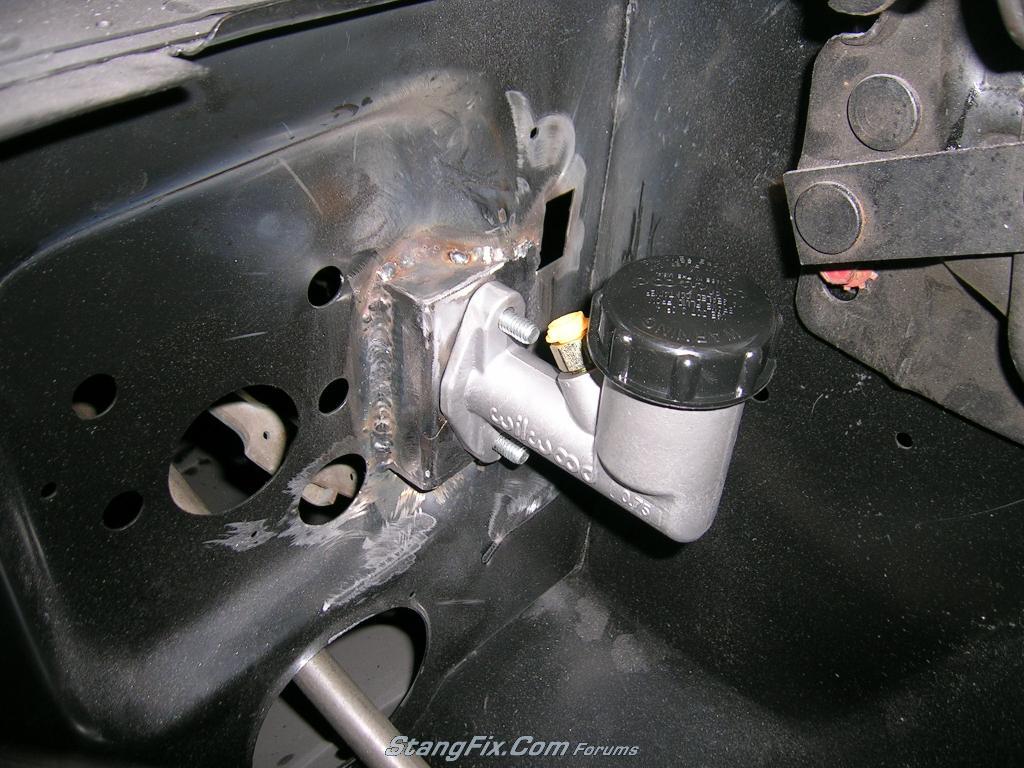
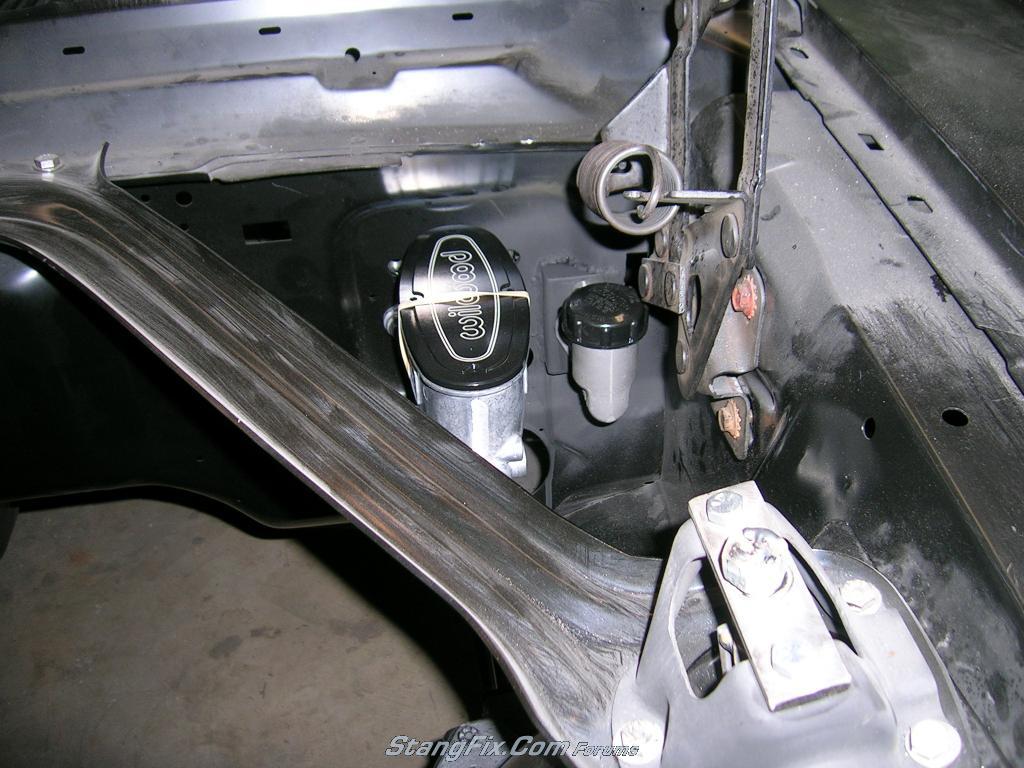
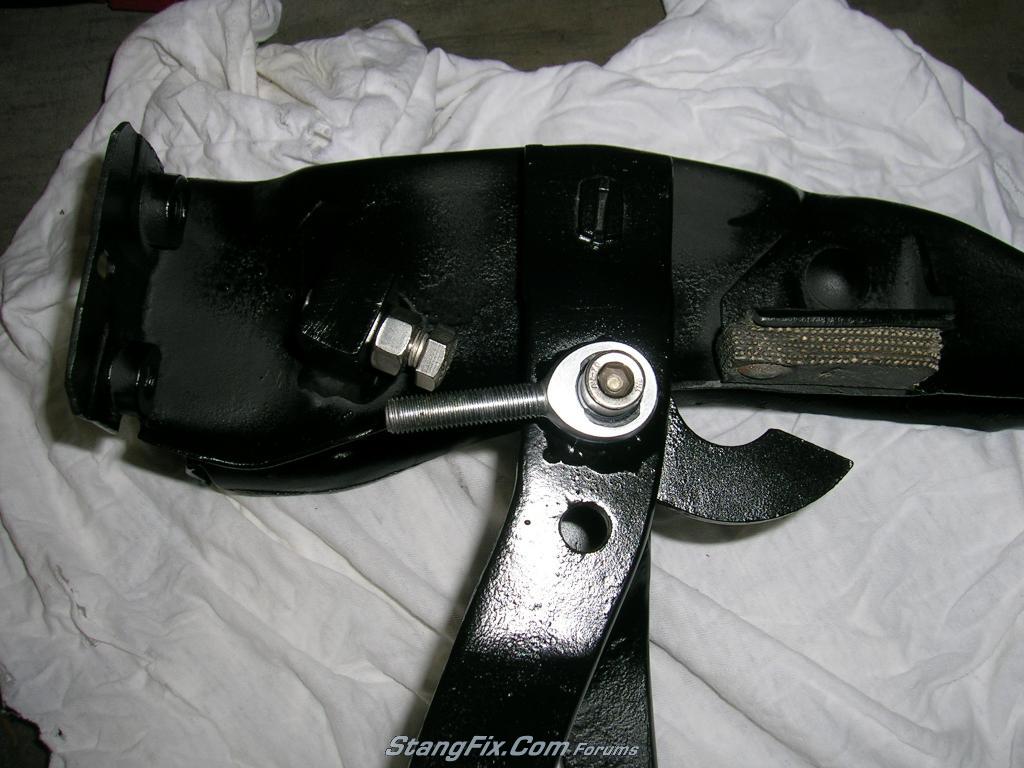
Notice the coilover's double-eared top mount. Notice the coilover's rear mount. Your fab skills will allow you to improve upon the (IMO) poor design of the lower mount. I originally desinged my coilover lower attach points/mounts VERY similar to the as pictured Heidt's setup, but could watch the coilover lower mount bolt move up and down while jacking up the car. It only moved a small amount, but IMO it shouldn't move at all. The design of the top mount is perfect and that's the design I used to modify my lower mount.
Last edited by a moderator: