• Hello there guest and Welcome to The #1 Classic Mustang forum!
    To gain full access you must Register. Registration is free and it takes only a few moments to complete.
    Already a member? Login here then!

70_Fastback: RAT ROD - 193x Ford / 1942 GMC Truck

"Fast68back" said:
Make it hydraulic you wuss...

You missing the point. I wan't it to function like a break away device. It will flip outward it incase it smacks something.
 
Been a little while since I updated. I've been plugging away - just a little slowly. Been some re-thinking, redoing, etc going on for the bed mounting.

And I think I finally nailed it!

I decided to "Add on" to the frame first off - to add some better mounting points that were also flat (no fish plates, etc). So I made up some new frame horns (sorry - no in progress pics, I was in the zone).

Fab'd horns:
26_06_10_10_8_57_49_0.JPG


With welded nut inside. It WAS a locking nut before I applied liberal welding heat and melted the nylon insert... duh. Now they are non-locking nuts. Oh well.
26_06_10_10_8_57_50_1.JPG


And the horns will go here:
26_06_10_10_8_57_50_2.JPG


And look like this finished & blended in:
26_06_10_10_8_57_50_3.JPG


26_06_10_10_8_57_50_4.JPG


26_06_10_10_8_58_27_0.JPG


-------------------------

Next on the agenda was the actual mounts from the bed frame work to the chassis frame. Time to make more brackets!

Started with some 1/4" x 3" x 3" angle iron and some 1/8" plate. Design basic shape and cut.

Whalla:
26_06_10_10_8_58_28_1.JPG


Cut come filler pieces, weld and grind some and end up with this:
26_06_10_10_8_58_28_2.JPG


Which will bolt back here:
26_06_10_10_8_58_28_3.JPG


Looking somthing like this: (note that the bed frame is just mocked in place. The brackets will be welded to the 1-1/4" sq. tube that spans the bed sides and be blended in).
26_06_10_10_8_58_29_4.JPG


26_06_10_10_8_58_46_0.JPG


26_06_10_10_8_58_47_1.JPG


So the basic bed structure will be very minimalistic now. Basically what you see here is what it will be - with the exception of the front two missing mounts. Those are going to be more tricky because some D.A. made the mounts sit on the curved portion and I don't want the angle iron extending below the curve - so those two brackets will have to "twist" to match the same curve.

But thats it - no floor. Totally open & exposed.

What'cha think?
 
Thanks; and no, the gas tank will go up in front of the bed - right above the drive shaft and centered in that space - flush with the top of the frame. I will have to make some protectve drive shaft loops.
 
I think it's time for an Olathe party so we can all see the car!
 
"silverblueBP" said:
I think it's time for an Olathe party so we can all see the car!

Come on over guys!

Kyle (the new guy here -- rusty70 or something like that) came over Sunday and checked it out.
 
Let us know when the ribs & beer will be there and we'll be over.
 
"silverblueBP" said:
Let us know when the ribs & beer will be there and we'll be over.

Yer gonna need to drain a whole keg... then, use the empty keg for the gas tank!

Lookin' good!!!
 
"beach pony" said:
Bring that thing to MBB IV next year! :craz

Well.... the goal is to have the truck done (well, at least driving) for the next Greaserama -- which is next September... so anything is possible....!
 
Small update.

Still making *&#$ brackets. Last of the bed mounts. Should have everything welded and bolted in place this weekend finally.

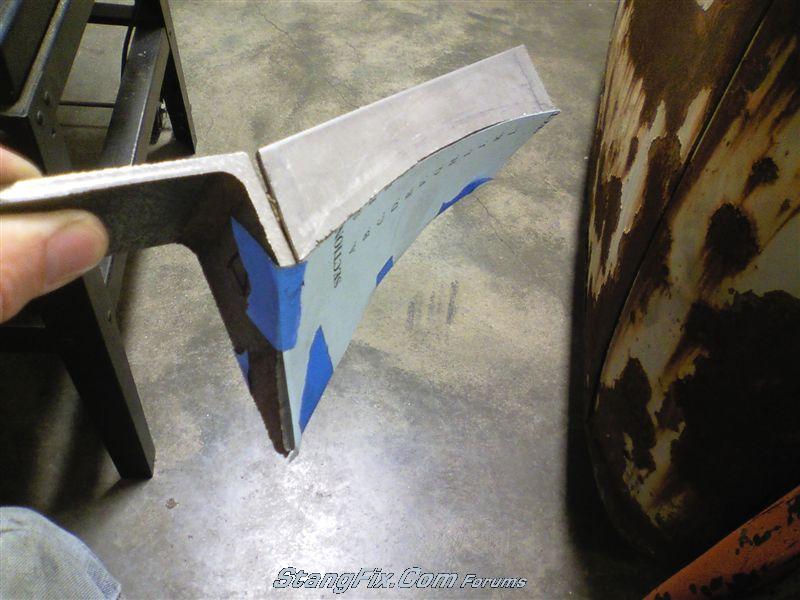
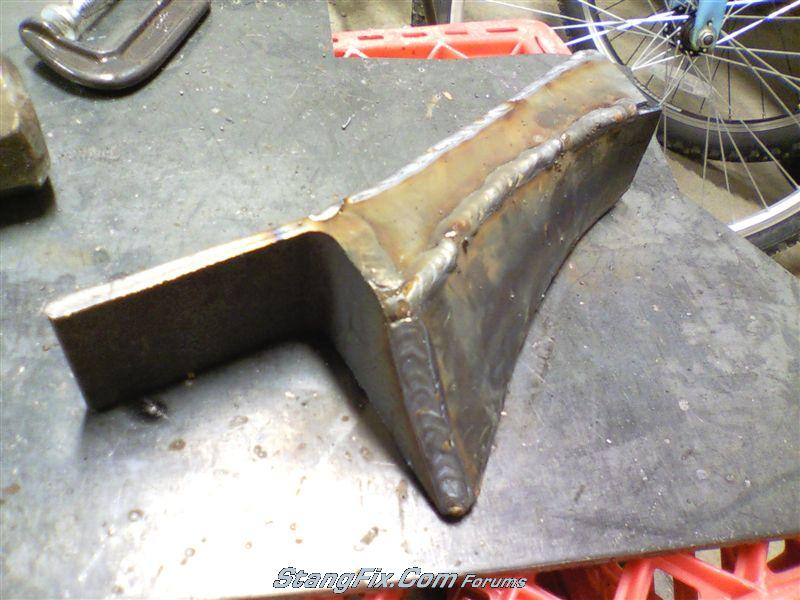
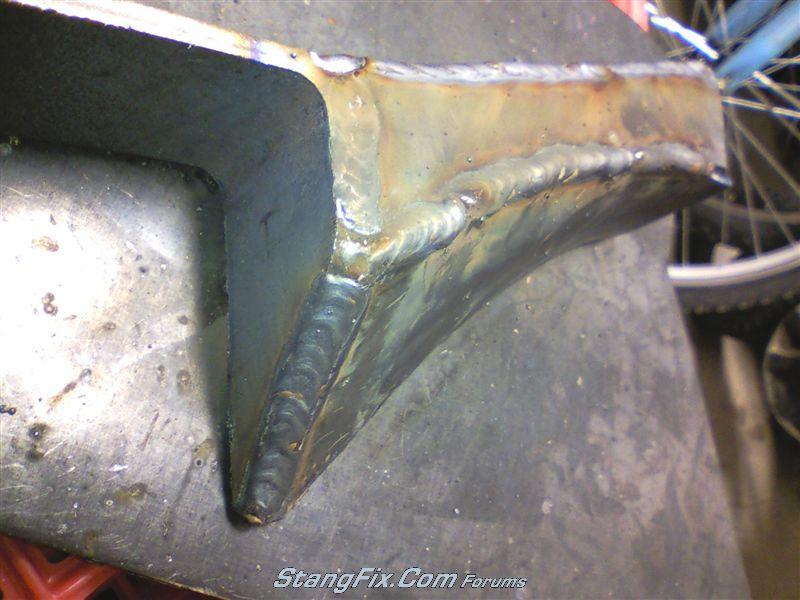
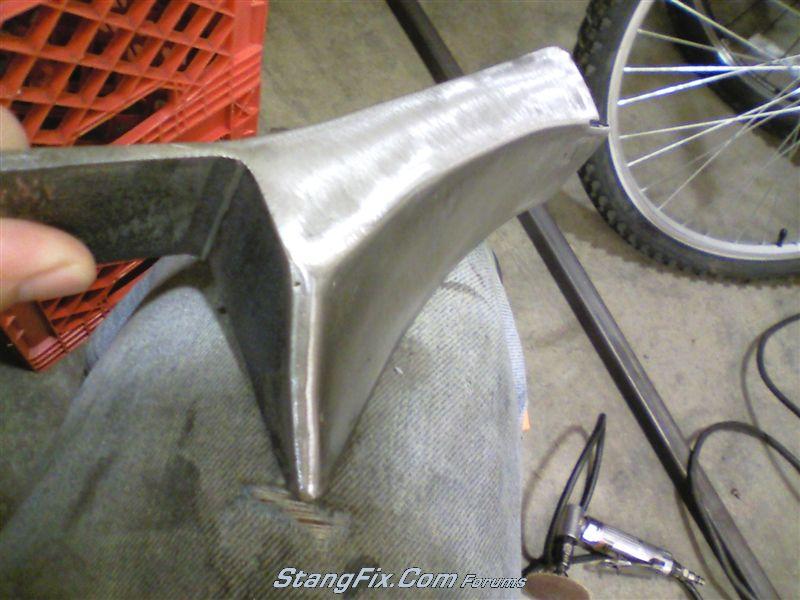
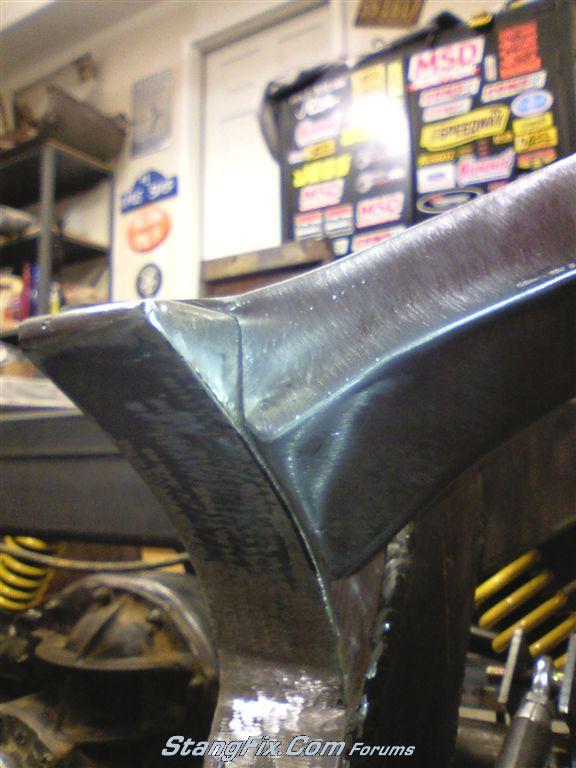
These 2 brackets were a major PITA - self induced of course. They had to be curved and "twisted" so the angle iron base mount would not extend below the radius of the two curved frame extensions.

Mocked up in place with magnets first. You can see the difference in the two curved pieces:
26_13_10_10_6_36_46_0.jpg


Another shot showing the side differences:
26_13_10_10_6_36_47_1.jpg


Mocking up with cardboard to make templates:
26_13_10_10_6_36_48_2.jpg


Formed & welded up:
26_13_10_10_6_36_48_3.jpg


26_13_10_10_6_36_49_4.jpg


Smoothed and cleaned up:
26_13_10_10_6_37_04_0.jpg


And lastly installed on the chassis frame.
26_13_10_10_6_37_04_1.jpg


Now you can clearly see the curves and how the 2 pieces fit together. What a PITA.
 
Last edited by a moderator:
Deal. But your frackin helping me push it back up the driveway since I have yet to install the front king pins.
 
Back
Top