A
Anonymous
Guest
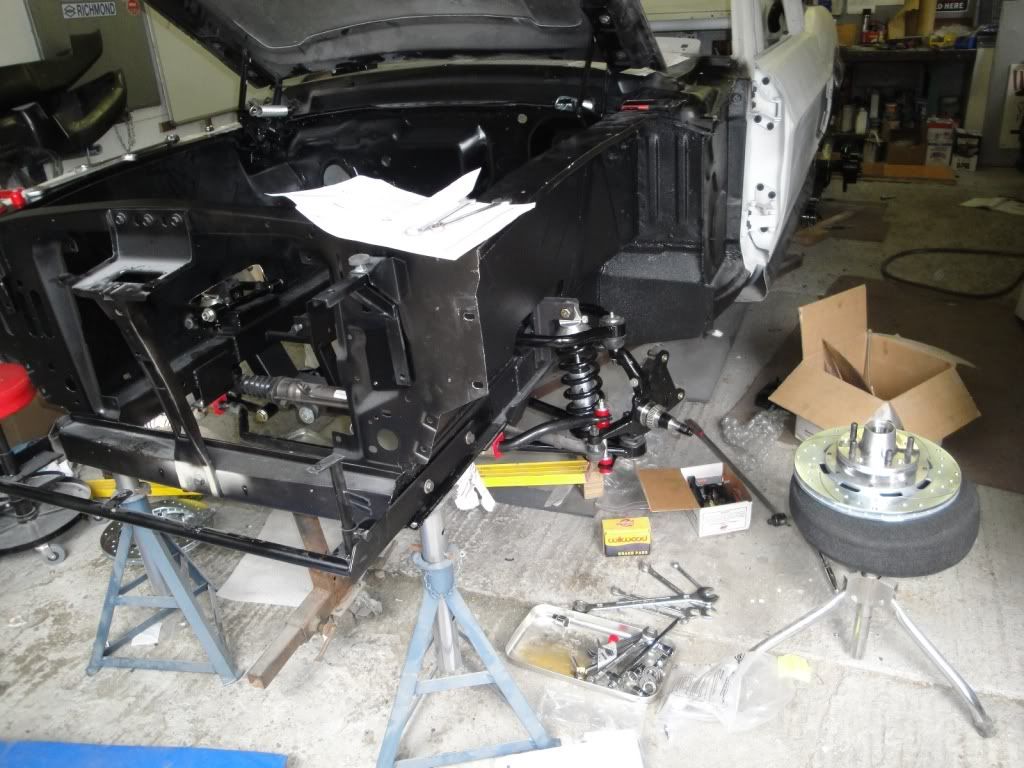
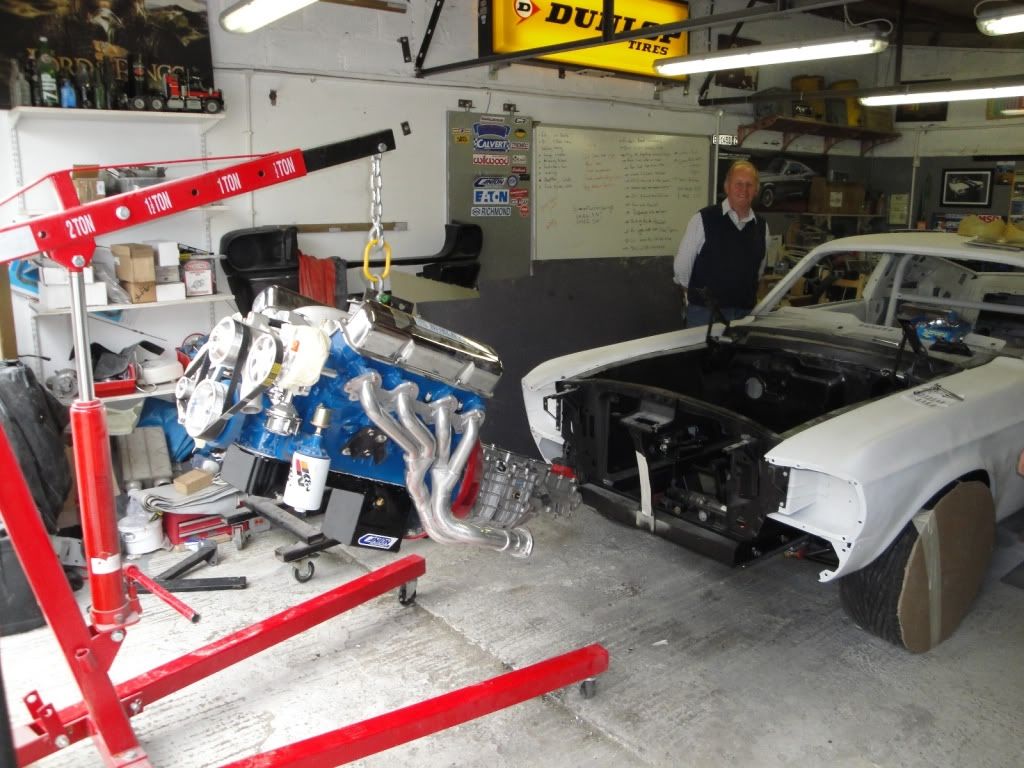
Hubba, hubba....that's pure engine porn :weas
Follow along with the video below to see how to install our site as a web app on your home screen.
Note: This feature may not be available in some browsers.
Hello there guest and Welcome to The #1 Classic Mustang forum!
To gain full access you must Register. Registration is free and it takes only a few moments to complete.
Already a member? Login here then!
"daveSanborn" said:Isn't ConceptOne the company that Jason uses on his Ecars?


"ZFORCE" said:Excellent looking build so far! Great update.
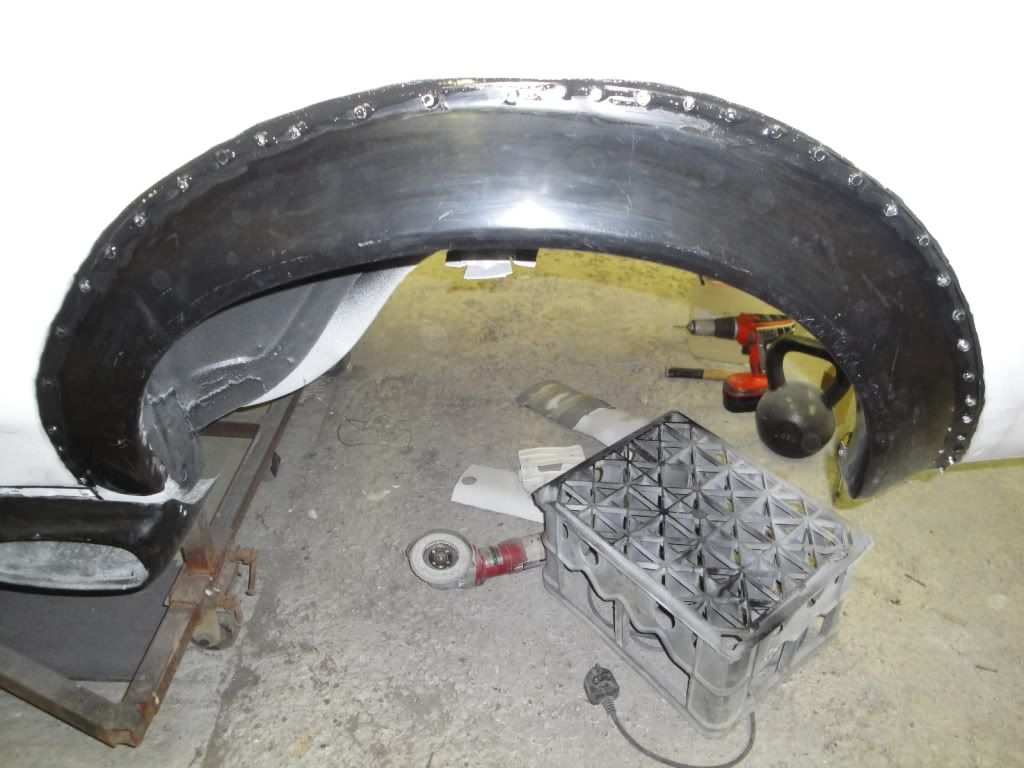
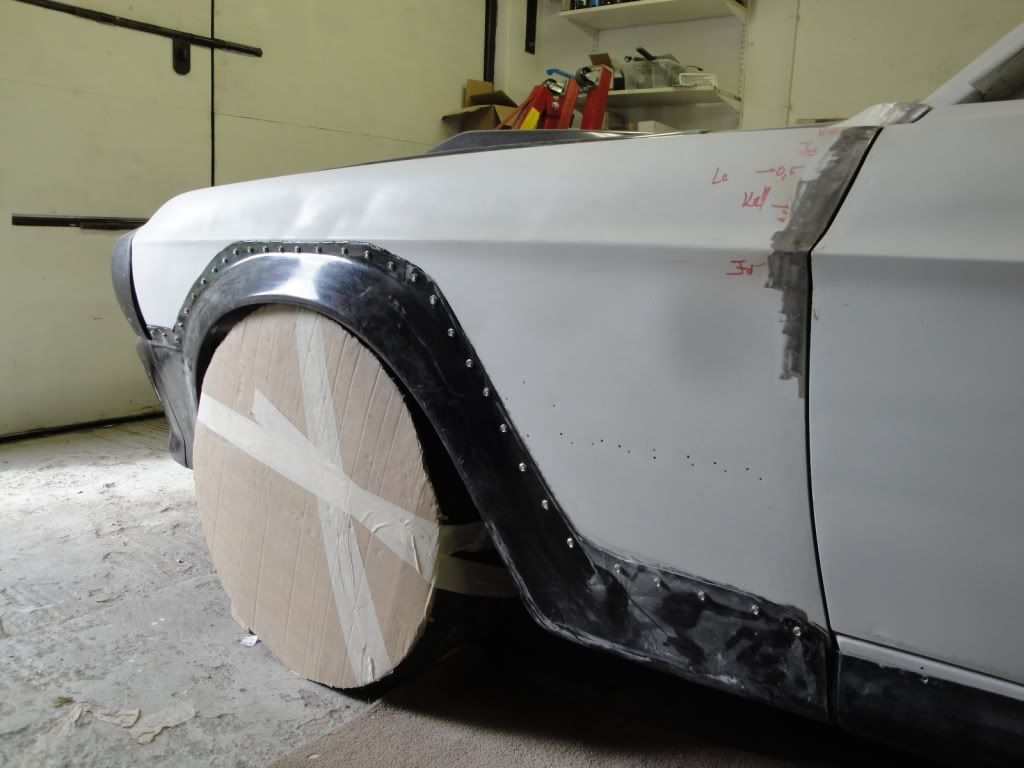
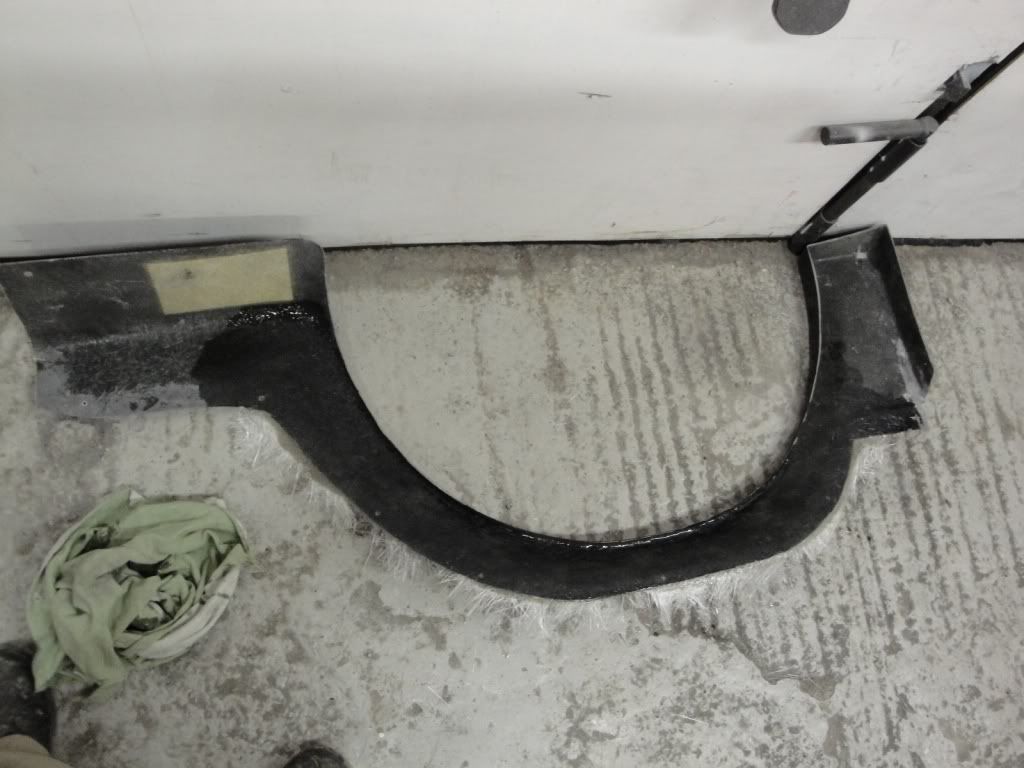
Not exactly sure what you meant. Did you rivet/panel adhesive to the original fender, or did you cut the metal fender flare from the original fender and then mount the FG to the fender minus the cut metal flare? Any chance you could photo the inside of that fender after the flare/wing was attached?
"ZFORCE" said:Are you planning on blowing the car apart for painting, after fitting everything, in order to paint the under carriage?
"Johnny M" said:I am using the 3M 8115 panel adehive and its great stuff.
"70_Fastback" said::nick
LoL - is that just an Eleanor thing???? LMAO :lol
"Fast68back" said:Wow! Awesome progress.
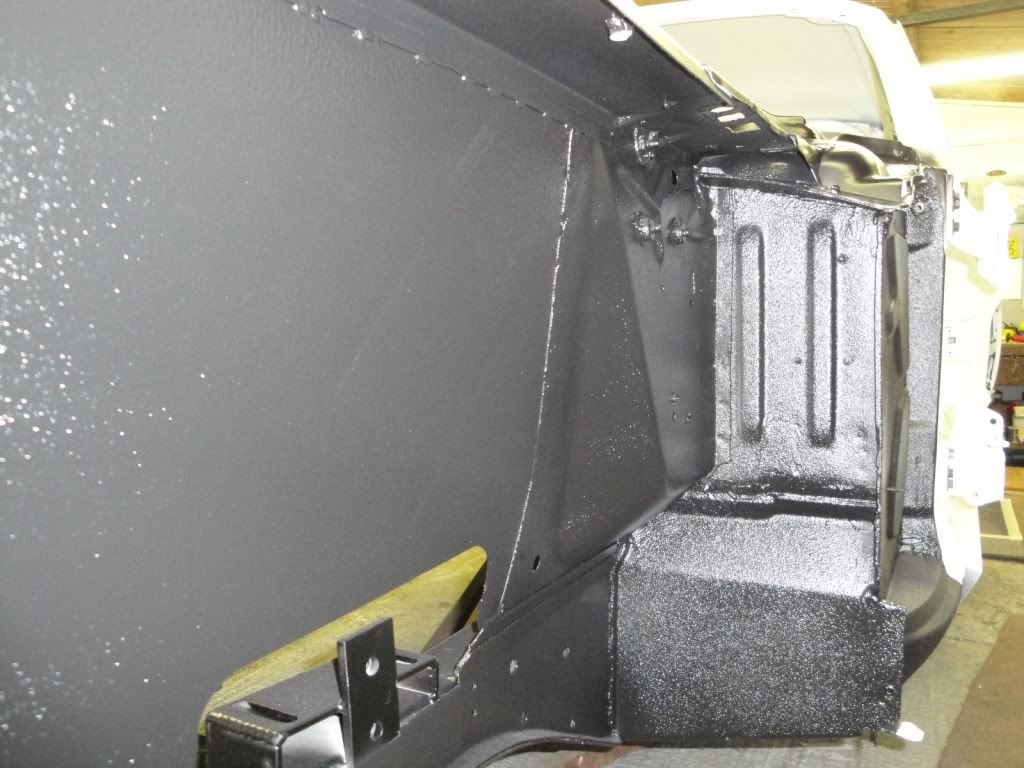
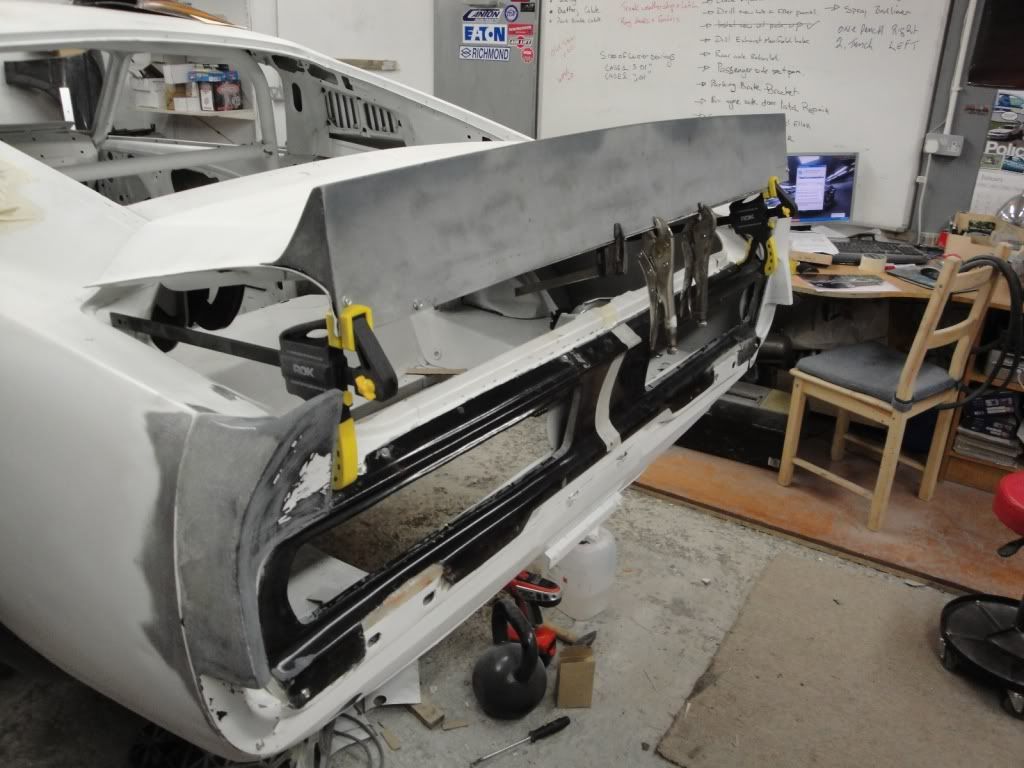
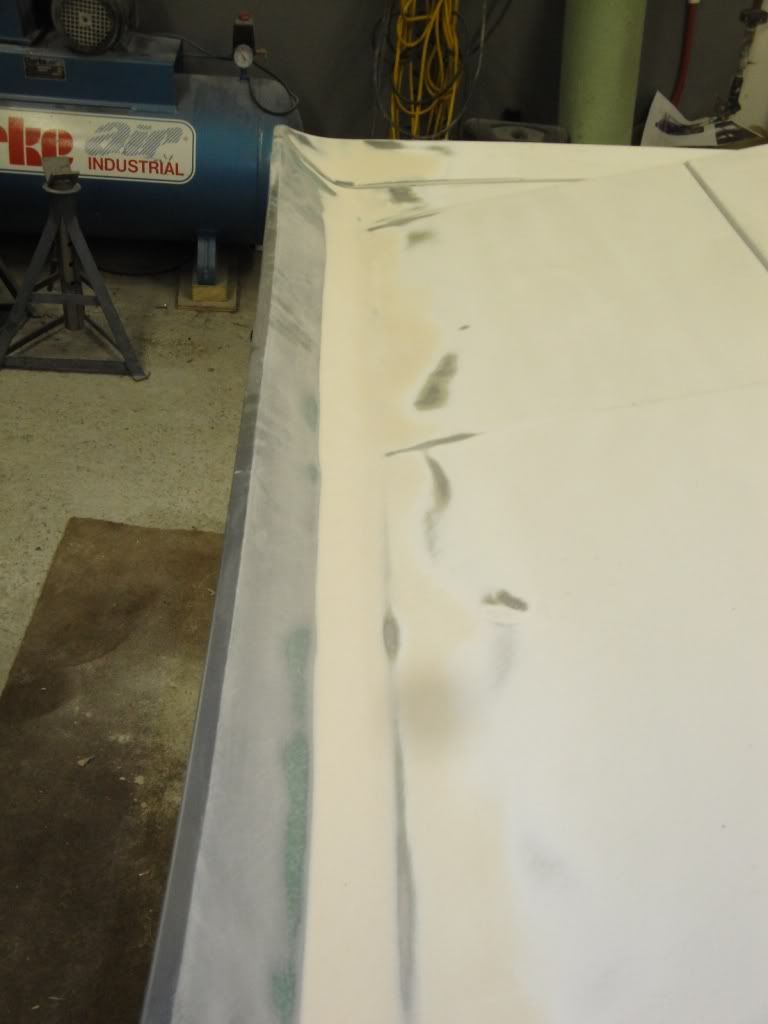
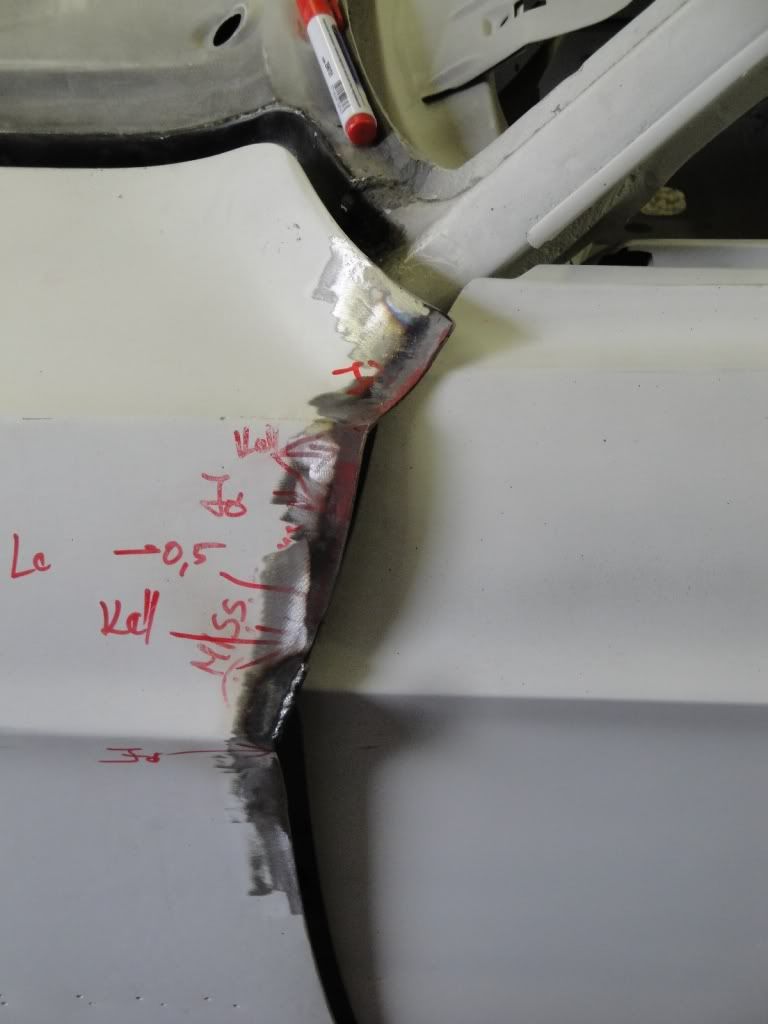
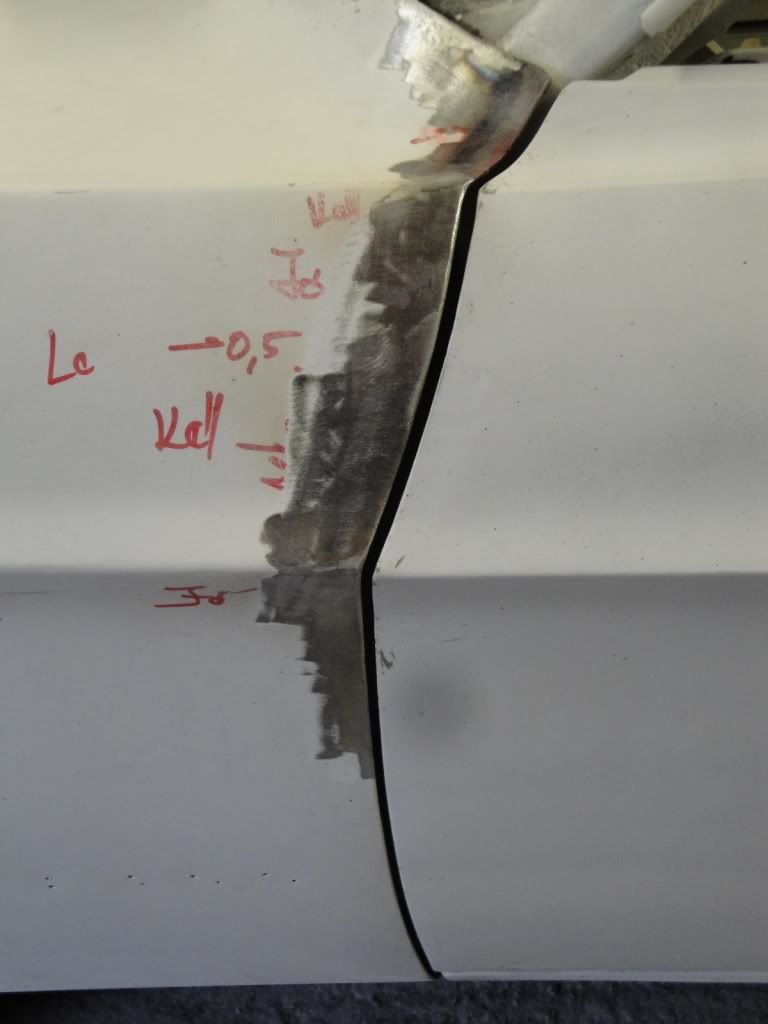
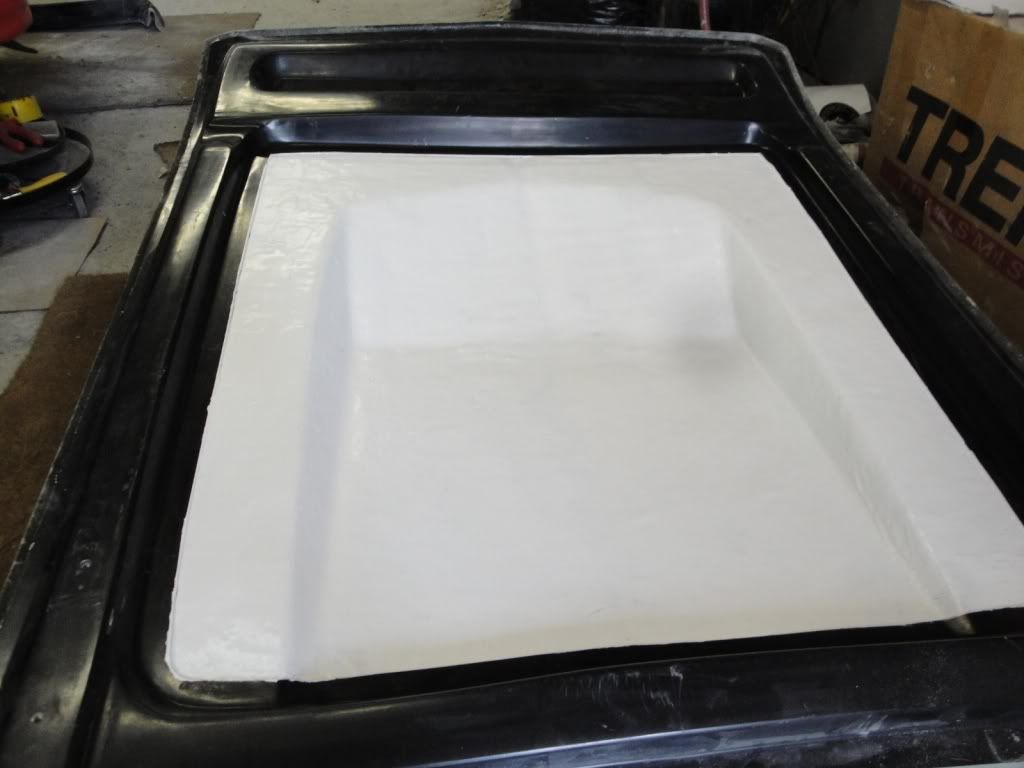
Is this panel only tacked in along the top edge?
The pic is a little deceptive...They are 1" welds...and all 4 sides are welded in. The
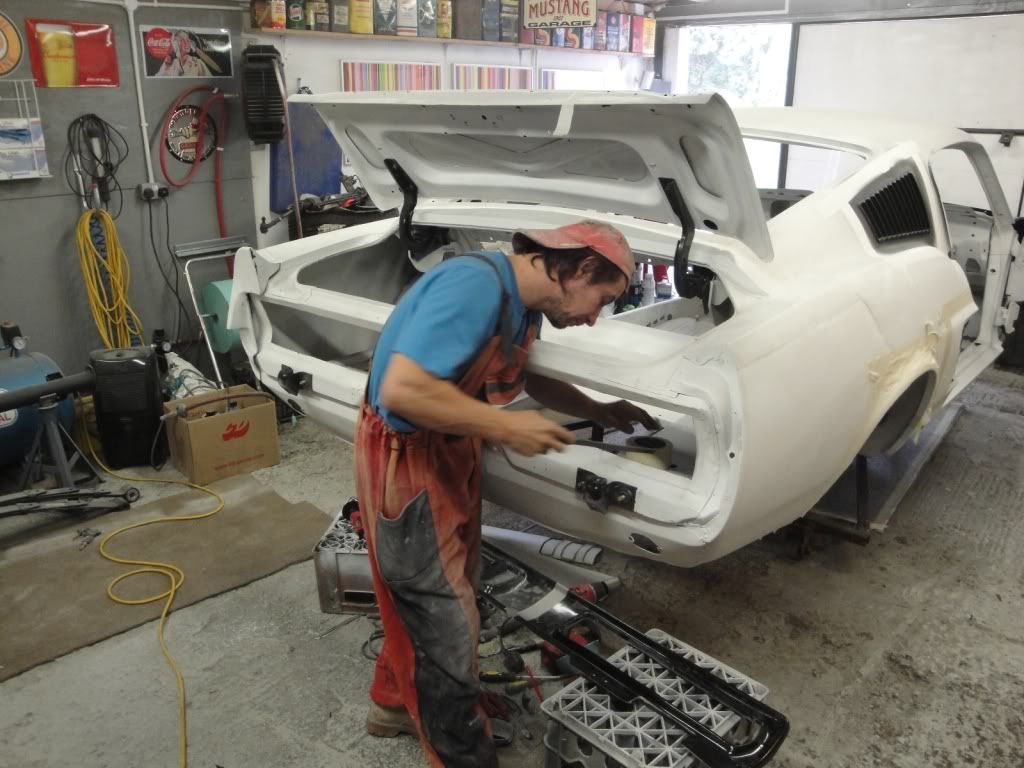
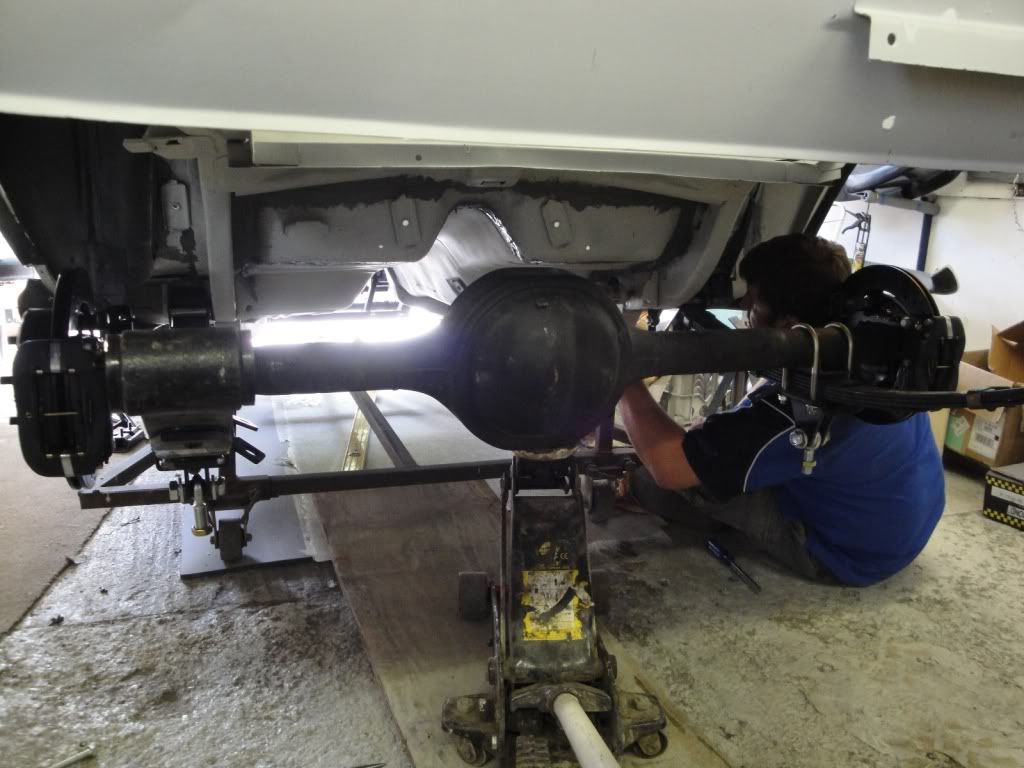
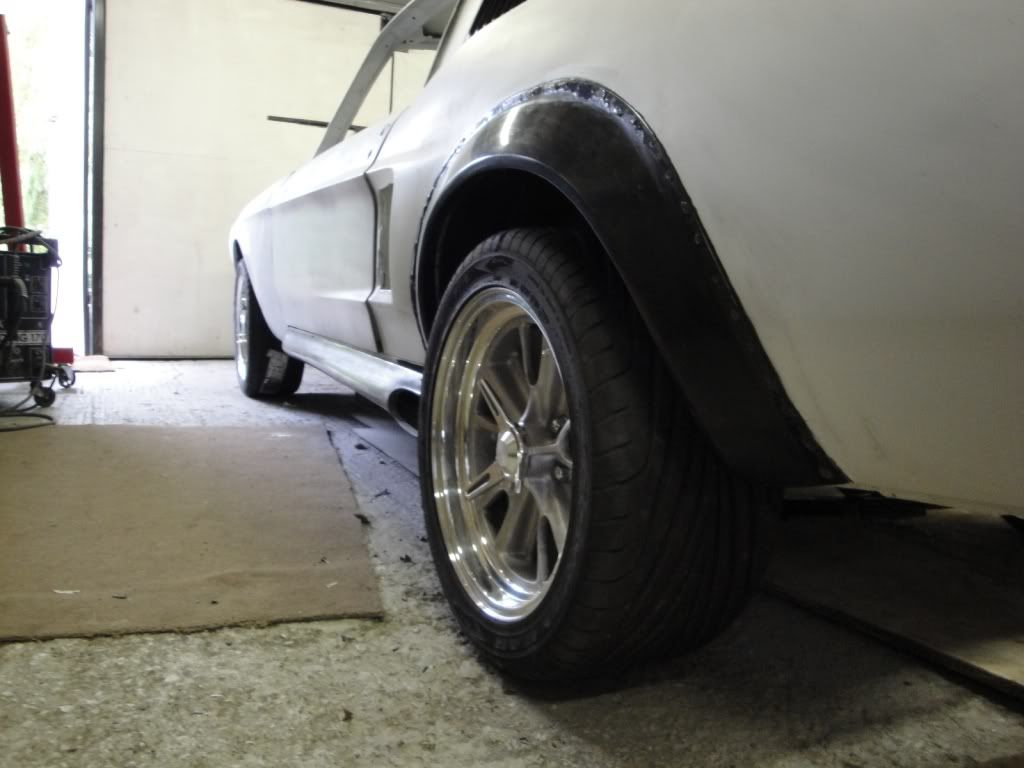
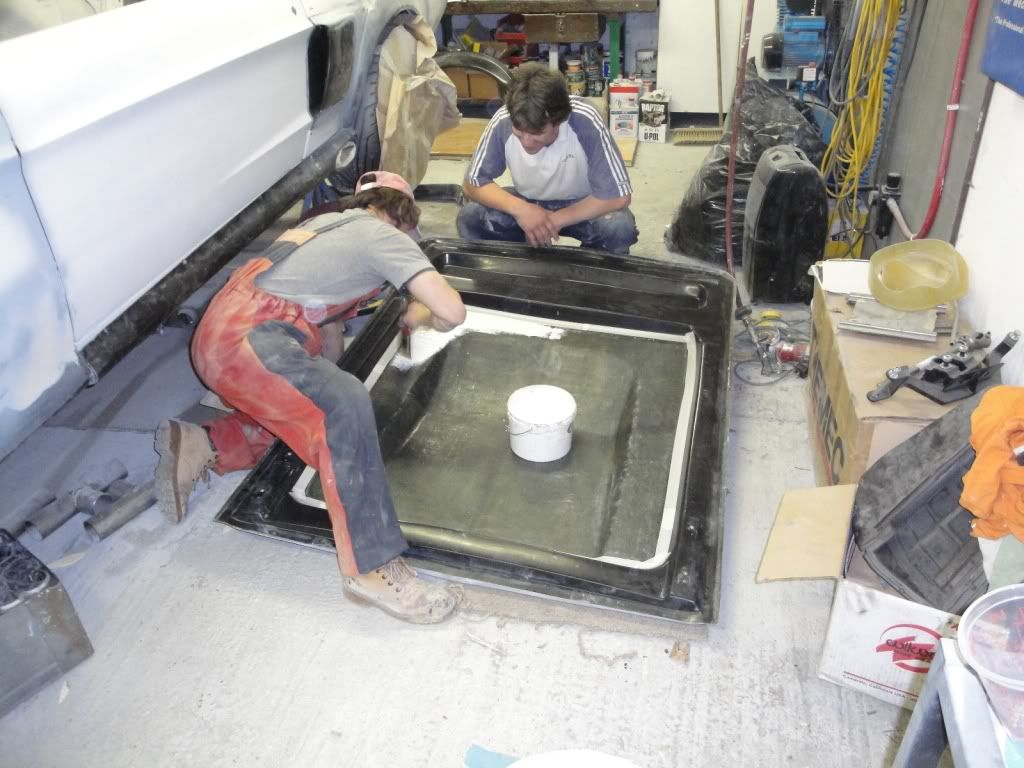
BTW, I love this shot!
I love this shot too, gives me a warm feeling...... :ecit
"Johnny M" said:Disclaimer: The Gap filler in my workshop is not for automobile construction purposes.