• Hello there guest and Welcome to The #1 Classic Mustang forum!
    To gain full access you must Register. Registration is free and it takes only a few moments to complete.
    Already a member? Login here then!

Johnny M - E-car build tread

Thanks Dave....i owe you a(nother) beer for the help.

Great stuff? Underneath the tailpanel?
No, the guys actually extended the FG panels with FG so there was no need for "great stuff"


Looks like good progress Johnny and you lucked out finding a couple of talented helpers.


The luck was finding a couple of very taleneted helpers that would come and work in my shop with my tools, do a great job and are very easy to pay...

My shop is where i work and 5 minutes from where i live so any problems we can work them out there and then....
 
Dave, thanks for the tip...
For the benefit of others.... Johnny's FG body kit included full FG fenders. The fit of which is questionable. Sometimes it's easier to cut the flared portion off of the FG fender and bond it onto OE metal fenders than it is to correct design/fitment issues with the entire fender.
I figured that, but it was a little unclear and I wanted to see the bonding surface. Did he cut the
metal flare off, or just bond the FG over it?

Pics from the underside would be awesome.
 
I got a little more done despite two heavy weekends partying....
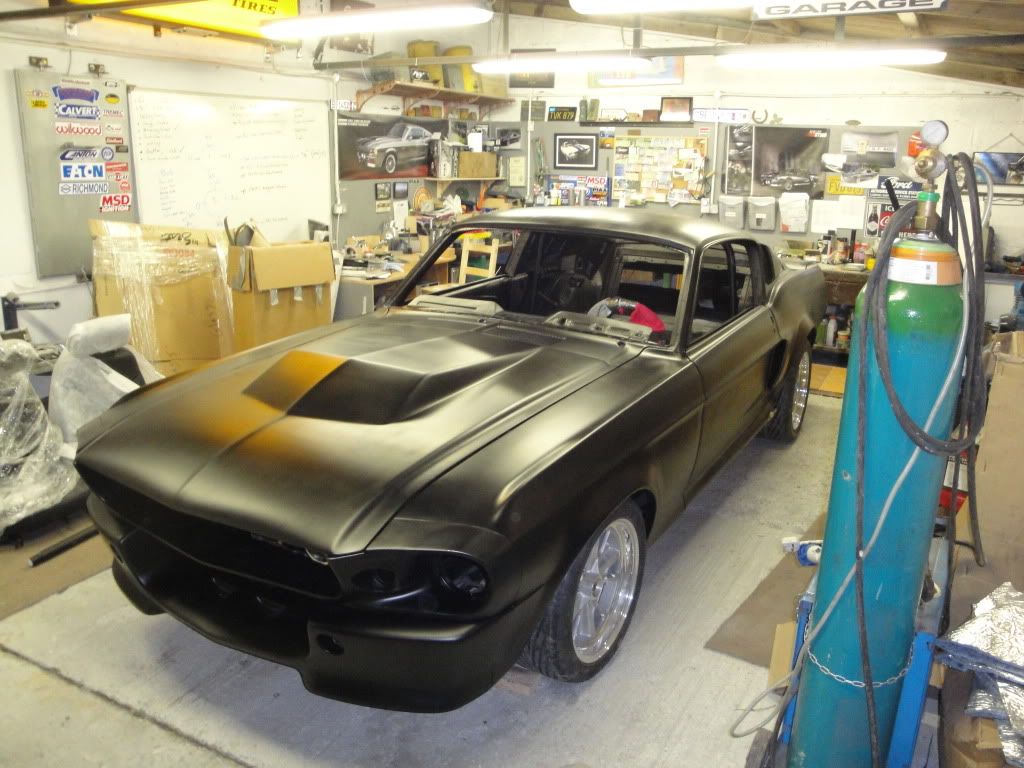
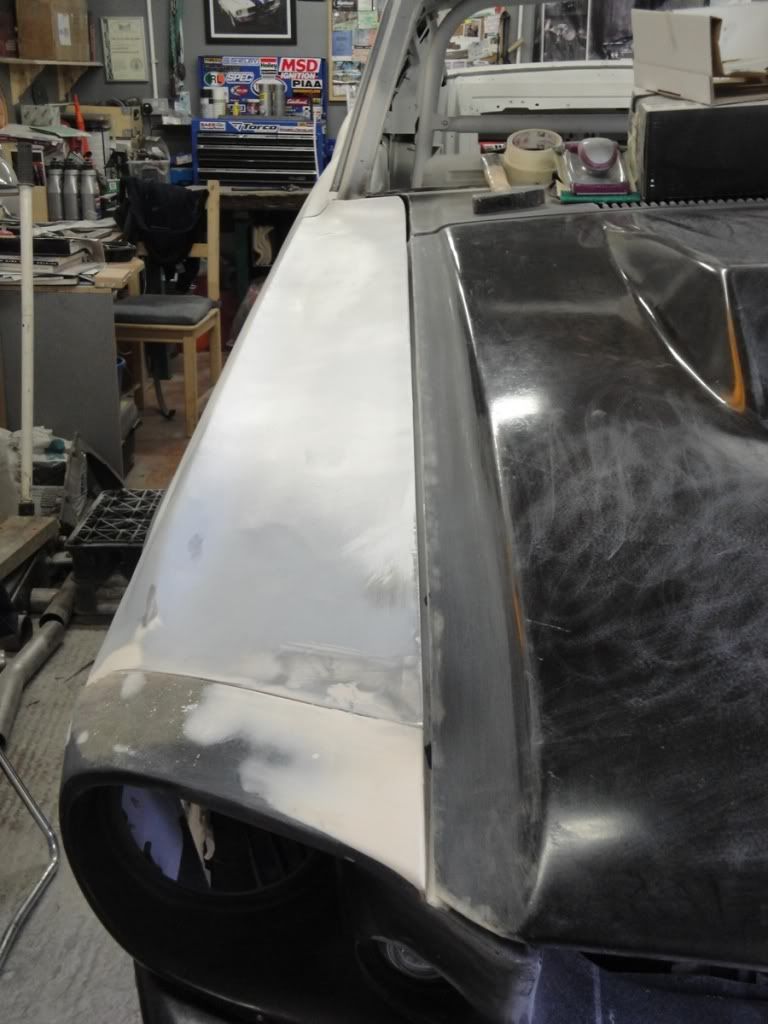
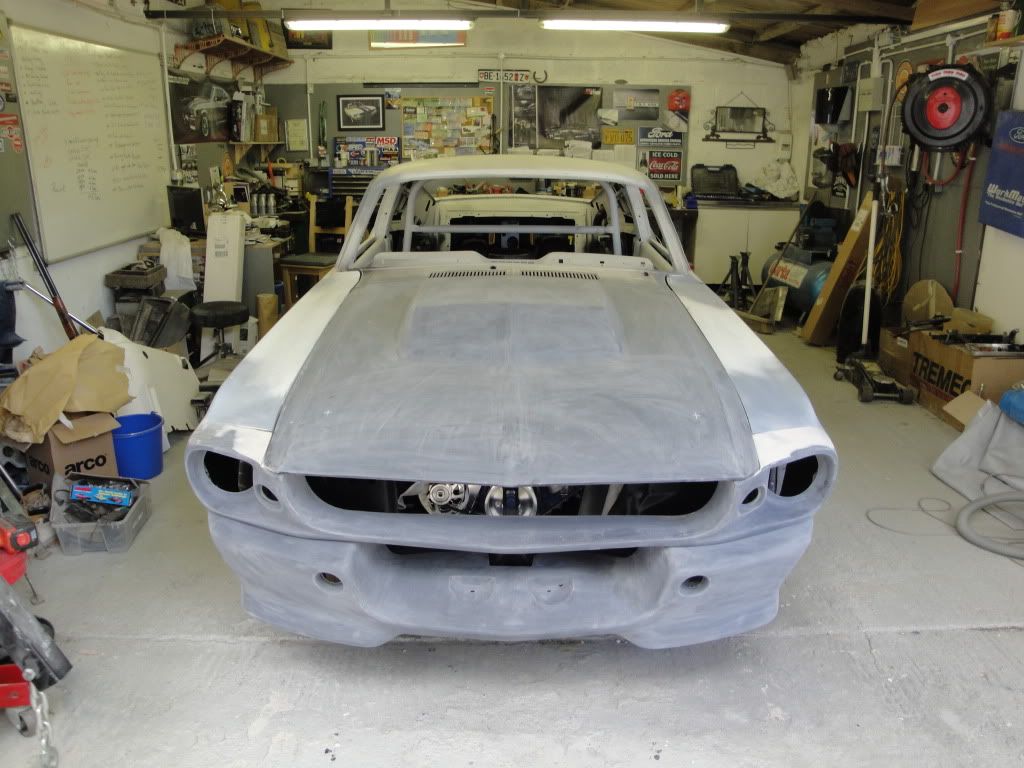
The hood was about a 1/4" too narrow on one side so we had to make a temp mold and extent it.
DSC01958.jpg


Afterwards.
DSC01965.jpg


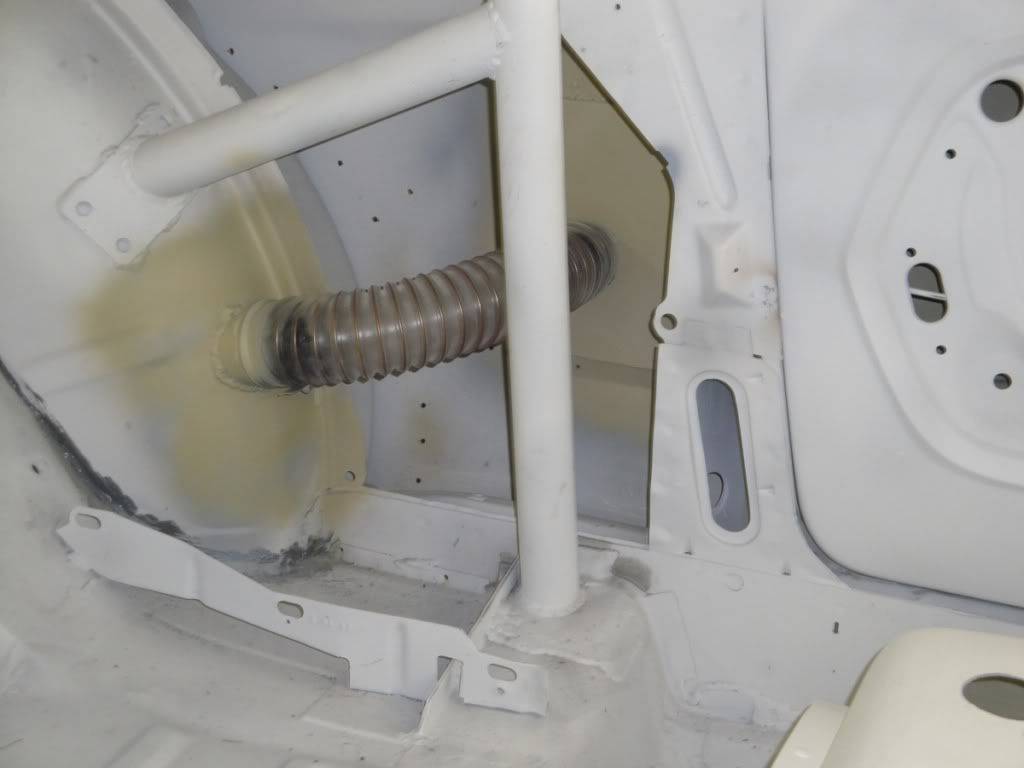
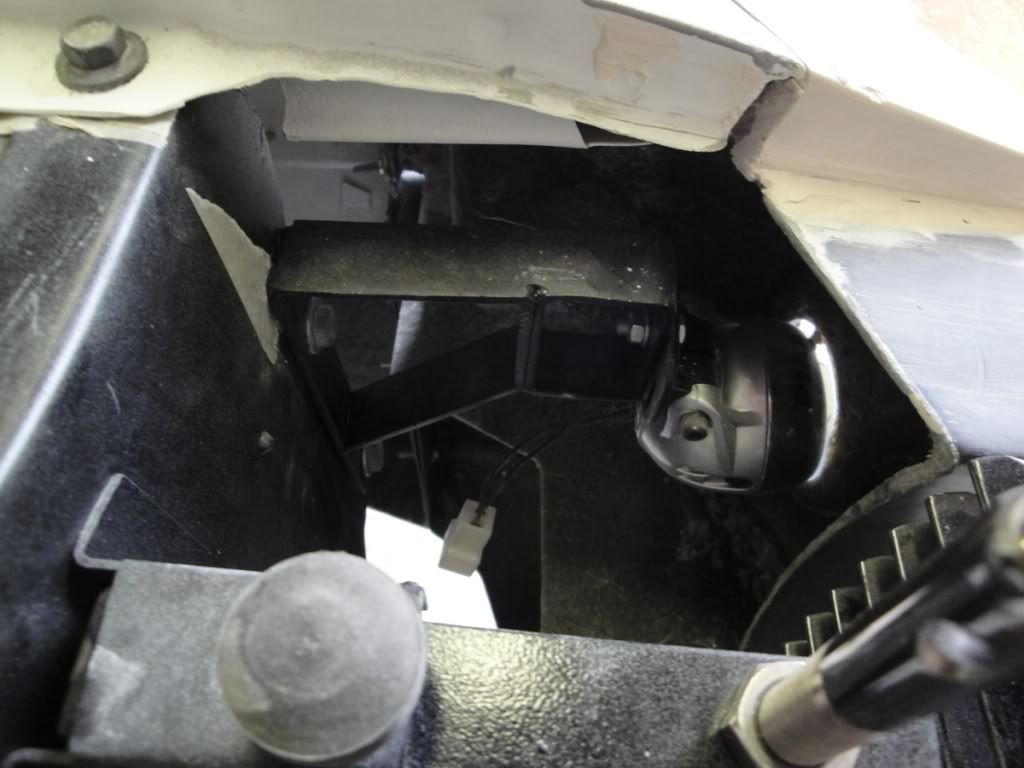
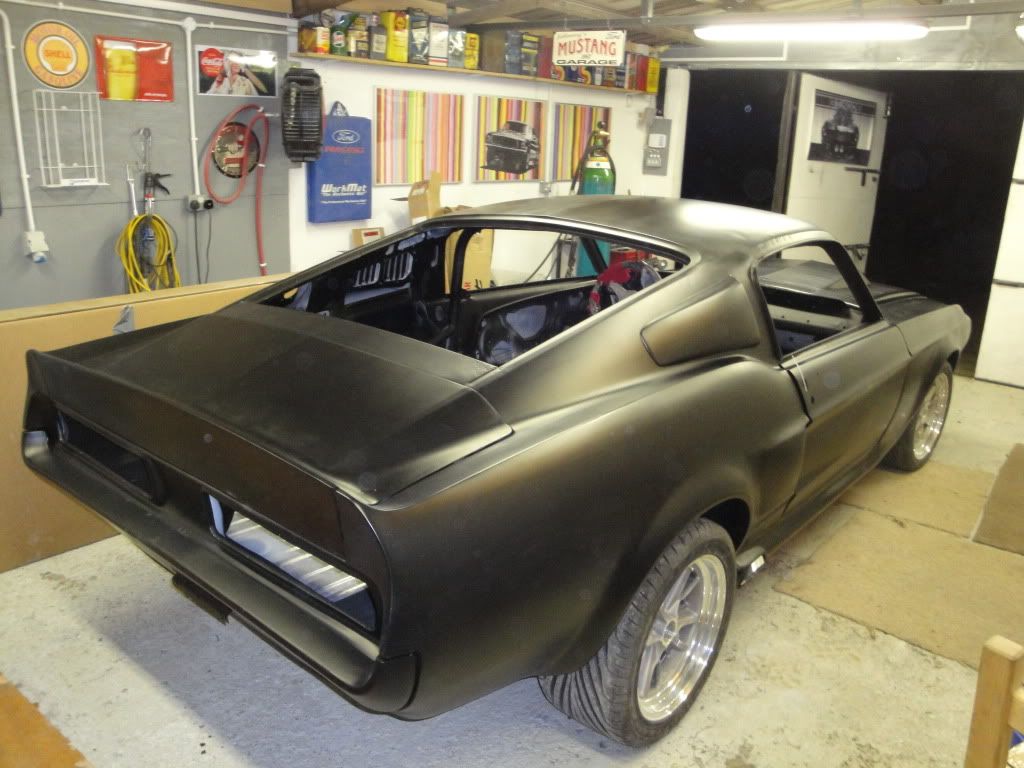
Because i was blanking the rear quater trim and then adding the FG scoop this created an air trap so i made a vent into the wheel house..It might even cool the brakes but i seriously doubt i will ever drive it hard enough for my brakes to cook....
DSC01952.jpg

DSC02048.jpg


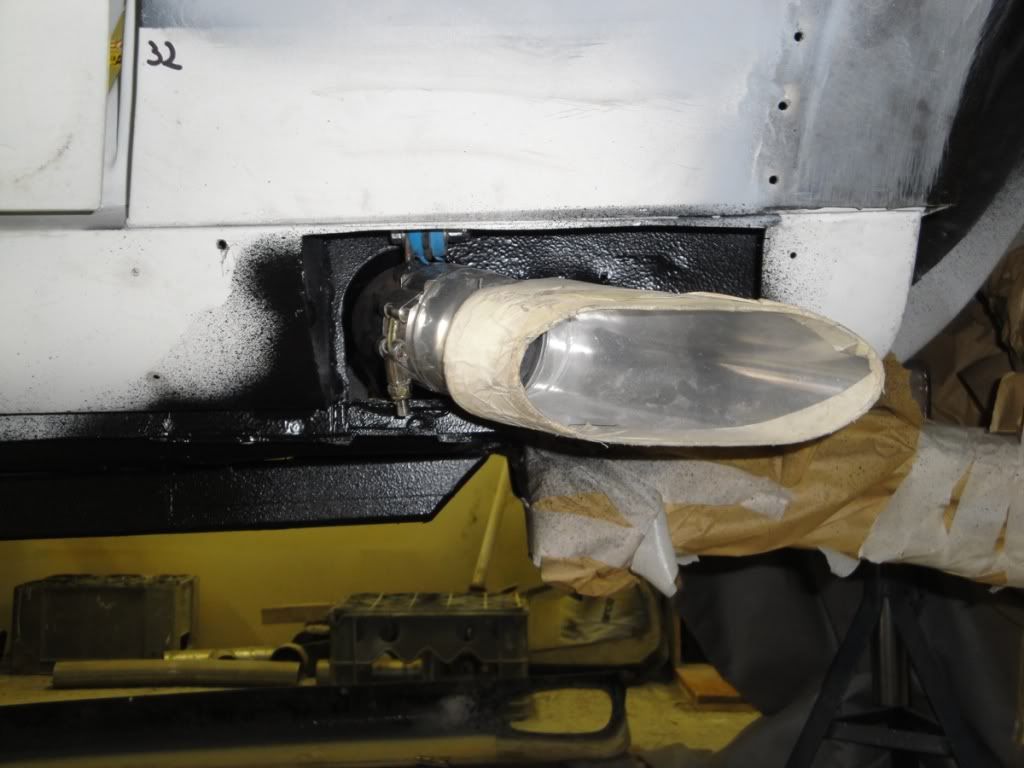
I got the side exhaust done...this took a lot longer than i thought...even with getting help it took nearly 3 days to get both sides done.
DSC01968.jpg


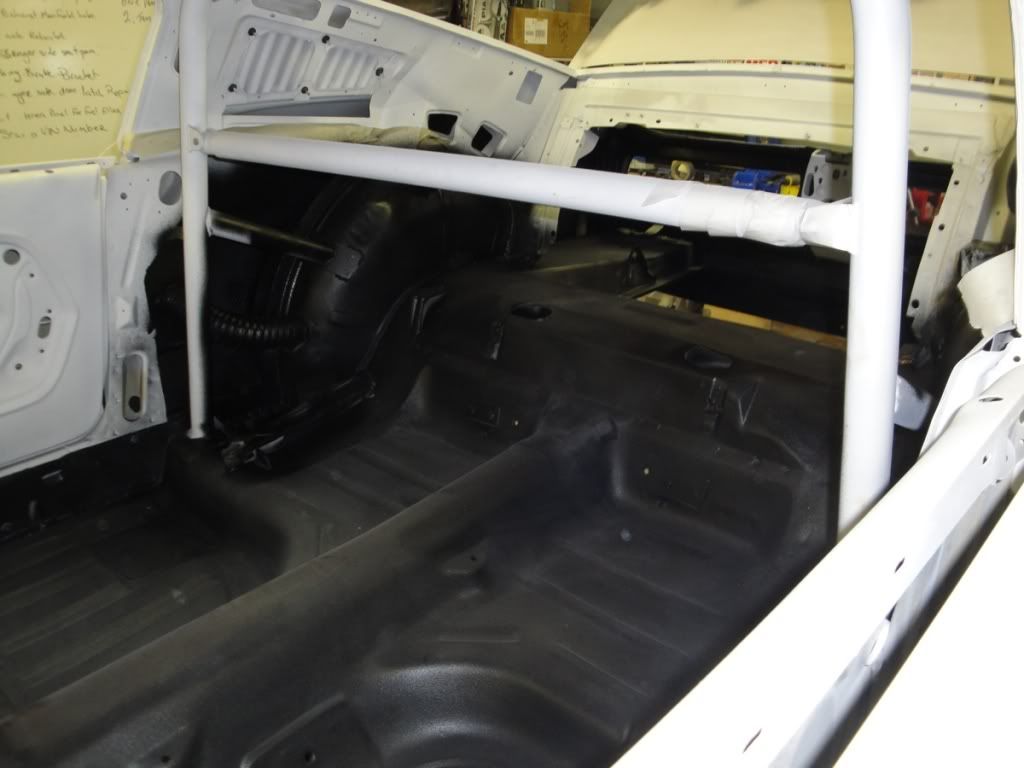
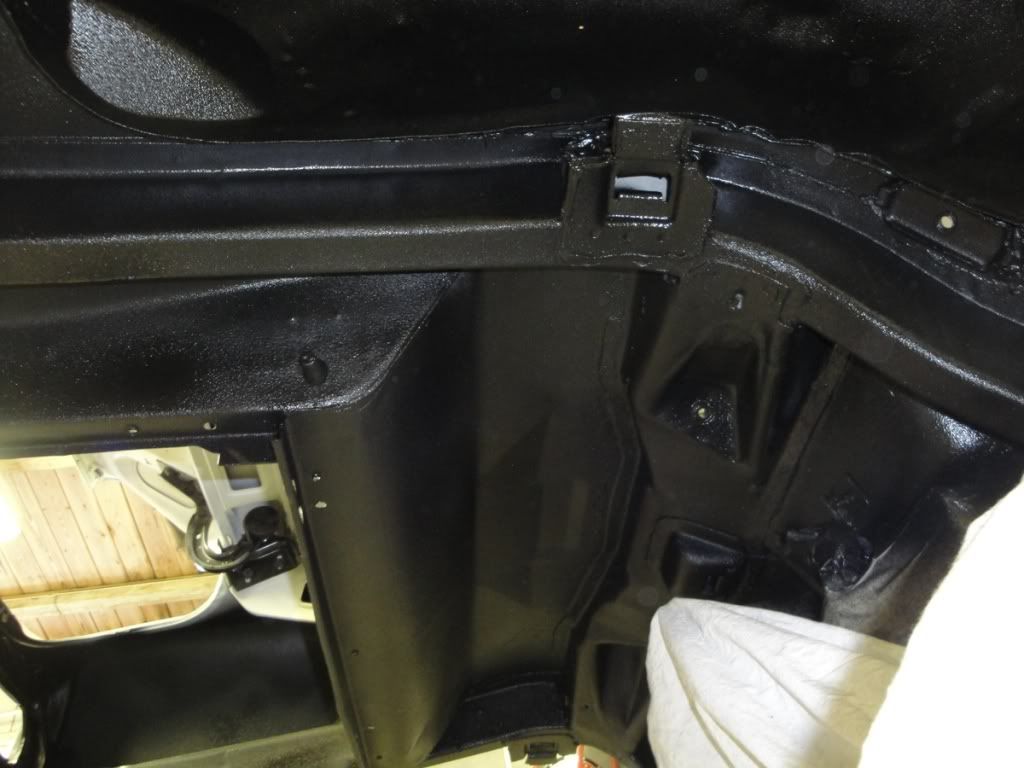
I gave the interior floor pan a coat of the insulating material i am using...
DSC02039.jpg

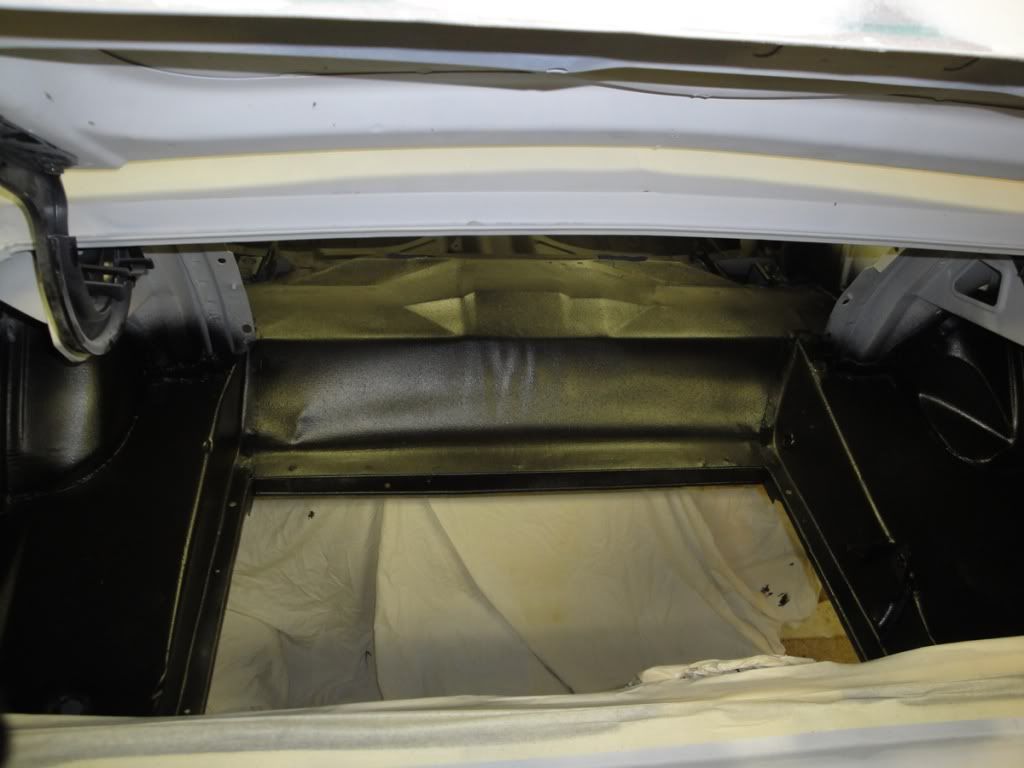
The trunk too
DSC02032.jpg


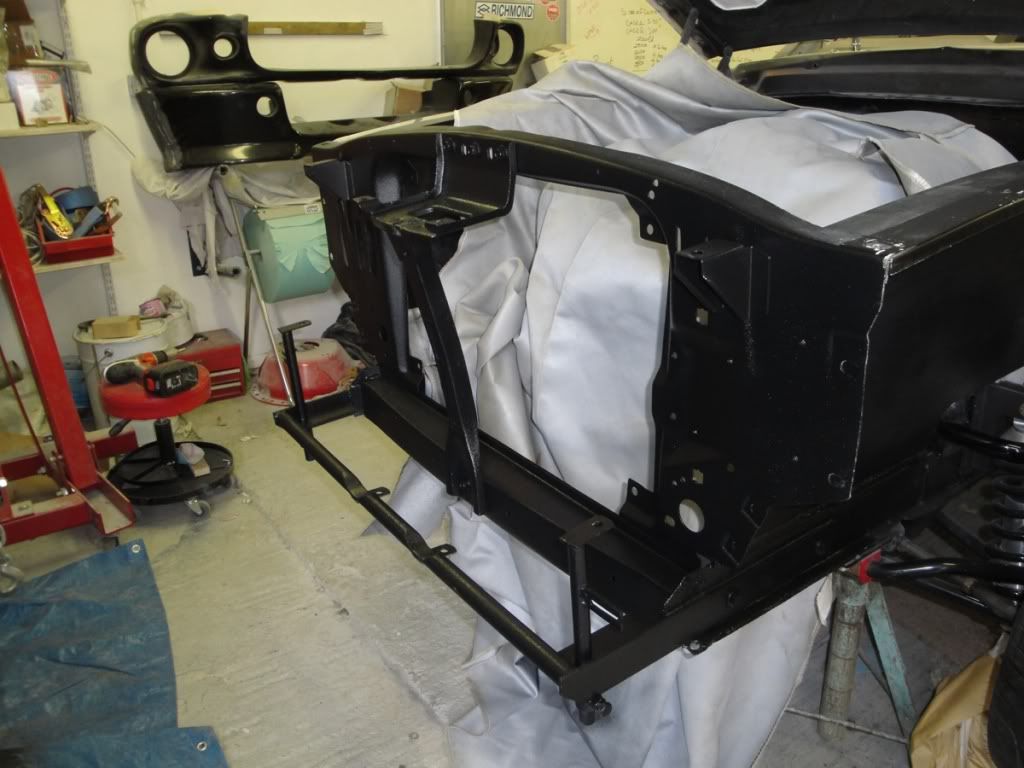
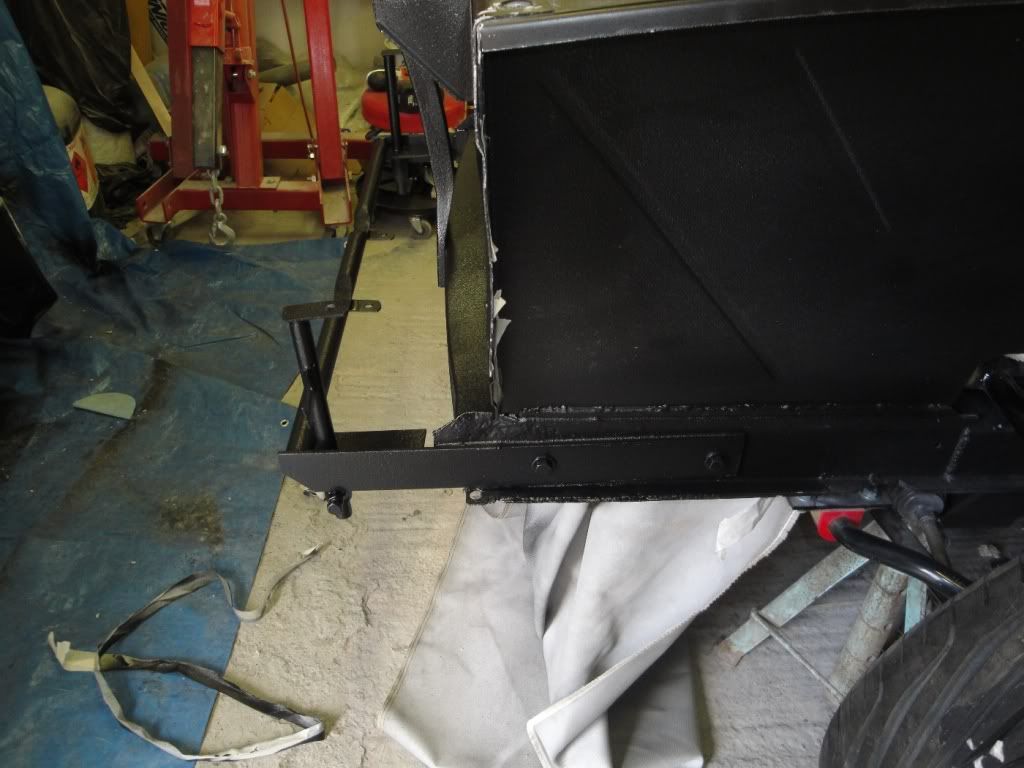
I also gave the front of the radiator support the same treatment. This is one area that i feel takes a beating while driving and i want to make sure i prevent any rust issues here.
DSC02038.jpg

DSC02040.jpg

DSC02045.jpg


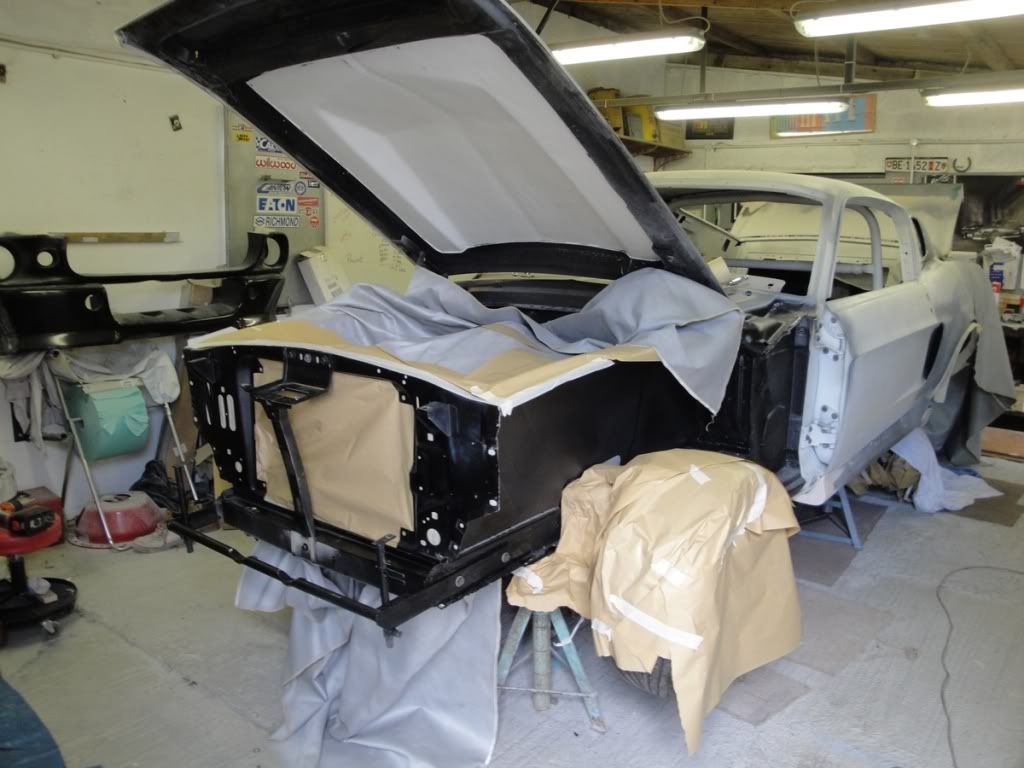
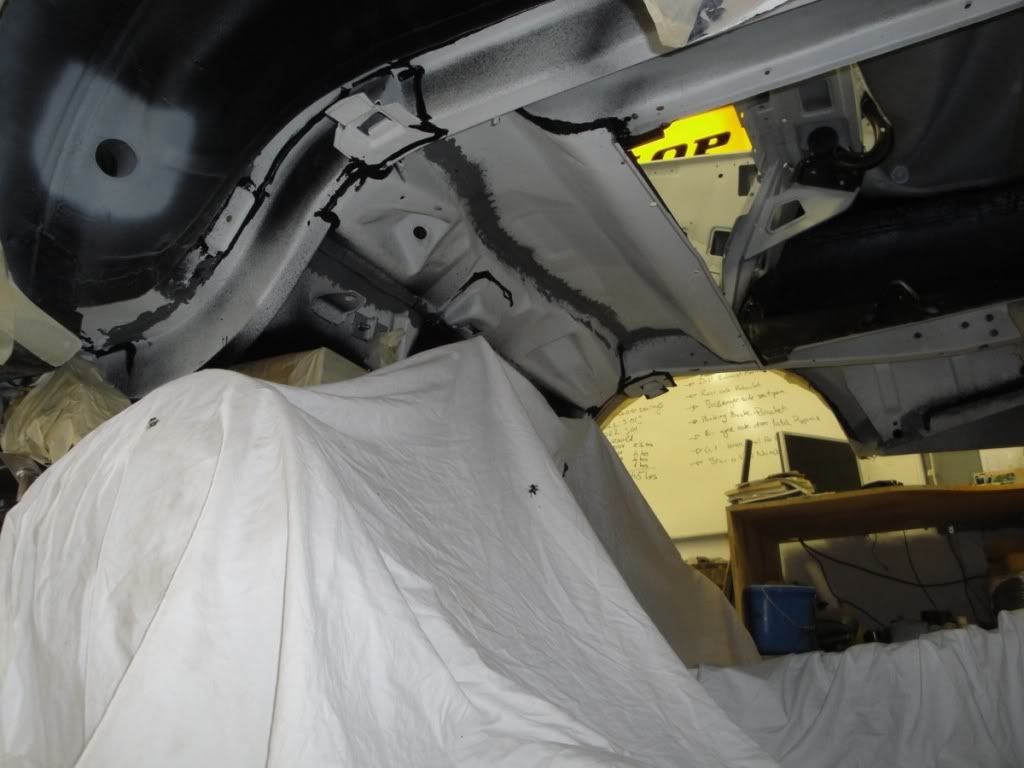
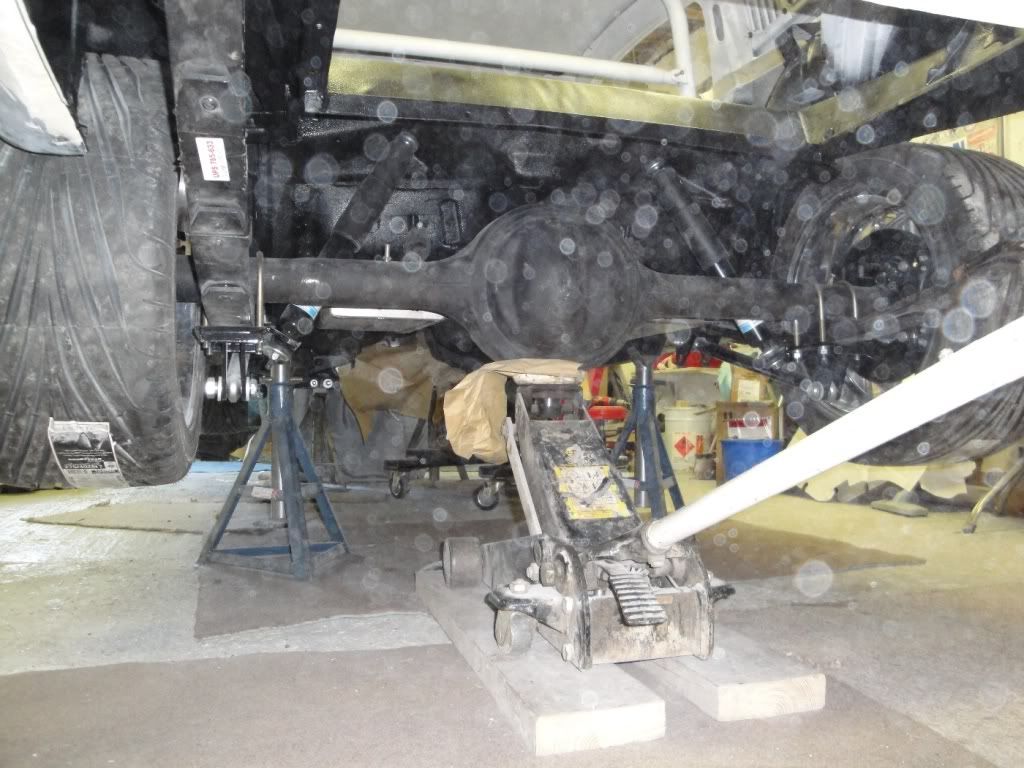
I still needed to finish the undercoating of the back of the car so i dropped the suspension and rear end.. i left the front bolts in so i could just jack it back up. Then i wrapped it up like a big christmas present....
DSC02036.jpg

DSC02034.jpg

DSC02051.jpg


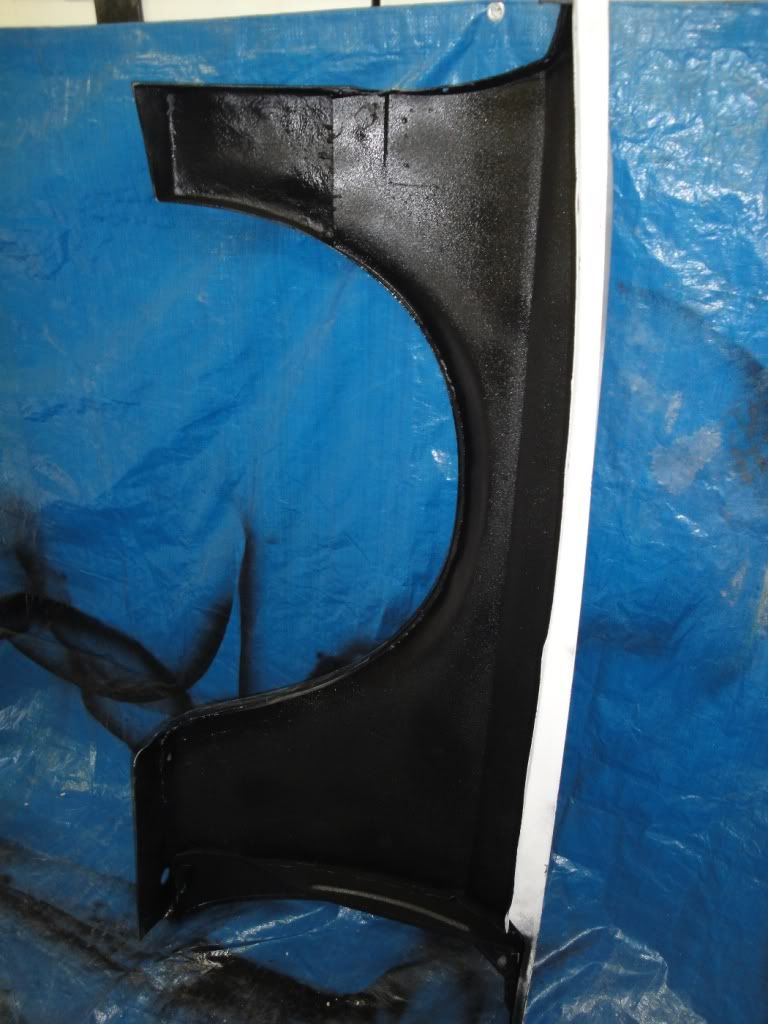
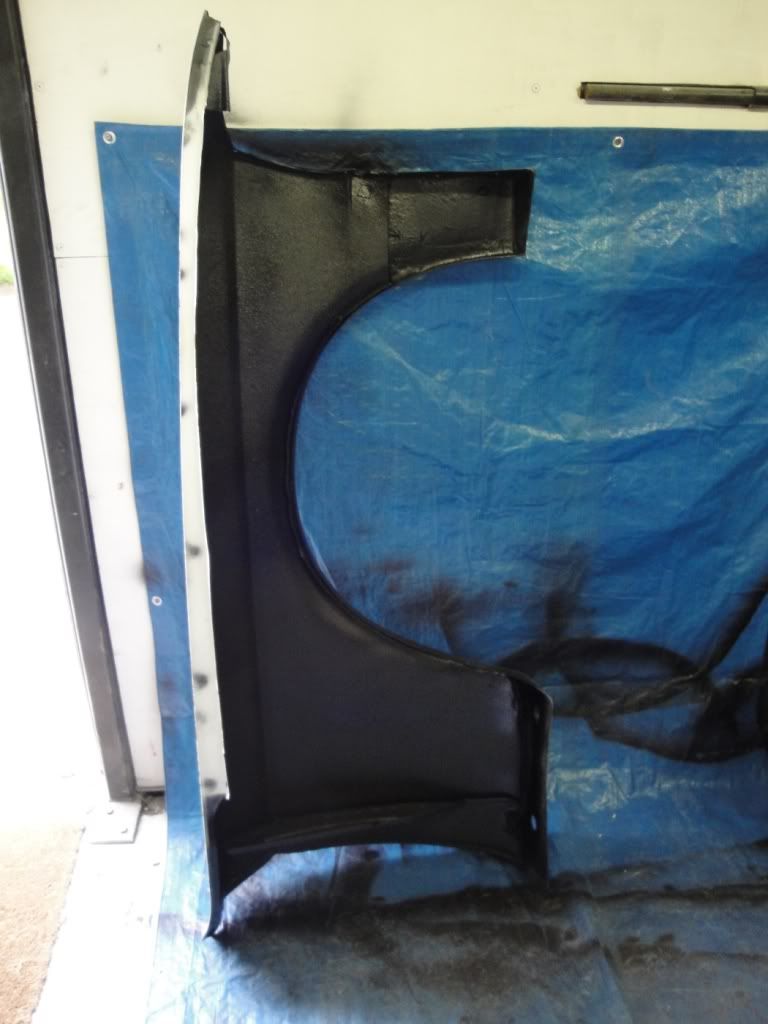
I also took the wings off and gave them 2 good coats of insulating.
DSC02043.jpg

DSC02044.jpg


I test fitted all the lights and monuted the grills.
DSC01985.jpg


Its looka all out of shape here....but it is straight...just looks that way in the pic.

I had to extend the upper light brackets by 5cm.
DSC01993.jpg


I couldn't get a clear picture of the rear after applying the undercoating....too much dust
DSC02057.jpg


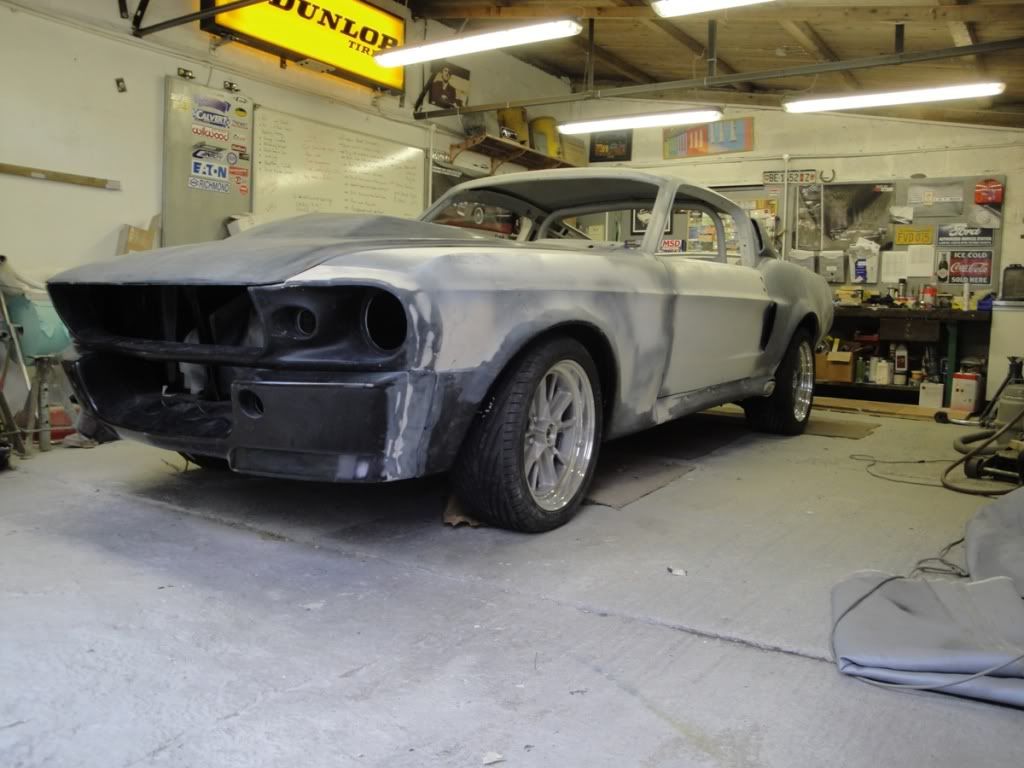
I put all the panels back on today to do final panel alligement.
DSC02058.jpg


Next i plan to do all the brakes and fuel lines plumbing...then get the engine fired up.

Thats all for now.
 
Last edited by a moderator:
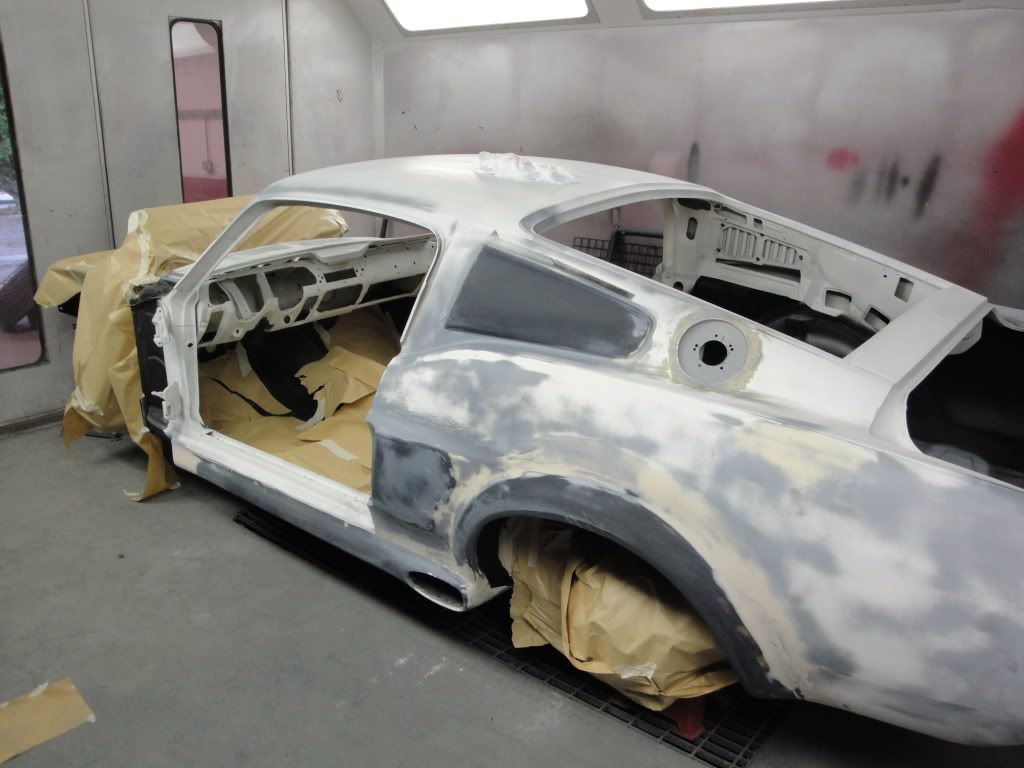
I got the FG parts sanded down to get it ready to shoot the whole car in black primer.

DSC02067.jpg

DSC02072.jpg


Then added about 200kg to the trunk to try and replicate the stance....I prob have to raise the front a little but overall i am happy.
DSC02063.jpg

DSC02068.jpg
 
Last edited by a moderator:
"mustangstofear" said:
Johnny what part # do you have for your upper light beside the headlight? Piaa keeps discontinuing them. Rich.

Hey Rich,
I am using the PIAA 1100X Paltinum Series Part # 1192

Not sure if they are still making them as i bought mine about 2 years ago!!!!

Johnny
 
Some progress pics.

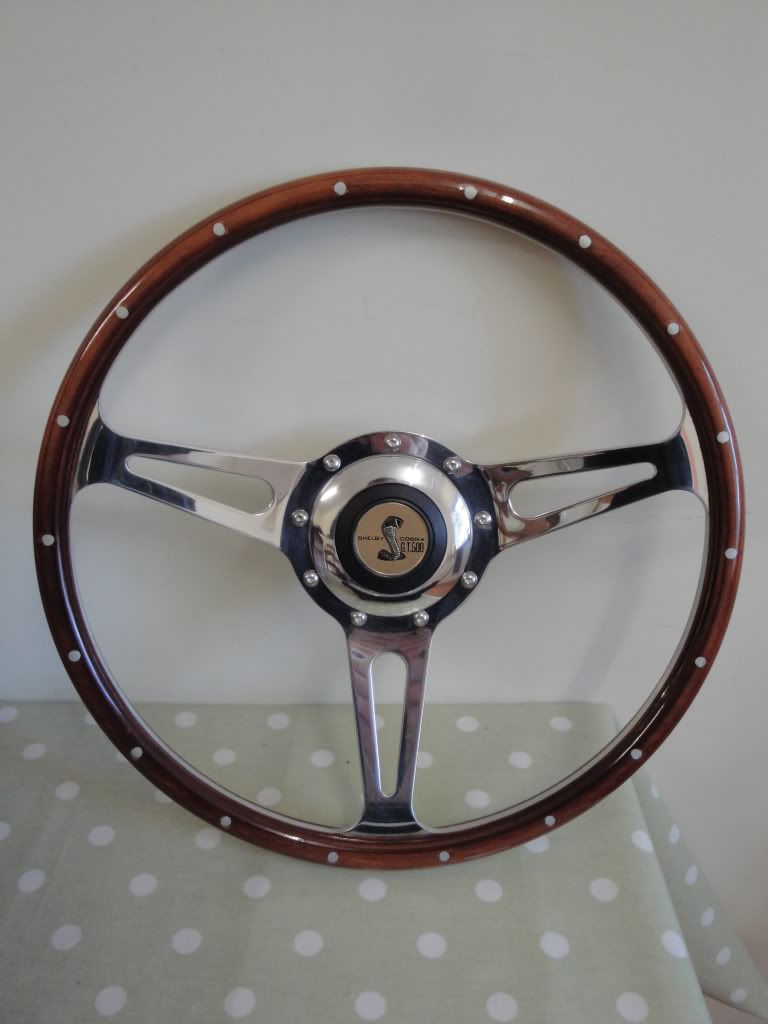
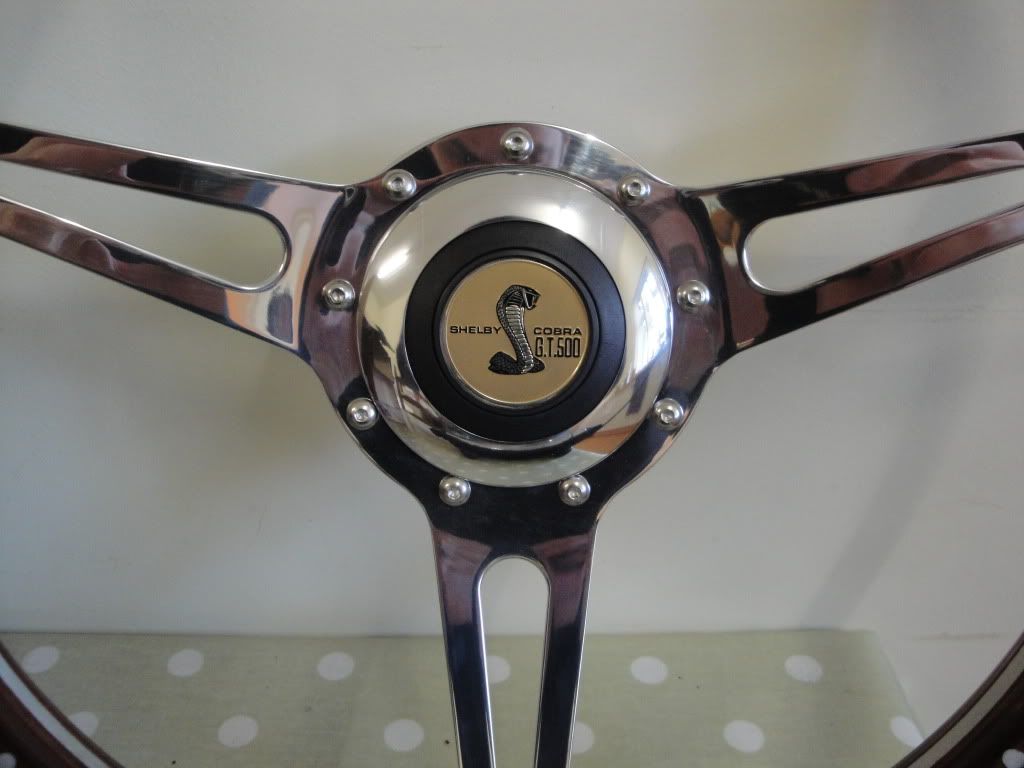
I got my wheel :thu
DSC02301-1.jpg

DSC02304-1.jpg


I then installed a seat and for the first time i was able to make brum brum noises
DSC02175.jpg


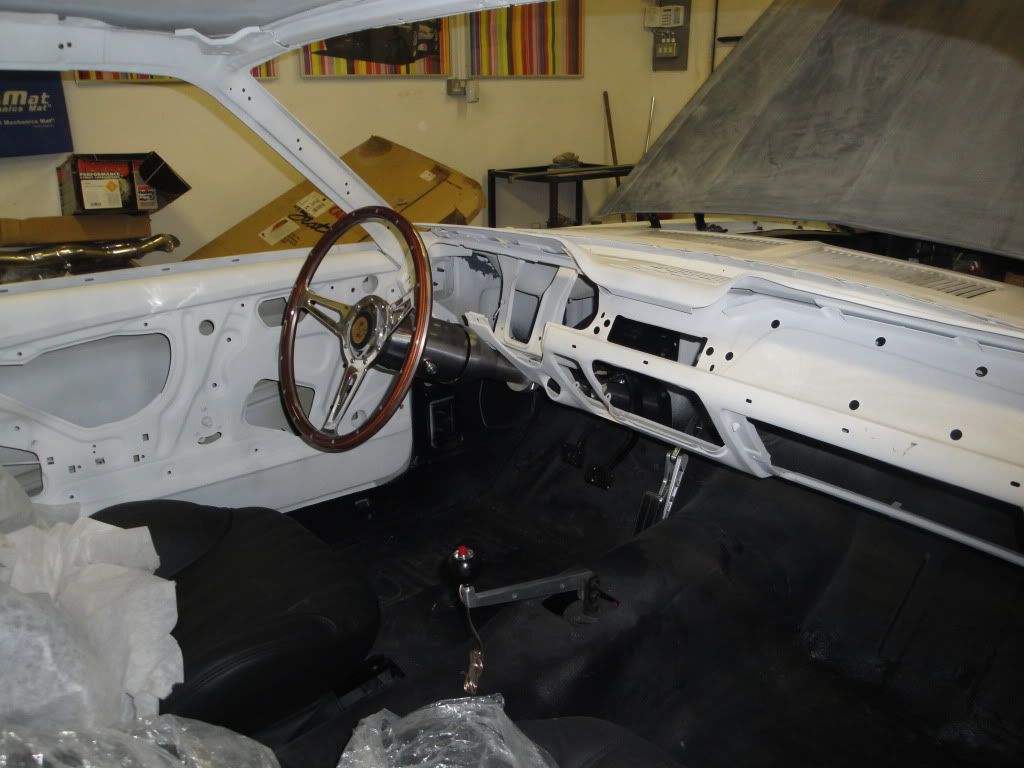
Installed the motor, tranny, steering gear, wheel, shifter to test driving position.
DSC02334.jpg

DSC02335.jpg


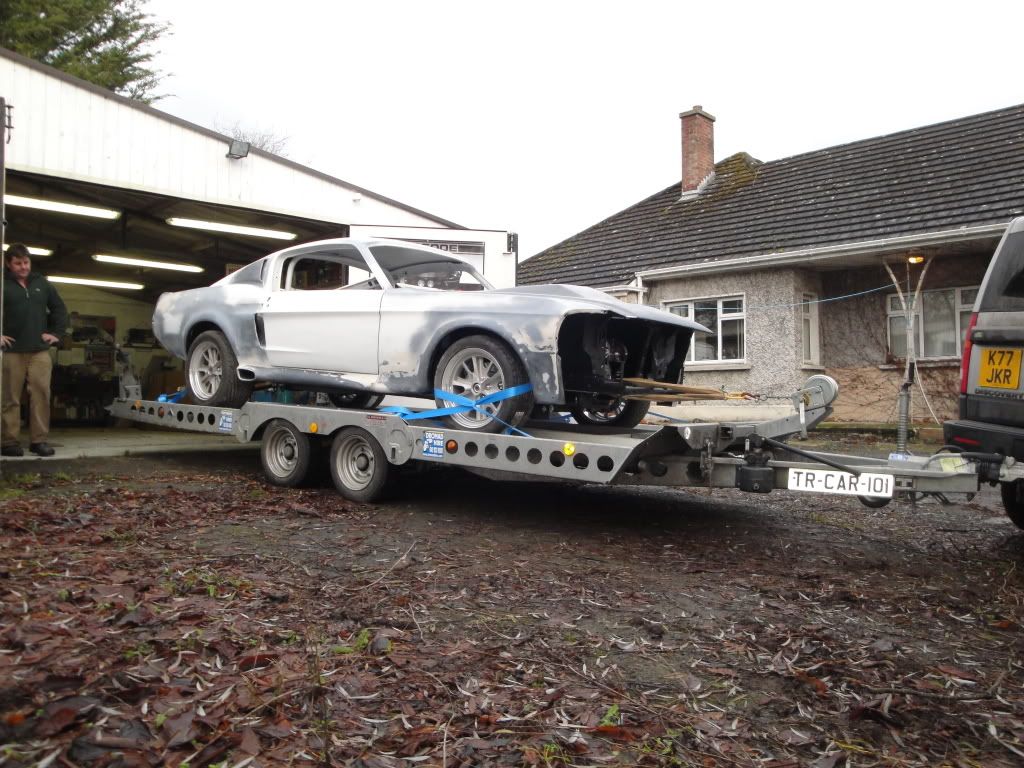
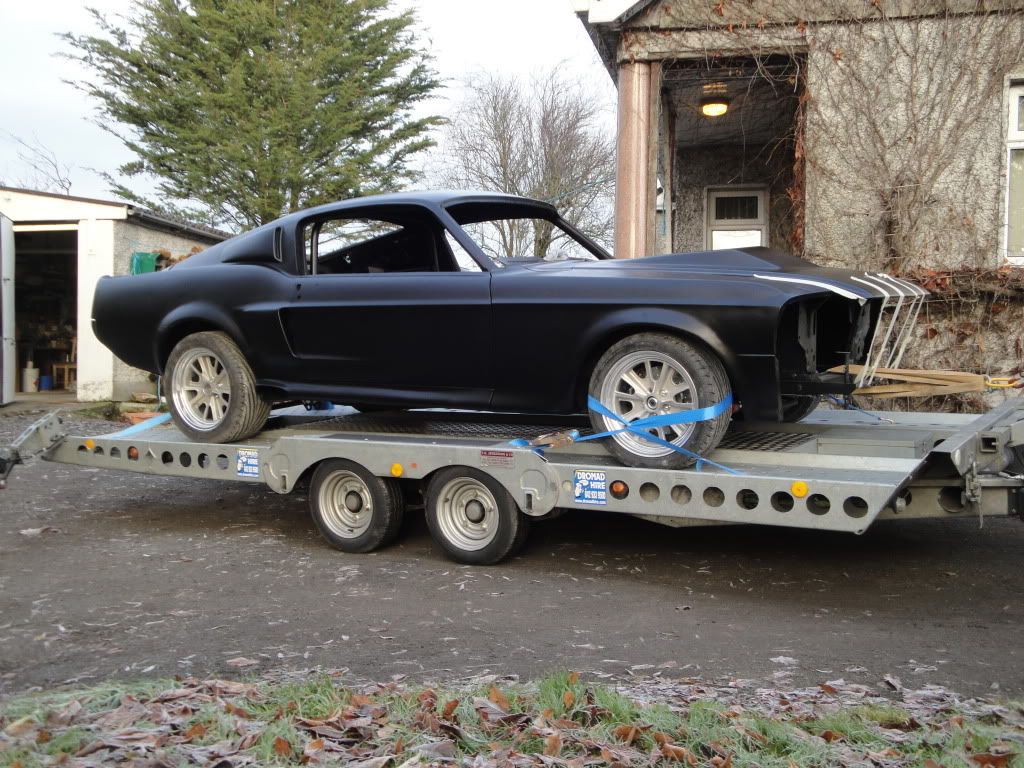
After i got the car blasted i gave it 3 coats of primer but in parts this got rubbed thin during the FG installation so i decided to give it a good coat of high build primer to protect it in this cold damp weather.

Off she goes..
DSC02336.jpg

DSC02337.jpg


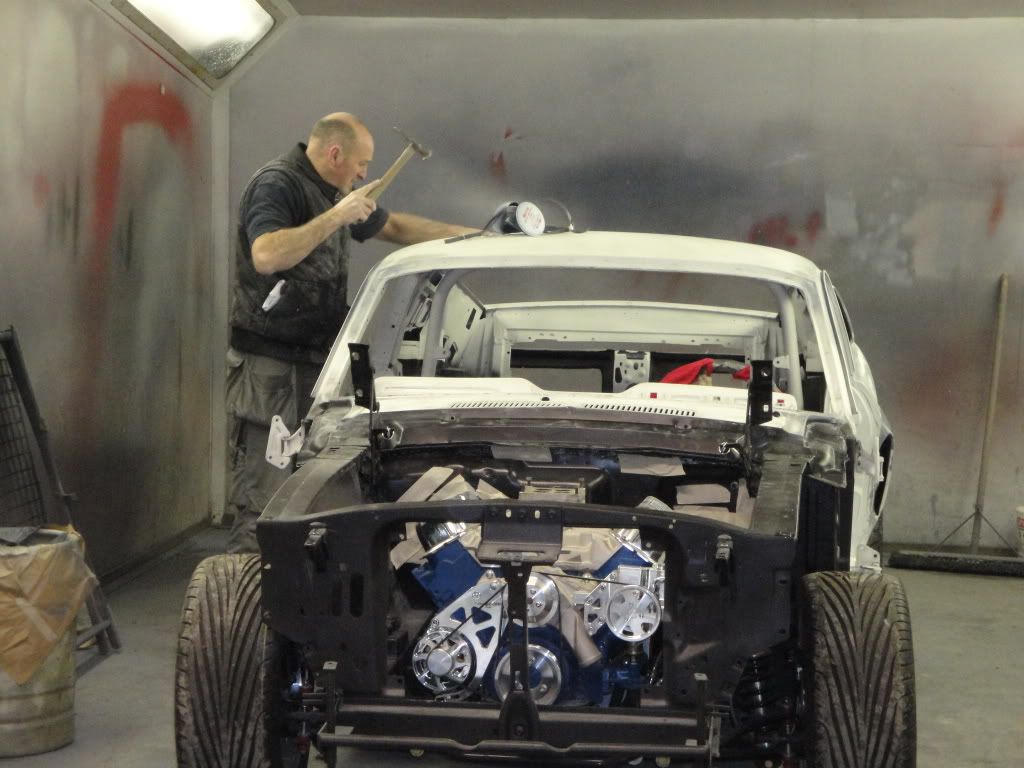
My buddy was spraying it for me. He is an amazing painter but he works alone and the project would be too much for him.
He knocked out some of the major dents in the roof while i sanded down all the panels.
DSC02342.jpg

DSC02343.jpg


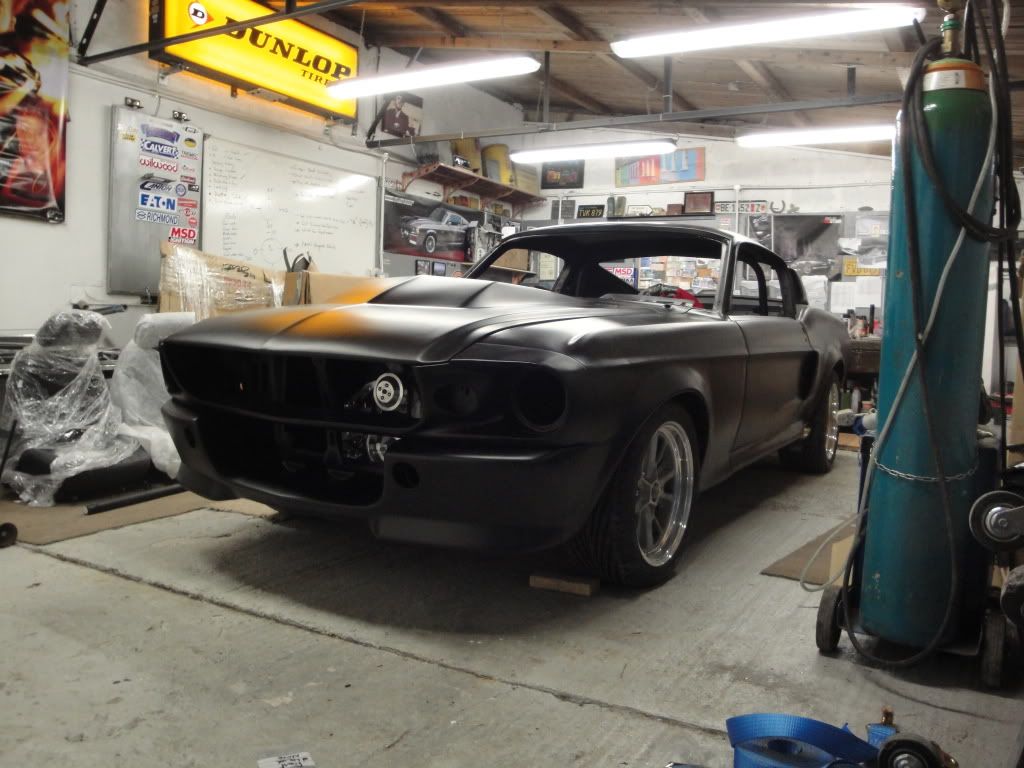
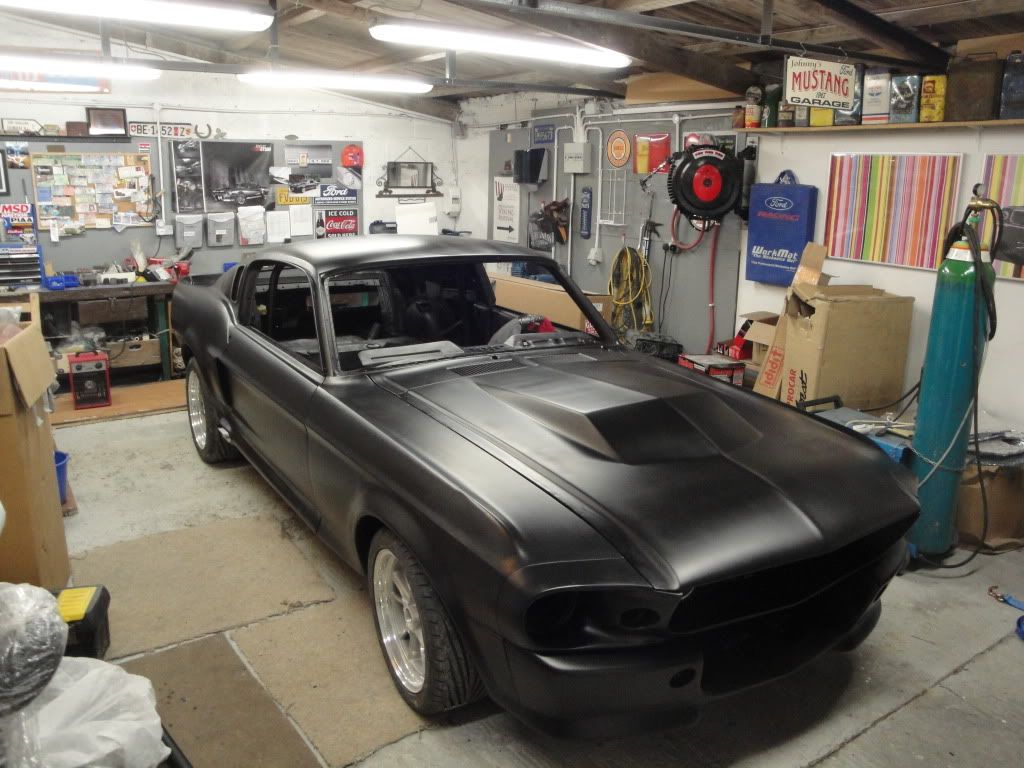
Back she comes :eek:mg I really couln't believe the difference a coat of black primer made to it. For the first time she actually looks like a car!!! It looks pretty good in the pics but up close you can see how there is still a few 100 hours of work to get it ready for paint.

DSC02346.jpg

DSC02347.jpg

DSC02351.jpg

DSC02356.jpg

DSC02359.jpg


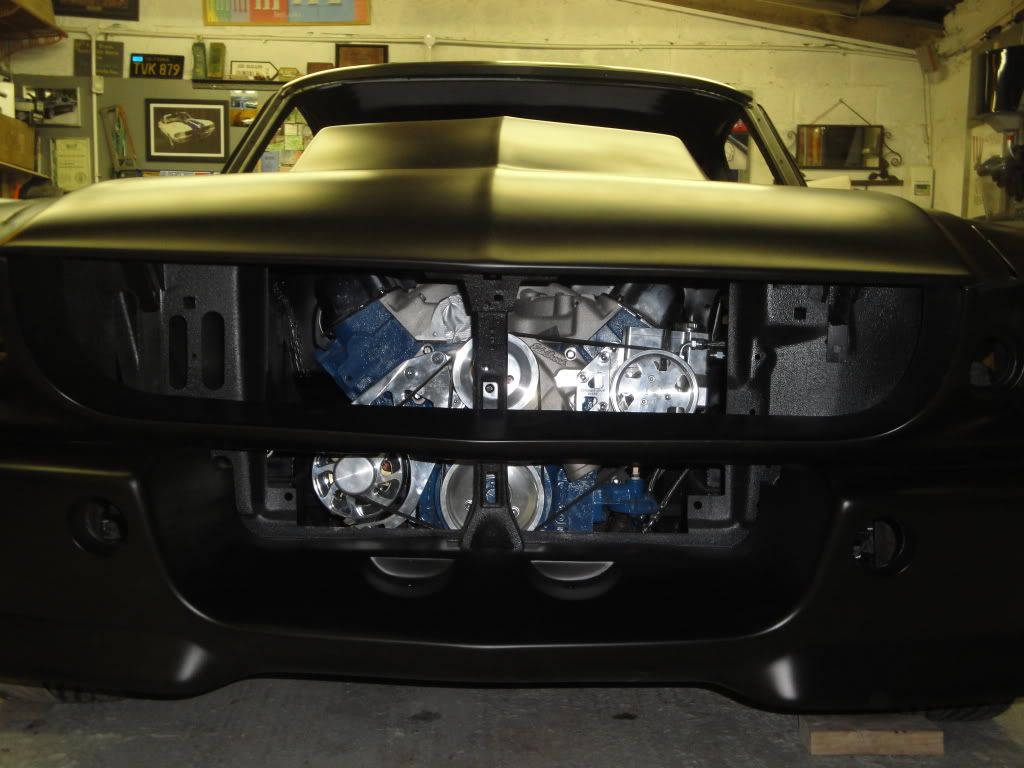
It will be a shame to cover this up with a rad and fans....

DSC02348.jpg


DSC02340.jpg


Over the holidays i plan to install fuel lines, brake lines, loom and maybe look towards getting the motor started for the first time then off to paint in Feb/March.
 
Last edited by a moderator:
Congrats Johnny, you must be very pleased with the progress. Having the car sitting in black primer should re-motivate you to get this car finished.
 
"daveSanborn" said:
Congrats Johnny, you must be very pleased with the progress. Having the car sitting in black primer should re-motivate you to get this car finished.

Thanks Dave. My biggest problem these days is work getting in the way. Sometimes i am gone for 3-5 weeks at a time which means ZERO build time.

And yes...it is a massive inspiration to see it sitting like this and sometimes i have to look back at my own build thread to see just how much work it took to get it to this stage....
 
"silverblueBP" said:
I'm kinda liking that flat black.

I'm kinda loving it!!!! I think you loose alot of the body lines of this car with normal high gloss black...The matte would be sweet but i would really struggle to find someone here in Ireland with the skills needed to pull it off.
 
"mustangstofear" said:
Johnny, your steering wheel turned out beautiful :thu Rich.

Thanks Rich. I did have to carry out some modifications to the hub to make it work but overall i am happy......The quality is impressive.
 
Got a little bit done at the weekend.

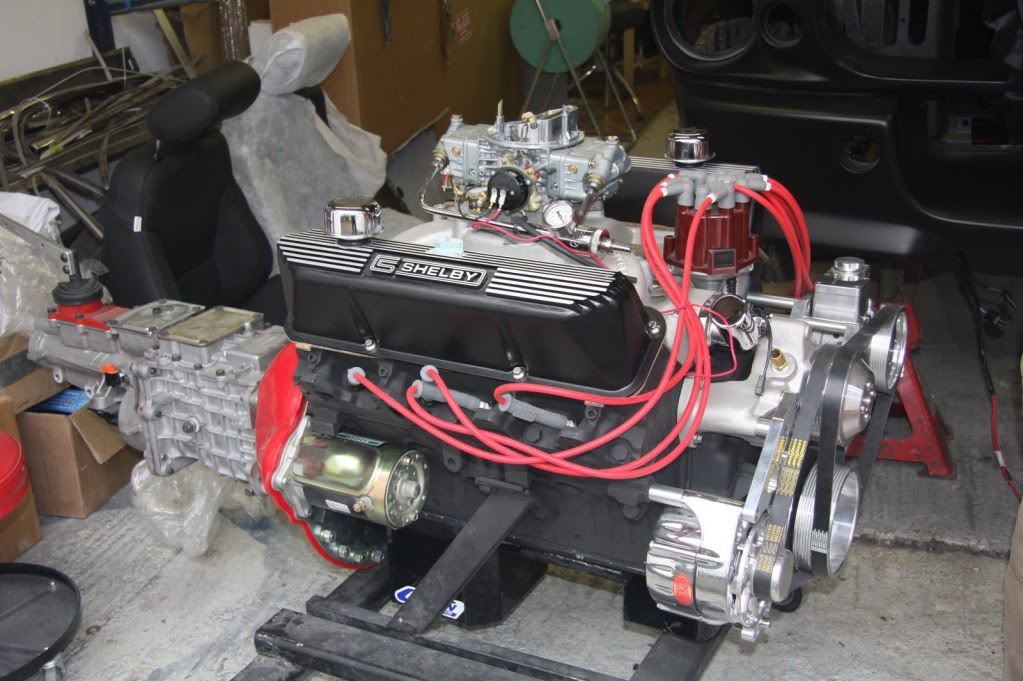
Got the engine back out and painted it black.
Engine1.jpg


Bellhousing alignment. When i checked it first it was off centre so I got the off set dowels pins and got it within the tolerances. Fiddly work but no point in cutting corners.
IMG_0566.jpg


Clutch install.
DSC02433.jpg


I taped up the car and got the engine bay sprayed in Raptor Liner.
IMG_0586.jpg


I continued with the wiring. I have most of the lights figured out so far. Now i need to go looking for headlights.
IMG_0585.jpg

IMG_0587.jpg


Got my battery and extinguisher and did a little work on the trunk.
IMG_0588.jpg

Dynamat install
IMG_0589.jpg

IMG_0590.jpg


Got my plates in too.
DSC02403.jpg
 
Last edited by a moderator:
Are you going to use the PIAA lights in your backup light housings as well? I'd like to do that mod one day. Although, my current back up lights arent even connected....
 
Back
Top