AzPete
Well-Known Member
Looks good. Now....don't scratch it with things going in.....
Follow along with the video below to see how to install our site as a web app on your home screen.
Note: This feature may not be available in some browsers.
Hello there guest and Welcome to The #1 Classic Mustang forum!
To gain full access you must Register. Registration is free and it takes only a few moments to complete.
Already a member? Login here then!
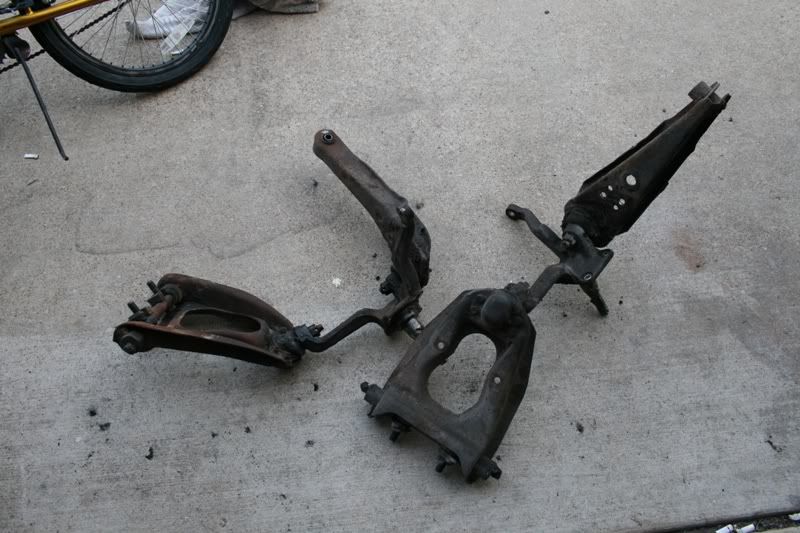
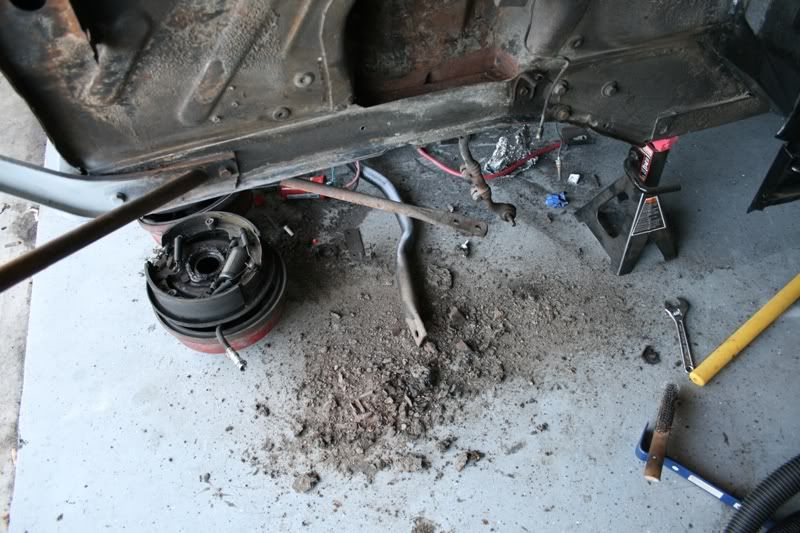


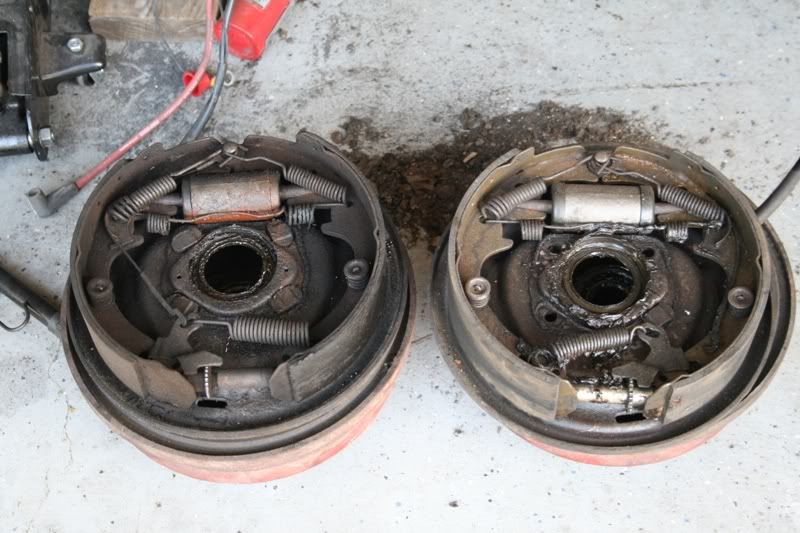
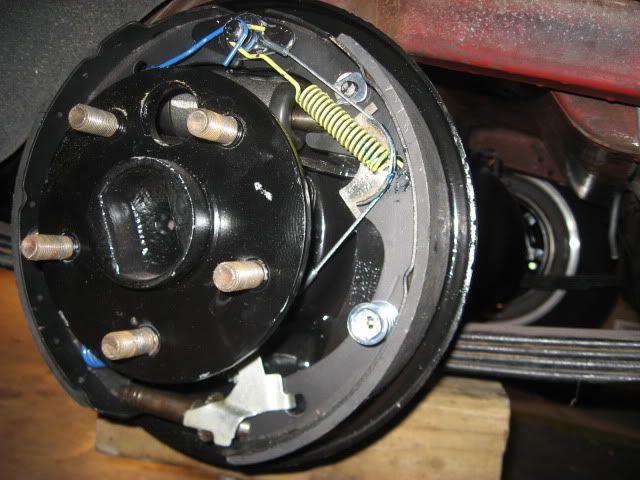

ou will need new hardware kits for those brakes. The one on the right has the wrong spring on the self adjuster.
"Horseplay" said:Hey Kat,
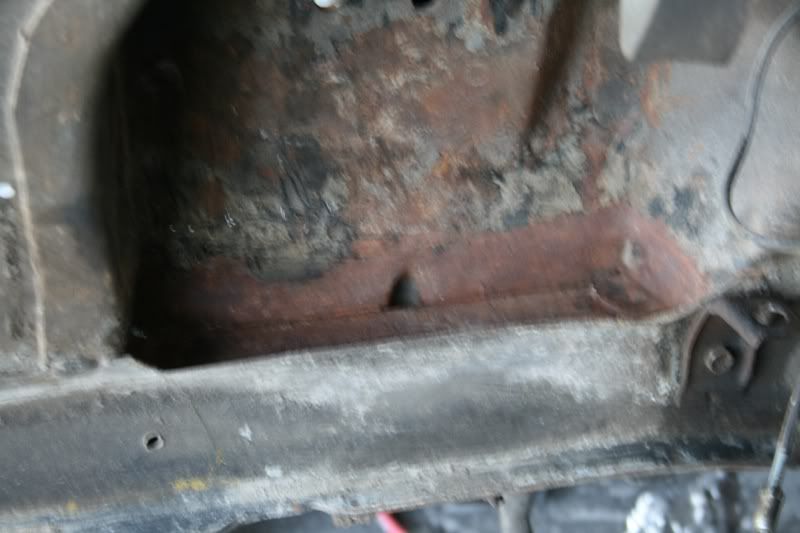
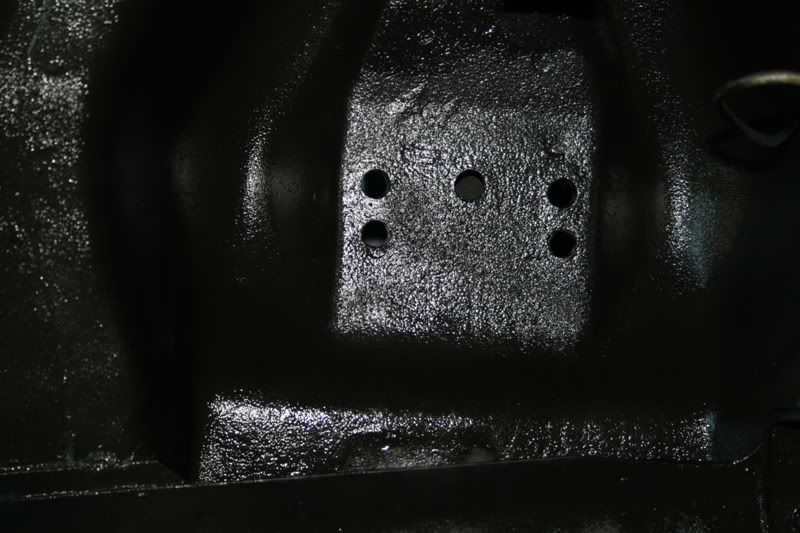
It may just be the angle of the pictures or something but how did you locate the holes for the drop? They should be both lower and a bit stepped back compared to the originals. Is this the case with yours? They look like they are just straight down.
")