• Hello there guest and Welcome to The #1 Classic Mustang forum!
    To gain full access you must Register. Registration is free and it takes only a few moments to complete.
    Already a member? Login here then!

Selene/Fred is a San Jose built 1965 Mustang

I stepped away from Fred for today to allow myself to recover after all the :puke caused by the rocker panel.

I wanted to thank everyone for the laughs, I really appreciated you all chiming in with the humor, it really helped me laugh it off and not take it so seriously. We do this for fun right? LoL

So I decided to go for a 32 mile bike ride today to distract myself and as I was taking a water break I got a call from Tony over at RSP that I had some gifts waiting at his shop. I had already forgotten about those darn things. :10


PS front fender apron
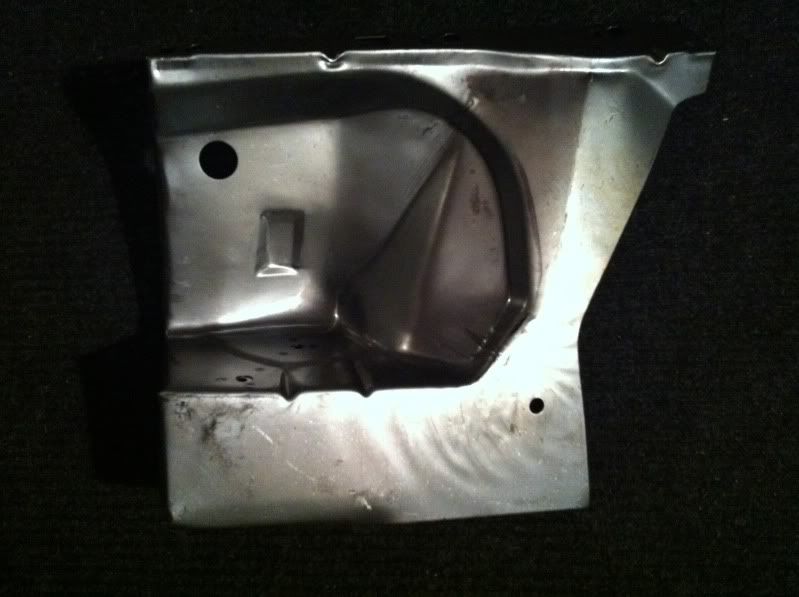
caad8d18.jpg


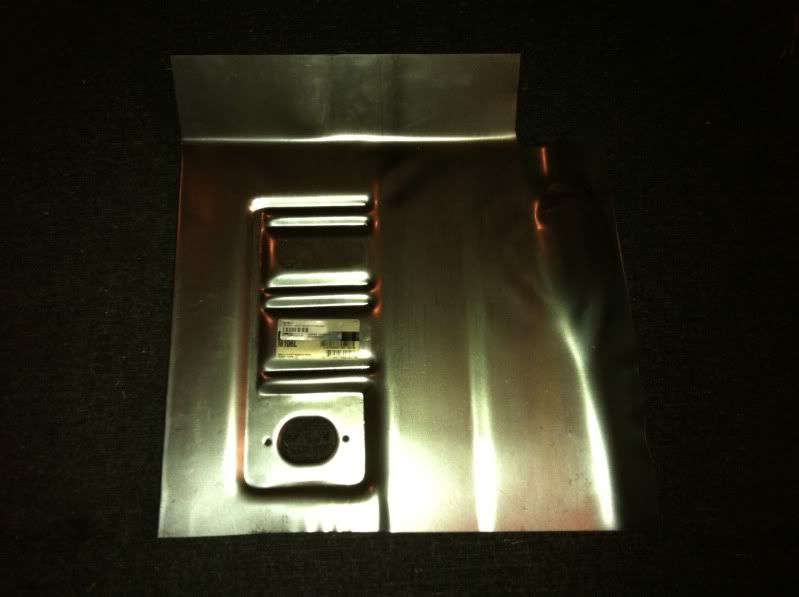
DS front floor pan

b502f798.jpg


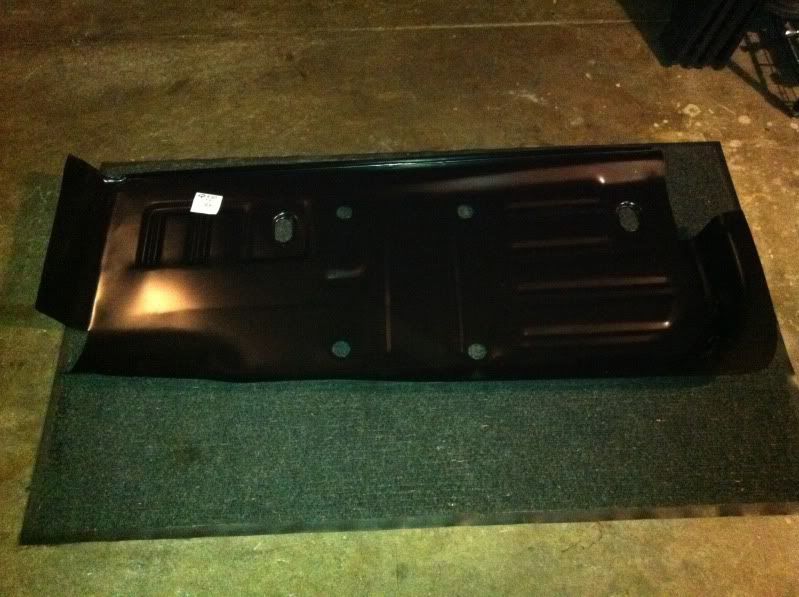
PS full length floor pan

7e561dd3.jpg


I will most likely get back to the garage on Sunday and take a look at the PS rocker panel before I place my next order of sheet metal with Tony. I think I'm looking at possibly two rocker panels and the DS and PS trunk corner pieces.
 
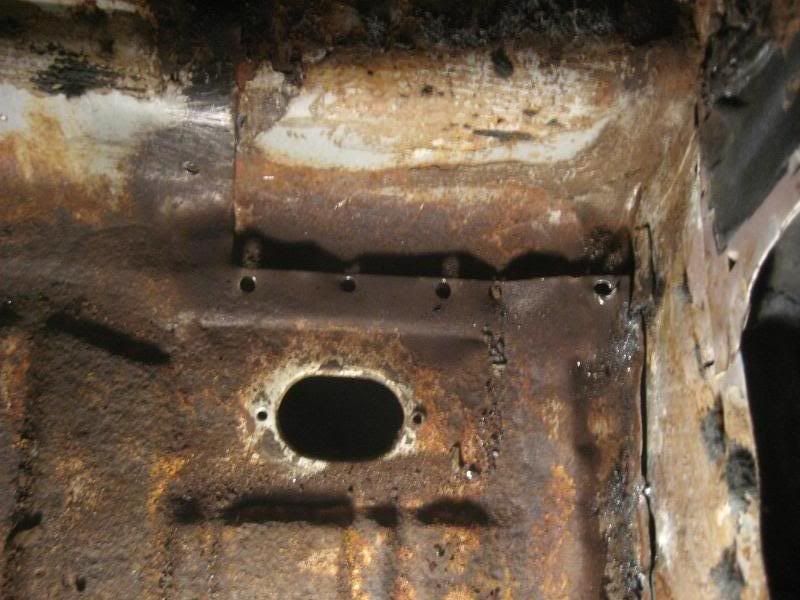
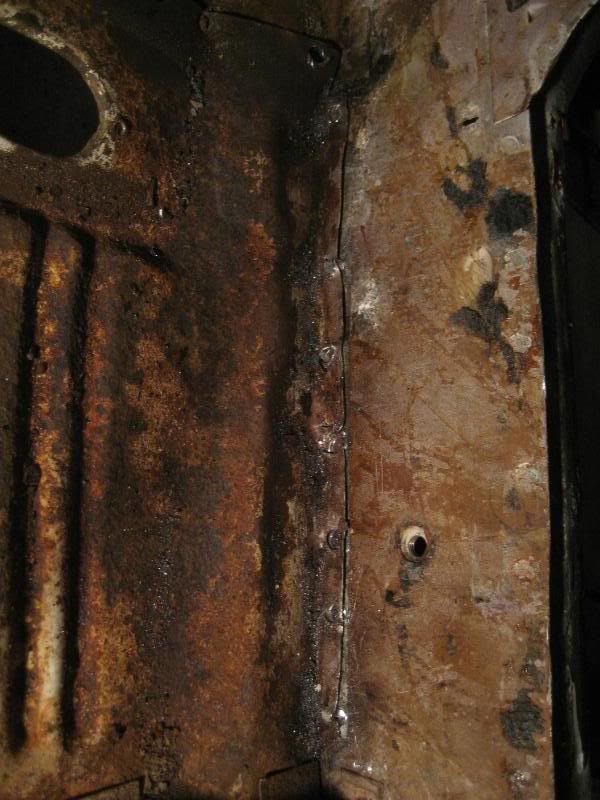
Pete was correct, as I started to clean up the floor and floor extensions I started to notice a lot more pin holes and rust that made me feel uncomfortable. So I have changed my mind and decided to do a full one piece floor replacement. I called up Tony at RPS and he assured me it was no big deal and to bring the parts back. I really would like to continue doing business with RPS but I am a little stuck, his quote for the full floor pan, seat platforms and plugs comes out to 60 dollars more than the mustangs plus package that includes everything previously listed. The cost of gas to Stockton doesn't count because I have to head out there on the 24th anyways, yes, again, after the MP show with Craig and Mike on the 23rd. What do you guys think?

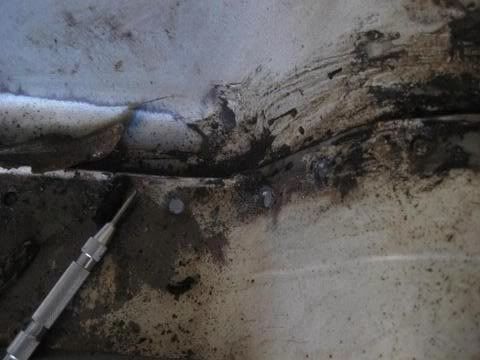
Oh yeah, I purchased a spot weld cutter, and did horribly the first two attempts as you can see cutting right though both pieces but got the hang of it after that. It is a very time consuming task but it works really well. So far I have removed 50 spot welds and the bit is going strong. I noticed that center punching the spot weld really helps keep the cutter in control and improves the effectiveness and longevity of the cutter.

f9eb4c37.jpg


f90fad85.jpg


IMG_8214.jpg


IMG_8218.jpg
 
Last edited by a moderator:
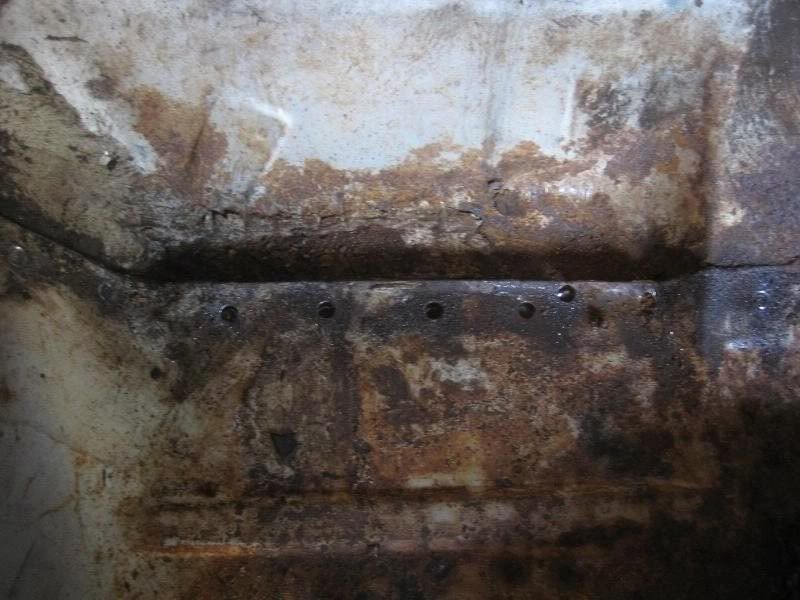
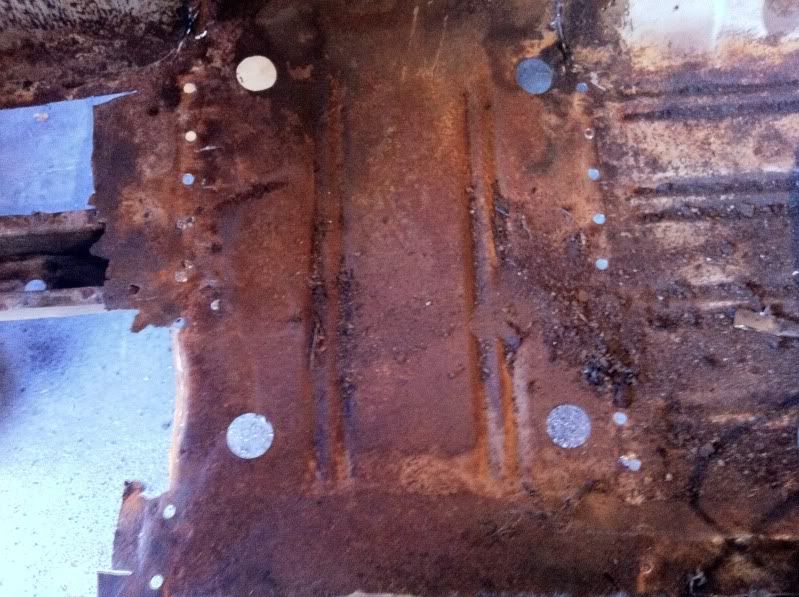
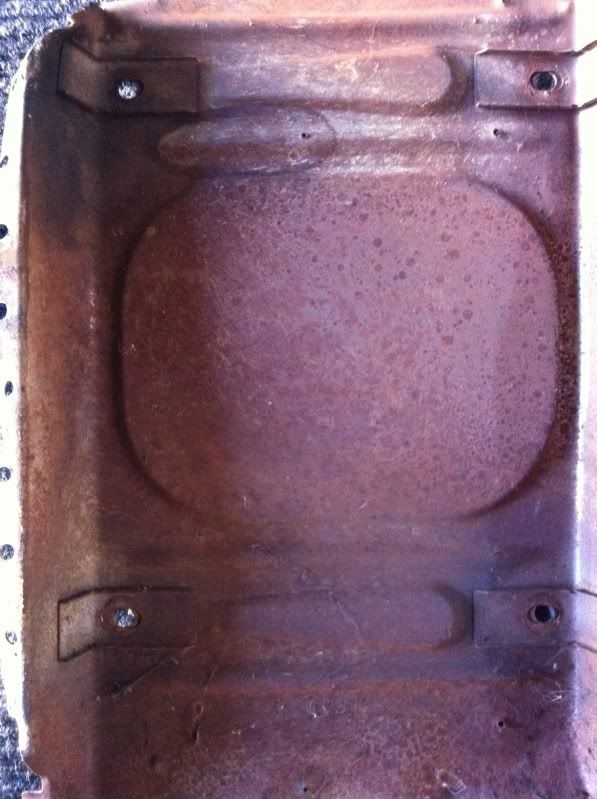
For everyone that is replacing a floor pan, make sure and treat the area under the seat platform. Yuck!

Floor pan under the seat platform

4df1dfcb.jpg


Underside of the seat platform

5a6ad5bf.jpg


Warning, the reason why I drilled through both the seat platform and the floor pan is because the entire floor pan is being replaced and didn't want to use up the time that it would normally take by being extra careful.
 
Last edited by a moderator:
"abrahamfh" said:
I don't know what you mean, please help me out so I don't create a bigger catastrophe than the PO. AHHH!

I mean weld in some structural bracing from front door jamb to rear door jamb. With the pans and rockers that far gone, the car could posibly want to sag in the middle and buckle your roof.

Just better to be safe than sorry.
 
"70_Fastback" said:
I mean weld in some structural bracing from front door jamb to rear door jamb. With the pans and rockers that far gone, the car could posibly want to sag in the middle and buckle your roof.

Just better to be safe than sorry.

Thanks. I definitely don't want that to happen. Yikes
 
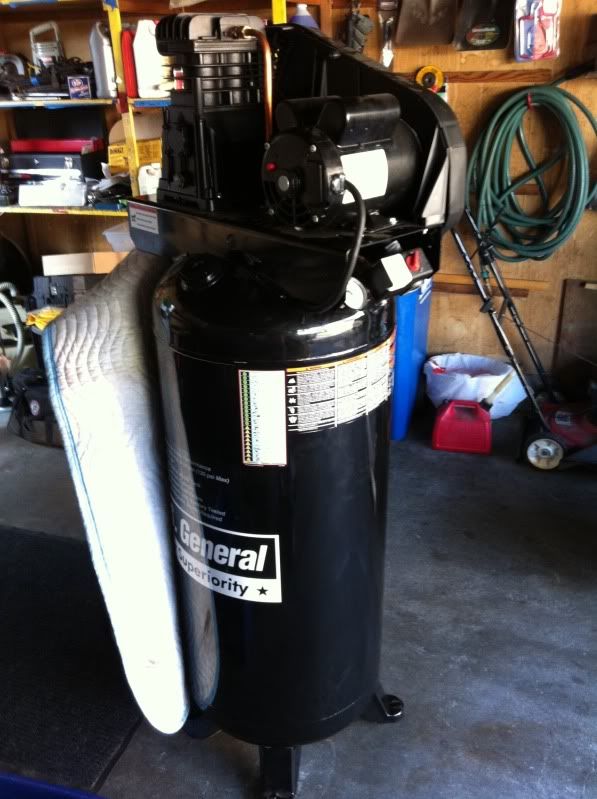
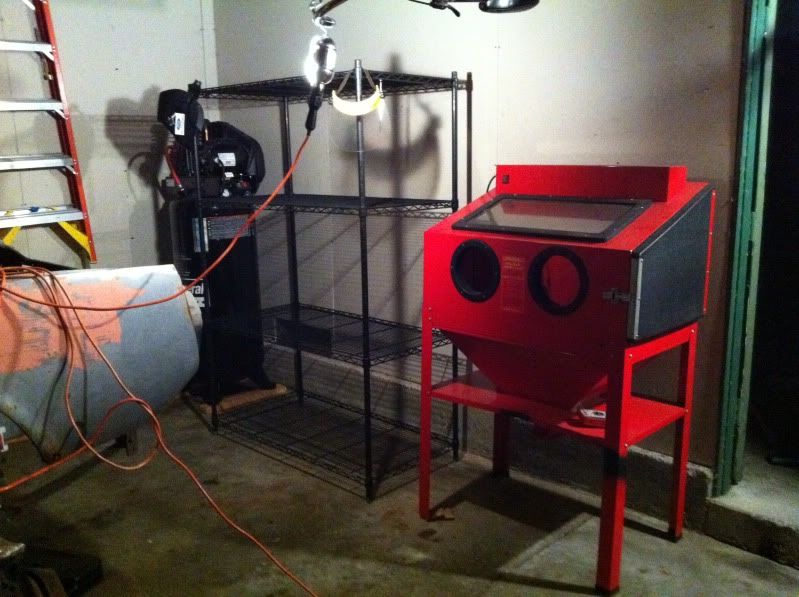
Big day for me today, I was surfing the Internet and found a air compressor that will meet my current needs. The price was more than right plus the 20% Harbor Freight coupon from Mustang Monthly. I purchased a 2 year don't ask don't tell full replacement warranty and trying not to get too excited as I am setting it up in the garage.

266d91af.jpg
 
Last edited by a moderator:
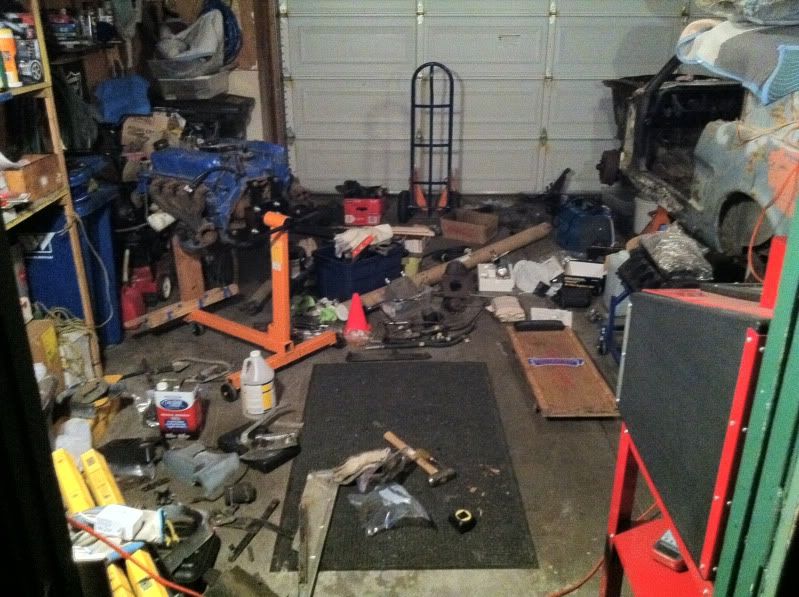
As I was trying to figure out the garage to accommodate the compressor I decided I'm going to rearrange the whole place.

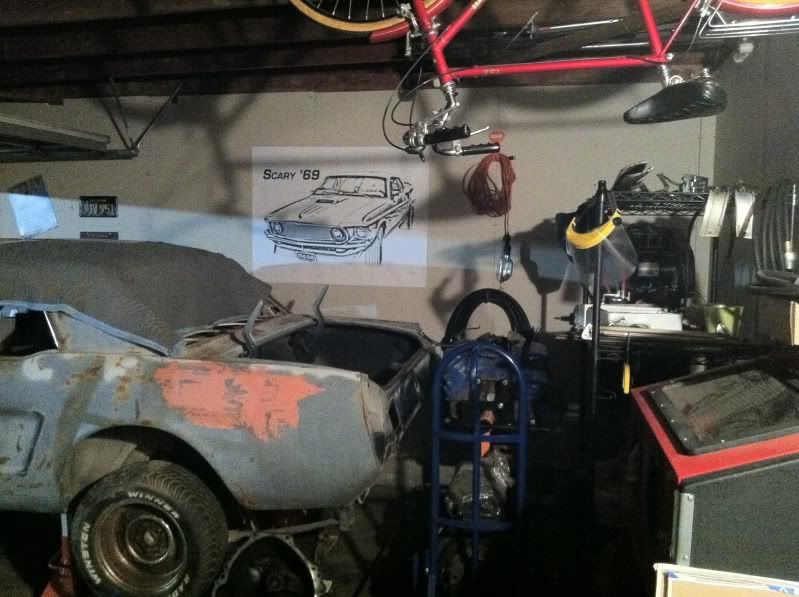
This is my current situation.

a7ef28d9.jpg


a0417479.jpg
 
"abrahamfh" said:
As I was trying to figure out the garage to accommodate the compressor I decided I'm going to rearrange the whole place.

This is my current situation.

a7ef28d9.jpg


a0417479.jpg
Abe:

Make sure to leave room for that table full of delicious taco fixin's!! :)
 
wow abe . nice setup...I would hate to see that cc bill after all of those purchases...I would have not changed any at all...lol.

can you run different kinds of media through the cabinet?
 
Also, if you ever wanted to shorten the seat pans, now is the time to do it!

It's one of my DOH moments when restoring my 66. I didn't drop the pans and wish I did. Since I ran some seam welds around them, now frack'n way I'm changing now!
 
"fordrule" said:
wow abe . nice setup...I would hate to see that cc bill after all of those purchases...I would have not changed any at all...lol.

can you run different kinds of media through the cabinet?

One of the main reasons I have to go so long without having something I need or want is because I have to save up. Cash only for me. So far I have noticed that quiet a bit of money really wasn't spent solely on the item purchased but more so on all the little things to be able operate the main item.
 
"JeffTepper" said:
Abe:

Make sure to leave room for that table full of delicious taco fixin's!! :)


That space is permanently reserved. It has a sort of force field that will not allow anything but the designated food drink and snack table to rest there. LoL
 
Also, if you ever wanted to shorten the seat pans, now is the time to do it!
I moved mine back as well... somewhere around 3". Took a metal cutting hole saw the same size as the access holes for the seat nuts, drilled new holes and welded the slugs back in the original holes. Plenty of room now... in the front anyway :craz
 
Thanks for the suggestions guys, I hopefully can get together with Craig when he has a chance to sit in Reds drivers seat to get a feel for how far down and how far back I should modify the seat platforms.

I haven't done too much on Fred, trying to learn how to use all the cool new tools I recently acquired first.

Having issue trying to figure how to get the compressor to shut off once it reaches a certain pressure, and can't get the gun to suck the media up from the media blast cabinet in order for the darn thing to work. Any tips would be greatly appreciated.

Since having to move stuff around the garage, I decided it was time for some organizing and remodeling.

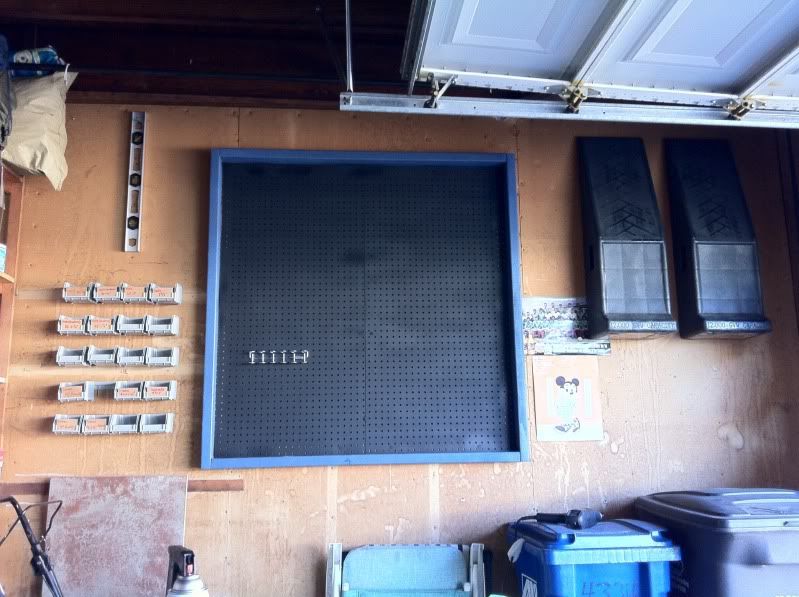
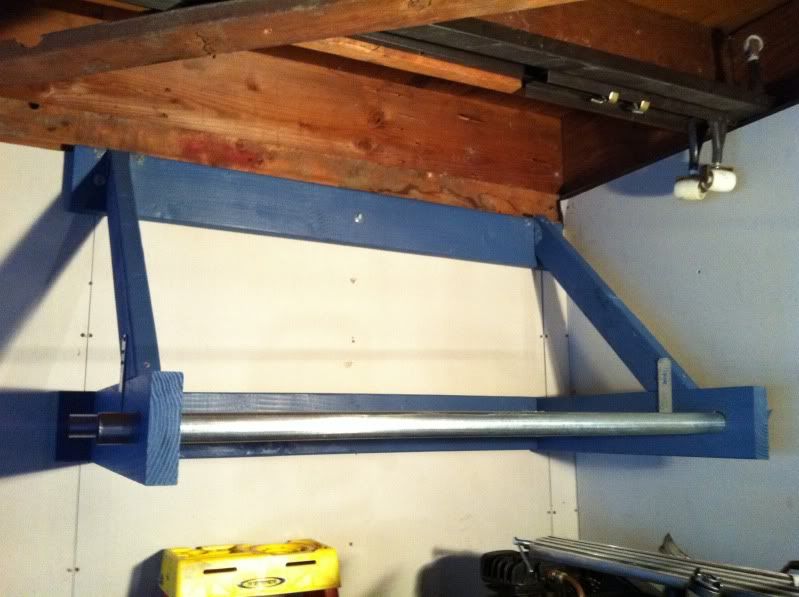
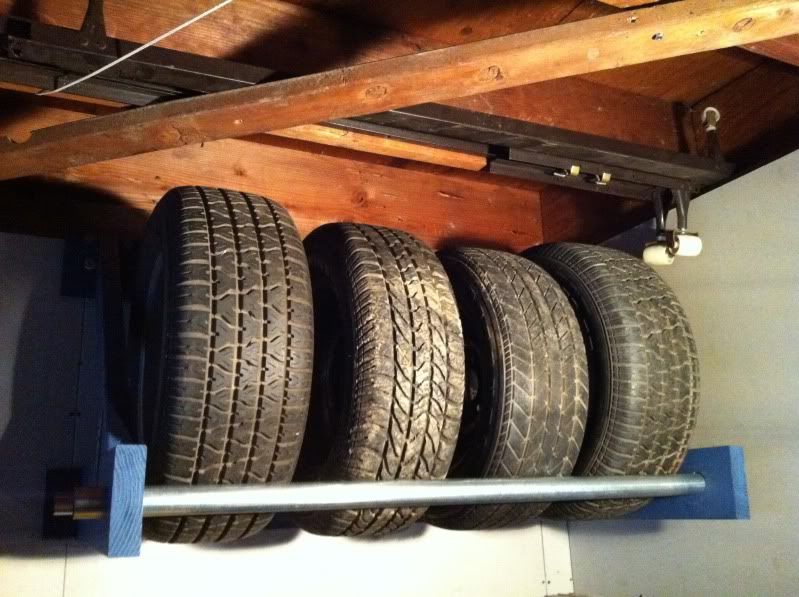
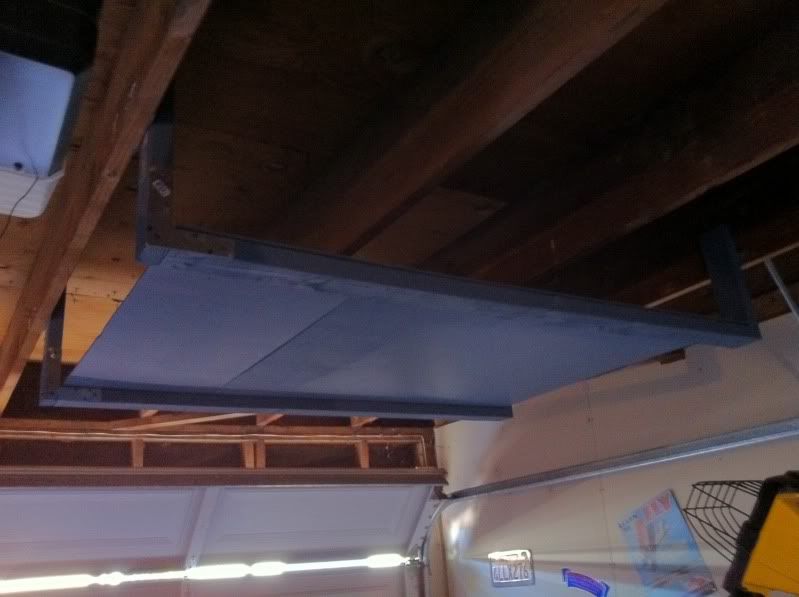
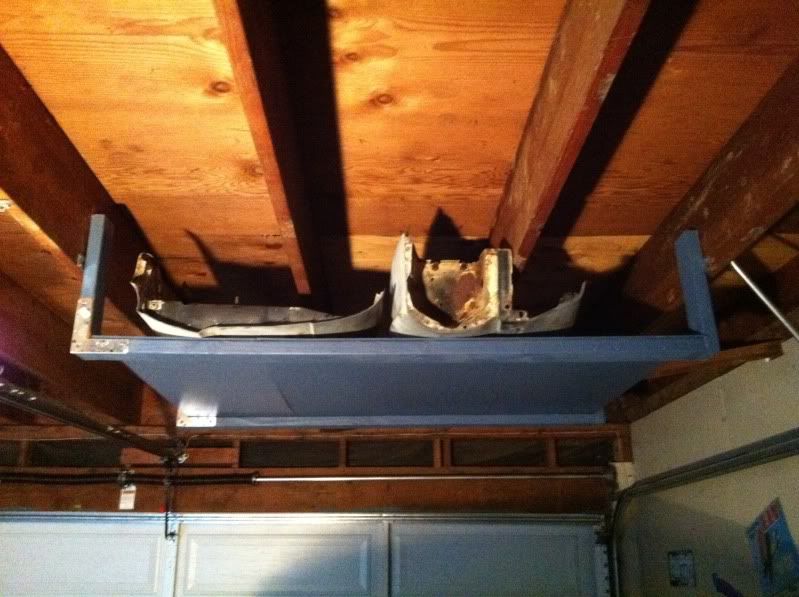
Currently I am building a wood frame to house some pegboards for tool storage, building a wall mounted metal tire rack and a ceiling hanging storage area for Fred's fenders bumpers drive line and steering column/rod.

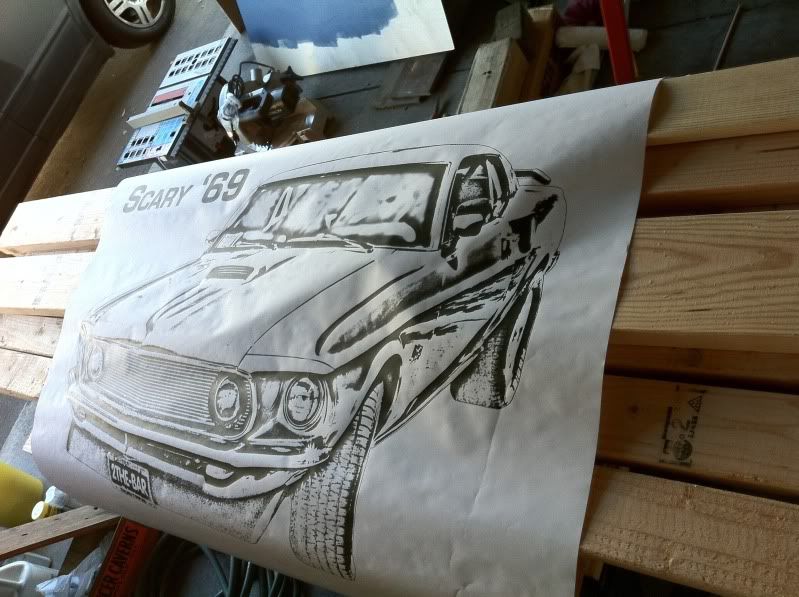
Back when we all got together at John's(may he rest in peace) service, I took a photograph of John(Del65) getting ready to move Scary to join the rest of the Mustangs for a photo op. Randy kindly requested the .RAW file and made some Photoshop adjustments and was able to enlarge it. He emailed me the file a while back and I finally got around to hitting up KINKOS who then printed a 24"x36" copy as well as a 36"x48". I hung the 24x36 up in the Garage, I liked it but seemed a little small so the 36x48 went up. It feels kind of like John is still hanging out in the garage cracking jokes and having a good time. We all miss him around here, in person and online.

We miss ya buddy.....

6fd28100.jpg


a2e42e8d.jpg


If anyone would like the 24x36 let me know and I would be more than happy to either hand deliver it or mail it.
 
Abe,

The compressor should shut off automatically when it reaches 125 psi or so. the item you bought looks a lot like my old 'Builders Square' 60 gallon 5 horse vertical compressor. I wired it to run on 220 and put a duplex outlet on the side of it (I charge AA and AAA nicads via that plug). I also put the entire compressor assembly on a heavy duty dolly so I can move it around if I need to (once a eyar garage cleaning and a couple of other times).....

Keep chippin away on Fred. One day you'll have it at Knotts....
 
Hello everyone. It's been a busy couple of weeks for me. I was getting really frustrated working on Fred and spending about the same amount of time working on Fred as I was looking for stuff. Gave the garage a mini facelift, not done yet but enjoy the photographs.

built a tire rack (just for you Pete)

03015055.jpg


1910ddb9.jpg


built some ceiling storage for Fred's fenders driveline bumpers and other longer items

468b5117.jpg


91adab0d.jpg


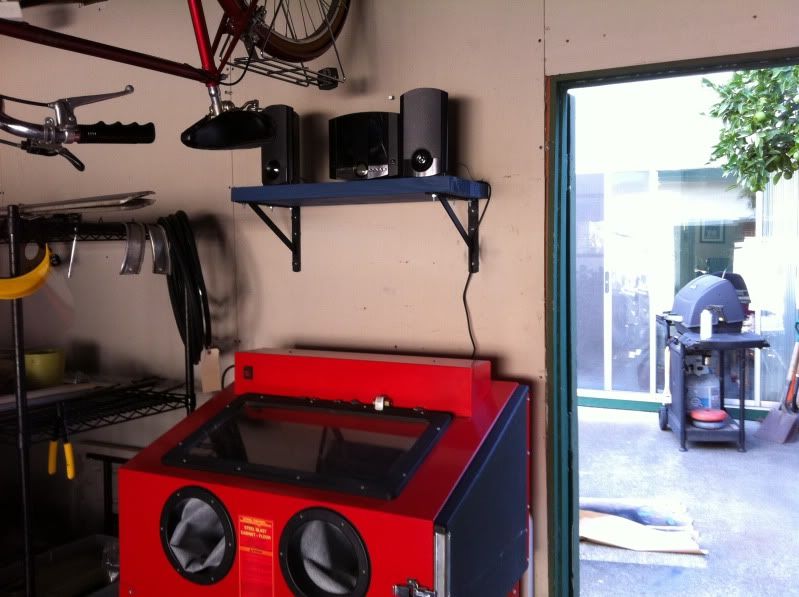
a small shelf for tunes

0f9d4edb.jpg


painted the original shelves to match the new paint theme

photo2.jpg


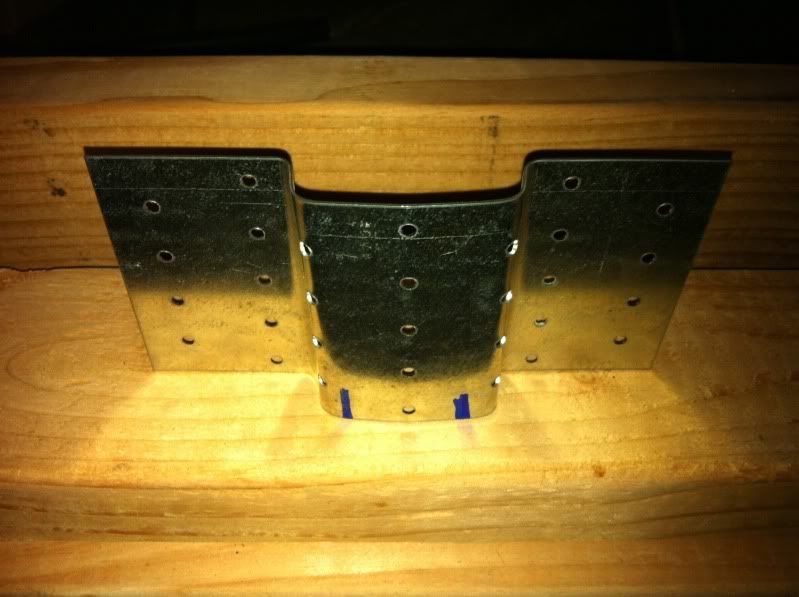
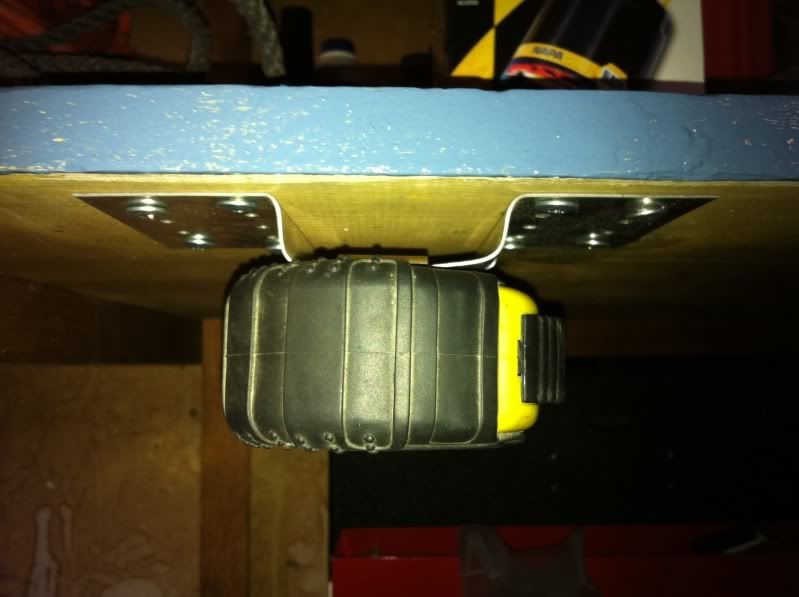
I always have the hardest time keeping track of my tape measure so I used a strong tie and the assistance of some 2x4's for bending and screwed my new tape measure bracket to the bottom of one of the shelves.

ab9c6b20.jpg


a3179fad.jpg
 
Back
Top