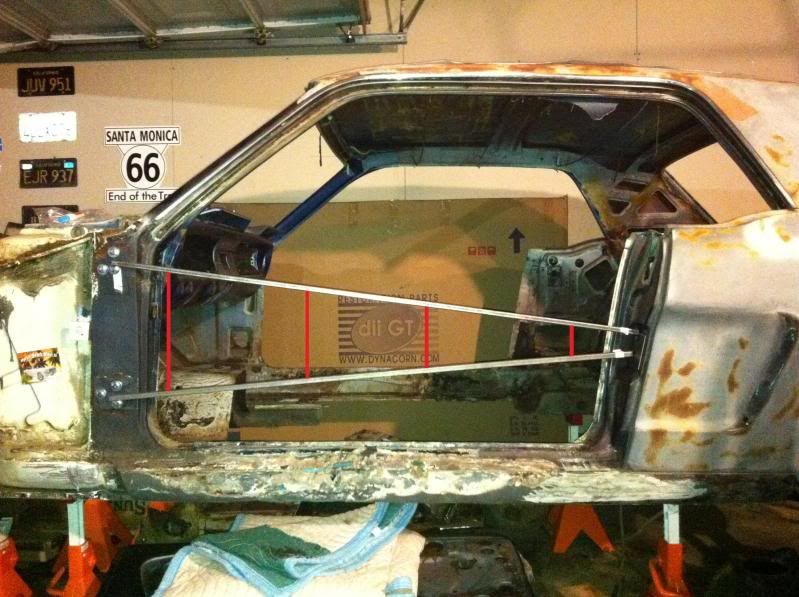
I did have some time off and got to do a little traveling. It all kind of got kick started when I asked Mel how much he wanted for the T-10 he had laying around from Captain America and he made me a killer deal I could not, not plan a road trip for.
Started off heading south to go see my son first.
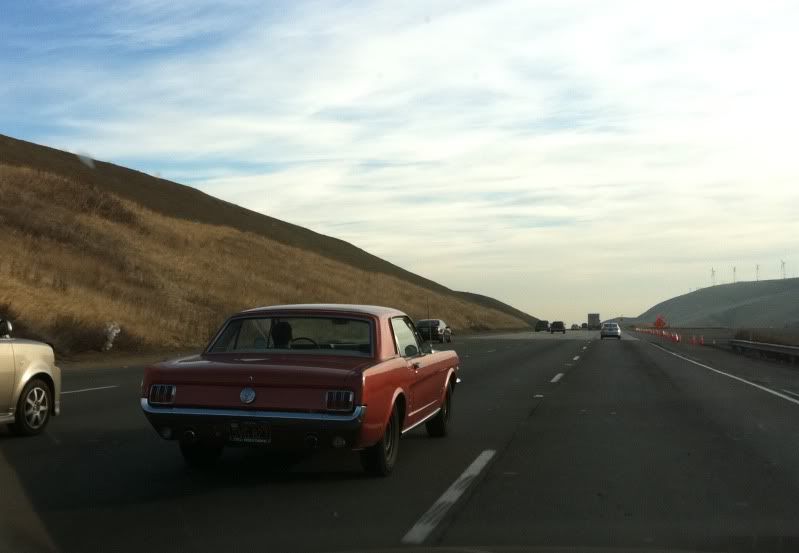
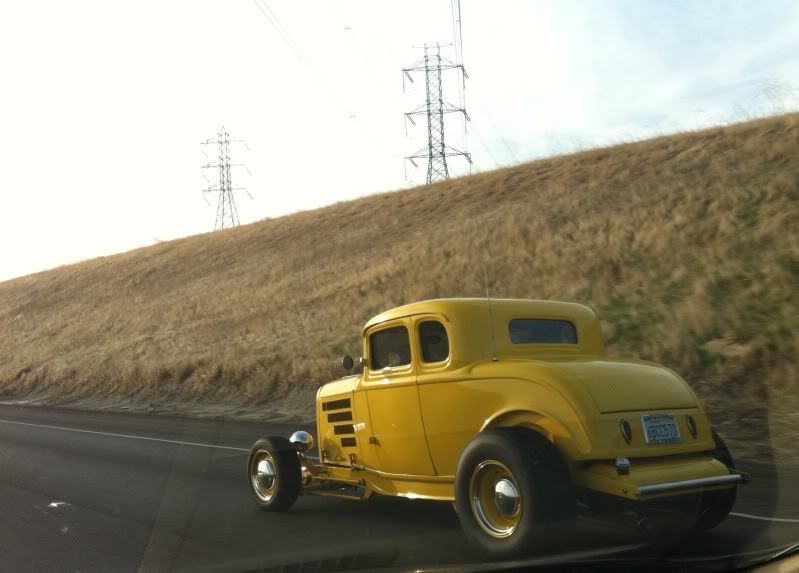
A few cool rides I passed along the way
Certain parts of THE 5 going through the central valley had some serious fog.

Not sure what the heck this was
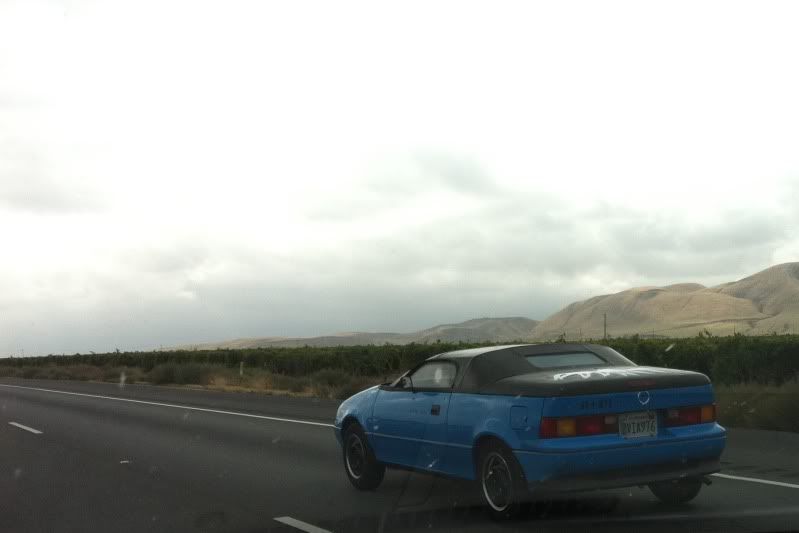
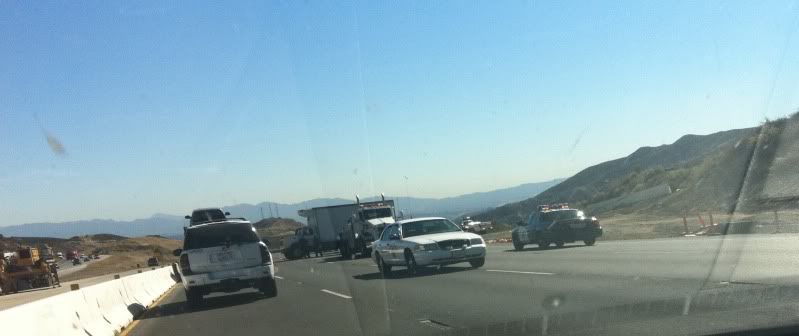
Never a dull moment when getting near to LA
I never thought that I could love someone/anything so much.

opentrackersteve lives around that bend (photograph taken from the pacific wheel at the Santa Monica Pier), I can almost see your house from here Steve. LoL

Lucky man, get to see beautiful sunsets like these every eveining

Off to Utah we go to hang out with Mel
California to Nevada down, now to Arizona, yeesh. LoL

Oh yeah, time to get rich, actually, not really, no time to stop and loose my money

Nevada to Arizona down, now to get to Utah. OMG :hide

I have to say, I had never taken a road trip away from the coast before, I was awe struck with all the beauty that our Country has to offer. I was really glad I made the trip and a big thanks to Mel for convincing me with such a great deal to hit the road and make it happen.

There are a lot more pics but it's a build thread right, only thing building up here were miles. art
art
Finally :yah

Got to hang out with Mel and Max, gave me a tour of the bad arse garage and his beautiful home. I have a new found respect for Mel and appreciate the fact that he really knows how to have a good time with his cars. If we are going to save them, wrench on them, we better be having fun with them. I would love some footage of you going through all those dirt roads with the 65 Mel. If you ever get a chance to, that is. I must admit, after you mentioned hitting the dirt roads with the 65 I decided to make my drive back to the freeway in the VW a little more interesting. ( A little slipping and sliding :skul)
So I made out of Mel's place with my rear end a little havier. :thu
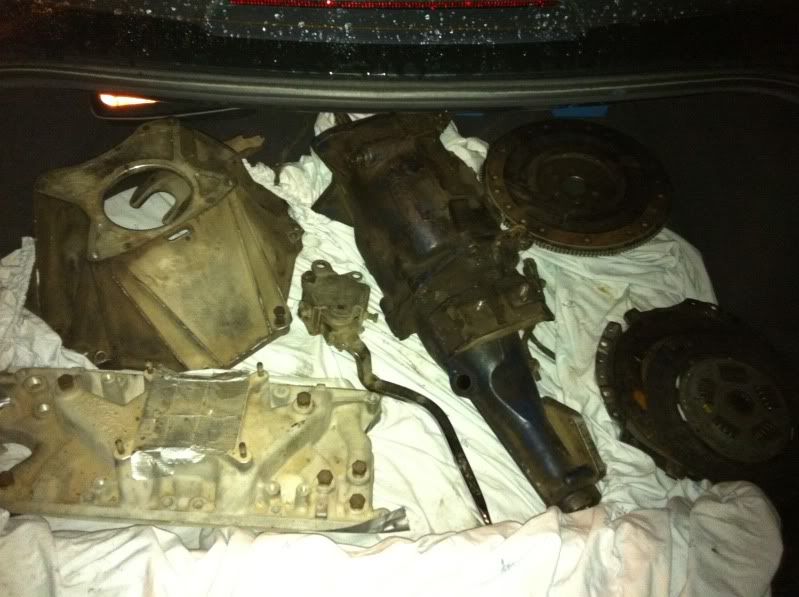
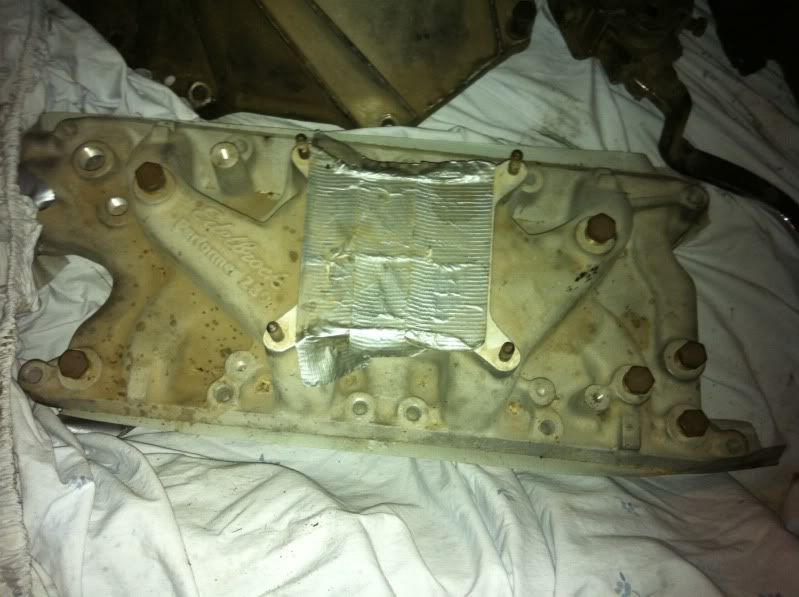
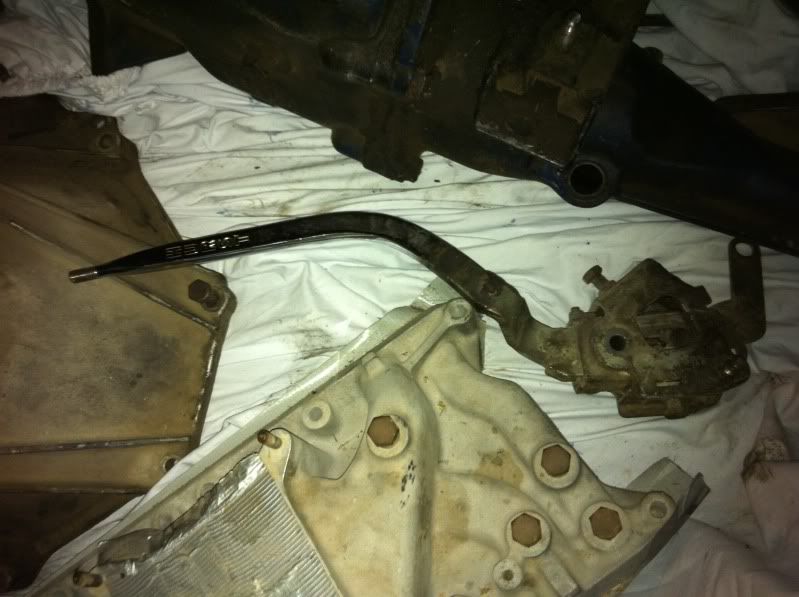
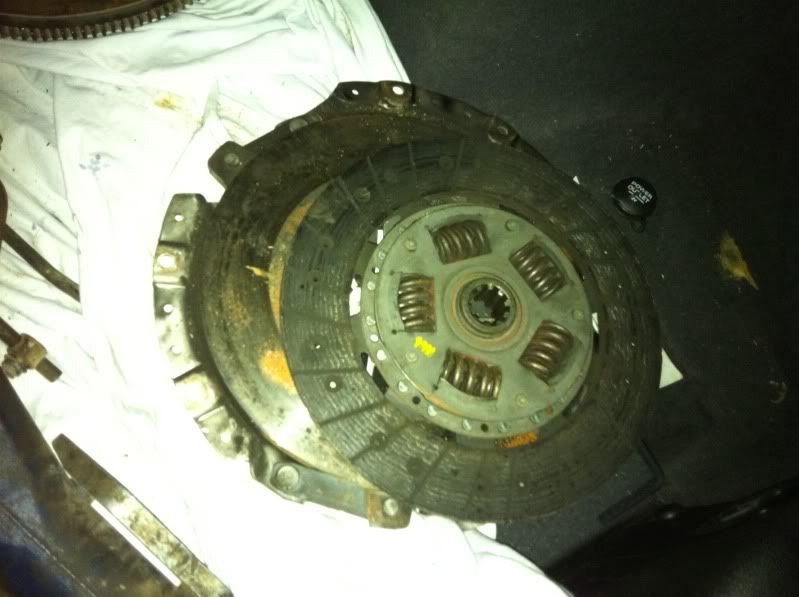
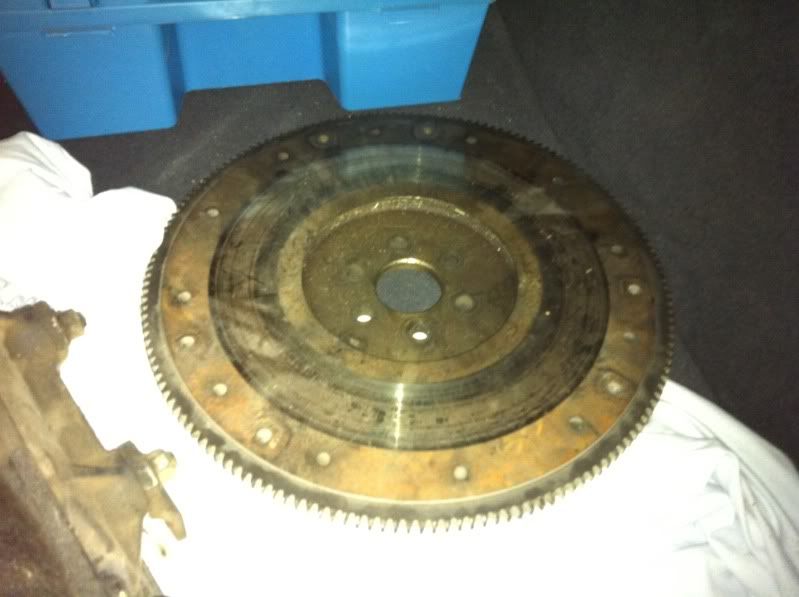
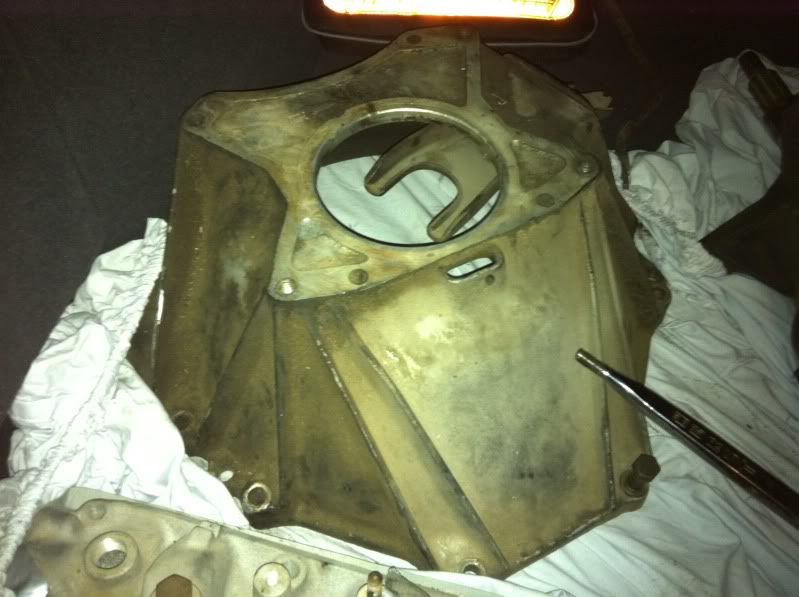
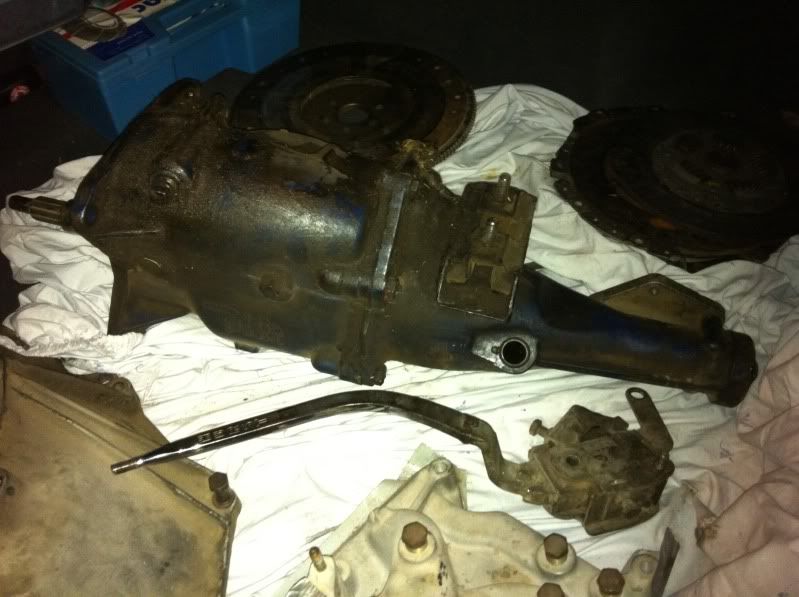
Well, time to head back home, the same exact way I had come.

I think Mark was on to me and sent out his PT boys to take me out. Seriously! The guy literally used his signal light to tell me he was turning into my lane as I was approaching to pass him.

Total numbers on the ticker for the trip

Thanks again Mel, Fred will be proud to carry Captain Americas tranny with honor.
When I got home I got a call from Tony at RPS. Oh freakin yeah!
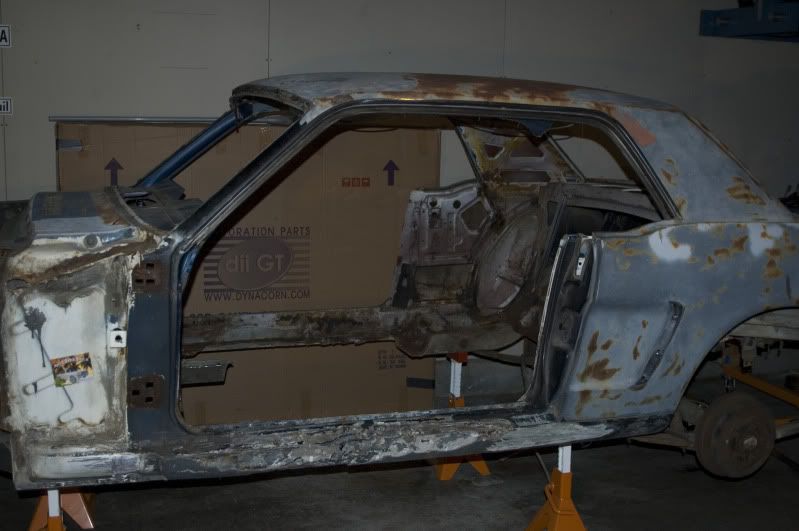
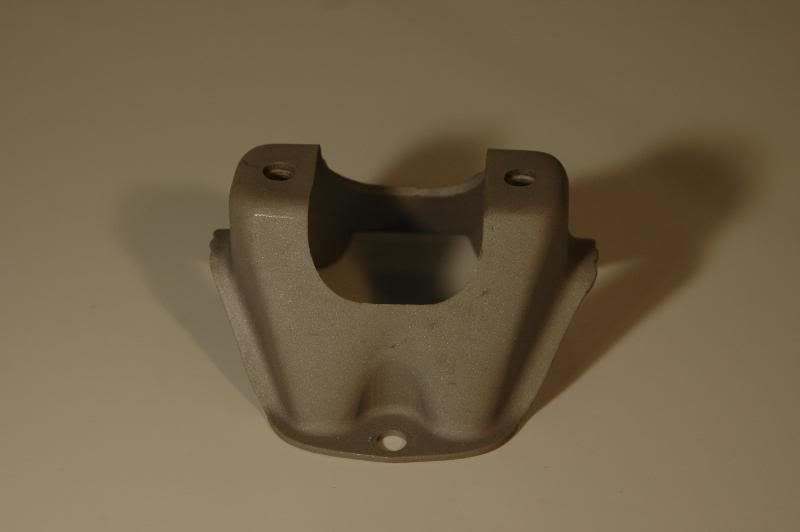
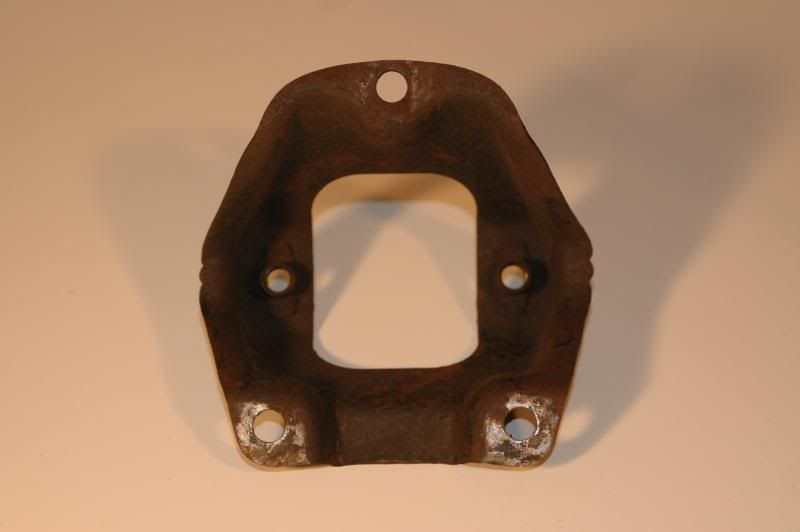
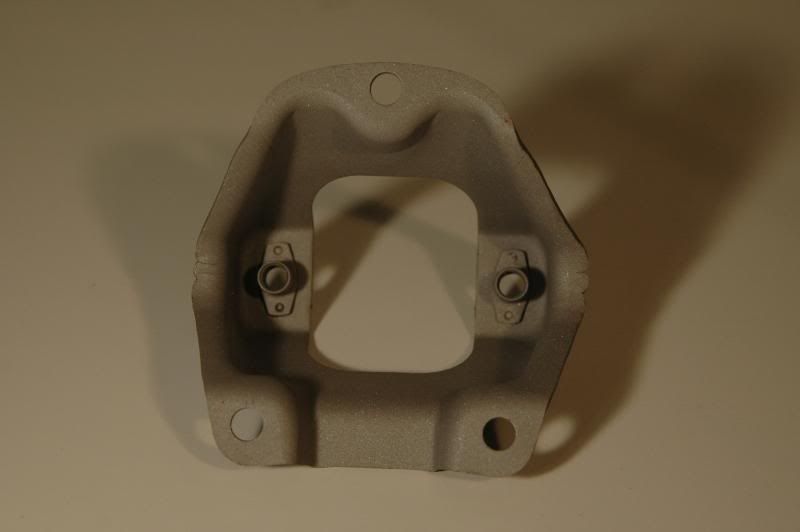
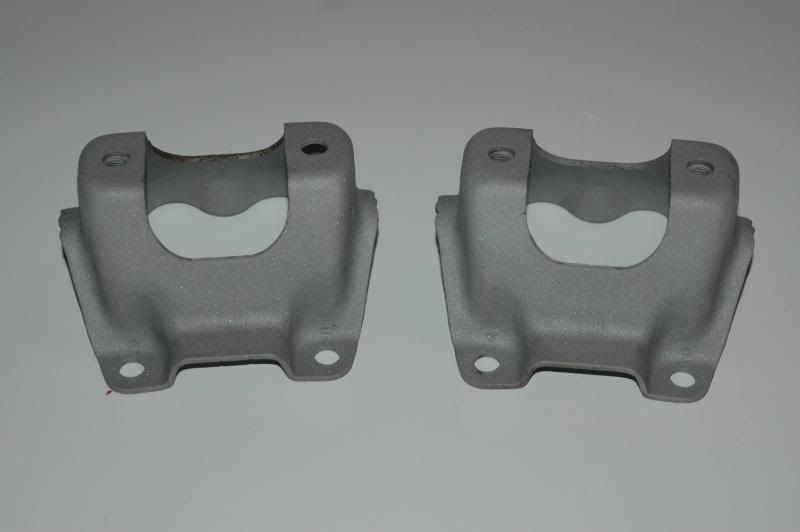
Full floor pan, seat platforms, rear upper torque boxes, drain cover kit, LS rocker panel, and LS toe board.


Started off heading south to go see my son first.
A few cool rides I passed along the way


Certain parts of THE 5 going through the central valley had some serious fog.

Not sure what the heck this was

Never a dull moment when getting near to LA

I never thought that I could love someone/anything so much.

opentrackersteve lives around that bend (photograph taken from the pacific wheel at the Santa Monica Pier), I can almost see your house from here Steve. LoL

Lucky man, get to see beautiful sunsets like these every eveining

Off to Utah we go to hang out with Mel
California to Nevada down, now to Arizona, yeesh. LoL

Oh yeah, time to get rich, actually, not really, no time to stop and loose my money

Nevada to Arizona down, now to get to Utah. OMG :hide

I have to say, I had never taken a road trip away from the coast before, I was awe struck with all the beauty that our Country has to offer. I was really glad I made the trip and a big thanks to Mel for convincing me with such a great deal to hit the road and make it happen.

There are a lot more pics but it's a build thread right, only thing building up here were miles.
Finally :yah

Got to hang out with Mel and Max, gave me a tour of the bad arse garage and his beautiful home. I have a new found respect for Mel and appreciate the fact that he really knows how to have a good time with his cars. If we are going to save them, wrench on them, we better be having fun with them. I would love some footage of you going through all those dirt roads with the 65 Mel. If you ever get a chance to, that is. I must admit, after you mentioned hitting the dirt roads with the 65 I decided to make my drive back to the freeway in the VW a little more interesting. ( A little slipping and sliding :skul)
So I made out of Mel's place with my rear end a little havier. :thu


Well, time to head back home, the same exact way I had come.

I think Mark was on to me and sent out his PT boys to take me out. Seriously! The guy literally used his signal light to tell me he was turning into my lane as I was approaching to pass him.

Total numbers on the ticker for the trip

Thanks again Mel, Fred will be proud to carry Captain Americas tranny with honor.
When I got home I got a call from Tony at RPS. Oh freakin yeah!
Full floor pan, seat platforms, rear upper torque boxes, drain cover kit, LS rocker panel, and LS toe board.


